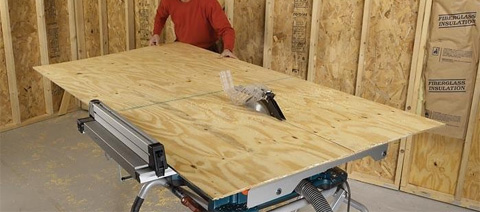
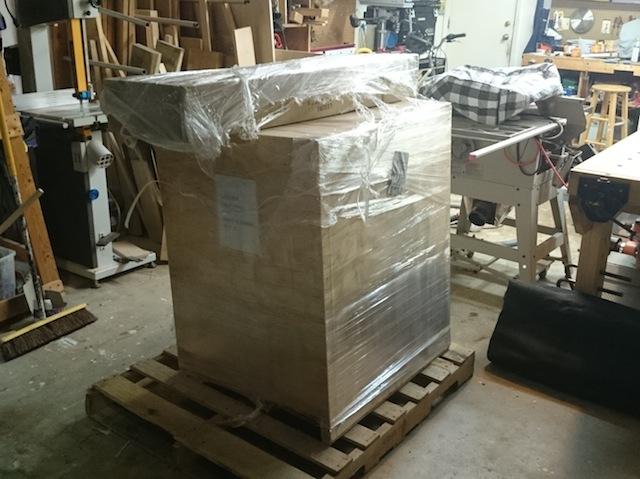
So, this year, I have finished one large project that required me to make accurate cuts on plywood. Now, you can try to do this on a table saw, but I will warn you that a 4 x 8 sheet of 3/4 inch plywood tips the scales at a hefty 80 pounds – give or take.

And, it’s pretty cumbersome to maneuver around on a table saw top, so maybe that’s not the best way to go for breaking down the panels. Unless, of course, you build a set of infeed and outfeed tables, work holding devices and other items…
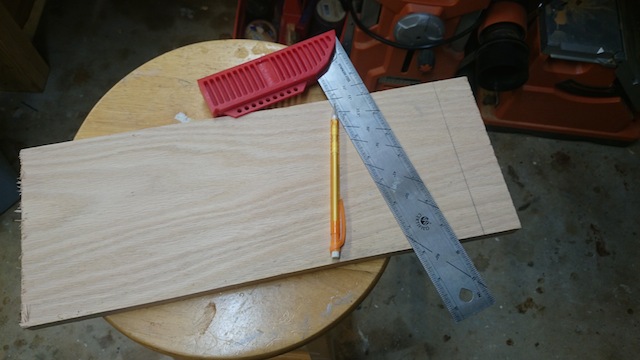
To defeat this problem, you can go with a portable tool. The easiest way to do this would be to either strike a line and try your skill, use a batten to cut against or build a jig like the sawboard I built a few years back.

Those are swell, and certainly easy on the wallet, but unless you are super duper careful, your hand can wander.
That’s when the track saw was invented. Introduced by Festool, these babies are awesome, and can break down sheets of plywood with ease and no splintering. In fact, when my friend Paul and I built his home office, we turned to a Festool track saw for all of the critical cuts, making building all those boxes a breeze.

However, are those babies ever spendy. Fortunately, other companies have jumped into the fray, offering high quality track saw systems at a fraction of the price of the originals.
But, what if you don’t want to go uber cheap, but still want to get the best cuts possible? Or, maybe you want to build a track setup for a battery operated circular saw? What then?
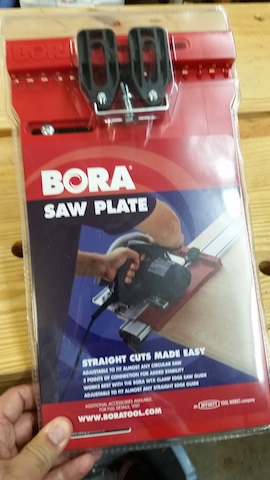
How about something simple like this Bora saw plate? This baby will set you back about $30, but gives awesome results, especially when paired with one of the company’s guide track clamps. It’s easy to set up on a circular saw – it took me all of five minutes – and gives surprisingly good results for the money.

First, you have to set the width of the clamp setup, which is a piece of cake with a built-in edge clamp. Just snug the right edge to the clamp’s right side, then slide the adjustable left jaw until it just touches the left side of the clamp.
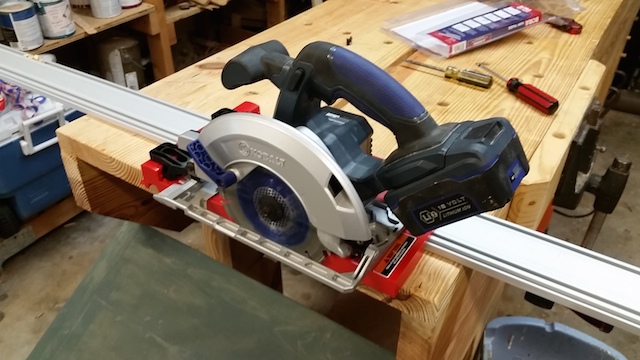
The saw fits in nicely with a few screwed down clamps on the front and side of the base plate of the saw. This baby is now ready to cut, and you can line up the edge of the clamp with your marked line to ensure an accurate cut time after time.
As you will also notice, this saw is battery powered. Again, can’t stress that enough. If you find yourself away from your shop trimming things down to size, this thing could be worth its weight if not in gold, then certainly in Oreos. And cold milk.
Mmmm….


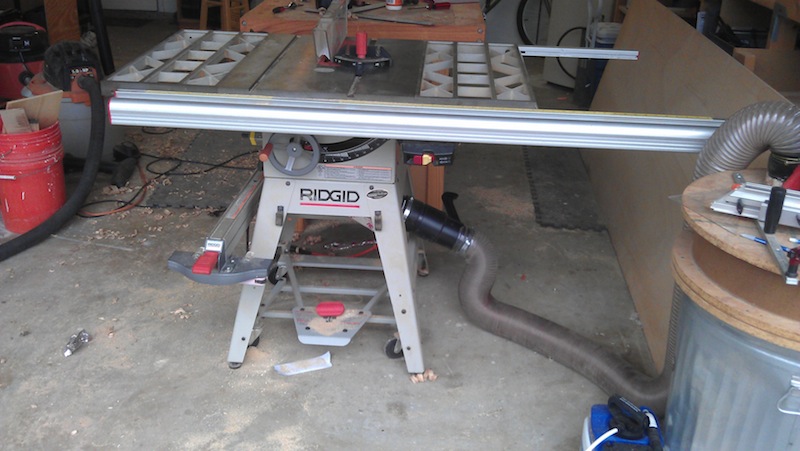
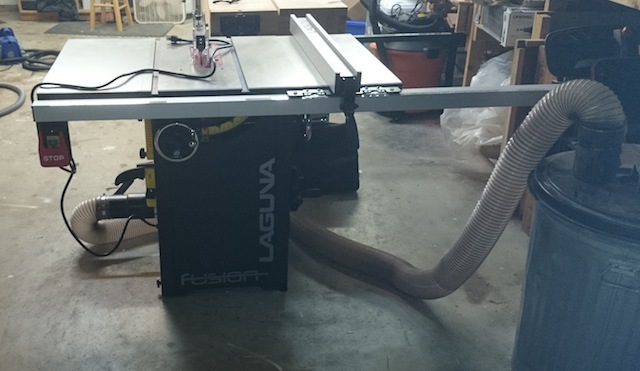 Outside of those two small quibbles, this saw is a dream. It cuts beautifully. It’s much more quiet than my old saw. It is built like a tank. Its fit and finish is second to none. It doesn’t allow for any dust to get out into the shop. The large paddle stop switch is very convenient.