
Today, I begin sanding my dresser top valet. Yay…

Oh, sanding is such a joy. I mean, who doesn’t enjoy rubbing rough paper over their project for hours until it is good enough for finish? I mean, what else could you be doing with your time? Watching grass grow? Checking in on drying paint?
Yeah, even though it’s an essential step in the process, I don’t think anyone really wants to sand. Ever. If someone could invent a device where you put your assembled project in one end, and it came out smooth, blemish free and touchably rounded over, we’d cough up huge bucks for it. But, until then, we have to do it the old fashioned way with sand paper, hand planes, scrapers and elbow grease.
Fortunately, I also like to employ one of the most sophisticated devices known to humankind to determine when I have sanded enough…
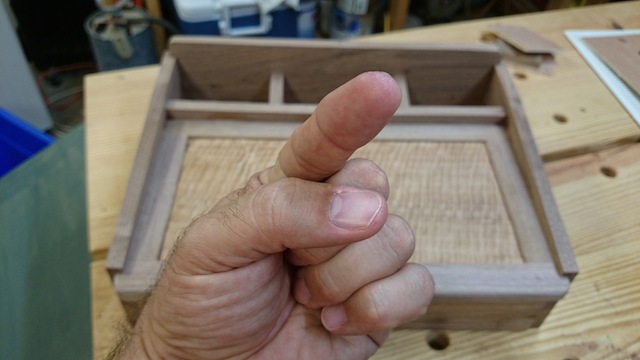
Yup, I’m a touchy-feely kind of guy. I like to feel how I progress while I sand, and that starts with the edges of the boards. Now, when I cut those suckers, I was looking for a sweet 90 degree angle, straight, square and true as the boards came off the table saw. Now, not so much.
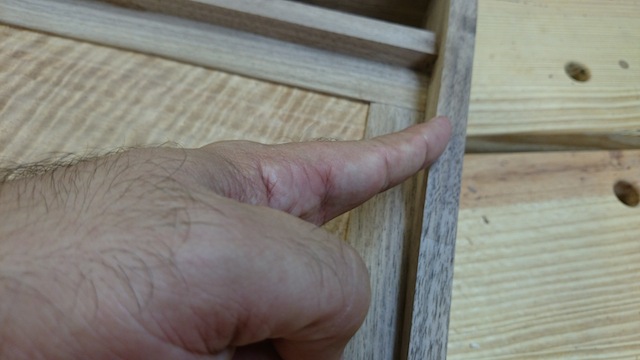
Those sharp edges can be very uncomfortable to bump against, and can easily cause a splinter if I rubbed my hand against them. So, a little bit of 120 grit sandpaper, some work on the corners, and bingo, I’ve put myself into a much more comfortable situation.
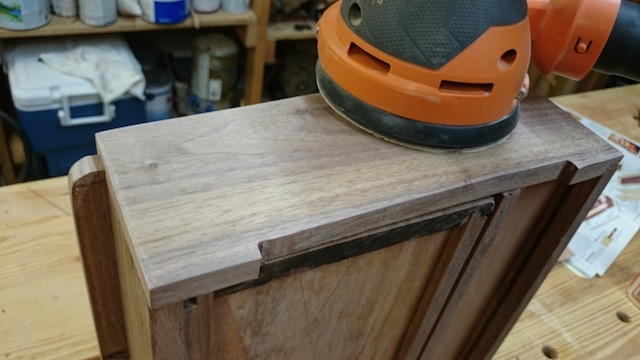
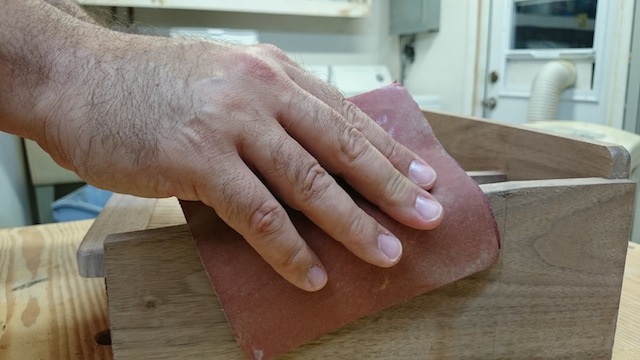 Once I have the edges broken, that’s when I turn to the random orbit sander to do the majority of the bulk work. Some joints need a little leveling, and some mill marks need to need to disappear. That’s when I start to look for a way to gauge that I am sanding evenly.
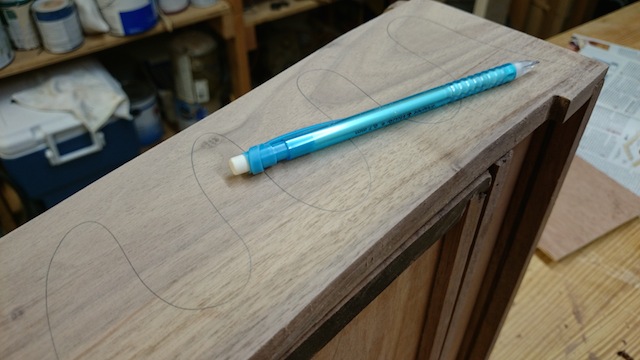
My dad taught me this trick, and I still do it today. I take a pencil and run a squiggly line down the face of the piece I want to sand. Once I have this on the board, I take up the random orbit sander with a 120 grit pad, and get to it. With the sander hooked to my dust collector – and on a project this small – it’s a pretty easy task to get an even sanding on the piece in very short time.
Once that line is all gone, I know I have done a decent job getting a good sanding on the piece, I will also look at the project face with a raking light to see if I have gotten rid of all the milling marks and other imperfections. When I don’t see any more, I switch to a 150 grit pad, and give everything a once-over to refine the piece a little more. Of course, anything that’s tough to get to with the pad needs some more hand work, but that’s not too bad.
Next step, a little finish, attach the handle, then start cleaning off my dresser top.