All posts by Tom

I'm the guy who writes the blog...

Link of the week

The Penultimate Workshop

Did you ever run into someone in your life and know you were going to be good friends?  That’s what happened to me at the 2009 Woodworking in America conference held in Valley Forge, Pennsylvania. That’s when I ran into this guy from Lawn Gisland, and we hit it off immediately.

Dyami Plotke rocks the mike!

His name, as you may already know, is Dyami Plotke. He’s a blogger nearly as prolific as me, and he’s one of the most generous folks I have ever met. Yes, he has stepped to the plate to help me with Get Woodworking Week, has split the cost of a room at Woodworking in America and he is one part of the triumvirate of podcasters at the Modern Woodworkers Association. Not only is he published online, he’s also a frequent contributor to Fine Homebuilding Magazine. The dude keeps busy.

But, the reason I will always be thankful to him is the time he rescued me from the Hurricane Sandy relief effort in New York City this past November for a meal with him and his family. Thanks, man.

The safe taper

Check this out.

Got 'em all

I am a hobby woodworker who – after more than fourteen years of building – still has all of the fingers and eyes I was born with. That’s a pretty impressive track record, considering that I learned on my own, I made some stupid mistakes and I have done some tremendously risky things on my saw.

A shop made taper jig

The one thing that scared the heck out of me was cutting a taper on the table saw.  You would think that it would be an easy task… They make commercial tapering jigs that are relatively easy to set up, or you can bang out one in your shop with a few scraps of plywood and a butt hinge.

Sure, it was simple, until I had to use one. While trying to push this board over the table saw with this jig against my fence, I never felt so afraid. There was no real way to hold the work securely against the jig. It seemed either was going to have to risk a bad hand injury to get this cut to work well, or I was going to have to take my chances and try to let it ride.

So, I found other ways to cut tapers. On the bandsaw, with a quick touch up with a plane. That worked OK, but I was never able to duplicate the crisp, accurate cut I got straight off the table saw. So, I never used tapers.

What a shame. Tapers on a project can lend some grace and elegance to a piece. I was recently bemoaning my in ability to cut tapers when I got an offer from Bruce Wang at Micro Jig to try out a new tapering jig.  I love the folks at Micro Jig. They make products like the GRR-Ripper push block that gives you positive and safe control over your workpiece. When the new product – the  Microdial Taper jig arrived, I decided to put it to the test.

True Cut Taper Jig

It’s a robust looking jig in the company’s famous yellow.  It comes complete with a fixed leg which runs against the rip fence, and a swinging leg with a hook to control the workpiece, mounting points for a GRR-ripper push block to help hold the work down and a handle to keep positive control over the workpiece.

The two adjustment dials allow users to dial in some specific taper angles, either by identifying the angle or the rise and run of the taper. These are set by an interesting stop that allows the jig to be locked at a specific setting. Or, if you are trying to match an existing taper, you can ignore the settings and do it freehand.  A nice option.

Ready to cut

To use the jig, you set it at the specific angle, and lock it down both at the pivot point and on a slot that allows the legs to follow an arc. Once that is done, it’s a simple matter to set the jig against your rip fence and then set the board into the jig. Because my test jig allowed for a lot of space on the board, I used my GRR-Ripper block freehand on the board as a hold down.

I started the saw and pushed the board through. Boy, was that a lot more comfortable.  There was a lot more jig between my hand and the blade, and the integral handle made pushing the jig a real breeze. The results were impressive.

The jig set to cut a taper

The instruction manual gives directions on how to cut one, two, four and even eight sided tapers, allowing woodworkers the flexibility to cut many different designs. It is also a multi-tasker, even providing the ability to use it to joint boards for those of us who are jointer poor..

This jig will make my taper cutting safer, helping me to keep all ten fingers attached permanently. The fact that it helps cut those tapers more accurately is just the icing on the cake.   Look for the Mircodial tapering jig in stores soon.


Quick Poll

A table saw is a great tool for woodworking. It’s a real multitasker, cutting boards to size, molding profiles, joinery.. the works.

But, it has to be properly tuned and aligned in order to do its work properly. Otherwise, you can see burning, ragged cuts or other issues that you aren’t going to be happy with.

check that table saw!

Some of the important tasks involve ensuring the blade is aligned parallel to the miter slots, the 90 and 45 degree bevel stops are dead on, the rip fence is square to the table and parallel…  the works.

So, today, it’s time to answer the tough question… how frequently do you align the features on your table saw?


Link of the week

Half-Inch Shy

What is it about the 48th state to join the Union that attracts so many talented woodworkers?

Today, we go to Arizona to meet another skilled craftsman, Paul-Marcel St. Onge. His blog, Half-Inch Shy, takes its name from the good old early days of his woodworking experience, when he would measure three times, add some extra onto the board and still cut it one half inch shy. This never stopped amazing his dad.

Kick save and a beaut!

Today, Paul-Marcel has cleaned up his act and is making some sweet furniture, blogging and producing a ton of really awesome videos.  You can check him out at many woodworking shows demonstrating for Bridge City Tools.  Oh, and he loves hockey. Just in case you couldn’t figure that out!

A case for the quarter

When my mom gave me my first router for my birthday a bunch of years ago, it had a 1/4″ collet. She gave me a collection of some pretty useful 1/4″ shank bits to go along with it. That was totally awesome.

Until everything I read said that no, you don’t want to use 1/4″ shank bits. The 1/2″ shank bits have more metal in them, meaning they are far more stable, stronger and able to give cleaner cuts.

So, I laughed as I gave away most of my 1/4″ shank bits. I mean, I was on a mission to eliminate them from my router bit collection. After all, they were inferior, right?

I loves me my router...

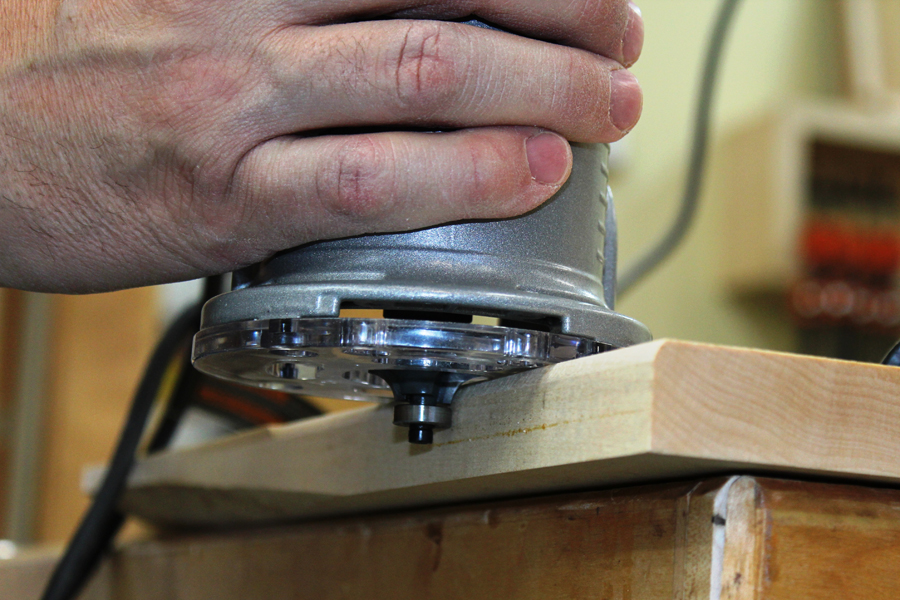
Not so fast. I have recently come to kick myself for giving up the nice collection of bits I had amassed. I bought one of these – a DeWalt 611 multi-base ‘trim’ router. It’s called a trim router because, way back in the day, they were really only used by cabinet installers to trim laminate and do some light work on a job site. That was until woodworkers discovered just how handy these little babies really are.

With one hand on these routers, you can do small dadoes. You can put a profile on an edge. You can do a ton of different jobs that would be too small, too delicate or too restricted for a bigger unit. The DeWalt also has some sweet features that other routers in its size range just can’t touch – LED lights in the base and both a plunge and fixed base. It’s router nirvana.

I have had to find some good advice on going back to the 1/4″bits that I so hastily disposed of. Fortunately, I was recently at the Infinity Cutting Tool’s router basics class last month, where I had a lot of time to ask a bunch of what I thought were stupid questions, but were pretty darned smart after all.

Quarter inch vs. Half inch bits

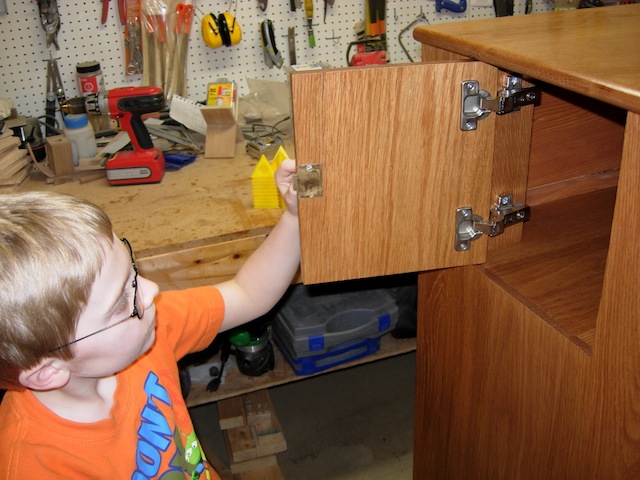
For instance, I asked why anyone still made 1/4″ shank router bits at all. David Venditto, an old hand at router bit technology, was able to explain that for small diameter bits, it would be wasteful to make those with a larger shank. For instance, we were using the instructor’s DeWalt 611 (no wonder I wanted one so badly) to do some hinge mortising. So, we went with a small downcut spiral bit. That’s when I asked why spiral bits that were 1/4 or 1/8 inch didn’t come with half inch shanks. He told me that there would be so much material removed from the shank, it would drive the cost up considerably, yet not provide any advantage.

Small roundovers don't need much muscle

Another situation comes in when you are trying to use edge molding bits. For simple small-radius round overs, chamfers and the like, there is very little wood being removed. Since that is the case, the router doesn’t need to be a full powered animal – a smaller, more maneuverable router could do the job just as well.

And, in many cases, proprietary bits for jigs can come only in 1/4″ shank bits. The Keller Dovetail Jig, for instance, uses 1/4″ shank bits for both the tails and pins. Since that is the case, replacement bits for these jigs need to be made to match.

This shank needs more meat

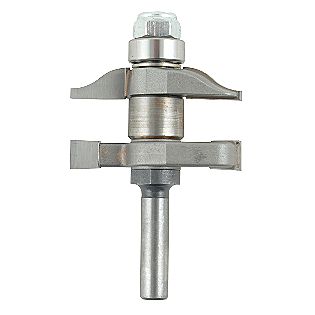
David was very clear when he explained that half inch shanks were far more preferable when removing larger amounts of material. And, even though some manufacturers do make bits such as stile and rail sets that have quarter inch shanks, it’s better to have more mass and strength in the bit to reduce chatter and prolong the life of the bit.

OK, maybe the announcement of the demise  of the 1/4″ shank router bit was a bit premature. With this new generation of fully-featured compact routers, the 1/4″ bit will probably see a renaissance. And, that’s OK with me!


Quick Poll

Problem?  You say I have a problem?

Problem?  Who has a problem?

Many woodworkers buy the wood for their upcoming projects as they need it.  While others, well … I wonder if there may need to be a wood hoarder’s anonymous chapter started in some cities. They have huge stockpiles of boards, lovingly bought for that dream project that they envision building sometime in the future.

Today, let us know what your wood storage situation looks like. Do you buy as you need, or do you stockpile for the future?


Link of the week

Midnight Woodworking

Do you remember Adam Wroten? He’s the young fellow who won the Bora Tools English square and marking gauge set up?  Well, that little dude and his dad Lawrence have gotten into the online woodworking blog community!

Adam checking out the fit and finish of the cabinet

Adam and Lawrence are documenting their woodworking adventures a little more frequently than I update mine (hey, guys, no fair!).  The big project they have just finished is a sacristy cabinet for their church. How’d they do? Well, you be the judge … buy, my guess is the church members are some lucky folks to have this dynamic woodworking duo in their midst!