All posts by Tom

I'm the guy who writes the blog...

Link of the Week

Grant McMillan Wood Carving

One of the skills I hope to master is wood carving. Sure, I did a little of it on my niece’s Confirmation box, and the medal rack saw some ‘carving-like’ features – but, being able to look at a block of wood and make something out of it, gosh.

Holy ship!  Nice work!Fortunately, talented carvers like Grant McMillan have taken the time to post their work and their instructions online. From carved embellishments on larger projects to full-on carving in the round, Grant’s work is truly a pleasure to look at.

One day…


She’s a new turner

One of the best parts of my job as the county’s emergency preparedness spokesperson is that I get to speak at a lot of disaster preparation events. Since the Tampa Bay area is most vulnerable to hurricanes and other tropical weather events, I frequently share top billing with the local TV meteorologists. They are a fun group of folks who love to talk weather and can take a general ribbing when their forecasts don’t always pan out.

Leigh Spann on the air One TV Mets I have presented with is Leigh Spann, the morning forecaster for WFLA-TV, Channel 8 here in the Tampa Bay area.  She was out this past weekend banging the drum about hurricane awareness, when the folks at NOVA Tools  – just a few booths over – invited her in for a spin. Here’s Leigh’s account of the experience. (And, yes, I warned Leigh about the dangers of woodworking without safety glasses. She needs to watch Norm’s weekly admonishment.)

I arrived at the St. Pete Downtown Food and Wine Fest to hand out hurricane guides at the WFLA vender booth. As I walked to the booth, I passed a woodworking vender, and I didn’t actually think twice about it.

About 10 minutes later, the vender popped over to our table and asked if I wanted to try my hand at his craft. I couldn’t have been happier!

Leigh gets a lessonHe had small blocks of wood that attendees of the Fest could transform into ink pens. He asked me what kind of wood I like, and I responded that I typically choose darker colored woods. He held up a dark walnut, but in his other hand was a lighter block. He said the lighter one is actually from a tree you can no longer cut down, but it can be brought up from the bottom of bodies of water. He said that this wood could be thousands of years old. (Sadly, I can’t remember the name of the wood now.) I quickly said “Well, I HAVE to choose the one with the better story!”

Then, we stood behind the machine, and he assembled the pieces to secure the block of light wood. He flipped the switch, and it started spinning. He handed me a tool that looked like a long knife with appropriately enough a wooden handle, but the “blade” was scooped on the sides and not sharp. He explained that as I lightly held the tool to the spinning piece of wood it would take the corners off and give the block a cylinder shape.’

Leigh sanding the pen on the latheAfter a few false starts, I had a nice rounded piece of wood that looked somewhat pen-like. Next came the sandpaper. Then, the wax. He handed me a block of hard wax that I would slowly slide over the wood as it spun. The heat generated from the friction causes the wax to melt and helped shine up the wood. Finally, we grabbed some of the wood shavings from the table and slowly ran those over the wood. As the shavings heated up on the cylindrical-shaped wood, it really seemed to draw out the various colors in the natural wood grain.

The proud owner of her first pen!He connected the ink pen to the piece of wood I had crafted, and I had my own one-of-a-kind self-made writing utensil. Who knew I was so crafty?! I look forward to setting up a time to meet with him again to create a wooden bowl that can be auctioned off during the Empty Bowls event to benefit Feeding America Tampa Bay.

I dunno… it looks like someone may be asking for a new lathe this holiday season. Hey, Leigh, keep us up to date on what you make next!

Stuff I’ve built: Sydney’s medal and ribbon rack

YES!  There’s nothing like a lazy weekend in the shop to get a project done, and that’s exactly what I had. It’s a great feeling to take a project from a big stack of lumber to the finished piece, and this project was no exception.  Here’s a quick look back at how Kevin’s daughter’s piece came to be.

The initial glue upAs with just about every project, everything starts with a good glue up. This one was for the back board. Yes, I had some problems with the resawing, but a quick call to the folks at Laguna helped me get through the work and end up with some beautiful pieces.

The back board cut to sizeWith the glue up done, the next big step was to cut that backboard to the right size. I got it to the final width by ripping the edges on my table saw, and then trimmed up the bottom with the track saw to get the bottom even and at a right angle to both edges. I cut the top arch out with my jigsaw and smoothed it out with a belt sander. The top made a nice, fair arch…

smoothing plane and cabinet scraperBefore everything was assembled, I took the opportunity to smooth everything out. Yes, I used a random orbit sander for some of the work, but using the smoothing plane and the cabinet scraper was a whole lot of fun.

The case is taking shapeOnce everything was smoothed, I cut some rabbet and dado joints to join the sides of the case together. This was, of course, the dry fit, because before I glued everything together, I took the opportunity to drill the five sets of holes that would accept the cherry dowels that would hold the medals and ribbons Sydney won.

The decorative cherry bracesOnce everything was glued up, I needed to make the vast expanse of maple a little more interesting, and attempt to keep this large piece from warping in the dry Yuma air. To do this, I used some cherry decorative ‘strongbacks’, except they were mounted to the front. Yes, this is a cross-grain situation. That’s why these were held in from the back of the case with three screws. One was screwed into the middle of the piece, with the other two screwed into the cherry pieces through slots I cut in the maple back, allowing the piece to move with the screws in place.

Clamping the overlayThe next step was the overlay with Sydney’s name cut out of a cherry overlay. I showed you how I did the cutout, and this arrangement was how I clamped the piece in place using a few clamps and my heavy toolbox on a plywood platen. This was the best way to get everything in place and make it all happen.

The final piece, ready to shipNow, all I needed was to finish the piece. First, I finished the sanding to ensure it was looking good, then I did my finishing regimen of a seal coat of shellac, followed by a thorough sanding and then wiped on the finish of poly, boiled linseed oil and thinner.

Today, it gets packaged up and sent on its merry way to Yuma. I just hope that Syd the Kid likes it!

Quick Poll

I am coming into the home stretch on the piece for my friend’s daughter. The piece has been signed, the finish is going on and now there’s just a few details to handle before I ship to out to Yuma.

Adding the finishWhile this has been going on, I have been purposely avoiding starting a new project. Do I not have one on my list of things to do? Of course I do, but because this is a project that a client is asking for, I have to push through to ensure it is totally complete.

However, this isn’t normally how I do things. There has been many times that I just begin another one – or two – while in the midst of things.

This week, tell us how you usually work on projects. It is one at a time all the time, or do you find yourself with several irons in the fire?


Link of the week

Tai Workshop’s Wood Bending page

How many different ways can you think to bend a piece of wood? Sure, there’s steam bending. And bent laminations. And cold bending. And… well, there are lots of different ways to bend wood.

A bent lamination in progressOne of the most complete sites I have ever seen is this one. The author doesn’t just list the wood bending methods, he goes into detail about why they work, what equipment is required to do this and the best way to succeed.  It’s an impressive and thorough collection, and worth a visit for sure.


Growing Pains

It always happens late on a Sunday night. This past weekend, we discovered that the latch on our front door didn’t work anymore, and that I needed to rush to the nearest home improvement center to buy a new lockset and deadbolt. Rhonda stopped me before I walked out and said, “You know, Tom, you have spent the entire weekend doing laundry, cooking, woodworking, doing yardwork – and now this. You must be exhausted…”

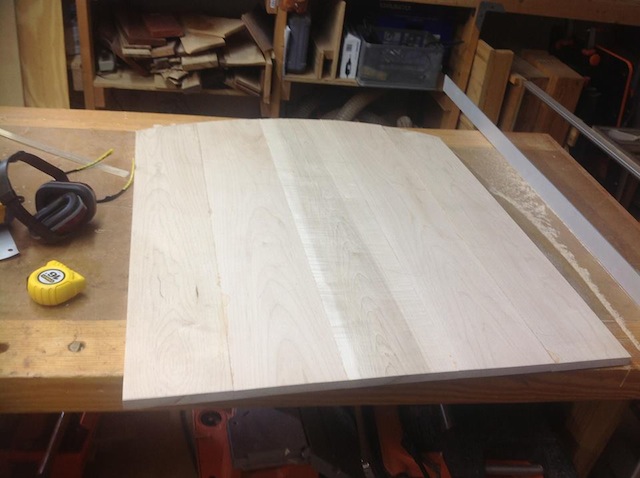
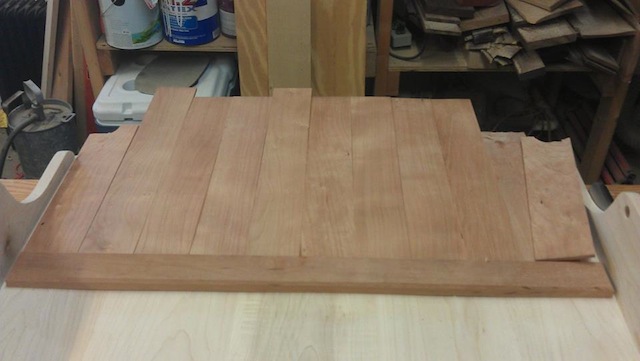
You know, I don’t really mind being that kind of exhausted. I’m one of those types of people who throws myself into the things that I do. If I cook, I have to make the meal a feast. If I woodwork, I like to take on big projects. If I blog, I look for the next big thing to come along. When I do my duties as the St. Petersburg Woodcrafters Guild’s Vice President, I get behind that.

A screen from Iggy's debut on the MWA podcast
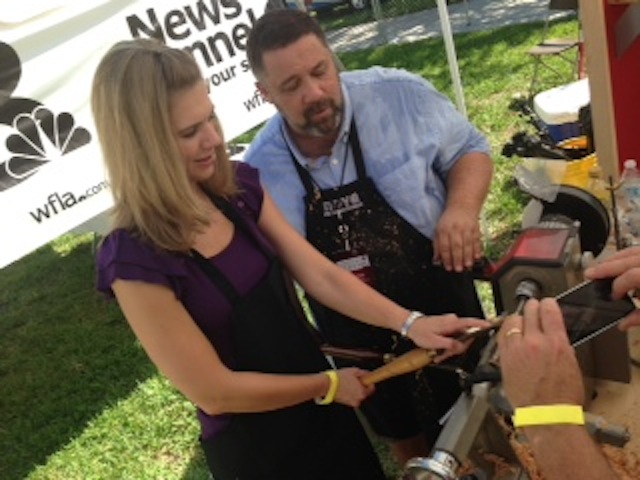
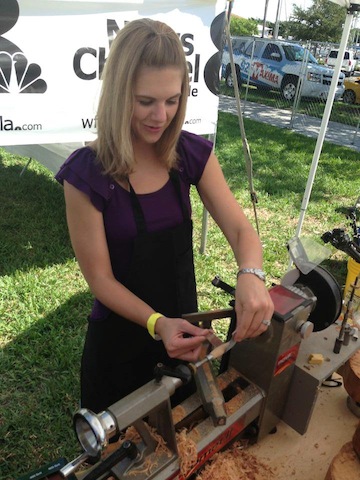
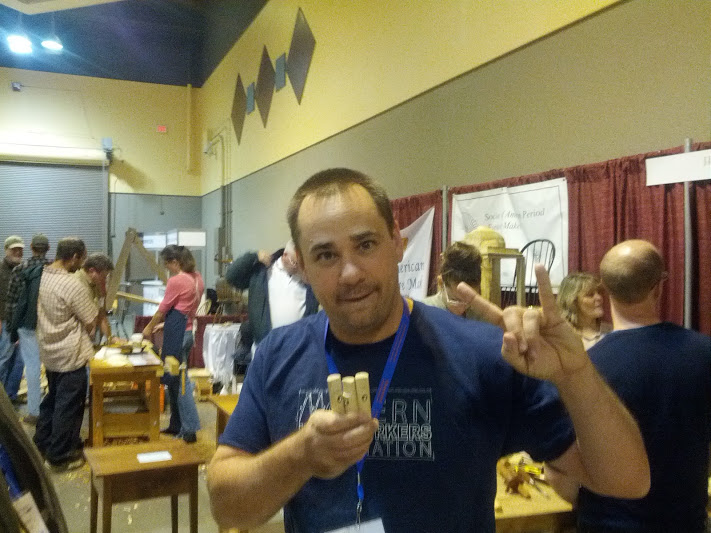
Another important thing I am a part of is the Modern Woodworkers Association. Since Chris Adkins, Dyami Plotke and I started podcasting last year, things have really taken off. We have had some awesome guests on the show. Ron Hock. Chuck Bender. Andy Chidwick. Wilbur Pan. We have had the brain trust of the biggest woodworking magazines on. Famous podcasters like Steve Ramsey. Tool manufacturers. We comb the great world of woodworking to bring you the best we can find.

And, my favorite part is when we discover a gem of a post from someone’s personal woodworking blog and feature what’s going on. I am always excited to see what people are doing in their own shops.

Yukking it up with Mike Candella, a member of the MWA

Our growth has also exposed some of our technical shortcomings. We have been doing some work arounds in order to bring you the audio and visual for the podcasts. Some things have worked great, while others – well – let’s just say if it wasn’t for duct tape, bubble gum and bailing wire, we would be lost in the weeds.

Last week, just before we recorded our 37th podcast, the three of us came to a decision. We would like to ask for your help in getting beyond our growing pains and building toward the future.

What we are looking to do is to buy some more advanced recording equipment for the show. No, we’re not talking about installing a broadcast-quality studio somewhere at a cost of tens of thousands of dollars. In fact, advances in technology have made previously out-of-reach equipment a low-cost, easy to use solution to our problems. We have looked at some equipment, and it looks as if we’re going to be in the several-hundred dollar range to vastly improve our sound quality.

AAAAAH!  Modern Woodworkers!I realize you may be wondering why we just don’t reach into our own pockets to cover the cost. That’s exactly what we have been doing all along. For example, when we received complaints about audio quality, each of us shelled out for high-quality microphones. We have done this willingly because we believe so strongly in the mission of the Modern Woodworkers Association – to further the knowledge of woodworking and to build a stronger online and local woodworking communities.

That's our name... wear it out!

We have never charged for any of our content, and we anticipate keeping things that way as we move into the future.  We are just asking if you have the ability, and you have liked what you have heard on the podcast, if you could please visit the Modern Woodworkers Association page and click on the Donate button on the upper right side of the screen. All of those funds are going to go toward the purchase of improved recording equipment and other associated expenses to help us to continue to bring the best-quality content possible.

The MWA ROCKS!

We plan on thanking everyone on our podcast if you make a contribution, and we’ll be sure to mention your name in an extra-special way if you help spread the request to other friends.

It isn’t said enough – but thank you for the support you have given us through the past two years. There is absolutely no way we could be the Modern Woodworkers Association without each and every one of you!
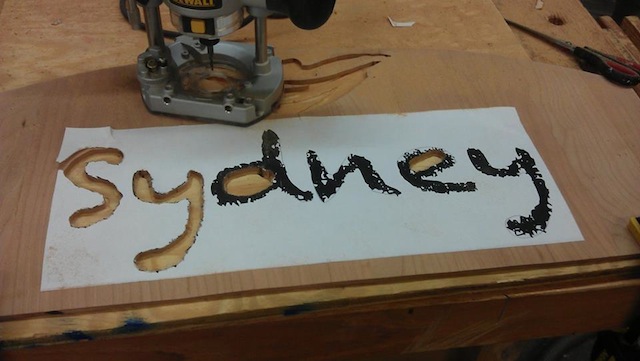
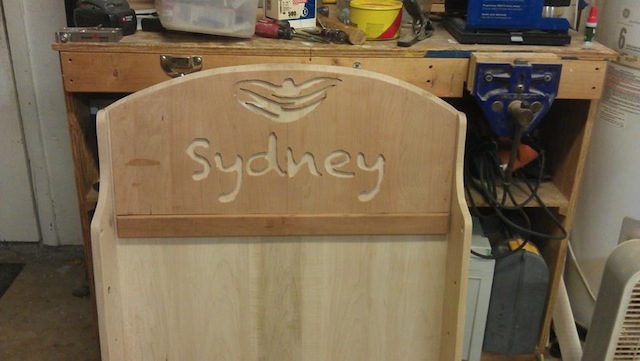
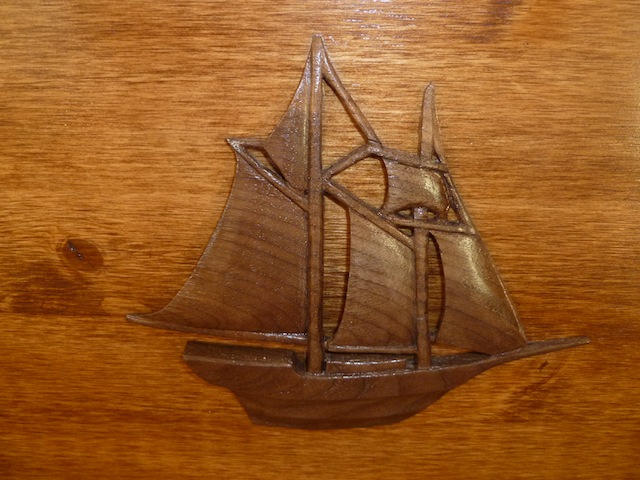
Swimming through the details

This weekend, I made a whole lot of progress on Kevin’s project for his daughter. I decided that I was going to attempt to do the cutouts with my trim router. This was the first time I had ever tried this type of work, so I steeled my nerves and got to work.

The cherry, ready to be glued upBut, first I had to get the boards glued up for this overlay.  Using the band saw and planer, I got everything cut to size and thinned down to 1/4 inch. To glue them up, I clamped them down to a waxed piece of MDF with a few cauls on top to keep everything level and a clamp across the sides to pull the joints tight.

Once I pulled that out of the clamps and gave it a rough sanding and cut the top into an arch that mirrored the top of the ribbon case. , it was time to get it ready for cutting out the name.

Sydney's name copied I had a little swimmer logo that was going to go on top, and I went to the local copy shop to enlarge Sydney’s name to use as a guide. I ran a few font samples past Kevin, and this is the one he went with. Yes, the font designer made it look all grungy, but I was just going to use it for a guideline.

The name glued upI sprayed the back with some adhesive and stuck the name to the board. How did I center it? Easy, I marked a center line on the board, then folded the paper in half, lining up the edges of the letters to ensure I had it folded exactly in half. Then, I stuck it on the board. That easy.

Gee, your eyes look big!One critical piece of equipment I needed was a magnifying visor. This piece of equipment brought the lines I needed to follow into sharp focus, making it tons easier to follow them with the 1/8 inch router bit.  While I could have done without this, it made it so much more easier.

It's in progressIt was pretty darned easy routing out the letters, with my DeWalt trim router hugging the curves in the letters with ease. I mean, this kind of stuff was fun!  I had my hearing protection on, listening to the games in the first week of the NFL season, stopping only to watch the Buccaneers lose in the final few seconds of their game. Bummer.

With it all glued upIt wasn’t long before I had everything cut out and glued into place. You know what?  I don’t think it came out bad at all. In fact, I’m pretty darned proud of what the result was. Now, for a lot of finish sanding, and the a good finish for the swimming sensation…