All posts by Tom

I'm the guy who writes the blog...

Species Spotlight: Spanish Cedar

Across Tampa Bay from where I live is the city of Tampa. And, inside the city’s borders, there’s an old part of town called Ybor City, where the Cuban cigar rollers plied their trade, making Tampa America’s cigar city.

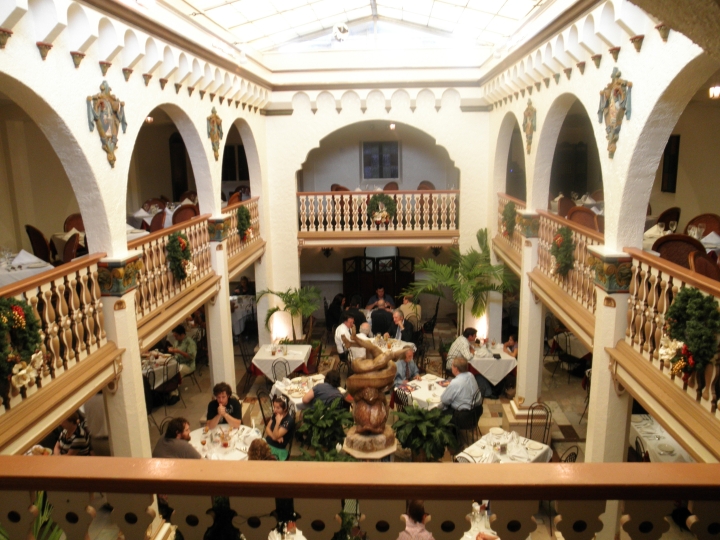
On the main drag of that city the Columbia Restaurant. Established in 1905, they serve some of the most delicious Spanish and Cuban food you can find anywhere. The atmosphere is absolutely lush, with fountains, intricately painted tile and the scent of hand-rolled cigars being smoked over at the bar.

The Columbia's famous interior courtyard

The restaurant also features flamenco dancers from time to time. This exuberant – and loud – dance style features elegantly-dressed ladies, handsome gentlemen and the staccato sounds of a flamenco guitar played by an experienced musician.  Many of these guitars have a neck made of Spanish Cedar, today’s spotlighted species.

Spanish cedar is a native tree to Mexico, Central America and the Caribbean. The trees can grow up to 100 feet in height, and thrive in well-drained soils.The wood has a fair resistance to rot and insects, which makes it very desirable in the tropics, where these are a very big concern.

Spanish Cedar

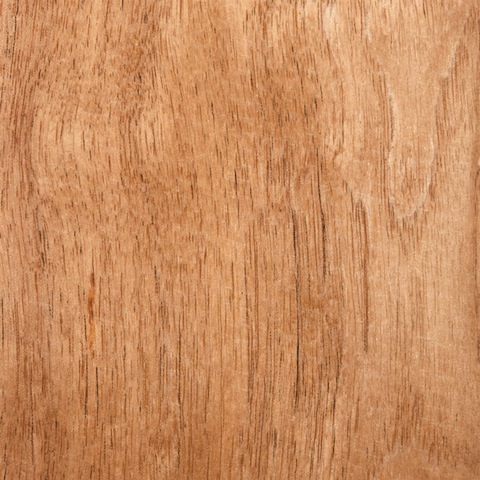
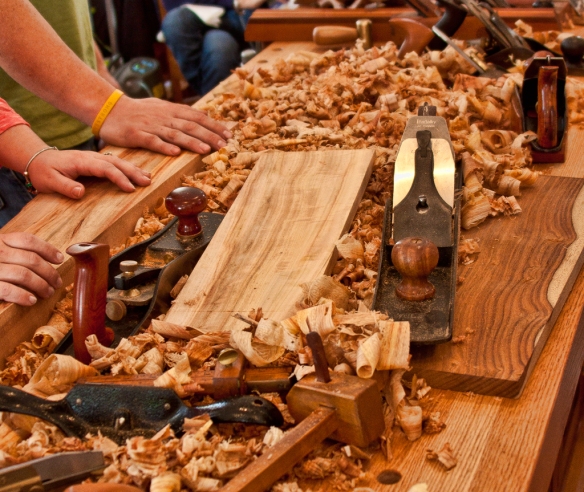
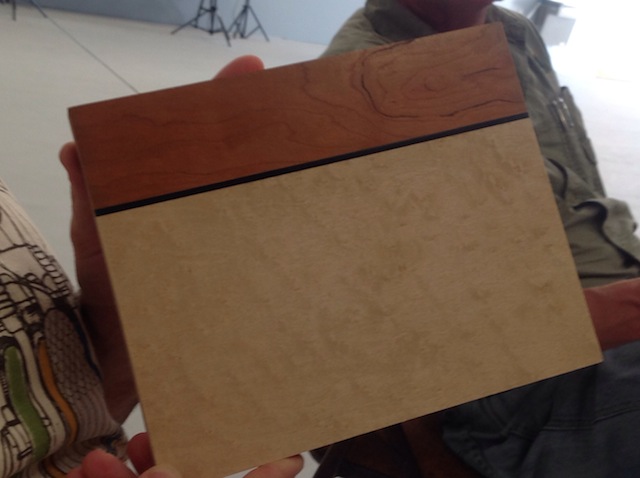
The wood can range in color from light brown to a pinkish-red brown. It is very soft and easy to work with. It has a tendency to splinter, so the key are sharp tools.  It does have the occasional pitch pocket, which continually ooze resin, so if you don’t plan on sealing the wood, it’s a good idea to try to avoid those areas when selecting your pieces.

Spanish Cedar cigar trays

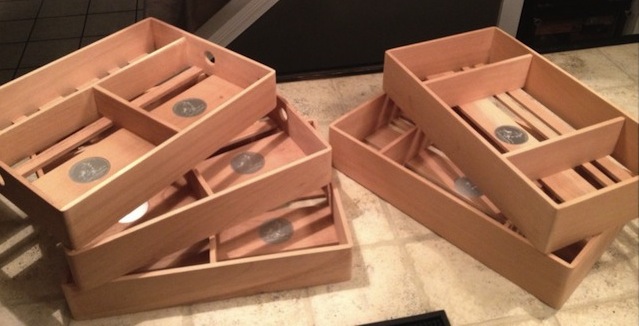
While it may be called Spanish cedar, it’s not a true cedar – closer, instead, to mahoganies. What’s really wild, however, is that it does have the smell of cedars, making it an excellent choice for chests and to line storage boxes for another big product of Ybor City, cigars. In fact, while many humidors may be built on the outside with a variety of different woods, most of them are lined with Spanish cedar to enhance the flavor of the cigars stored within.

Spanish Cedar guitar neck

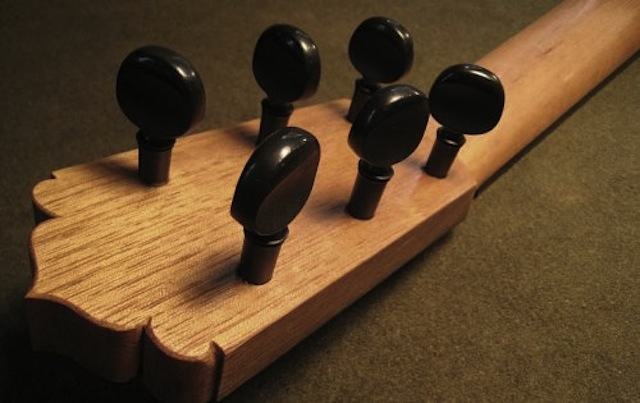
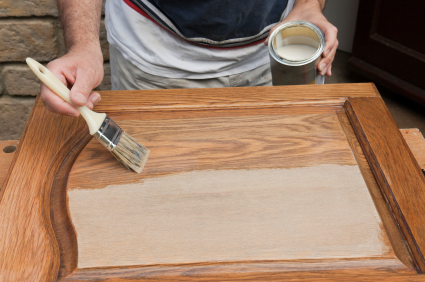
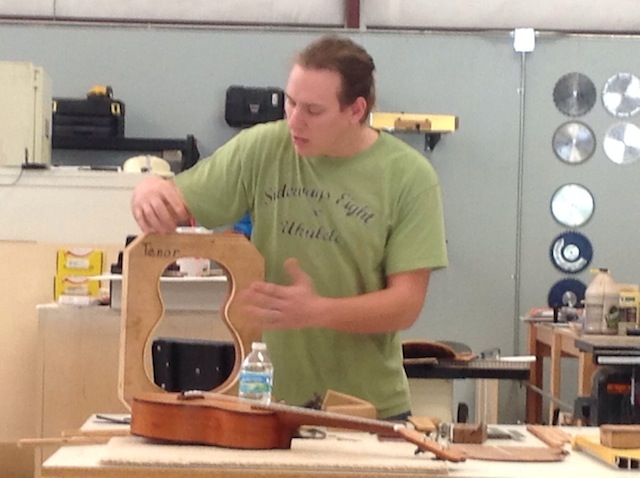
While it’s obviously not finished when inside of a humidor, Spanish Cedar does take a great finish. The perfect way to view this is to check out the necks of most classical or flamenco guitars. They are traditionally made of Spanish cedar, and can take a mirror finish.

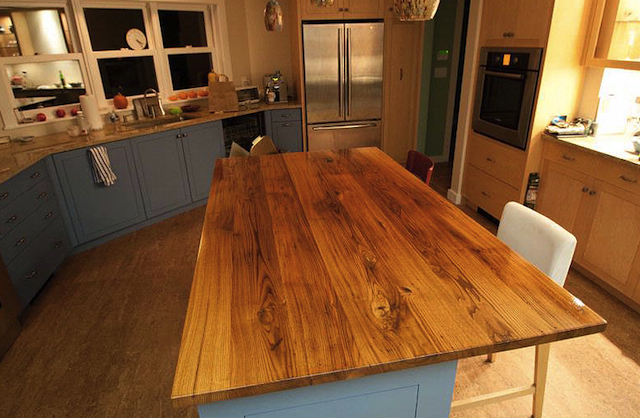
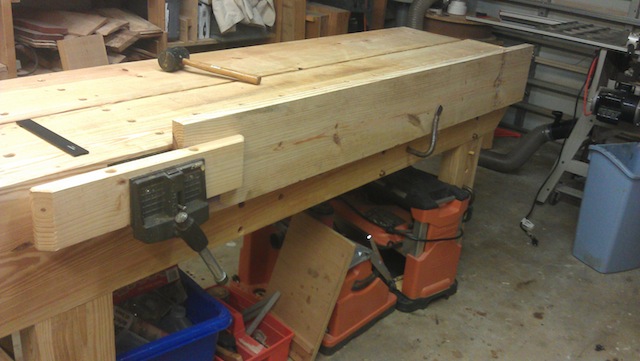
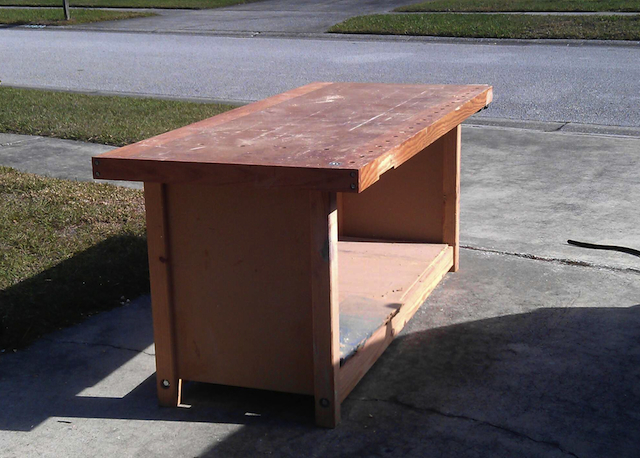
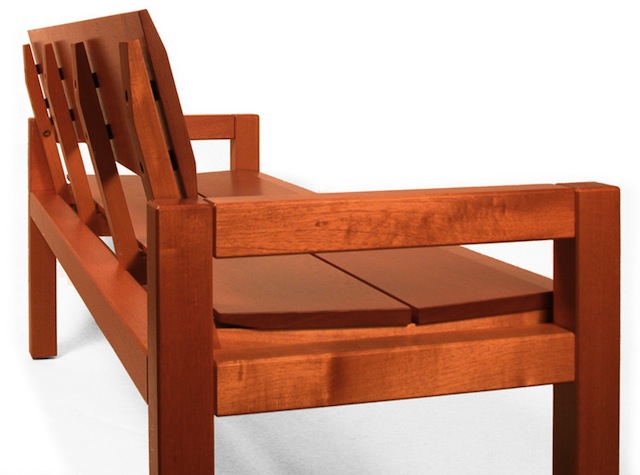
Reading these descriptions may make you think that Spanish Cedar is only good for small projects. It does well as larger furniture also, making beautiful benches, tables and other projects.

A beautiful Spanish Cedar bench by the Museum and Library Furniture company

So, they next time you smell a fine cigar being smoked or hear the energetic sounds of a flamenco guitar, be sure to applaud the work that Spanish Cedar does in bringing that to you.

What’s coming up?

This is always the best time of the year. The holidays are coming up fast, people are feeling pretty darned good, and we’re getting ready to ring in 2014. And, just as with this year, there are some big events coming up that you should be putting on your calendar.

A great shot from last year’s Folk Festival

First. on January 25, the St. Petersburg Woodcrafter’s Guild is going to be working over at Heritage Village, Pinellas County’s historical park for the annual Folk Festival. We have been there in the past, doing some woodworking demonstrations, But, this year, we are looking to build a workbench for Heritage Village to use for future demonstrations.

We are going to try to build – in one day – a Nicholson bench sort of like the one that I built for my shop. Since the guild has a number of talented hand tool woodworkers, we’re looking to do this without power tools. OK, I may do some initial planing and sizing on the power tools in my shop, but the main work will be done on site. We have already secured a donation from Lee Valley Tools for a face vise, we are looking for a donation for the wood, and we are working with the village’s blacksmiths to get some custom forged holdfasts made.

I am also trying to figure out how to live broadcast this event. So far, it looks like I can use UStream to do this from my iPad, but we’ll have to make sure that it works down at the park. If anyone else has any good ideas, I’m all ears.

That same day, my friend Chris Wong of Flair Woodworks will be holding a shop stool build along. Tired of plain-Jane store bought shop stool by his bench, he will be leading an online build-along on Saturday, January 25. If you would like to join in on the fun (this does sound like a total blast), be sure to check out his link.

This is not the first time Chris has conducted a build-along. Just 11 months ago, he and Scott Meek held a scrub plane build along, which was pretty successful. I hope this becomes an annual event.

Get Woodworking Week 2014

And, as if that wasn’t enough, mark your calendars for the first full week of February, because I’m going to be hosting the 2014 edition of Get Woodworking Week.

For the past two years, we have gotten woodworkers off of the sideline and into the shop to try their hand at the craft, and we hope to continue the momentum as we move into 2014. There has been plenty of support for it, but this year, I think we need to step it up a notch. I think we need to get into some schools to talk with kids about woodworking. I’m cooking up some details on this, but I think that’s where our aim should be pointed. If we are going to get new folks into the craft, it’s time to break onto the scene.

So, strap on your shop aprons, ready your safety glasses and let’s get ready to make some serious sawdust in 2014.

Quick Poll

Sure, there’s the wood selection. And the preparation. And the carefully cut joinery. Maybe some embellishment.

Yeah, that’s all well and good. But, whether you like it or not, the first part of your woodworking project that people encounter is the finish.

Applying a finishSince (hopefully) your holiday projects are getting close to the finish, this is an appropriate question. What is your go-to finish?  Is it a hand-rubbed oil? A lacquer you shoot on the project? Maybe a varnish you brush on?


Link of the week

Longleaf Lumber

Many years ago, when factories around the United States were springing up during the Industrial Revolution, many of those structures were built with massive beams made of woods such as chestnut, Douglas fir and southern yellow pine.

As the years passed, and companies either went out of business or moved to more modern facilities, those buildings deteriorated, crumbling with the onslaught of time.

An American Chestnut IslandFortunately, there are companies such as Longleaf Lumber, which have the foresight to see these abandoned buildings for what they are – a vast storehouse of prime, old-growth lumber.

On their site, you can see some of the old buildings they have salvaged lumber from, check out their stock and see portfolios of projects built with the wood they have salvaged.

This site is a must-visit for wood lovers and historians.

Stuff I’ve Built: My Nicholson Workbench

Wow, was my timing ever bad. There I was, ready to leap into the Last Minute Elf week just as I was finishing the new workbench. And, all through last week, I was dying to show you how it worked, but my patience was rewarded.

The bench in its resting placeYes, this is a Nicholson bench, styled after the one drawn up by Peter Nicholson in his 1831 book Mechanic’s Companion. It’s a traditional English carpenter design, and it has some pretty cool features that my old bench never could have dreamed up.

Yes, this was all built with dimensional 2 x lumber, all southern yellow pine. It did take some time in the local home center, picking out the flattest boards that didn’t contain the pith (center) of the log. I have cut a few boards with the pith in them, and they seem to warp and pinch on blades, making sawing them a pain in the patootie. I also had to make sure they were as flat as possible. Surprisingly, you can pick up a warped board very easily.

As you have seen in the previous posts, the construction is very straightforward. Mostly screws and glue, the bench went together easily, and I took my old Wilton vise off the old bench and put in on the face of the new one where it went to work immediately.

The tail endI also took an old Record quick-release vise off the front bench in my shop and bolted it to the tail end of the bench.  I also attached a chop to this vise, and it’s ready to work as a tail vise for planing on those long boards. I also lined up the dog holes so I could use those in concert with the dog hole on the vise.

Veritas plane stopDown closer to the face vise, I threw my recently purchased Veritas planing stop. It is one handy little tool, securing into a pair of dog holes so I can plane against it. As you can also see, I built the top as a split top, meaning I can insert a 1/2 inch board into the crack to serve as an additional stop to plane across boards.

Large BoardThe real magic about this bench is the choice of clamping arrangements. The front aprons are drilled with a pattern of holes where I can use a series of bench dogs and holdfasts to secure long and heavy boards to the bench so I can work on them. As you can see above, a leftover 2 x 10 is clamped into the vise chop, balanced on a pair of bench dogs in holes and held in place tightly against the bench with a holdfast. Believe me, that board is NOT going anywhere.

The best part about this bench? It cost me a grand total of $70 in lumber (I already had the vises, glue and screws around the shop) and took – brace yourself – about 15 hours for me to turn the stock into the bench.

Thank you, old benchAnd, what happened to the old bench, you may be asking? Well, my neighbor saw me working on the new one and asked me what I was going to do with the old one. I told him that it was his (if he wanted it), and later that morning, we carted it down the street to his house, to become the heart of his workshop. I hear I may have visitation rights…

An awesome woodworking weekend

This past weekend, as the Last Minute Elf wrapped up, I left Iggy in charge of the shop because I had a very important woodworking event coming up. Jim Heavey of Wood Magazine was coming to town to teach a class over at the wood lab at Infinity Cutting Tools in Oldsmar.

I have got to tell you that Jim is one heck of a nice guy. On Friday, Jim flew in, I picked him up a the airport, and after a great lunch with Kurt Raschke, David Venditto and Jim at a local restaurant, we talked about the next’s day’s events. Next, Jim came to my house where we had some jambalaya, caught up and enjoyed the unseasonably warm Florida weather.

The students gatherThe next day dawned bright and early, and we gathered at the shop for the presentation. Jim led off with some really great insight into finishing. I discovered that his favorite finish is lacquer, followed closely by shellac. He loves the way that he can spray lacquer, turn his sprayer off without cleaning the gun, then start spraying again months later. After a few seconds, the solvent dissolves the hardened lacquer and he’s spraying again. (You can’t do this trick with catalyzed lacquer or any kind of varnish, or you will turn your gun into an expensive paperweight).

Jim also said something very profound about the finishing process. “Did you notice how woodworkers will spend big money on tools and wood, then ruin the project buy trying to save a few dollars using old finish?” Jim advised to buy small containers of finish and, if you haven’t used them up in about a year, discard them properly and buy new finish.

Kurt using the vacuum bagJim was able to take a break later in the morning as Kurt took over, sharing the secrets of how he uses his vacuum bag to do bending. It’s a really slick system, where thin sheets of bending plywood are stacked over a form with a beautiful veneer, and then the vacuum created by a pump is used to clamp everything in place. With an epoxy, and given enough time, that stacked lamination is very strong and holds its curve with ease.

Andy works with his ukelele formAll of the students and instructors convoyed over to a local restaurant for some lunch, and after we came back, we jumped right into the afternoon session, where Andy Gibson showed his techniques for building ukeleles and guitars. He showed how easily he could bend wood using a hot pipe – a traditional luthier tool. Andy went into much more detail about  how he sands a curve into the sides of the instrument he’s building by using a hollowed out form and sandpaper (driving the bus) and how he ensures the frets are the proper distance from the nut, ensuring that the instrument can be played.

Jim' A/V skillsJim came back to the front to finish the day. Now, Jim had a bunch of images he wanted to share, but someone (I’m going to blame Iggy) forgot to bring a projector. Oh, well, Jim was able to make do passing around his iPad mini…

epoxy as an inlayJim’s afternoon presentation was on embellishment. And, one of the neatest tips he had was how to use epoxy as stringing. By coloring the expoxy, and using it to fill a saw kerf, he in effect created the equivalent of an ebony inlay. Not bad stuff…

Once the big day was over, we gathered everyone who wanted to join us at a local pub for a few brews, and then it was off to a Mongolian place for some dinner.

Say 'hi' Jim...As I drove Jim to the airport yesterday (before he whacked his head on the the trunk lid of my car – OUCH!), he told me how much fun he had over the weekend, and he reminded me that he’ll be back in March when the Woodworking Show comes back to Tampa.

See you then, pal. The Jambalay will be hot, and the beer will be cold!

Last Minute Elf 2013: Saturday

The Last Minute ElfWell, gosh, that went very quickly!  It seems as if the week just began, and now, Iggy and I are sending all of you elves on your merry way. Hopefully, the projects we have featured and the links we have provide give you a bit of inspiration as you move ahead into the holiday season, ready to get to your workbenches and build something special for the ones you love.

But, before you begin, remember that there are two important things you have to keep in mind:

  1. The only way you are going to get them built in time is if you actually get started.
  2. Never say that you can’t build something that will be good enough for your recipient. Over the past years, I have seen many people build awesome projects, but spend all of their time pointing out all of their ‘mistakes’ and belittling their work. Believe me, the only way the recipients are going to know about that tiny, microscopic gap is if you point it out to them. Just give them the present, shut your mouth and say, “thank you” when the recipient expresses his or her recognition.

happy gift recipientsNow, if you will excuse me, I hear some of the power equipment running in the shop. I have to go see what Iggy is up to!

And, we even have some more links for you!