It’s been said that you never forget your first time.
If that’s the case, then I’m really scratching my head as to why I got into woodworking as a hobby.
 Let’s hit the rewind button on the way back machine. The year, 1982. There I was, a skinny kid growing up in Bloomingdale, New Jersey. I was in seventh grade at Walter T. Bergen Middle School. The big time. You see, in sixth grade, things were just like they were in elementary school – you stayed in your classroom most of the day, leaving only for phys ed, art, music and lunch.
But, seventh graders actually got to change classes. This was my first experience going to a math teacher’s room. A history teacher’s room. A science teacher’s room. It was totally new, and a lot more fun than sitting in the same classroom all day.
Another very important thing happened to me – all seventh graders got to do a semester in wood shop class. Woah. Power tools. Visions of being the best in this class danced in my head.
Unfortunately, I had to get through a semester of Home Economics in the fall first. The food part wasn’t that bad, but the sewing was a nightmare. I ended up making a pair of sweatpants that had no business being worn in public.
But, as the spring semester began, we were off to wood shop. Mr. Kirkegard was a very patient man, and, judging from his looks, he was probably big into the counter-culture movement of the late 1960’s or early 1970’s. Far out, man.
We spent the first few weeks learning how to draft. While I was trying to align a T-Square and a drafting triangle with a sheet of paper, my eyes kept wandering to the big gray Delta Unisaw and the bank of power tools against the wall. Oh, yeah, I was going to DIG cutting wood!
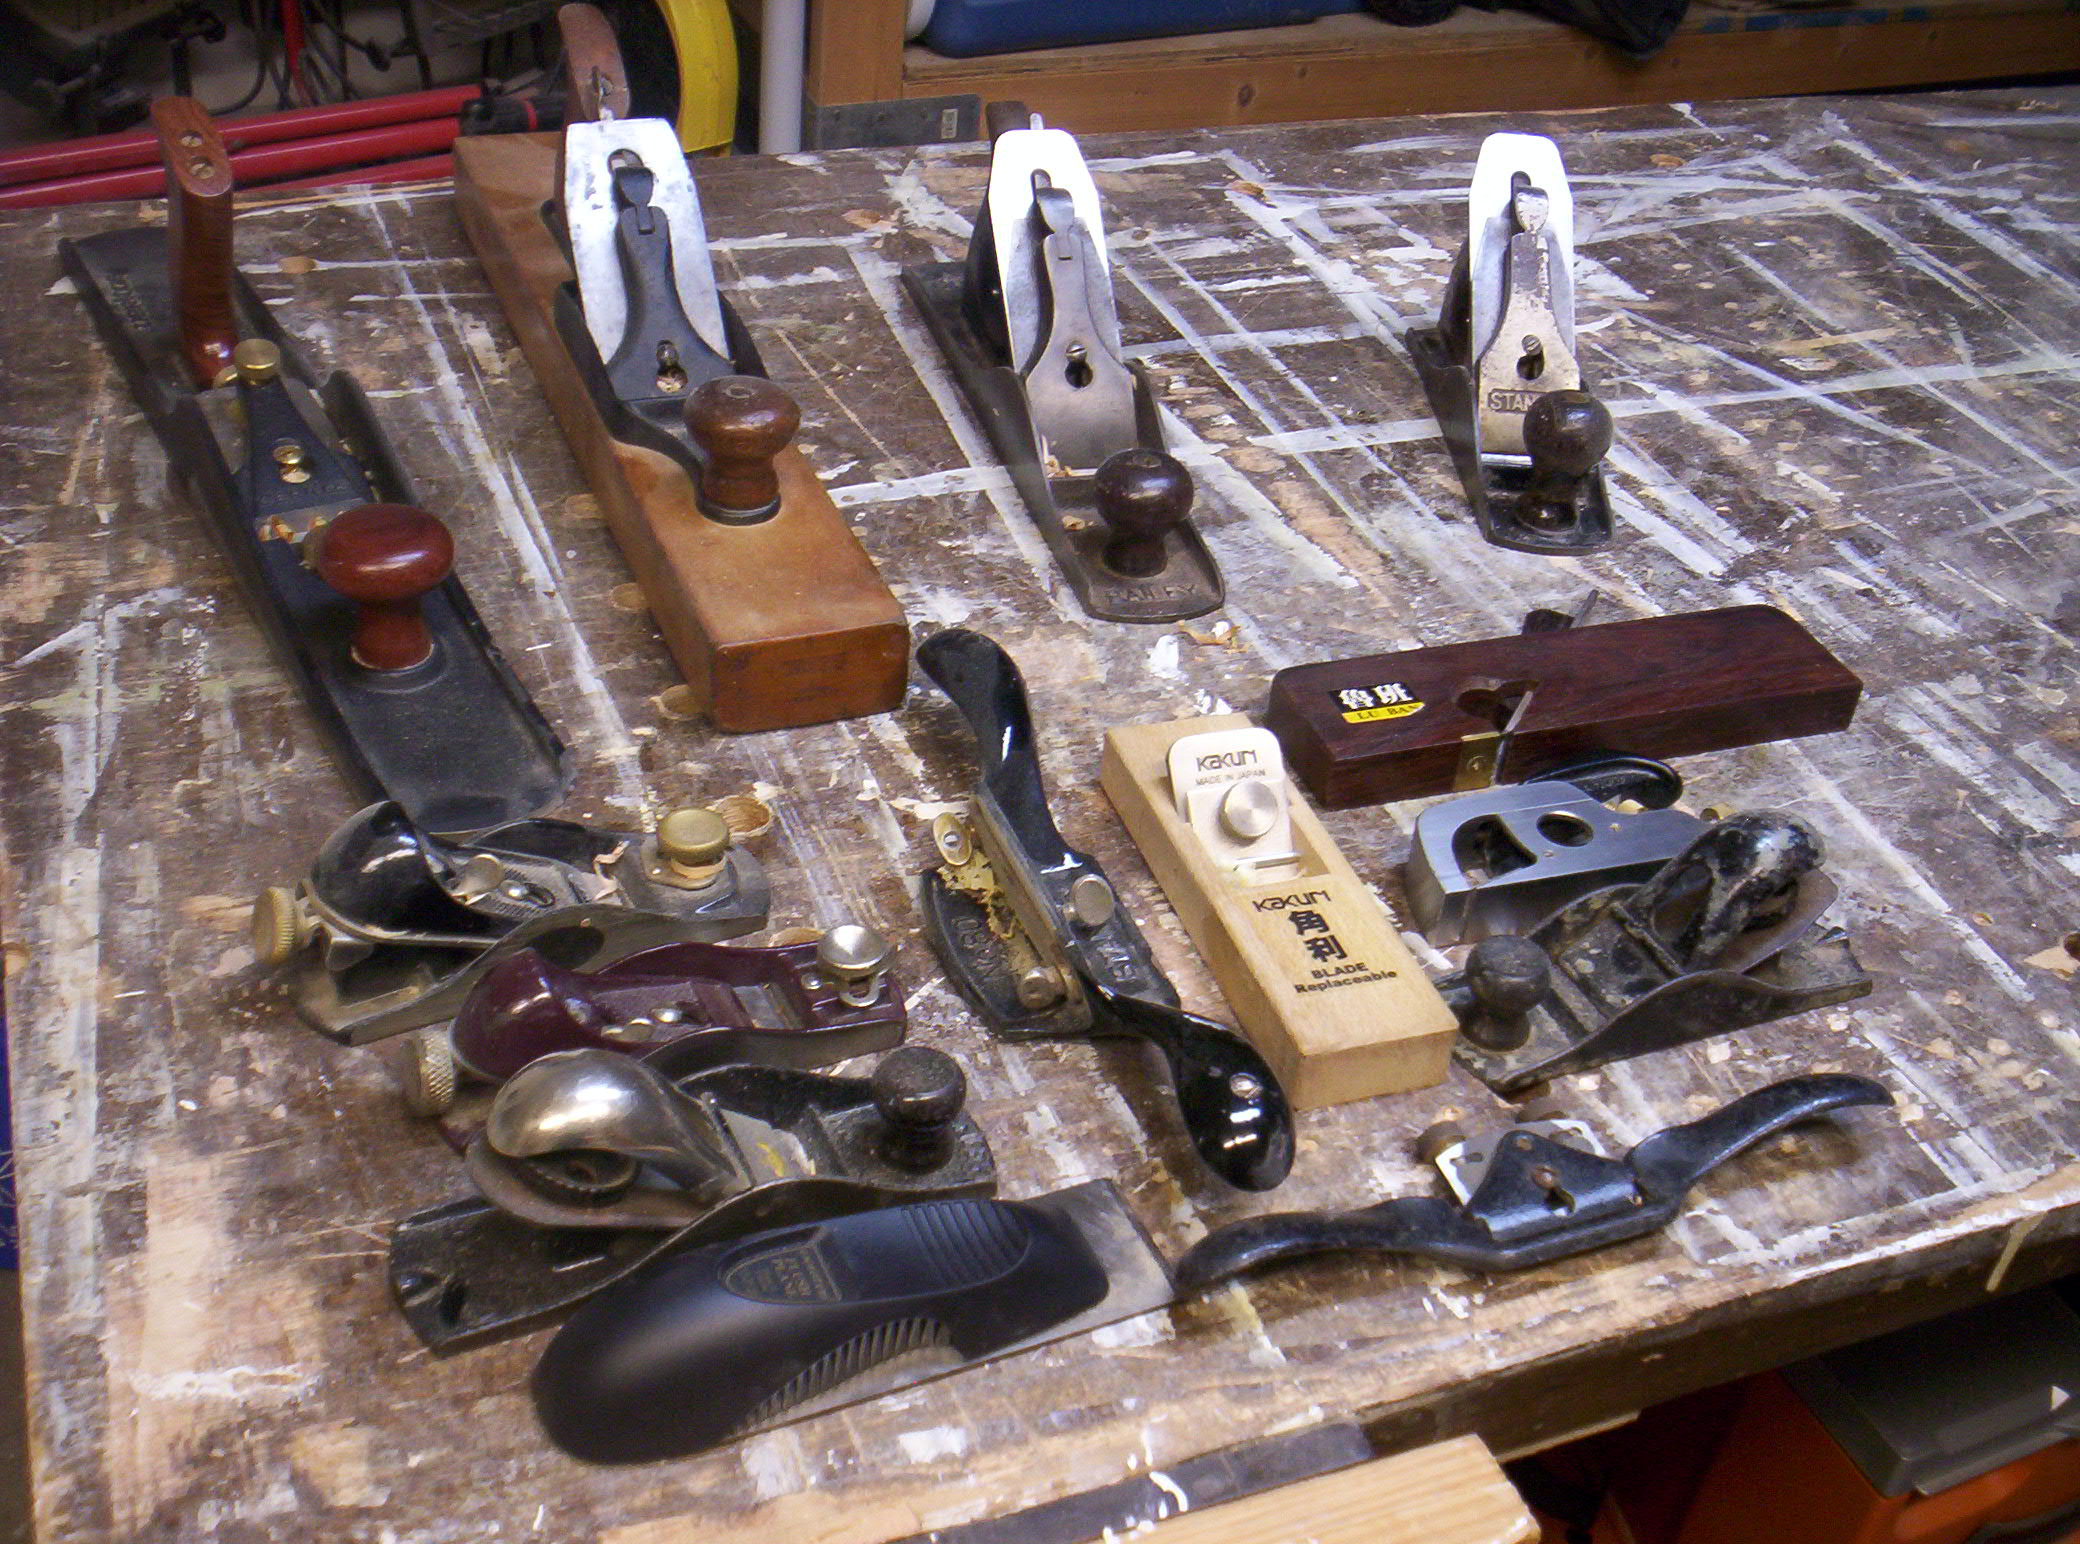
 How disappointed I was to discover how tight the restrictions were for the tools. No table saw. The band saw and drill press were to be used under tight supervision. And, even the power disc/belt sander was monitored carefully. Bummer.
I think those first few weeks of actually working wood were to get an idea of who knew what and who was not going to be trustworthy near the tools. My suspicions were confirmed when we were allowed to pick our assignments.
Some of the brightest and the best were allowed to build turned salt and pepper shakers. Most of the kids were allowed to build cutting boards in various shapes. (We were told we could make cutting boards in the shape of a hand with a finger extended – but only ONE particular finger was forbidden, if you catch my drift.)
Me, well, I was assigned a coat hanger. A poplar board cut – say – 18″ by 6″, with three 3/4″ holes bored into it. Then, I was given three lengths of 1″ dowel and a stack of sandpaper, and told to sand the dowels down until they fit the holes.
I must have REALLY impressed him….
 So, while the other kids in class were building their creations, I sat at my work table and sanded the ends of three dowels for weeks. It was tedious and my hand hurt, but I was going to make those dowels fit come heck or high water.
Well, the big day arrived. Mr. Kirkegard came over to me with a bottle of glue and a mallet. “So, Tom, you ready to assemble your project?”
Uhh, the other kids were busy finishing theirs, so I guess it must have been time. I nodded my assent, then handed over the components. He smeared glue on the sanded end and tried to fit it into the hole. It was a tight fit. He pounded on the dowel with his mallet. He was getting frustrated, and I think I heard him muttering something under his breath while he worked. It finally surrendered and went into the hole.
The same thing happened with dowel two. However, while he was driving dowel number three home, the poplar board split down the middle. Mr. Kirkegard stood over the piece for a second, looking down with hatred in his eyes. As if on cue, dowels number two and one took that opportunity to tip over out of the now too-large holes, roll off the bench and clatter to the floor, trailing wood glue in their wake.
Stoically, Mr, Kirkegard picked up the board, retrieved the wayward dowels, and stepped into his office. The door shut with a resounding thud and the bell rang shortly after.
At the end of the semester, I opened my report card to see I had gotten a C in shop class. I’m not sure what ever happened to the project, but, if you go to the Passaic County, New Jersey landfill and dig back through 26 years of refuse, I’ll bet you’ll find an unautographed Tom Iovino original piece of art.


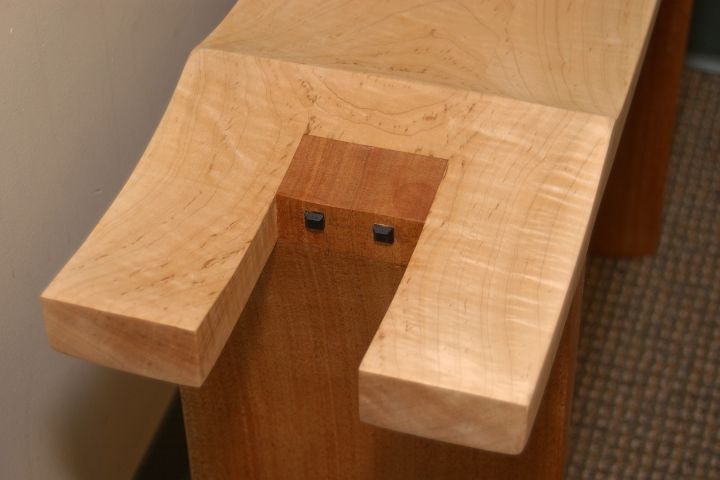 That’s when the fun really began. Using an angle grinder and an Arbortech carving wheel, I wasted out the necessary material to sculpt the graceful forms. Once the curves were finally cut and finessed, I used epoxy and screws to attach the legs to the seat, and plugged the screw holes with pyramid-shaped ebony plugs.
 I always take time to stop and think when I hear stories like this. Right now, I’m working on a sweet Krenov-style cabinet, and it’s coming along nicely. But, what would happen to my progress if I was hurt in a similar accident?
 So, you have to build yourself a workbench, but you don’t have the time, skill or money to construct one of those could- double – as- an- altar- in- some- minor- woodworking- religion workbenches you see in woodworking magazines.