January, 2011
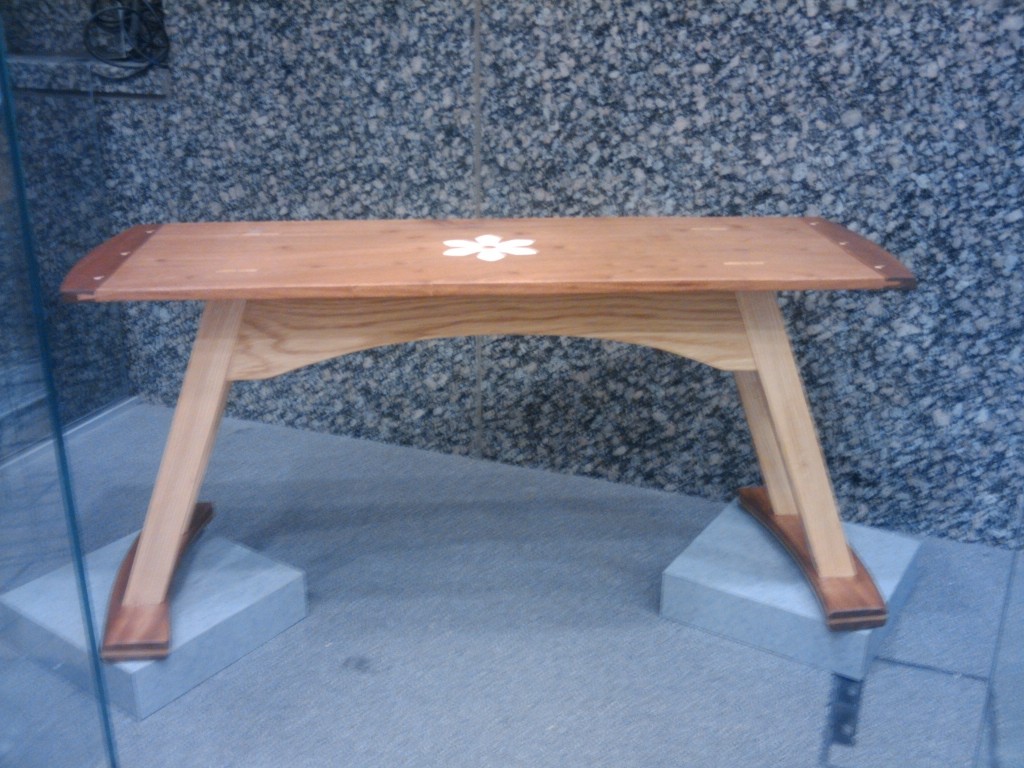
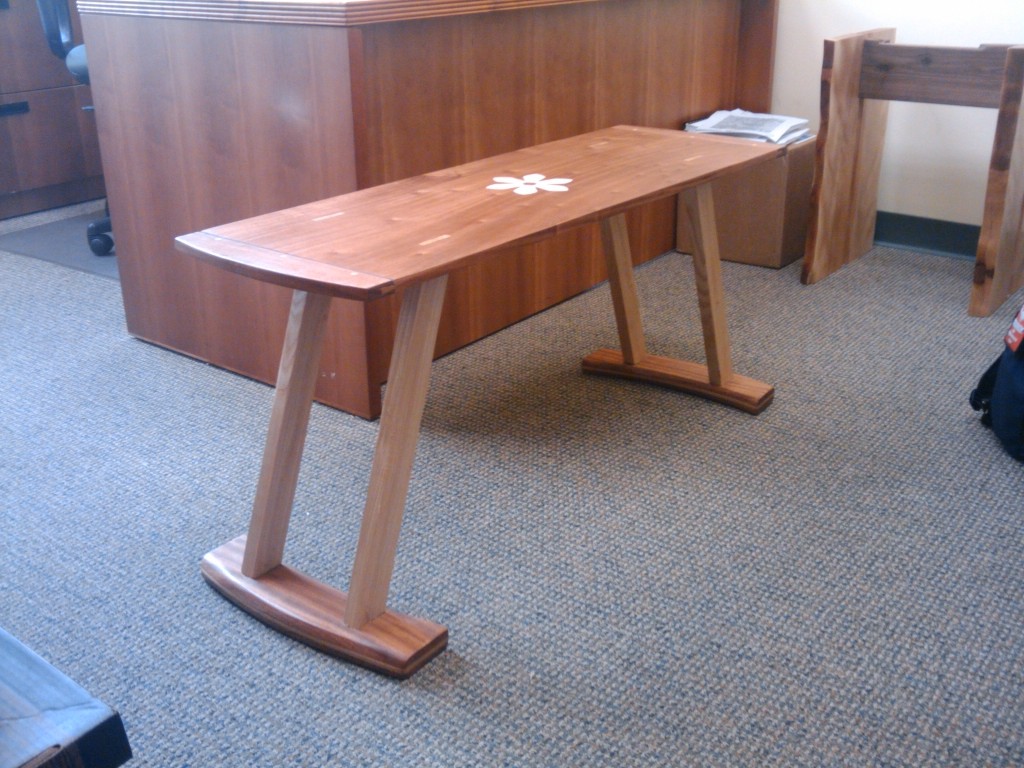
I had to name this piece before I submitted it to our annual art contest. Heck, I had to name it before it was even done. If I had the chance to do it all over again, I would have named it The Cat, because it has used up about seven of its nine lives.
Let me explain. This whole thing started when I found a very wide slab of sapele at my local hardwood supplier’s place a few years ago. I thought, “Gosh, this would make a nice table top one day.” That board sat in my shop for a long time before I had an idea.
That idea was angled tennons. I should have guessed this was a bad idea from the beginning because online searches brought back few results. But, who am I to let a few details get in the way? After all, it was cheap wood!
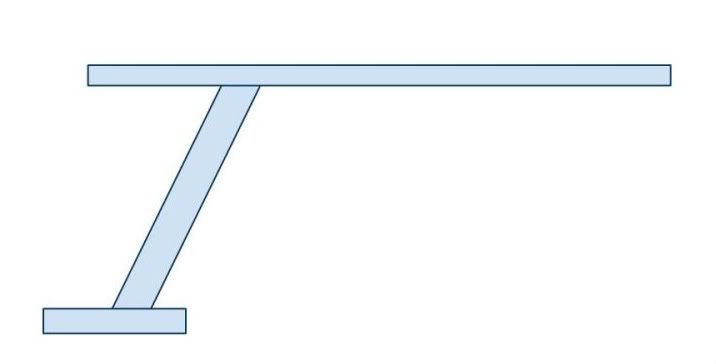
Back in September, I finally got around to sketching something out. Cutting angled tennons was going to be the easy part, but, how on Earth was I going to make the angled mortises? Drill them? Hand chisel? Phased plasma rifle?

Before I went too sci-fi, I remembered the article I had written about mortising magic. Now, if it worked for mortises perpendicular to the board’s surface, why not at an angle? So, I marked where I wanted the outside of the mortises to land, set the table saw and ripped the sides. Then I measured the width of the mortises I planned to cut, set the rip fence and ripped the ‘fillers’. Once these narrow pieces were cut, I cut sections out of them at 20 degrees, and then carefully glued the entire top slab back together to restore the wood’s grain pattern. BINGO, baby!
I let the top sit for a few weeks, waiting for more inspiration to hit. How to dress up this big top? How about some breadboard edges? Never cut any in my life, but it’s a good time to learn. I cut two sections of Sapele and grooved them to work as ends. How about the main table top? I tried first to hand-cut the tennons that would fit into the edges, but that didn’t work too well. Sapele is very brittle and splinters easily. I totally messed things up. How now?
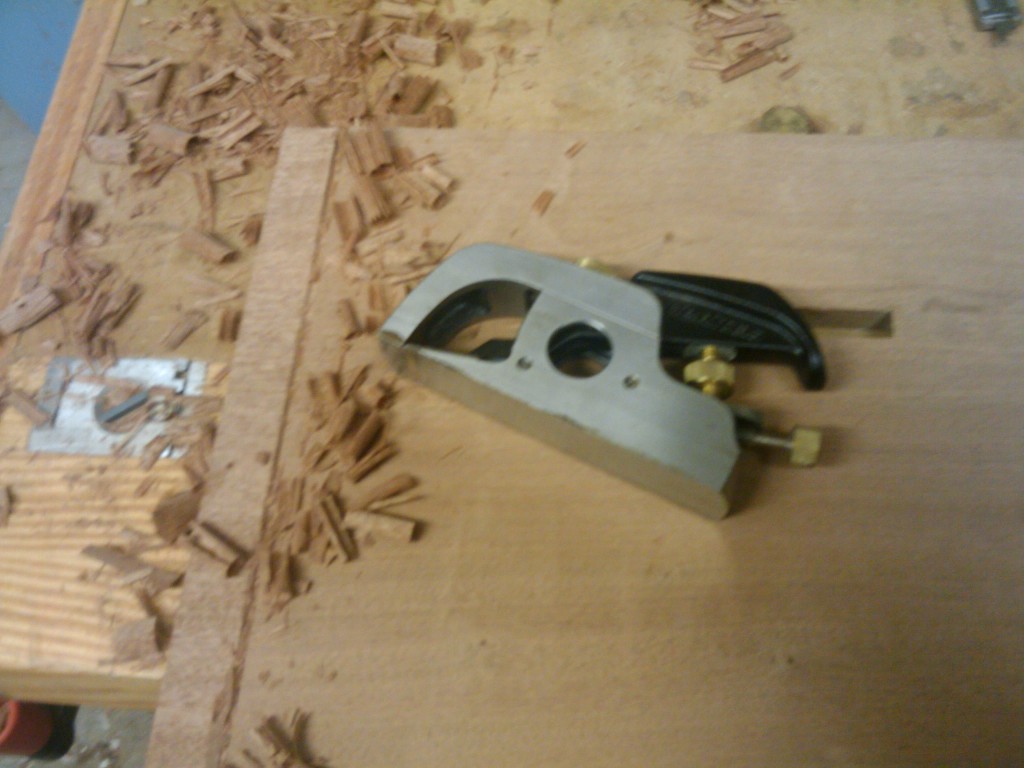
Eventually, the idea hit me to lean heavily on blue painter’s tape and a backer board as I pushed the top over the dado stack. So, I trimmed the messed up parts off and taped the snot out of the edges. I set up the dado and pushed the board through. WOO HOO! It worked. I drilled for three dowels, elongated the outer two holes in the tongue and assembled them with some glue right in the middle. I tapped the dowels into place, gluing the middle one and just putting a touch of glue at the top of the two outside dowels. This way, the top could expand and contract, and the dowels would stay put. I cut sweeping curves on the outside of the breadboard edges and sanded them very smooth.
I put the piece aside for a while. Worked on the cabinet pull outs. Worked on the Position of Strength base. Discovered I was wasting too much time, and had to move to the next step. The inlay. You remember the one I nearly messed up but saved with the epoxy fill? OK, got that done, and glued the mortises in place through the top. I’m flying now!
Of course, I had totally forgotten about the feet. When I milled the top, I had taken the opportunity to mill some extra ash and sapele and glued those pieces into blanks. They were just sitting on my side bench, taking up space in the shop. How was I going to make those blocky feet look better? While mulling the options over, I cut the mortises to hold the leg tennons with the mortising chisels my wife and kids gave me for my birthday. That was fun.
Inspiration hit while I was looking at the breadboard edges. How about curving the outside of the feet? I traced the curve from the top on to the front edge of the legs and used the bandsaw to cut it out. They looked better, but still too blocky. I added a curve on the back side of the feet that mirrored the front curves… better. Then, just messing around, I clamped one of the feet into my vise and started using the spokeshave to bevel the top edge. Soon, I was beveling back both curves at a 20 degree angle to match the legs. Both bevels are parallel, which gives the feet a little more grace and lightness. Ohh, that was supposed to be the weakest part of the design… looks better now!
I sanded and finished the piece and brought it to work. Hmmm… it didn’t show well. Something didn’t look quite right. The top was just too ‘light’ in comparison to the rest of the piece. It looked like an ironing board. Add to the impression that the first few people who saw it tried to sit on it. Hmm, we had a problem. How to fix it?
I remembered that I had a long rough piece of ash back at home. I opted to put an ash apron under the top. How large should it be? I played around with the proportions and decided that 5 inches would do the trick. I resawed, planed and cut the pieces to size, matching the angles found on the legs. Better, but still too blocky. How about a curve cut out of the bottom? Now it looked better. I glued and pocket screwed the apron into place (my only real option with the piece already glued up), sanded it and finished it to match. The apron added strength to the piece and gave it a more balanced appearance.
I turned the piece in a week ago, and it’s sitting in the locked glass case in the courthouse lobby. The reactions have been pretty positive. I’ve heard it described as ‘whimsical’ – not really something you would expect to see.
At 3:00 today, I’m going to find out how well this and the Position of Strength pieces placed. Hopefully, the judges will decide that my persistence with this piece was worth it. I’ll have an update on Wednesday…


