Before I start, I need to issue a full-on apology to the folks at Milescraft. If you don’t know who they are, they make some really nifty router accessories that can add versatility to your setup. Trammel guides, wide bases, rapid-change bushings. Really sweet stuff. You owe it to yourself to check them out.
I was working on a project at the shop when I ran into a situation – I had a project (I’ll show next Monday) that was beautiful, but lacked something special. Maybe an inlay. The only problem is that I have never made one before.
Within a few minutes of tweeting my dilemma, one of the reps from Milescraft offered to send me a copy of their inlay kit for use on the project.
Now, if you have ever made an inlay in a piece using a router and a pattern, it’s a pretty straightforward process. Using a 1/8” router bit and a plunge router, you will cut the recess in your workpiece and then use the same equipment to create the inlay piece from some scrap. The key is to use two different sized bushings on the router – a larger one that pushes the bit further inside the pattern when cutting the recess, and a smaller one that allows the bit further outside. The difference between the two distances is very precise, and it allows the inlay piece to lay inside the recess tightly.
Now, the old expression is that if you practice on scrap, you are practicing on your project. To prevent this, I dutifully found a piece of milled poplar and cut a recess in it. I changed the bushing from large to small, then, I took a piece of scrap and cut the matching inlay into it… they fit very well. So far, so good.
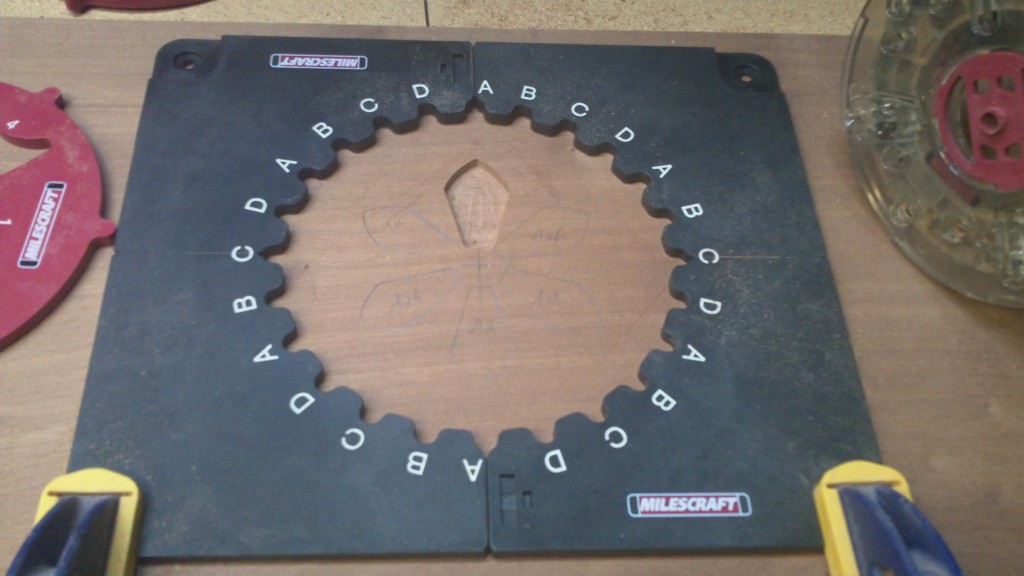
So, I moved to make the cut on my work piece. I set up the pattern jig – an indexible insert that allows for precision placement and rotation for making repetitive cuts. I centered the jig, used the piece I wanted to fill the insert to gauge how deeply to cut, and set to work.
The cutting with a small bit is very smooth, and before long, I had the first cavity routed out. This was going to be a piece of cake.
As I set the router down, a sudden feeling of dread overcame me. Did I remember to change to the large bushing after I cut the sample?
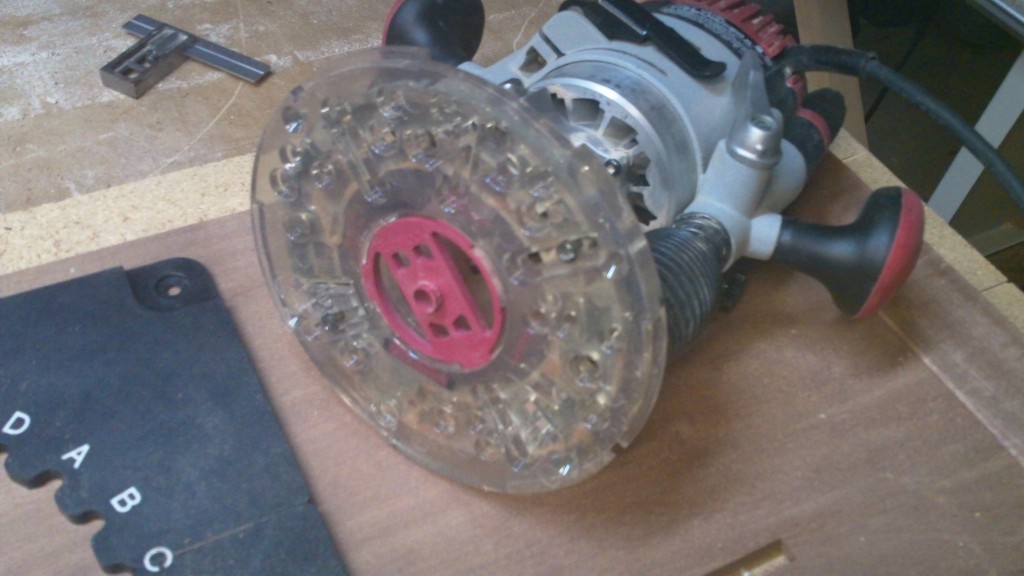
A quick look at the router baseplate told me all I needed to know. Nope.
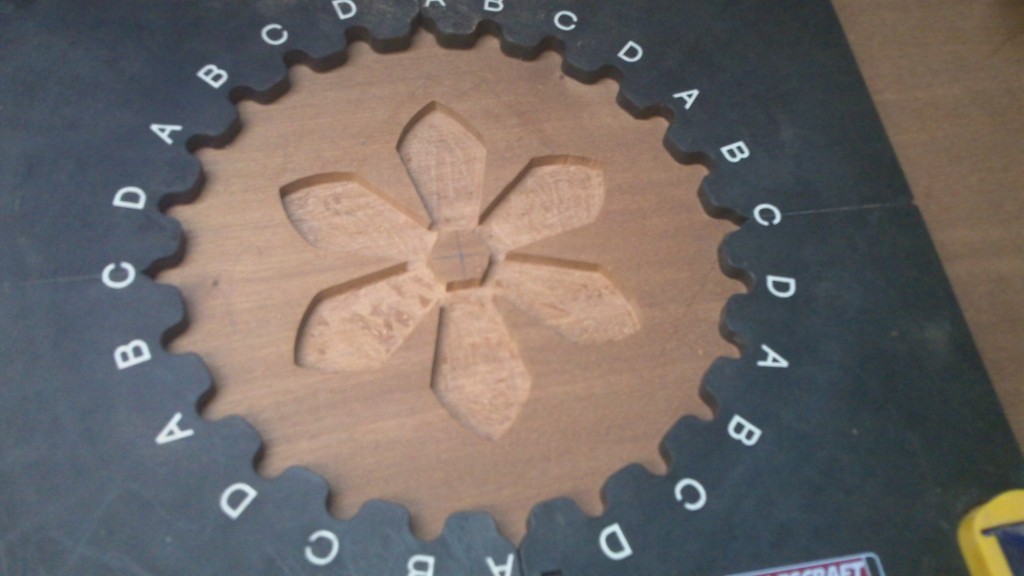
So, now I was stuck with an oversized recess that couldn’t be matched. TOTAL bummer. Thoughts of throwing the entire piece away entered my mind. I had to come up with a solution – and fast!
That’s when I remembered a trick someone had told me years ago – colored epoxy. I grabbed my car keys and headed to the nearest home improvement center.
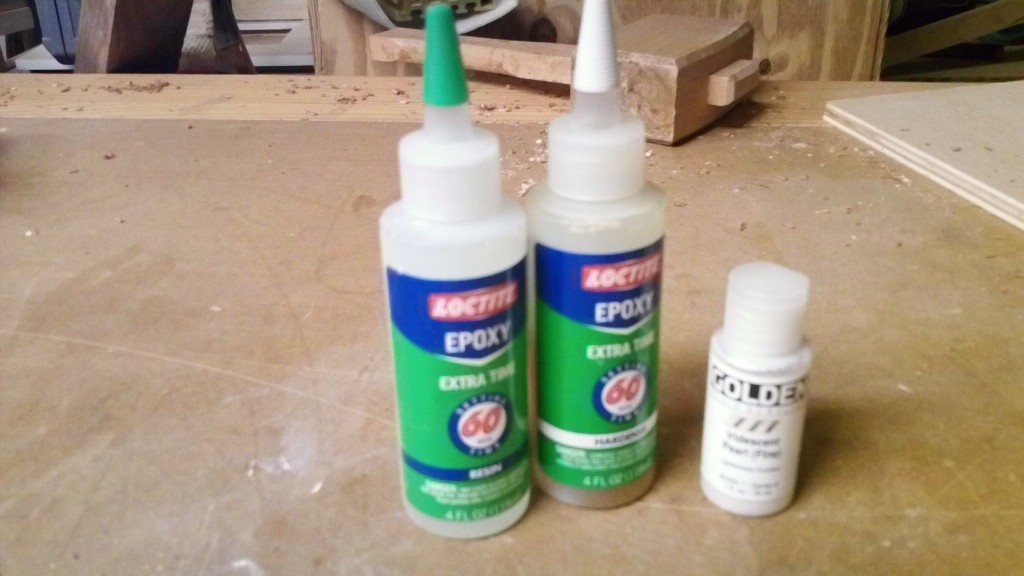
Epoxy, for those who don’t know, is a two part resin and hardener that glues like nobody’s business. It’s waterproof and has the ability to fill cracks, cavities and other imperfections in wood. In fact, many woodworkers who enjoy working with mesquite swear by it. At the local home improvement center, I found the largest containers of resin and hardener I could find and opted for the 60-minute set version to allow enough time to do what I had to.
But, how would I color it? Fortunately, my smart phone was able to get reception in the store, and I was able to search for coloring epoxy. Apparently, artist acrylic colors do a decent job. I paid for the epoxy and dashed over to the local Michael’s craft store. There, in the painting section, was a small bottle of pearlescent white paint. Sold.
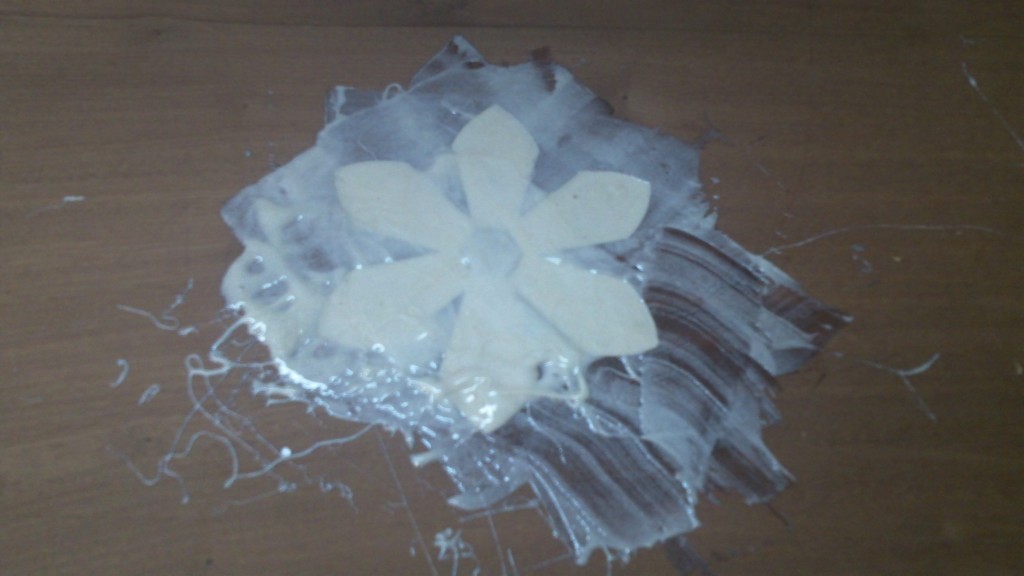
Back at home, I mixed the epoxy per the instructions and added about 10% of the paint to the mix. It immediately took on a richly colored hue. I poured the mix into the recess and smoothed it out with a scrap of wood. Sure, it looked like a hot mess of cake frosting, but my plan was to address this with the next step.
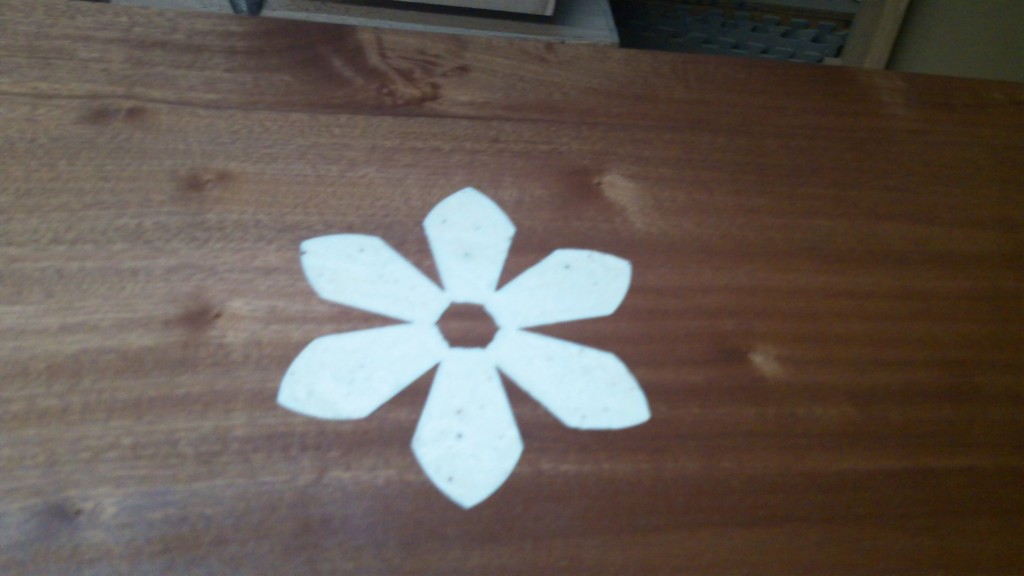
I let it sit overnight so it would harden, then started sanding with 100 grit paper on my random orbit sander. It took a little bit of time, but I could see it was removing the hardened epoxy. Once I began to see the clear outline of the inlay, it was nothing but good. Some more sanding, and soon, I had the piece ground down flush and it started to burnish up nicely. I changed sanding grits to 150 and then 220. The epoxy in the inlay was actually starting to glow with the finer scratch pattern.
When it came time to finish, I laid on a coat of 1# dewaxed shellac, then sanded it to 320 grit by hand to get the surface smooth. Two coats of Watco Danish oil later, and the project was done.
When you look at the inlay, you can see the color variations showing how the epoxy was poured. It’s not a monolithic looking surface by any stretch of the imagination. In fact, several people have asked if it is some kind of ivory or mother-of-pearl inlay.
You have got to love a trick like this – proving that – at least in my case – creative problem solving is a skill that helps improve woodworking.

First of all, AWESOME tip. It’s tips like this that would give me the guts to actually try inlay at all. Second, how did the finish stick to the (what I’m assuming was) non-porous finished epoxy? Any issues in that department?
Great solution Tom, I have done that same bone head mistake, except it was on the the third of a four piece set. I wish I would thought of epoxy for the fix, it would of saved me a lot of time. At lease it’s mistake I don’t think I will ever repeat.
Joey
Michael –
So far, so good with the finish. I applied the shellac seal coat first, which seems to have taken well to the inlay. The Danish Oil seems to have done a decent job as well… since I knocked it back between coats with the 320 grit, it didn’t seem to pull anything off.
Well done, Tom.
I’ve been intrigued by epoxy inlay since reading about it in Fine Woodworking many years ago. I’m delighted to see how easy it is and how nice yours came out.
Nice solution. I’m racking my brain trying to think of a good way to mark and cut the inlay pieces from the sockets and can’t come up with a thing. Epoxy was a brilliant fix.
Wow that looks great . I am surprised it was so easy to get the epoxy off. I will have to try this. I want to do a Star inlay in a piece and that would look good.
Give it a try, man. My advice would be to bring a sample of the wood you are working with to where you are buying your paint from. I didn’t have one and defaulted to white… but, I imagine you can do all kinds of colors….
Great Idea thanks Tom.
Now to add a router inlay kit to my want list. All my previous stuff has been done with a scroll saw.
Nice fix. I am curious as to how it will age. The only problem with epoxy, which I know from boat building, is that it degrades in sunlight, thus the reason for spar varnish with UV protectors. So as long as it is not in direct sunlight it should be fine. I saw a guy at the Woodworkers Club in Norwalk, CT doing some inlay work in a surfaced but pitted and gouged (naturally) small plinth. He was one of the producers involved in the New Yankee Workshop. He worked with Norm for years and yes he is a great guy on and off the set – now Norm spends a great deal of time on his sailboat. Anyway he was mixing the epoxy with various mineral dust, like turquoise, and filling in the voids. He than sands and varnishes his work of art and either uses it as a wall hanging or a table top. Just another application for epoxy.
Couldn’t you just use a still smaller bushing and get the same effect? I am assuming if you know the difference between the two correct bushings you could apply the same difference and get another bushing. or am I geometrically challenged?
I made a box for a friend of my daughter with her initials routed out with the Milescraft lettering kit. I wasn’t sure how it would pan out sanding it off. SO I put in some dark colored epoxy just until the edge hit the top, but it was a little lower in the middle. Then the sander never hit it and it stayed glossy and just slightly recessed.
Glenn –
That was my first assumption – just get a smaller bushing to push the distance out, making the small bushing rout the inside of the cavity and then getting an even smaller bushing to do the outside of the inlay material.
Only one problem – in the kit, the two bushings are 17 mm and 11.11 mm – a difference of 5.89 mm. So, if I subtract another 5.89 mm from the 11.11 mm bushing, I end up with a bushing having the outside diameter of 5.22 mm.
Converted into inches, 5.22 mm equals .205 inches… and a 1/8″ router bit comes out to .125 inches… so, I would need a bushing with very thin walls with very little room for clearance around the bit – .08 for the total.
The key with the epoxy is to make sure it mounds over the outside edge of the cavity… you can always sand away the excess. You could have also hand sanded the middle of the low spot and applied more epoxy to make up the difference….
Tom,
First, nice job.
Second, I have a question.
I stumbled upon your site when searching for Freud routers and the Milescraft plates. It appears you have the same router I have (Freud 1700) but are using the Milescraft plate with the plunge base. Did you have to drill holes for this?
Also, when using the Milescraft plate on the regular base (not the plunge one) do you know if the black plate has to be taken off the base first? When I do that, part of the piece used to adjust the bit height is sticking up above most of the metal base, so it makes the Milescraft plate uneven. So does the Milescraft plate go on over the black plate?
Thanks. Now that I found your site, I’ll be keeping an eye on it.
Thanks Chris.
You bet you have to take the black plate off of the Freud… I have not had any success doing that because of the issue you bring up. That stupid height-adjusting lug sucks… In fact, I only use my Freud 1700 for bearing-guided stuff… I did the routing with my DeWalt 618.
Sorry I wasn’t able to give you the answer you wanted to hear. 🙁