When my brothers and I were young, we got some tremendous thrills out of playing with our Hot Wheels and Matchbox cars. Those race cars, army jeeps and tractor trailers had some tremendous adventures. Some were involved in epic battles. Others were involved in rescuing people from tremendous disasters. Still others met their ultimate fates at the end of a hammer or with a firework stuffed inside the plastic interior…
Hey, we were boys.
While rolling the cars over the carpet in the living room was fun, the scenery never really changed. Sure, we could imagine that the carpet was a snow-covered tundra or a steaming jungle, but we wanted more realism.
That’s when I decided to grab a piece of plywood from the garage near my dad’s workbench. I painted it up really well and glued cacti made of twisted up tissues to the board. I even spray painted some cotton balls brown to give the impression of tumbleweeds. In my mind, it would have made George Lucas blush…
That was until dad came home. Apparently, I was using a piece of cherry veneer cabinet grade ply for my scenery, and dad wasn’t too amused.
That was my first experience with really sweet quality cabinet grade ply, and since then, I have come to appreciate its value. Well made ply is stable, nearly ready to finish and beats the heck out of gluing up solid wood to make large panels for projects.
What is plywood? Basically, thin veneers of wood are sliced from a log and then glued to each other. In the vast number of cases, each layer is glued perpendicular to the next, giving tremendous strength and rigidity to the panel. Some plywood is glued with all of the layer parallel to each other, and this plywood can be used to build bent pieces of cabinets.

I did learn the hard way that not all plywood is made equally. First, cabinet grade ply is not the same as construction grade ply – regardless of what the home improvement center signage tells you. Sure, you can grab a piece of AC fir or southern yellow pine plywood and try to build something, but, if it’s going into fine furniture, you will be disappointed with the results. That construction grade stuff is great for shop shelving and furniture, but it’s too rough for building bookshelves.
For that, you want to look for plywood with a larger number of plies which are more finely cut. while construction grade material may have five plies for a 3/4″ piece, the cabinet grade stuff usually starts at nine. The cabinet grade stuff also has a much more refined face than the construction grade stuff. So, if you want to paint your piece, there’s a whole lot less prep work and you will get a superior finish with cabinet grade stuff.

The most commonly see ‘entry’ level cabinet grade panels are usually faced with birch, however I have seen some other kinds of woods. Some are faced with a generic ‘tropical hardwood’, while others are faced with a South American hardwood called Gutambu. These low-end panels are often hit or miss – some are beautifully built, others will have their glue fail and the layers separate if you look at them funny. Buyer beware!
From there, you have scores of choices available to you. Some, such as Baltic Birch or Russian Birch, is made of many very fine layers of wood veneer – maybe up to 15 or more – and is exceptionally stable – perfect for jigs and as a substrate for veneers.
Other sheets have similar cores as the birch plywood, but can be faced with veneers as plain as red oak or cherry to to as exotic as teak or zebrawood. These pieces can be cut as impressive parts of a cabinet, table top or other project. And, yes, the standard wood finishing regimens you use on solid wood will work on plywood veneers. Lacquers, varnishes and oils all work well on the plywood surface.
While plywood is durable, strong and relatively easy to work with, there are some warnings which should be heeded. First, plywood is very heavy stuff. A sheet of 3/4″ cabinet grade ply can tip the scales at 60 pounds or more. Sure, you could muscle the sheet around by yourself, but wow, you could end up with a serious backache – or worse!

Secondly, it’s very awkward. Standard sheets of plywood are 4′ wide by 8′ long. That’s taller and wider than most folks, so you have to be careful when handling. Again, a friend is always appreciated when working with plywood.
The veneers which face the plywood are often beautiful, but they are also very thin. Extreme care should be used when moving sheets (to avoid damage) and when sanding them (you run the risk of sanding right through the veneer into the core!).
This also means you have to be very careful when cutting plywood, so you don’t chip up the facing when you cut the sheets. Some tried and true methods for reducing or even eliminating chipping include taping the cut line with masking tape, using a blade with the highest number of teeth available and scoring a line along the cut line with a utility knife. The new track saws made by Makita, DeWalt and Festool also do an outstanding job of preventing chip out when they cut. If you plan on working with a lot of plywood, one of those saws might not be a bad investment…
Finally, when you cut plywood, you have the ugly exposed edge to deal with. Edge tape, molding and setting the panels into frames or a rabbet are three ways to hide the unsightly edge from view. Of course, if you like that kind of look, just refer to your pieces as post-industrial modernism and enjoy the compliments as they flood in.
While those days of playing with my toy cars are distant memories, I can look into my sons’ rooms and see the plywood bookshelves I built stuffed to the gills with toys and books. What memories will those pieces of plywood will my sons bring with them into their adult lives?

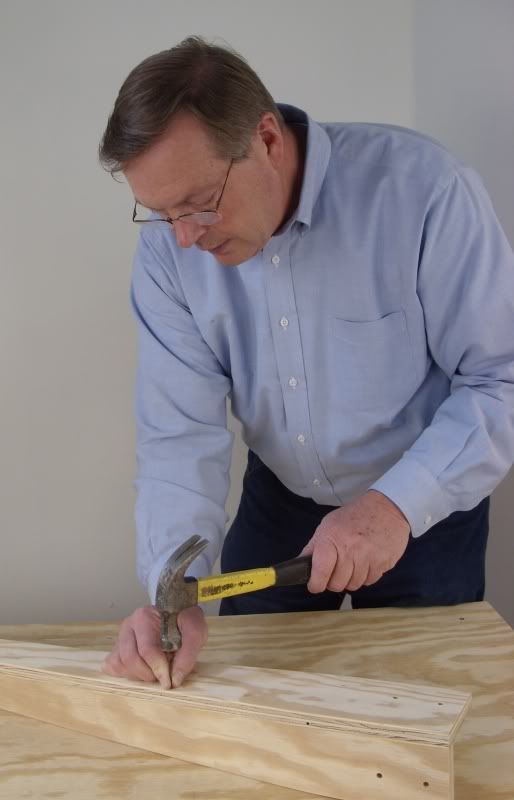
 The only problem I was running into was that I was spending quite a bit of time securing boards to the bench top. I would clamp the board between a bench dog and a Wunder Pup or a pair of wedges, plane, then have to reposition the piece. Surely there is an easier way to do this?


 The incessant clatter of students taking typing classes has been replaced by the more muffled sound of computer keyboarding. Many schools have abandoned ordered rows of students for a more collaborative ‘working group’ arrangement.
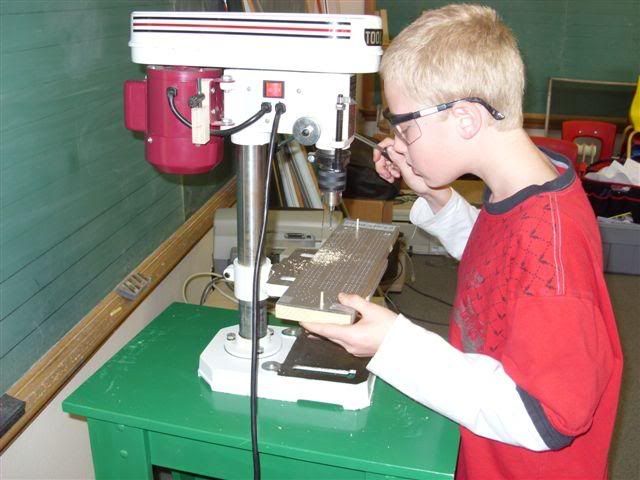 “Many of the students in my classes have never used a woodworking tool in their lives,” said Paul. “Giving them the skills they need to overcome their fears and inexperience is a liberating experience for them. Many of the students are so energized by the process, they actually become shop assistants, shepherding their classmates forward.”
 In the nearly two years I have been blogging, I have seen a great number of projects built by you, the readers of Tom’s Workbench. Some are modern, others are traditional. Some are elaborate, others have strong, clean lines.
 When you think of woodworkers on TV, Norm Abram’s iconic image often comes to mind first. From his signature plaid shirts to the well-worn tool belt around his waist, Norm is a woodworking legend.