The weekly plan

Build a Butcher Block Island

For the past three weeks here in central Florida, we have been socked in with some of the rainiest weather I can ever remember. I mean, it’s been pouring as heavily as I can ever remember since we moved here back in 1992.

Which means we’ve been spending a lot of time doing things other than enjoying the outdoors. Some of those things include cooking.

The butcher block island

And, when it comes to cooking, finding working space is always a challenge. That’s why the weekly plan, brought to you by the folks at This Old House, might be a great option for your kitchen. Assembled from gas pipe and pre-assembled butcher block, it can serve as a prep station, storage piece and a great place to rest your coffee mug as you draw up your next woodworking plan.

Evolving pieces

Isn’t it amazing how furniture needs and styles have changed over the decades?

The reason I bring this up is that twice in the past month, I have seen some sweet looking armoires. One was a piece that my friends Chris and Sofie gave to another one of my friends who needed a closet space the ‘den’ of a house he bought. Another time was when I was in Yuma in the Casita next to my friend Kevin’s home on the big western swing. The Casita didn’t have a closet.

A clothes Armoire

Why did these two pieces stand out so much? It’s because in most houses, they are 100% unnecessary. That hasn’t always been the case. Before today’s home with walk in closets that – in some cases – are larger than most bedrooms, people just didn’t have that many clothes.

Hello in there!

Add to the fact that the average home built today has an extra 1,000 square feet than the average home built in 1973, and you start to get the idea that a separate piece of furniture to hold clothing is becoming a quaint anachronism – kind of like a pump to draw water from a well to do the cooking. Or building a hope chest for a young lady to keep her wedding dowry in – wait a second, I have built three of those!

Another piece that has changed dramatically over the years has been the TV entertainment center. In years past, entertainment centers were built around deep, heavy picture tube TVs, which required a great deal of size. Today’s flat screens, well, I’m surprised by how inexpensive they are.

Back when the kids were little, Rhonda and I bought a 32 inch picture tube TV for about $800, and we thought we got a heck of a deal on a store demo model. I built my breakfront entertainment center around the dimensions of that TV, and I ensured that the piece would serve as storage and a center for all of our viewing needs.

This past weekend when I was in Best Buy (I had to buy a new Mac Mini because the hard drive on our seven year old MacPro bit the dust), I saw 36 inch flat screens for $239.

Now, if you look for plans to build an entertainment center, you will find that most are low-slung affairs with space for the TV to perch on top or be mounted to the wall above.

What has become of those large TV cabinets made of those choice hardwoods? Well, they are being converted into home offices, bars, craft centers or even clothing armoires.

Go figure.

What does this mean for us as woodworkers? I’m not sure, but it will be interesting to see what changes happen over the next ten years as the way we use our homes changes.

Faces in wood

While my recent experience in the southwest whet my appetite for travel, there is so much more to see across the United States and the world I have still yet to see. For instance, in the States, I still need to see the Grand Canyon, I want to get up to the Pacific northwest, Niagara Falls … there are a lot of places yet to go.

The Grand Canyon

And, when you add in all of the international destinations there are to visit, come on. Rome. Tokyo. The grand dunes of the Sahara Desert. The gin-clear waters of Belize.

Easter Island Heads

Then there are places as wild and mysterious as Easter Island well out into the Pacific Ocean. From what I hear, the natural beauty of the island is only eclipsed by the incredible artwork of the legendary sculptures that grace the island.

Glasses front

While not on such a grand scale, I have recently purchased something to at least help me ensure I don’t lose my glasses. I picked up this handy little sculpture just before the trip out west so I would have a safe place to rest my glasses when they weren’t sitting on my face. For anyone who has ever worn glasses, you understand just how easy it is to lose those suckers and have them damaged.

Just as with the statues on Easter Island, this sculpture is carved anthropomorphically to represent a nose on which the nose pads rest. This sculpted piece rests on a block of solid wood (I was told that it was rosewood from the guy I bought it from – not sure if that’s really the case) to give it some additional weight so it won’t tip over.

Nose side

The back of the piece appears to be glued to a block that has a notch cut in it for the arms of the glasses to slide into, keeping them from gliding all the way down and falling off the piece.

It’s a crafty piece, made out of wood and it keeps my glasses safe. I mean, this is a win, win, win all around as far as I’m concerned, and it might just be something that you could build to use up a few scraps of wood that are just too nice to get rid of, but too small to put into a bigger project.

The weekly plan

Ana White’s saw horse desk

So, Rhonda, the boys and I spent a good chunk of the day buying a new computer (the old one gave up the ghost the night before I headed out west for the big adventure). This got me wondering just how many other folks out there are getting ready for college, back to school or looking for a new place to perch a new computer of their own, so today’s plan is a tribute to that educational spirit.

Ana White's Saw Horse Desk

Again, I turn to Ana White, the DIY blogger who I have turned to time and again for project ideas. This time, she has a simple DIY saw horse desk that will be the envy of any dorm mate, and would serve well as a simple desk for nearly anyone in your home.

Deep in the desert

OK, I’m guilty as charged, your honor. For the past two weeks, I haven’t been paying attention to Tom’s Workbench. I know that for some of you, this was hard news to take. Was Tom giving up woodworking and taking up knitting? You must have been on pins and needles.

The desert

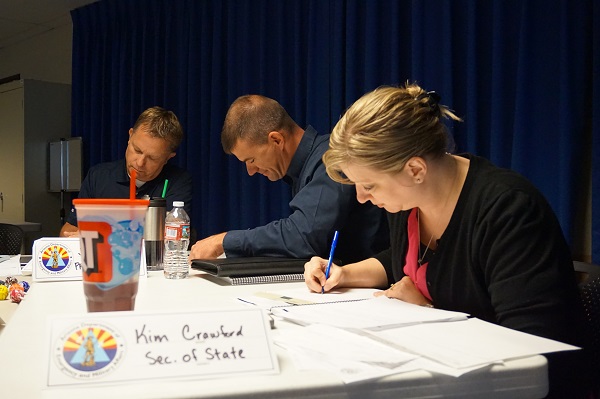
For the 99.9999% of the rest of you – you couldn’t have been so lucky. I was out deep in the desert southwest of the United States teaching some new public information courses for FEMA. Yup, a guy from Florida who deals with hurricanes was going to be part of the team that taught earthquake and wildfire responders how to do their jobs.

students

Crazy, right?

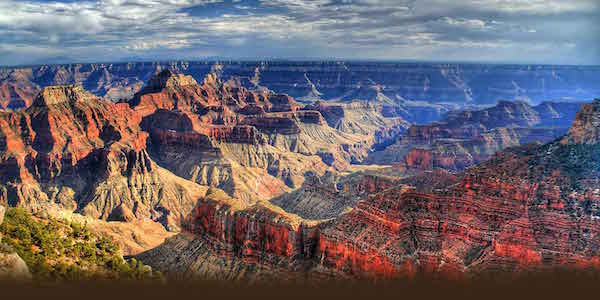
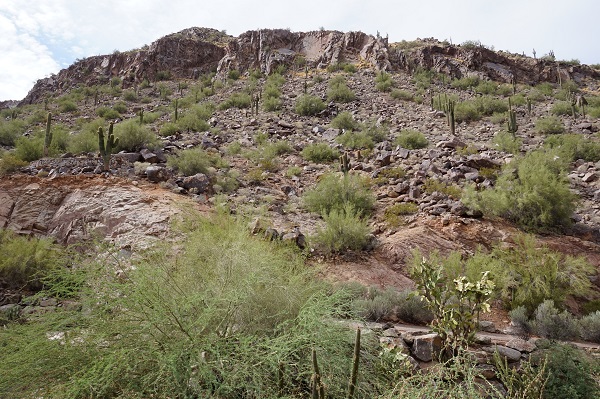
So, I left the morning after July 4th, stopped through Dallas – Fort Worth Airport and ended up in Phoenix. Now, when this past January 1 rolled around, I had never seen mountains or the desert. In January, I got the mountains, and in July, man, did I ever get the desert. It’s true what they say – it’s a dry heat – just like an oven.

While we stayed in really awesome places, we did work our butts off teaching. Piloting, in fact. The material we were instructing was newly revised, and needed to be instructed so any changes could be made.

Arizona rotunda

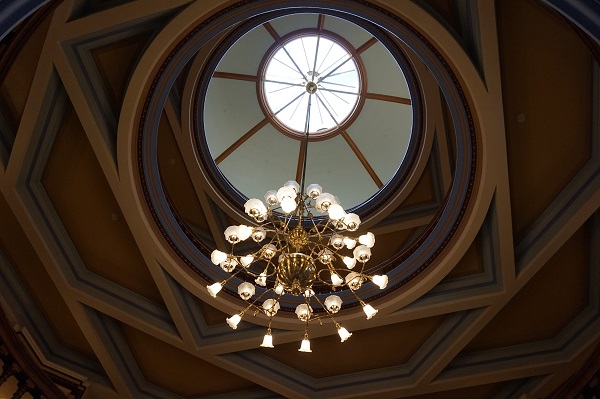
But, we did get a chance to see some things – like the Arizona capitol museum. Now that was a nice place, set in the old capitol building that was built around 1900 – even before Arizona became a state. The woodwork – even this far out west in the middle of the Sonora Desert – was spectacular.

033

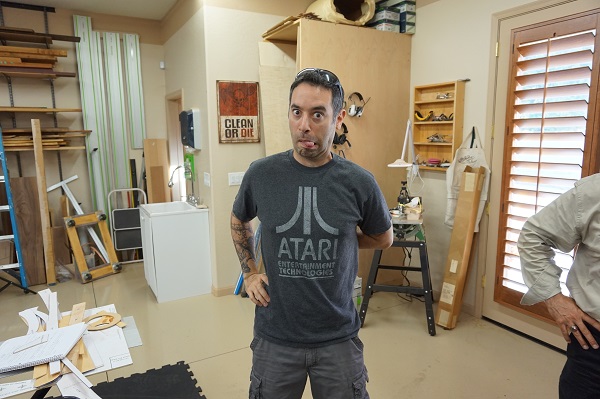
And, while we were in Phoenix, we had to stop by Marc Spagnuolo’s shop. While his wife Nicole was laid up late into her pregnancy, Marc did show us around the spectacular shop he had built. I’ve seen the building in pictures, and was thoroughly impressed, but seeing it in person was something else.

036

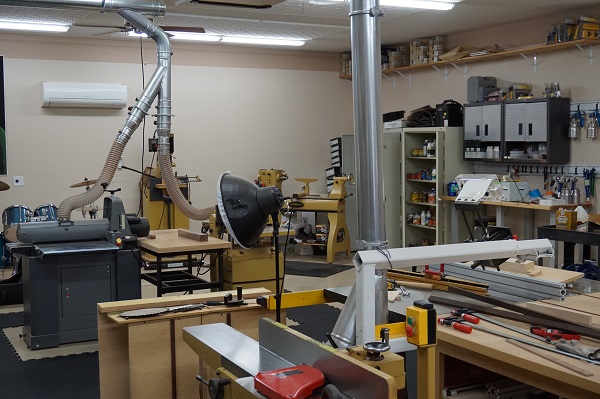
I had anticipated it feeling bigger than it was, but given that video equipment shared space with woodworking tools, it was easy to see just how the space could be eaten up.

041

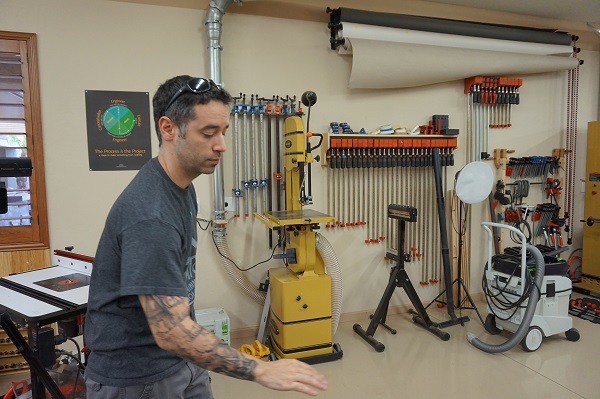
Marc had taken the time to carefully break each section of the shop into logical sections – lumber storage and prep, milling, hand work, assembly and the like. Not a bad use of space for sure.

044

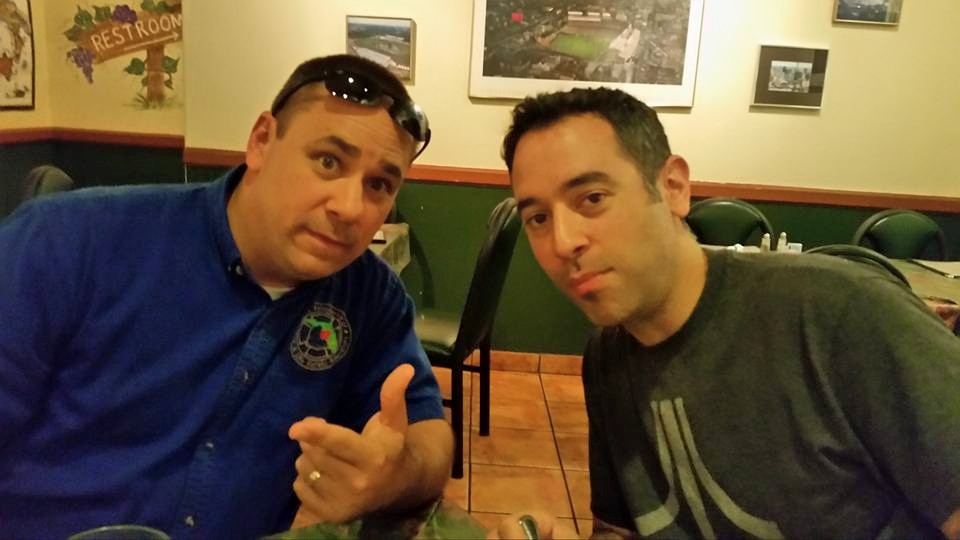
After just standing and soaking it in, it was late, and we had to go out to grab a bite at a local Italian place. Let’s just say that getting a couple of Italian guys from Jersey together in the desert made it look a little like a witness protection program reunion, but wow, was the food ever tasty.

guidos

Now, back to the 9 to 5, my happy family and the shop that has missed me for way too long!

The weekly plan

Lowe’s picture frames the easy way

I’m back from a huge tour of the southwest (for business) and had very little time to blog for this or my public information officer site that I run. But, I did have time to take some of the most amazing photographs I have ever snapped.

small chapel near the center of the world

So, it’s only natural that today’s post be about how to build a picture frame, because I seriously want to print out and frame a few of these babies.

frames

This simple plan from Lowe’s will have you building some sharp looking picture frames with even the most basic of tools. Believe me, when you get the right shot, it deserves to be printed out and displayed with pride. Pride as a photographer and pride as a woodworker.

Will it go round in circles?

Yes, I was born in the late 1960s, so that means I came of age in the 1980s. However, a quick look at my iPod, and you’ll see plenty of music from the 1970s on it. There was just something about the real horns, the funky bass and the awesome hair of the era that made that music something to listen to.

And, yes, you will find this gem on my iPod as well. Billy Preston’s 1973 hit Will it Go Round in Circles? Man, just check out the hair. And the horns.

Now, what does this have to do with woodworking? Good question. Since I’m going to build a round coffee table for the front room in my house, I am going to obviously have to cut out a circular top to make it happen. It seems like a no-brainer, but you have to remember that most woodworking tools are designed to cut nice straight lines.

A jigsaw

So, what can I do? Well, a jigsaw would be a good choice, and if you draw your circle well and cut closely to the mark, you can do a decent job of getting very close to a circle. For me, though, I don’t think I would go right to the line with the tool. While I can cut close, I would probably sweeten the cut with a sander.

No, if I wanted to cut a perfect circle right off the tool, I would probably want to find a centerpoint on the bottom of the glued up piece, then drill a hole and use some type of a jig that would cut the fixed radius on the piece. This way, I would be able to ensure that I could get the right size from the get go.

As far as I can tell, for a circle with a diameter of 36 inches, the best options are on the band saw or with a router.

Circle jig

The band saw route uses some type of jig (like this one from Fine Woodworking) to set a fixed pivot point. Form there, you feed the board into the band saw blade, and the saw does the work. No fuss, no muss. While it’s a great system, I’m not sure this one is for me. I never do well balancing boards on jigs and moving them.

main_CRB7-LCK

For me, the easier option would be to build or buy a circle cutting jig for my router. With this, you drill the center point just as you would for the band saw jig, only you cut the top face down using the router bit to do the cutting in a few passes. With everything secured to your workbench on a sacrificial board, it should be a piece of cake to knock it out.

Now, to go get some lumber, put on some of that disco music and actually build the silly thing…


part of the Wood Talk Online community