Link of the week

The Moringa Community Third World Woodworking Project

In western Africa, the challenges that need to be overcome are daunting. The Moringa Community is an organization that is seeking to improve the lives of the residents of Ghana by teaching important skills such as food preservation, textile arts and industrial skills – such as woodworking!

Moringa Community woodworking

That’s right, the third world woodworking project is teaching local Ghanans how to learn carpentry and furniture making to build homes and furniture that can be sold locally, keeping the nation’s limited wealth home. Because of the lack of the country’s infrastructure, the emphasis is on portable power tools to improve the speed of the woodworking process.

Ultimately the plan is for the program to become entirely self-sufficient.

Things are looking up!

You know, I’m feeling pretty good these days. I’m feeling stronger every day, work is keeping me busy and, yeah, I am getting a bit of time in the shop.  The best part?

Check out that ladder!

Well, the best part is that I have found a sweet new tool!  Yes, it is a ladder. Why do you ask?

Oh, what does it have to do with woodworking?  I knew you were gonna get there!  The thing about my shop is this – it’s fairly decent sized. My wife allows me to use the entire place (thank you, honey!) for woodworking, giving me some serious space to spread out and practice my craft.

But, even a two-car garage still fills up quickly. To help make the most out of my shop space, I have been constantly reclaiming shop storage space wherever I possibly can. Fortunately, there are still nooks and crannies that I can access for storage, but I have to think in the third dimension. In other words, I have to look up.

My veneer storage

Upward storage started with this area on top of my tool shelf setup. After I built my Fujiwhara Chest, I was left with a supply of beautiful veneer that I didn’t want damaged. So, I folded it in the cardboard that it shipped in and stashed it up here. It was also a good place to stow the veneer tools, just keeping them handy for when I need to do some work. Before I got the ladder, I had to go snag a dining room chair to reach up there, but with the ladder, it’s easy to get up there.

The area above the finishing cabinet

Then, there’s this space at the top of my finishing cabinet. It has crap on it now, so I’ll have to clear it off, sort through what I want to keep and prep this area.

The plane storage

Now, this area above my front bench I envisioned setting up as a ‘plane display shelf’, and I have put a few planes that didn’t make the cut up here. But, no one sees them, so I should sort through this and get it ready for storage.

Bulk storage

And, finally, this area above the washer and dryer. Yeah, maybe I should just clean this area off and use it to store the huge bulk rolls of paper towels I get at the wholesale club. At least that will keep them out of the woodworking areas.

They get no respect

I can’t even begin to tell you how much I love movies starring the late, great Rodney Dangerfield. Caddyshack. Back to School. Easy Money. This guy was comic gold, and the movies he was in are still timeless classics.

The master himself

He is well known for his self-deprecating sense of humor. Basically, the guy got no respect. How bad?

  • When I was a kid I got no respect. The time I was kidnapped, and the kidnappers sent my parents a note they said, “We want five thousand dollars or you’ll see your kid again.”
  • I asked my old man if I could go ice-skating on the lake. He told me, “Wait til it gets warmer.”
  • Once when I was lost I saw a policeman and asked him to help me find my parents. I said to him, “Do you think we’ll ever find them?” He said, “I don’t know kid. There are so many places they can hide.”

At that, he would adjust his tie, and keep the one-liners coming.

The reason I bring up Rodney is that there are some tools in my shop that get no respect, but boy, do I love them anyway.

Bora trigger clamps

These quick action trigger clamps are the bomb. My favorites are these babies from Bora, and they are just about some of the handiest things to have around the shop.

Now, they aren’t long enough to glue up huge panels, but that’s OK, because there are tons of times when I wish I could have a third (or fourth or even fifth) hand in the shop, and they fill the bill nicely.

Assembly squares

For instance, when I assemble projects (after my misfortunes on getting things square) I use some assembly squares to help keep things at 90 degrees. There’s no easier way to make this happen than to use these little guys to grab the square and hold everything true until things are joined properly.

Holding down the Kreg

Another great time to use these babies is when I am holding tools down to the bench. Whether it’s the combo belt/spindle sander or the Kreg pocket hole jig, securing the tool to the bench really helps eliminate one potential problem of having the tool walk on me. These honeys grab nicely, and allow me to focus on getting the work done, rather than trying to manage the work and the tool.

Stop holder

And, when it comes to setting up stops on tools like my miter bench, these sucker shine. Once I get the right measurement, I can break out the stop that I use (yes, I understand that’s not Cal Ripken) and clamp the stop to the miter table’s fence.  This way, I can get accurate cuts without exposing my hands to the dangers of the whirly, spinny, toothy thing…. I can use these on all types of jigs for the miter saw, band saw, router table, table saw or anything else that can eat fingers.

Sure, the don’t get a lot of respect, but, hey, they definitely earn their keep in my shop!

The weekly plan

I Can Do That: Outdoor Bench

There sure is a lot of work to do outdoors during the summer. But, that shouldn’t stop you from relaxing afterward, enjoying a cool beverage and being the master of all you survey, right?

I can do that outdoor bench

If you are going to do that, you probably want to check out this easy to build plan form Popular Woodworking’s I Can Do That series. With a little pine, some screws, a jig saw and a good coat of paint, you’ll be sitting pretty before you know it!

Happy Independence Day

Hey, folks, I’m taking the day off to do a little grilling and take in some fireworks. For my countrymen and women, happy Independence Day!  For everyone else, I’ll see you on Sunday with the new weekly plan.

Fireworks in D.C.

Party on!

A finish not lacquing…

When I started woodworking, I brushed on polyurethane. And, it was good.

Then, I developed a wipe-on finishing regimen with some home-mixed stuff. And, it was better.

Now, I’m on a new type of finishing kick, and it’s fast as lightning and does a very good job. Let me start of by saying that, yes, I do own an HVLP spray setup. I picked it up for pretty cheap over at the Lowe’s mega mart, and it does a good job. I think I have sprayed some water based poly and some shellac with fair results. I will need more practice. A can of lacquer But, for speed and convenience, it’s hard to beat a can of lacquer. This stuff is the cat’s pajamas. Well, actually, it’s not – it’s nitrocellulose lacquer, made by the nitration of cotton. I’m not sure what the heck that means, but I can tell you boy howdy, does the stuff stink. If you are going to use it, make sure you use the appropriate respirator and PLENTY of ventilation, or you will be – how should I put this – overcome with the fumes.

But the finish it produces … wow. The lacquer dries very quickly when you spray it, minimizing the amount of time that dust or other stuff can collect in the finish. Like a shellac, the solvents in each new coat dissolve some of the coat laid down before, making the finish easy to level and easy to repair. It take a beautiful polish as well, and it’s plenty durable, which makes it one of the primary finishes used on musical instruments. Lacquered guitar To help make applying the lacquer easier, I bought a simple spray can handle from the spray paint section of the store and attached it to the can. This way, I can hold my hand in a more comfortable position and apply the product in a smoother fashion. Can with the handle The regimen is pretty darned simple. I sand the piece down to 220 grit, then make a decision. On the dedication plaque I made for my friend Len, I first applied a coat of my wipe-on finish to give the wood a bit more depth. I had to let that dry for at least a week, since the finish contained boiled linseed oil and poly. Once I had that on and let it dry, I applied six coats of clear lacquer. Len's plaque Woah, you’re thinking. Six coats! Won’t that take an eternity to dry? The fun part of spraying lacquer. You have to wait – maybe – five minutes between applying coats. If that. And, since the solvents in the next coat bond with the previous ones, there’s no need to sand between coats as you build. You simply shoot layer after layer. To finish the piece off, I did sand it down with some 320 grit paper to ensure I had a very smooth surface, then hit it with one last coat. I can tell you, the finish on that piece is gonna be there for a while. Dogwood guitar's spray booth Now, if you are going to move beyond the simple spray can of lacquer, you are probably going to want to build a dedicated spray booth with an explosion-proof fan to provide TONS of air flow, plus an appropriate filter to get the solvents out of the air before you expel it into your neighbor’s yard. Kind of like the folks at Dogwood Guitars build in the picture above here.  But, that will be a post for another day.

Until then, if I need a high-quality hard film finish on a smaller project, I’ll get my can out into the shop.

Back in the saddle again

I have got to confess, I feel as if the past few weeks I have been going through the motions here on the blog. Once I had my health scare earlier this month, I really didn’t have the strength, energy or – quite frankly – confidence to get out back into the shop to do any woodworking. It’s also a tough time of the year to be in the shop. After all, the ‘feels like’ temperature is well over 100 degrees, which really didn’t help.

Gene Autry's back in the saddle

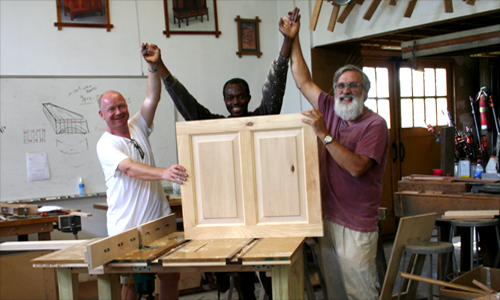
But, this weekend, I took a page out of cowboy legend Gene Autry’s playbook. I identified a job that had to be done, headed out to the shop early in the day (when it was cooler) and got back in the saddle again.

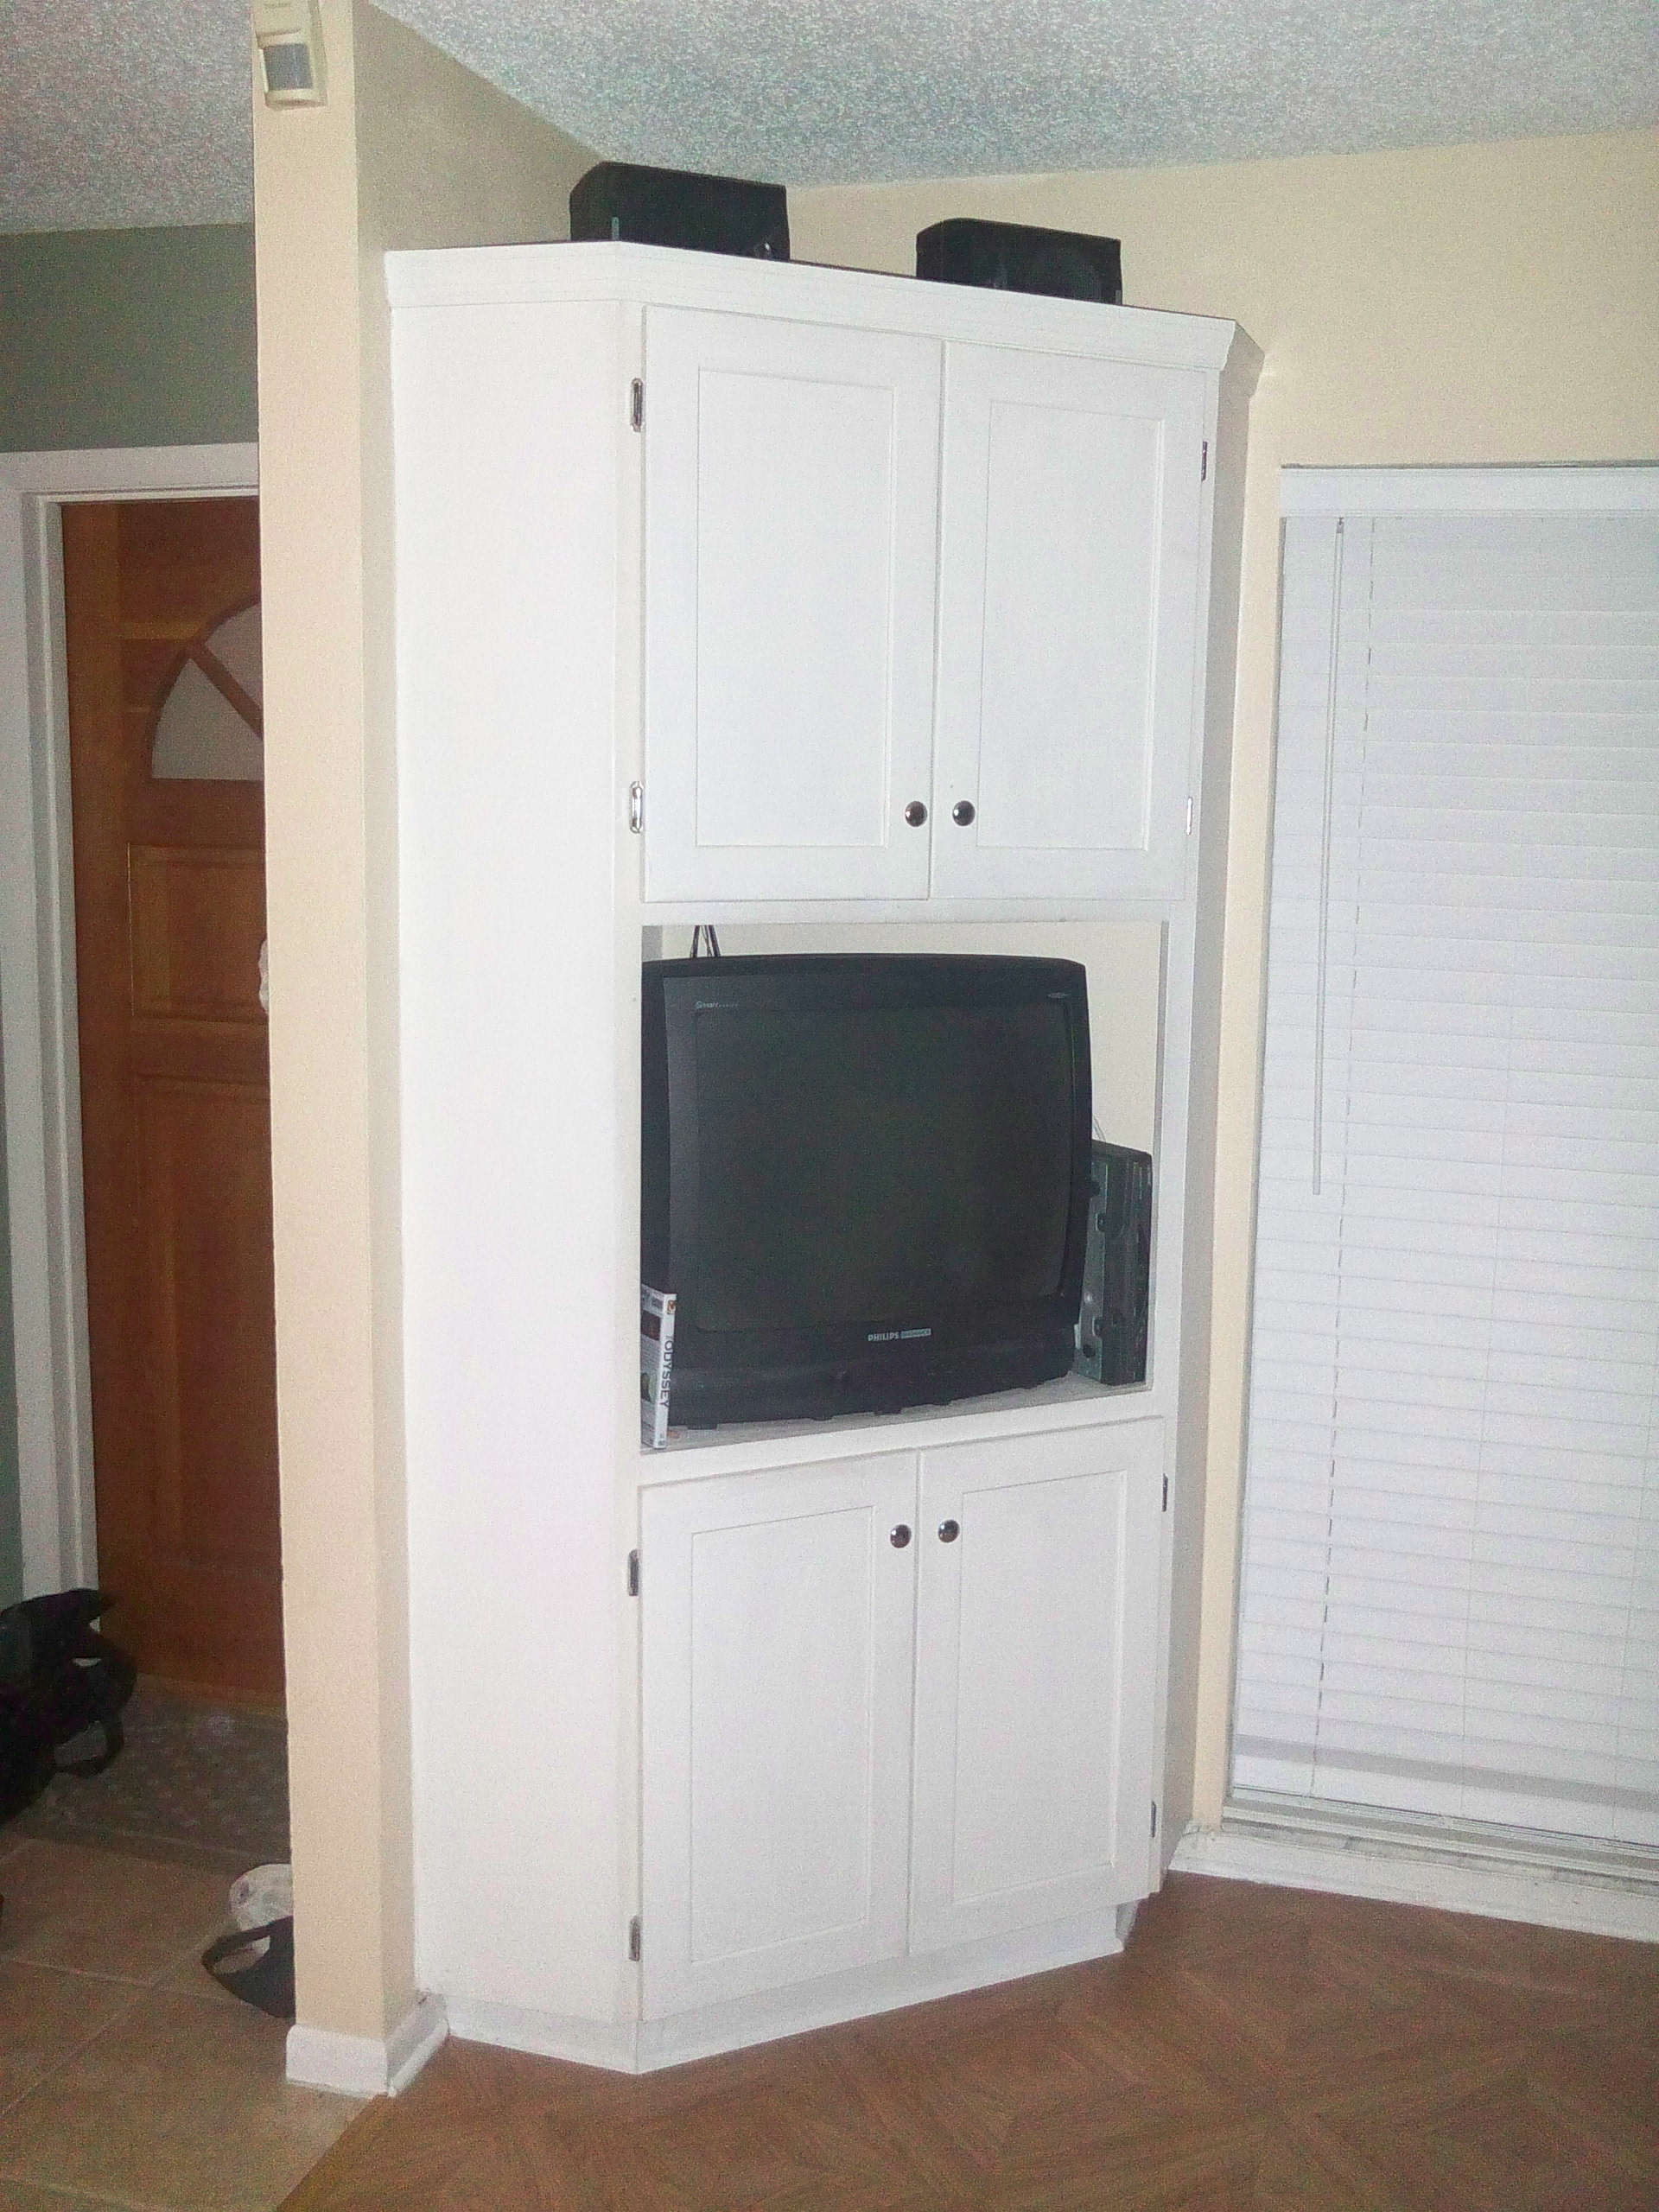
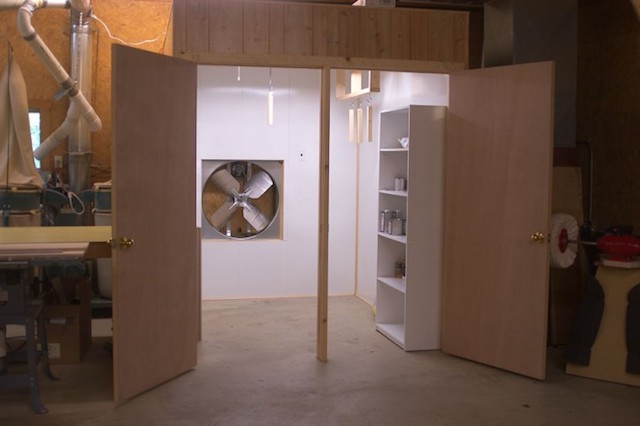
The project was a simple one – to build a pair of doors to enclose the old TV area of the corner entertainment center. With the new front unit, this piece is now being converted to full storage for our old photo albums, school yearbooks and other miscellaneous stuff we have stashed around the house.

This was a very early project I had built, and, at the time, I built the doors using mitered frames grooved to hold some 1/4″ plywood. It was an easy way to do the deed without any real fancy joinery, and the results have lasted more than 12 years so far with no issues.

Cutting those miters

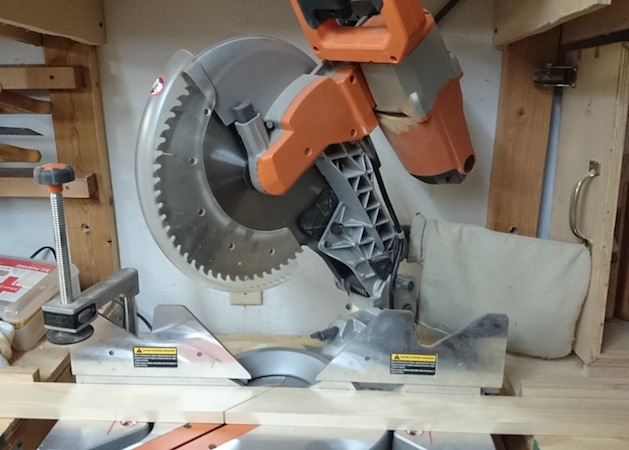
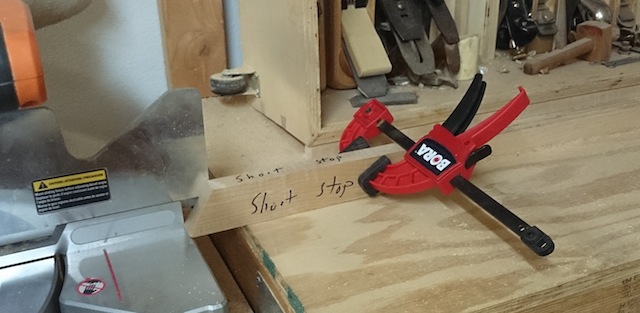
So, I got to work. The beauty of building doors this way is that you don’t need a whole lot of tooling. I first measured how tall and wide I wanted the final doors, then cut them to size using my miter saw. Since I have it measured out to cut accurate 45 degree angles, I was able to get all of the frame pieces cut accurately in no time flat.

Door components

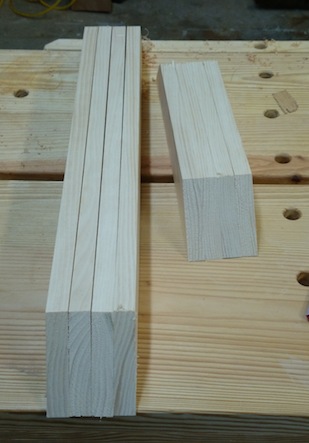
With the pieces cut, I laid them out on the bench and marked where I wanted the groove for the plywood panels. With those marked, it was easy to test cut on some scrap to make sure two passes over my standard combination blade would cut a sufficiently wide kerf to house the panels. Very simple.

The layout

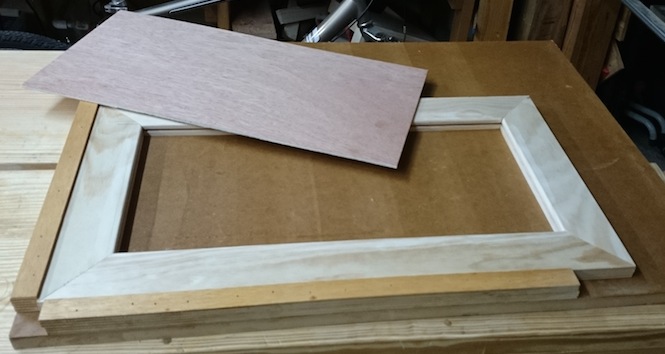
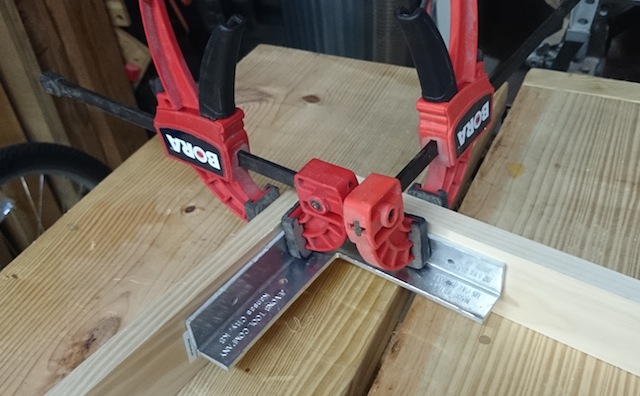
I used my square assembly jig to lay out the pieces and mark the corners. From there, I measured for the size of the center panels for the plywood and got everything together for the assembly.

Get you some biscuits

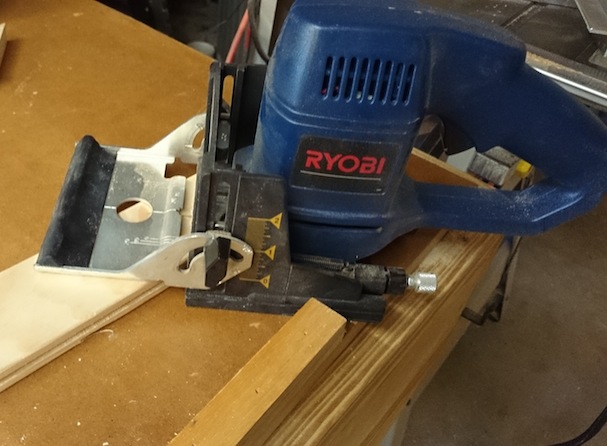
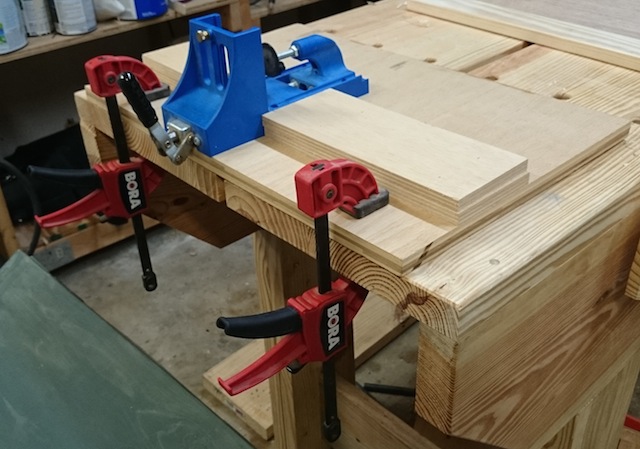
To help hold the miters together, I went with a biscuit joint like I had used on the four original doors. It had been a while since I used that tool, but when I was building this piece back in 2002, it was state-of-the-art for me. Fortunately, it was easy to get back into the swing of things with the jointer, and before I knew it, I had all four corners cut and ready for glue.

Not bad for a dry fit

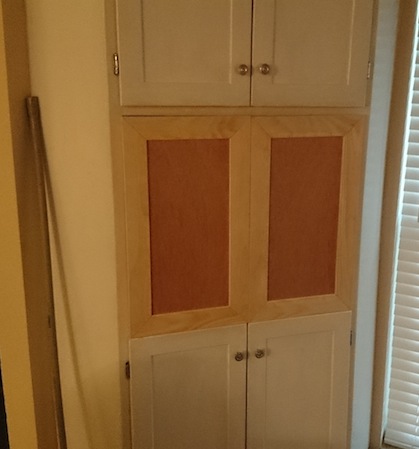
Once the glue dried, I brought them inside for a quick dry fit. They worked nicely. Now, I just have to sand, prime and paint the doors to match, then attach the hinges and handles, and that project will be off the list of things to do.

And, I’ll be back in the shop once again to get some more work done…

part of the Wood Talk Online community