OK, most of us build from some type of plan when we go into the shop. Some are commercially available, professionally drawn. Others are developed on the fly. So, what are most of your woodworking projects built from?
[poll id=”33″]

OK, most of us build from some type of plan when we go into the shop. Some are commercially available, professionally drawn. Others are developed on the fly. So, what are most of your woodworking projects built from?
[poll id=”33″]
Outstanding woodworking relies on several key steps to ensure a beautiful finished product. Wood selection, properly tuned tools and careful attention to the finishing process are all critical skills to master.
 One of the most essential steps is accurately measuring and marking to cut flawless joints. This article, written by Ian Kirby in Woodworker’s Journal, takes readers through the bewildering selection of marking gauges and other marking guides. From the lowly pencil to the most complicated mortising gauge, Kirby not only describes the pros and cons, but gives clear instruction on how to use them to their best advantage.
And, the article is not just for hand tool users – Galoots as they are affectionately known. Power tool enthusiasts can improve their work through the careful use of these marking guides.
Give the article a read and see how it measures up!
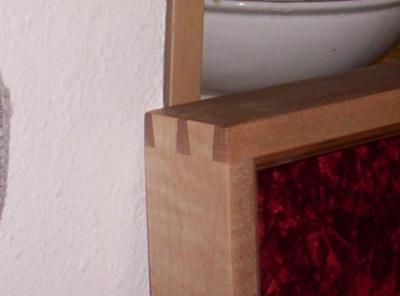
 Whether fair or not, dovetail joints are widely considered the mark of true craftsmanship when it comes to woodworking. While some find hand cutting dovetails with a saw and a sharp set of chisels a rewarding experience, others want to cut the joint with a minimum of fuss and a great deal faster.
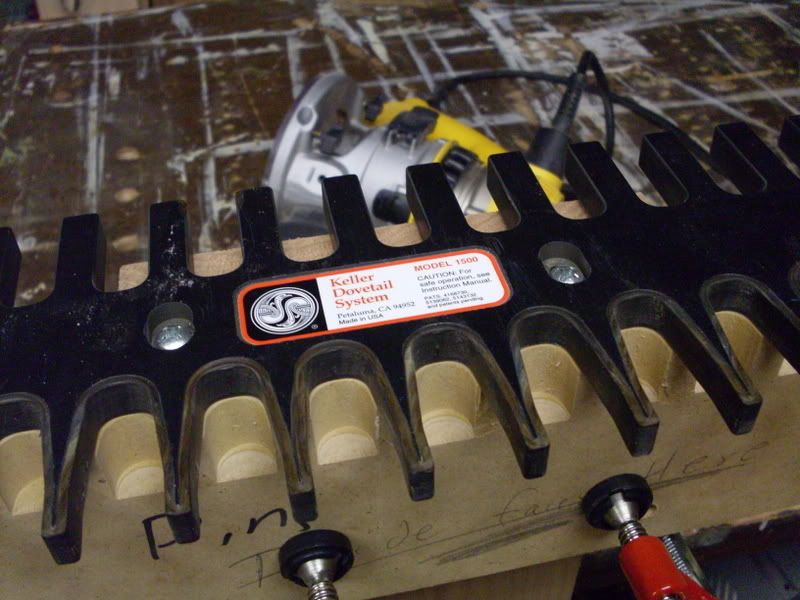
Back in the 1970’s, David Keller perfected the through dovetail jig that bears his name – the Keller Dovetail Jig. Since those early days, a number of other manufacturers have introduced their jigs and other dovetailing systems. Some are relatively simple, while others have a rather steep learning curve.
When I went to Woodcraft a few years ago to buy a dovetail jig, the Keller Journeyman 1500 came highly recommended. An excellent balance of price, ease of use and flexibility, this jig has proven itself time and again in my shop.
 The kit comes with special bearing guided bits (1/4″ shank) that work with the jig, the jig fixture itself and a clearly-written instruction manual. You have to secure the jig to a backer block made of wood or a stack of sheet goods that fit a particular measurement. To adjust the tightness of the joint’s fit, you adjust the jig forward or backwards on this backer block.
Since I had never used a dovetail jig before, it took some time to carefully go through the measurements, but it was worth it. The results were very good the first time out.
Variably spaced dovetails can be made easily by cutting the necessary tail slots in the pin board, and then cutting all of the pin slots on the tail board, then removing the unnecessary ones with a sharp chisel.
 The one caveat with this jig – as with many others – is you have to carefully mark where the joints will align. This is a very important skill to master whether you cut the joints by hand or by machine. A striking knife – even a cheap Xacto knife from an office supply store – will work well.
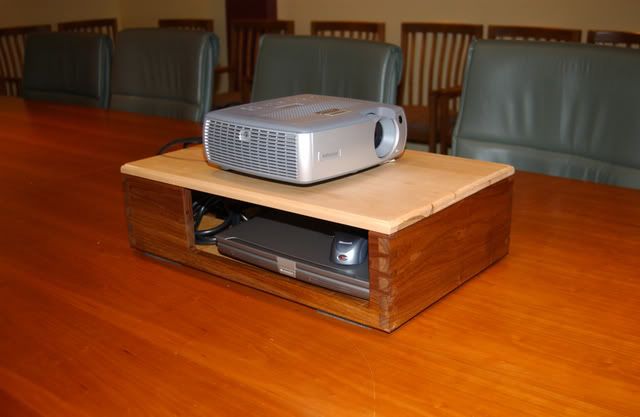
Also, this jig only allows you to cut through dovetails. To make drawers which appear to have a half-blind dovetail, you can glue a thin piece of material to the drawer’s front. A simple and elegant solution that will allow you to stretch your showy wood supply.
An important tip – when you arrange the jig and the wood in your vise, be sure to put the backer block between you and the wood – this ensures the router cuts into the wood from the side opposite you, throwing the wood chips away from you while you are cutting.
While there are other jigs out there, I can see myself coming back to this jig time and time again. It’s really that easy. And, judging from what I saw on the Keller website, there are even more applications that can be mastered.
Problem? Who has a problem? Some woodworkers are wood hoarders, snapping up bargains on any supply of boards they can get their hands on. Others buy what they need, refusing (or unable) to keep a stockpile on hand. So, where do you fall?
[poll id=”32″]
Have you ever wondered just what the heck my shop looks like? Sometimes, with my work schedule this time of the year, I wonder too…
Well, my old digital camera died, and I got a new one. Rather than snap pictures of the kids, I took the opportunity (or used it as a good enough excuse) to finally get out into the shop and take a few pictures.

This was a gift from my wife – sort of a little bit of a welcome to the shop sign. I kinda like it – and I remind everyone about its status when they arrive.

This is the shop overview shot – what you might see on a typical weekend day if you stroll past the front of my house. Yes, I have converted the two car garage into my shop. It’s a comfortably sized space that I share with some kids toys, some mechanical systems and the laundry equipment.
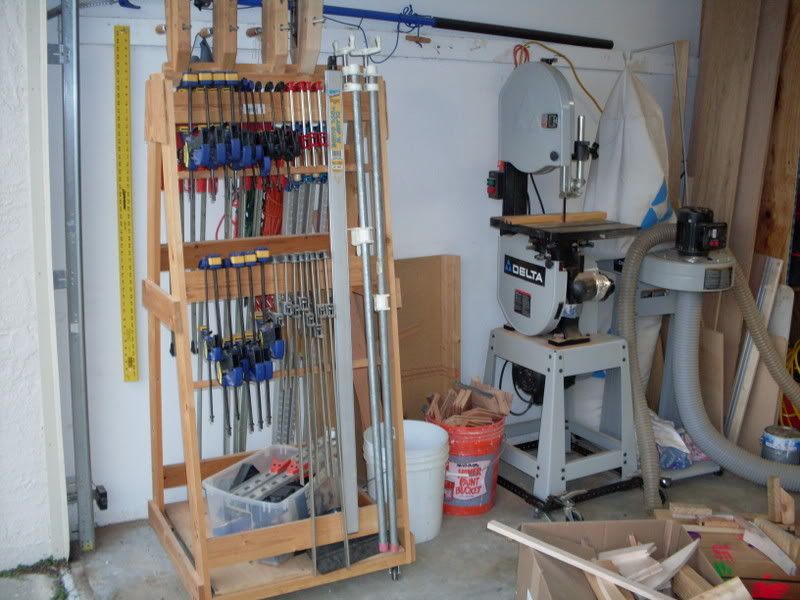
This is what you see at first when you look to the right as you walk into the shop. Here’s where the rolling clamp rack, 14″ band saw and dust collector are parked here. This is also where I keep the scrap buckets for offcuts.

This entirely unattractive piece (which doesn’t lean nearly as badly as the camera is making it appear to – guess I have to learn how to take better pictures) of shop storage I threw together from two pieces of 3/4″ CDX plywood. I needed a way to stack up some of the tools I had acquired, and this fills the bill. Compressor at the bottom, router equipment up from there, pocket screw jig and sharpening equipment above that, and tool rehab projects in the plastic bins on top.
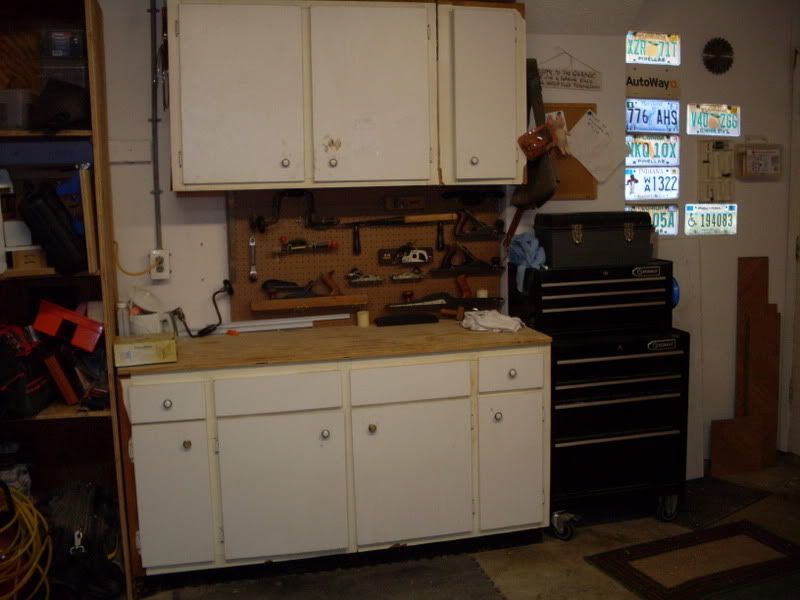
This is my side bench. The cabinets came from a friend’s kitchen remodel, and serve me well in the shop. The uppers store my finishing supplies, the lowers store hardware, finishing rags and other goodies. This is also the location of the plane shrine. The top is an excellent place for me to stage project parts when I’m working on other components on the main bench.
Also, you’ll notice my rolling tool cart I got last Christmas. It holds most of my hand tools, keeping them dust free and easy to grab.

This piece is my front bench. The lowers store power hand tools, while the uppers hold fasteners, glue, tape and other goodies. I will do some work on smaller projects and parts of larger ones, and I do most of my sharpening here. Unfortunately, this is also the surface closest to the door, so my wife will leave things that have to go back out to the garage here as well. It can get cluttered!
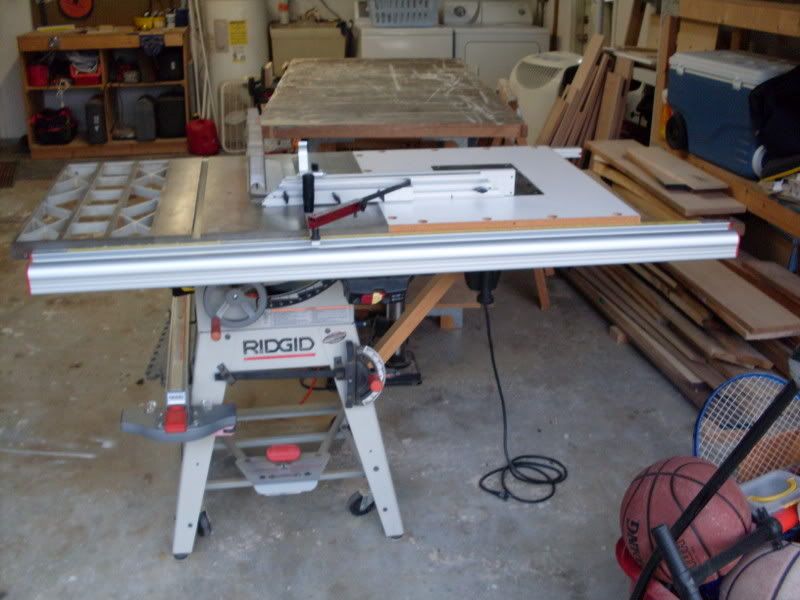
Of course, this is my Ridgid table saw. Since it’s right at the garage door entrance, I can rip longer pieces easily by opening the door. You can see I also built a router table top into the right wing. I have a Freud FT2000 mounted under there, which does a great job. I spend a good deal of time in this area.
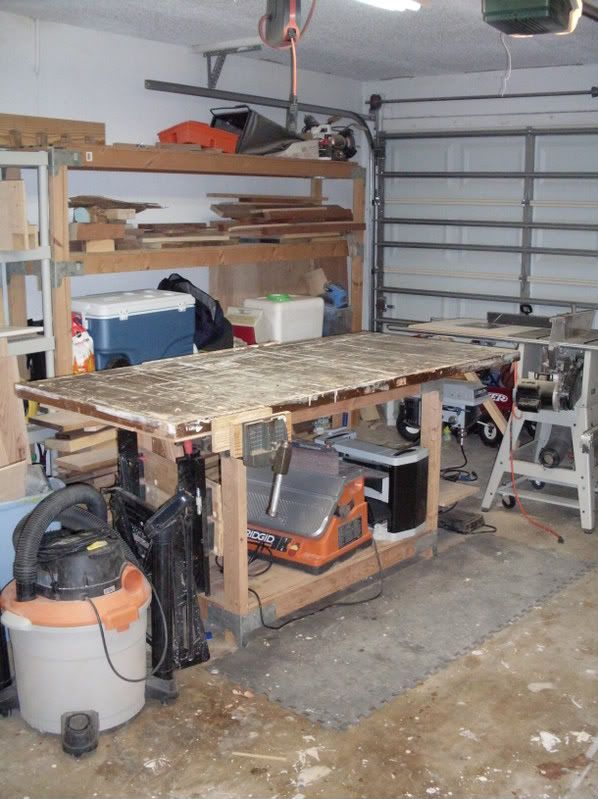
Here’s my big ugly bench. Work on the top, and storage for the spindle sander and planer below (which also happens to add a great deal of mass to the bench – a big plus). The bench serves as and outfeed table. Normally, I can work up near the vise and rip off the table saw and not have issues… I just have to make sure I can clear the stuff on the bench top.
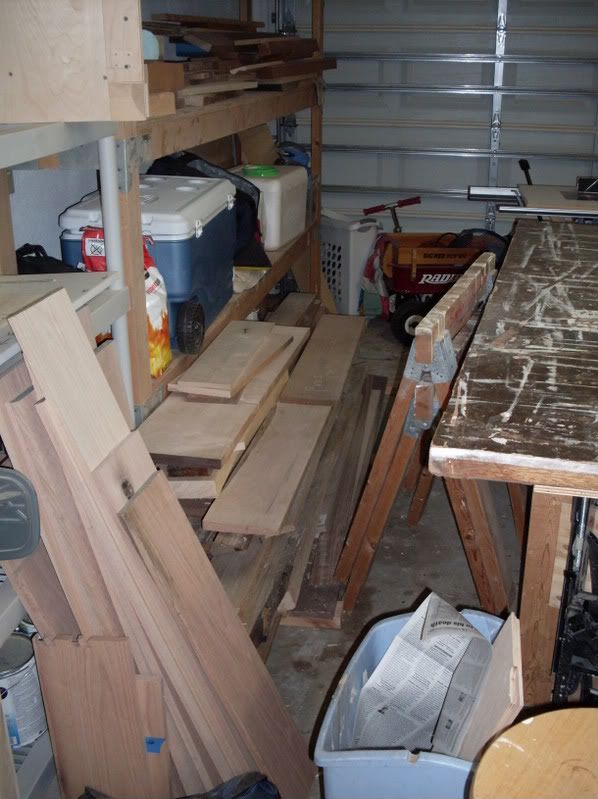
Shhhh… I don’t want anyone to know about this area… but most of my wood stash was given to me by some friends and other ‘people’ who don’t want to be named. It’s a decent pile of cherry, walnut, maple, poplar and oak. I could tell you where I got it, but I’d have to kill you after. Ultimately, I need to find a better place for this stack somewhere else in the shop (perhaps overhead). But, for right now, it’s an OK set up.
Now, for a quick matter of blog housekeeping – my wife and I are celebrating our 15th anniversary this week – so, don’t look for a link of the week this week. I’ll be back on Sunday, however, with a brand new quick poll.
Thanks for visiting!
As woodworkers, we are always doing something when it comes to the project we are currently working on. Buying materials, building or finishing – maybe even planning our next adventure. So, in this week’s poll, we wanna know…
[poll id=”31″]
 Sam Maloof is a living legend in woodworking. There. I said it. And, I doubt there would be many who would disagree.
Since he started building furniture, his projects have showcased the strong, flowing lines of his design and craft. His pieces have been sought out by presidents of the United States, museums and private collectors from around the world. His works have been emulated by thousands.
Now that Sam is 92 years old, his thoughts have turned toward the future of the craft and showcasing masterworks of up and coming artisans. The Maloof Foundation was founded in 1994 in the original structures of his home and workshop.
A principal responsibility of the Foundation is protection and conservation of the art, furnishings, structures and grounds entrusted to it. The residence itself is one of the most treasured parts of the collection, reflecting the living spirit of the arts and crafts movement throughout. The Foundation also makes the Maloof Center available to the public, artists and researchers and is developing a variety of programs, including visiting craftsmen, workshops, and arts and crafts exhibits. The Jacobs Education Center provides gallery and meeting space.
This site is definitely worth a visit to learn more about the master and his methods of work.