Category Archives: Shop Talk

A lighthearted interview

I’m a pretty laid-back kinda woodworker. I like to yuk it up as well. And, I’m usually the guy who does the interviewing of other woodworkers.

But, when Chris Landy at the Lighthearted Woodworker asked me to weigh in on some questions, hey, I was game! Chris has started a new feature on his blog called 12 Lighthearted Questions … where he sends over a dozen funny, irreverent and just darned unusual questions to other woodworkers to gain some insight into their lives, woodworking practices and other ‘things’.

What made this easier for me was that I wasn’t the first victim – err – I mean volunteer (yeah, that’s it) for this column.  Kari Hultman of the Village Carpenter got the Lighthearted treatment a few weeks ago, and I had absolutely no idea she waited in line two and a half hours to get Norm Abrams’ autograph! Her? A hand tool woodworker to the core?  🙂

What about me? When you read my interview, you might be surprised to see what gets me out of the shop, what tool I could never give away (because it’s just so darned bad) and just why my oldest son Dominic may have to see a therapist later in life.

Thanks, Chris. That was a lot of fun! I’m looking forward to finding out more about some other woodworkers… so I’ll have leverage on them when we meet up at the next woodworking event.


Which pro do you know?

Make no bones about it… woodworkers love woodworking. A simple bookshelf. A dining table that a family would gather around. A complex chair with challenging joinery.

Just as every shop is different and every project is different, what motivates every woodworker is unique. Yes, there are as many stories about how woodworkers got their starts as there are woodworkers. And there are all different kinds of woodworkers. Cabinetmakers. Turners. Chair builders. Luthiers. The works.

Ultimately, though, you can break woodworkers into two broad groups. Those who enjoy the product of woodworking, and those who enjoy the process.

I think the vast majority of woodworkers start off as product woodworkers.  The first move into woodworking is usually to satisfy a need for a piece of furniture. I wanted to build a blanket chest for my wife. I’ve spoken with woodworkers who started off with a side table. A picture frame. Something to make their spouse happy. A special gift for a child.

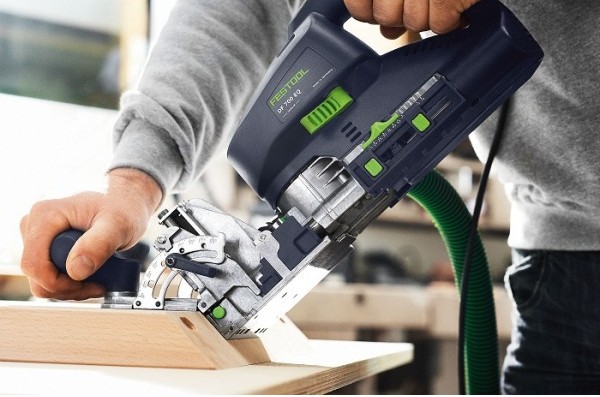
You’ll typically find product woodworkers using non-traditional ways of making joints. Dominos. Biscuits. Dowels. Router-jig cut dovetails. Believe me, there’s nothing wrong at all with this type of woodworking. This does not mean that we want to build cheaply or anything less than brutishly strong. It’s just that we see the steps involved in the process as milestones to pass on the journey toward completion.

Heck, I know I’m still a project-based woodworker, and I’m totally cool with that. For me, the big charge comes from moving that project into place at the end of the build and listening to the sounds of delight from the recipients.

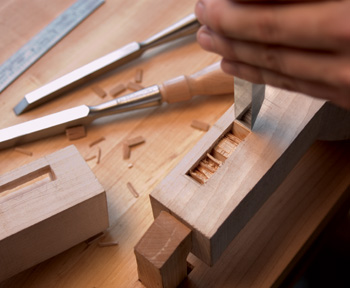
Process based woodworkers, on the other hand, find that the journey is the most enjoyable part of woodworking.  You can find process woodworkers reveling in the thought of enjoying the challenge of traditional methods. Want to make a board four-square?  Hand planes are the way to go.  Hand cut dovetails?  Even on utility cabinetry?  If it was good enough for the masters, it’s good enough for them. Mortises by the dozen cut with hyper-sharp mortising chisels?  You bet.

Process woodworkers tend to fall into the rhythm of the most mundane tasks. Hone a plane iron to razor sharpness? While it’s not the most enjoyable task in the shop, they’ll tackle it willingly. Build a hand-rubbed finish on a completed piece?  You betcha.

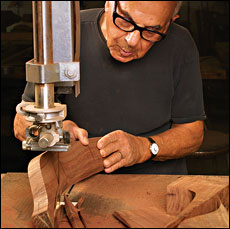
That doesn’t mean that process woodworkers are exclusively hand tool woodworkers.  Sam Maloof was definitely a process woodworker who was one with his bandsaw. You can add Michael Fortune to that list as well.

Process woodworkers tend to evolve into their role. I don’t normally run into woodworkers who started out saying, “Gosh, darnit, I always wanted to cut three dozen dovetails by hand.” But, once they see the amount of skill required to do accomplish feats such as these, the time put in working like this is seen as a wise investment.

Oh, and at the end, they get a beautiful piece of furniture.

Why make this observation? I dunno…  But, I am sure I’m gonna get a few comments on this one!


If this guy can do it…

There are three things we really need to get through life…

A family that loves you. A strong belief in yourself and your deity – if you so choose. And, great friends.

That’s why I like the folks I hang out with. I’ve met many fellow woodworkers in person (and, I know we’ve shared a few libations at places such as the Hofbrauhaus in Newport, Kentucky), and I’ve enjoyed the opportunity to get to know you. I also have a bunch of friends in my neighborhood, and those I have met in my professional career.  One of the people who I have forged a great bond with is my friend Bob. This guy is a public information officer at another agency here in the Tampa Bay area, and we always work closely on projects – especially hurricane preparedness.

Bob, his wonderful wife Pam and their daughter Caroline are always a ball to hang out with. We’ve gone to the beach together, bowling – heck, Bob has even rented a boat and taken us out on it.  Lots of fun.

The best fun, however, happens at Bob’s house. Once a year (it’s actually coming up soon), Pam makes the ultimate Italian feast – a Timpano.  Never heard of it?  You should.  It’s a delicious concoction of goodness – meatballs, sausage, pasta, gravy, cheeses.. the works – wrapped in a crust and baked. Even better, rent the movie the Big Night and check out the last half hour of the movie.. and don’t do it on an empty stomach.. you will be very hungry after!  While Pam is out in the kitchen riding herd on the food, Bob is the man in charge of the wine.

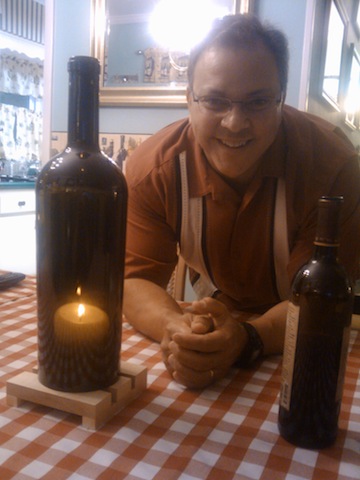
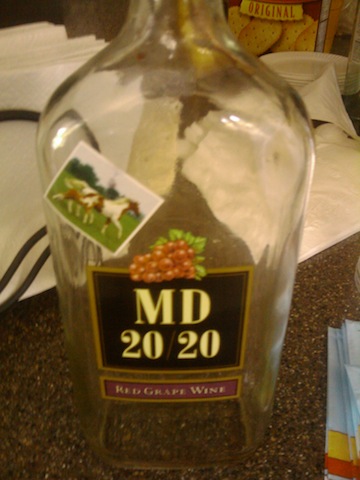
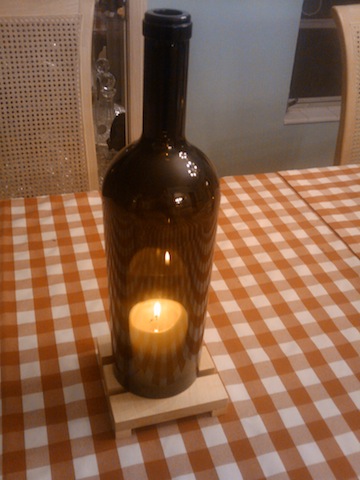
No, not THAT wine… good stuff. Amarones from Italy. California Zinfandels. Delicious stuff.  In order to make the ambiance complete, Pam has sewn the obligatory red and white checked  Italian restaurant tablecloth, and Bob has obtained a pair of candle holders shaped in the form of wine bottles.  That, unfortunately, is where the trouble came in.

You see, they are shaped like wine bottles with no bottoms. When you put them over lit candles, there’s not enough air flow to keep them burning.  Bob was puzzled as to how to keep them burning, when he hit on an idea. He asked me for some advice, and I told him to go ahead with the plan.

Basically, he picked up a piece of maple and cut some short pieces. Not bad for using a circular saw… Using only glue, he built a bit of a grid as a stand for each of the holders to provide some airflow.  He wiped on a little bit of polyurethane to seal the wood, and at last year’s timpano night, they made their big debut.  The candles burned like a champ, and the ambiance was nothing short of fantastic.

As we ate the delicious – and copious amounts of – food, I told Bob, “You know I have to take pictures of this and post it on my blog.”

He smiled and said, “Come on, man. What are friends for?”


Better use of space

I am king of my space in my shop.  Well, almost king of my shop.

After all, I do have to accommodate a washer and dryer. And, I have to store various picnic implements. And, there’s always that overflow of household products from the run to the wholesale store. But, other than that, I am king of the shop.

Yup. All 24 x 22 feet of it. Wait a minute… that’s not that big of a space after all.  By golly, I had better be able to use the space in my shop effectively, or I am going to be in a world of hurt.

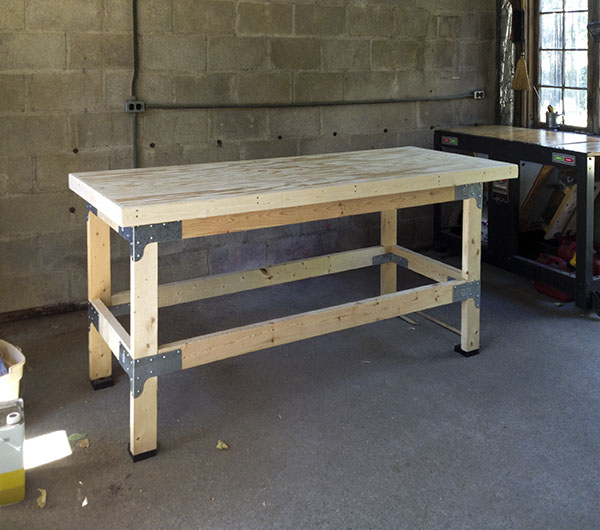
That’s exactly where I am right now. My shop is a great place to stop and work a spell. There is my bench, a front bench area where I can stage materials and a side bench area where my plane till hangs out and I have storage underneath. I’ve built lots of great stuff out there, but one place has always presented a challenge for me – the area behind my bench.

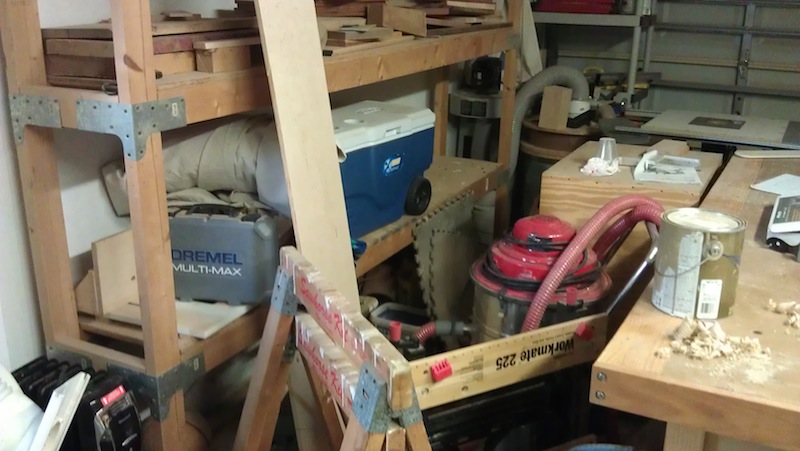
Yeah, this is not the place I am most proud of.  I have always had trouble with this area – it’s cut off from the main work area and you have to round the bench to get there.  It used to hold wood in a big stack behind the bench, now it seems to just hold a crapload of stuff I’m not sure where to put. The shop vac. A rolling stand I built for my portable drill press. Saw horses. The works.

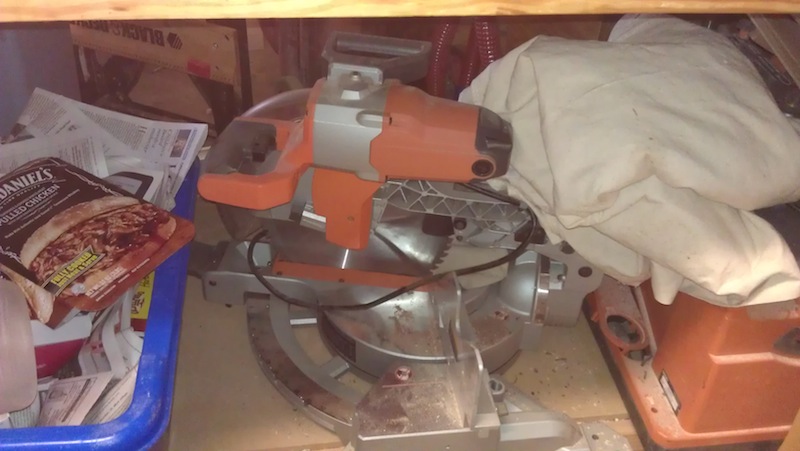
While I’m thinking about this, I also realize that there is another tool I would love to get more use out of – my miter saw. That baby has been sitting under the workbench between the spindle sander and the recycling bin for years now, just collecting dust until I am ready to use it.  But, what I would really love to use it for is cutting long boards down to size. Maybe set it up someplace where I can set up a fence with a siding stop on a measuring tape…

Wait a minute… I’m getting a picture… how about building a miter saw bench/work station. With storage underneath and shelves above. Someplace I can keep the miter saw set up, maybe drag out a few pieces of tooling and use them there as well… I like it.  Of course, this means I’m going to have to get rid of the shelves that I have already built, but that won’t be a problem. In fact, I would be able to cannibalize some of the parts of the existing shelves to build the new unit.

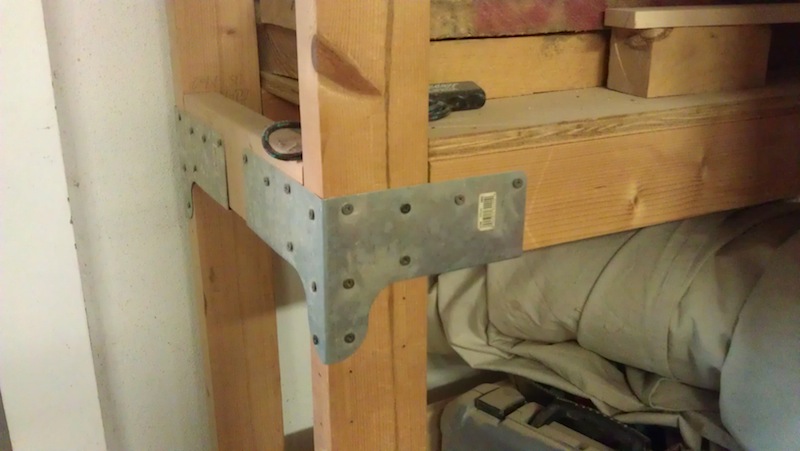
The shelves are built with these Simpson Strong Tie connectors and common 2 x 4 studs, with a few strips of 3/4″ plywood.  And screws. Lots of screws.  But, if I was able to pull these shelves apart, I could easily reuse the wood to build my miter station.  And, of course, the ties could be used in the new storage/workspace area to help build a solid unit that could take a lot of abuse.

There are lots of plans out there using those Simpson Strong Tie connectors, and I’ll spend the next few weeks drawing up some plans for the new station. I’ll want to make sure that my new work area has all of the bells and whistles I’ll need to get the best use out of the saw, and I’ll move my bench a little farther into the room to gain access to the area between the bench. Heck, I’ll throw in some more storage shelves and a ‘garage’ area underneath the work station to hold my shop vac.

Yes, it’s looking like a new project may be in the works here.

Shop short cuts

A few years ago, I embarked on one of my most ambitious projects.  It wasn’t just one woodworking piece – it was nine copies of a wine rack plan I had seen in Wood Magazine.  The holidays were just around the corner, and I knew that the wine lovers in the family were just going to love having their very own Tom Iovino creation to rest their fine bottles on.

The one thing I hadn’t counted on was just how many pieces I was going to need to cut in order to make these projects.  Each one had four uprights, four stretcher, four curved bottle holders and two feet.  Add in that each stretcher needed to be tenoned on both ends and each upright had to have two mortises cut to receive each tenon… well, I quite literally had my work cut out for me.
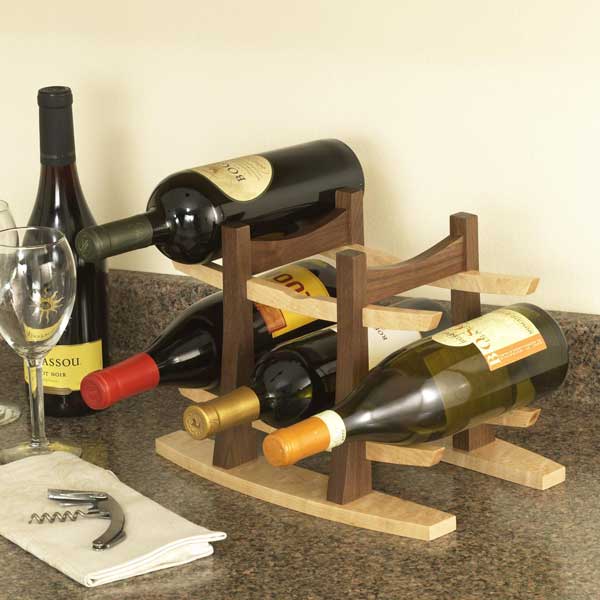

I also knew that I wanted each of these projects to look identical. Well, maybe not identical – I was using different kinds of woods for the project pieces – but similar in shape and form.

Cutting each of these pieces individually was going to be out of the question. I mean, if I  had to set the cuts for each of these components by eye looking at pencil marks, it was going to take a long time to set up for each operation, and there was little to help ensure that the cuts were going to land on exactly the right place.  With the time ticking down  toward the holiday season, I was going to have to work smarter, not harder, to make my deadlines.

That’s when I turned to some tried and true shop short cuts that helped to knock this big job down to size.

The first had to do with the measurements.  Now, I’m sure I could have brought out a steel ruler to mark the depth of the tenons I had to cut, but how was I going to be sure that I hit the right tick mark every time? And, a combination square would work well, but, ya know, if it ever got reset for another measurement, how was I going to remember the exact point I had set it to at the beginning?  No, my friends, I needed to work with a known distance.  That was conveniently provided for me by a set of set-up bars.

These handy little blocks were perfect for setting the depth for my mortising gauge so I could scribe the depth line for the shoulders of the tenon. This way, I could keep coming back to the  correct measurement time and again without having to re-measure.  Pretty convenient.

Another thing I did was to set stop blocks on my miter gauge to establish the width of a set of notches I had to cut. This way, there was no need to eyeball a pencil mark on each piece to ensure the right width of notch.


I was soon using shortcuts like this in other parts of the project. MDF spacers to ensure that glue ups were nice and square.  Templates so I could mark and cut the curves on the pieces, and later pattern rout them to the proper shape. Why, with the proper short cuts, I was nearly invincible!
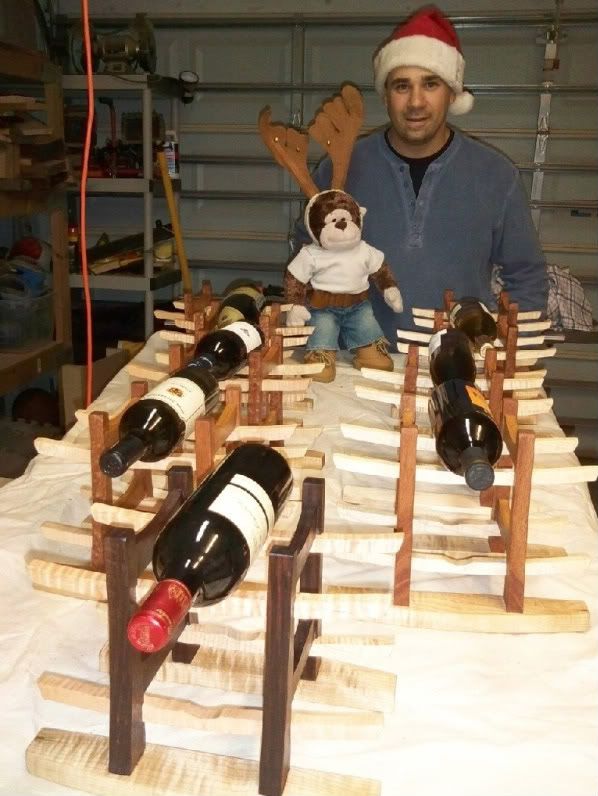

As near as I could figure, my little short cut tricks saved at least one day in the shop on some very monotonous, repetitive operations, and made the pieces look pretty darned sweet.

And, the proof for me was the sight of so many happy faces when the recipients opened their presents. It just goes to show you that simply taking the right shortcut to completion can make your shop time a whole lot more rewarding.

==================

And, remember everyone – this Saturday at the Tampa Fairgrounds, we’re having the first ever Modern Woodworkers Association Florida meeting!  Be there or be out of square!


Short and useful

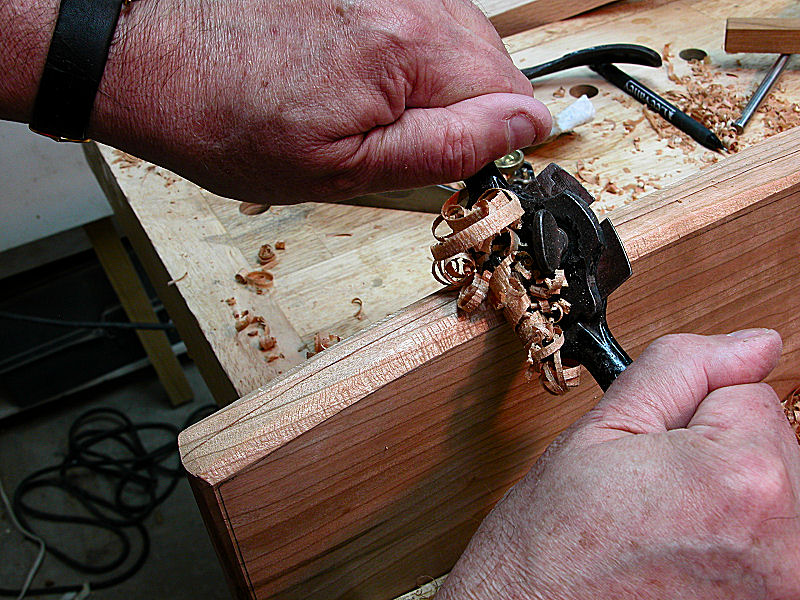
In the past I have written lovingly of my spokeshave. What a great little tool. That thing can sweeten up curves – both inside and outside – with no trouble. It can do a little bit of chamfering work. Heck, a sharp spokeshave is just plain handy to have around.

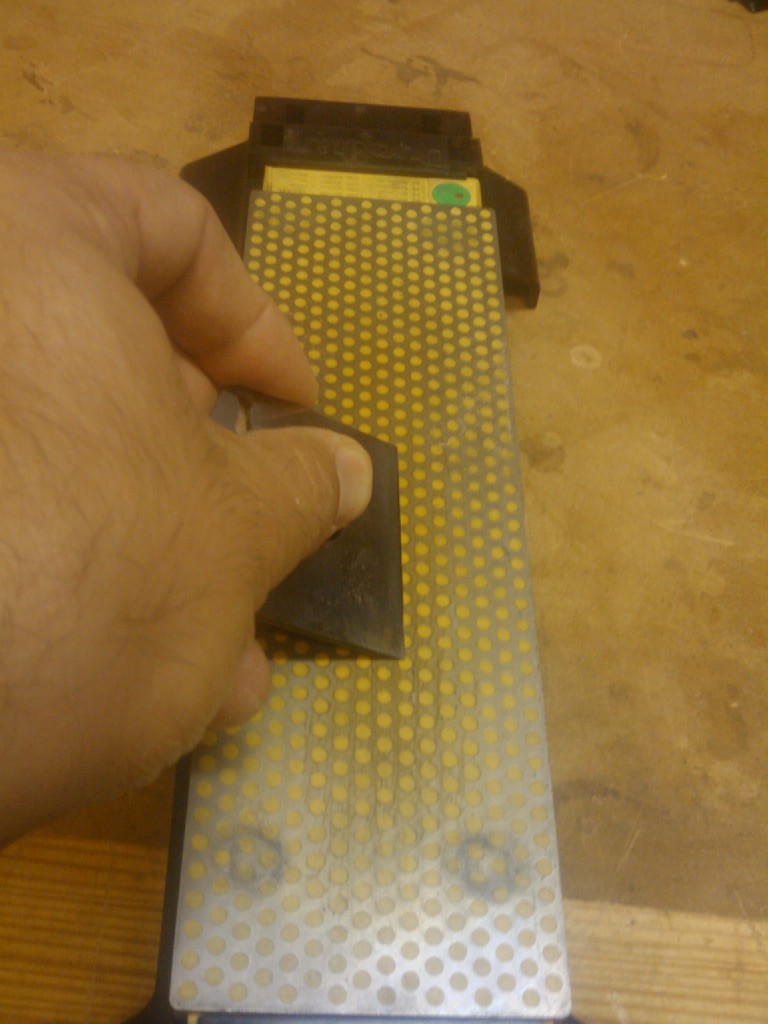
Note the key word in that last sentence – SHARP. That’s where I – and many other woodworkers – have trouble. You see, the iron on the spokeshave is just so short, it’s not easy to get a good grip on the sucker. I tend to scrape my knuckles against the sharpening medium as much as the blade bevel. And, after working the blade for a while, I tend to cramp up.

What I needed was a way to hold the blade more comfortably while getting a precise honing on the bevel. It may seem like a no-brainer to just put the blade into a sharpening jig and have at it, but there’s a problem with that – most side-gripping jigs can’t get a good purchase on the short spokeshave blade. And, holding the blade at a consistent angle is pretty darned important.

One low-cost solutions I have seen is to tape the spokeshave blade to a larger plane iron using duct tape, and then using that larger surface to get a better grip for either freehand or jig-based sharpening.  It’s a pretty clever way to use what’s at hand, and, if you aren’t using the blade that often, it will certainly work for you.

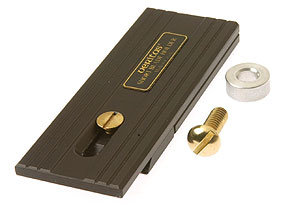
There are other methods to secure such short blades. For instance, Lee Valley offers a short blade holder that uses magnets and a stop block to secure shorter blade for sharpening.

On my Tormek, a multi-purpose flat tool rest fills the bill for short blades.  It’s a simple matter to adjust the platform on the guide bars to get the right angle, and it creates a solid base to rest the blade on while doing the honing. Quick. Easy. Back to work. Gotta like it.

While sharpening spokeshave blades can be a bit of a hassle, there are definitely opportunities to make the job a lot less onerous. Which, of course, leads to more time at the bench. And, isn’t that what we are all here for anyway?

Stuck on you…

It has been a while since I last used polyurethane glue. I found it messy, a hassle to use and, once the container was opened, it would foam up in my humid Florida shop  into a hard blob of goo in the bottle. Yuck.

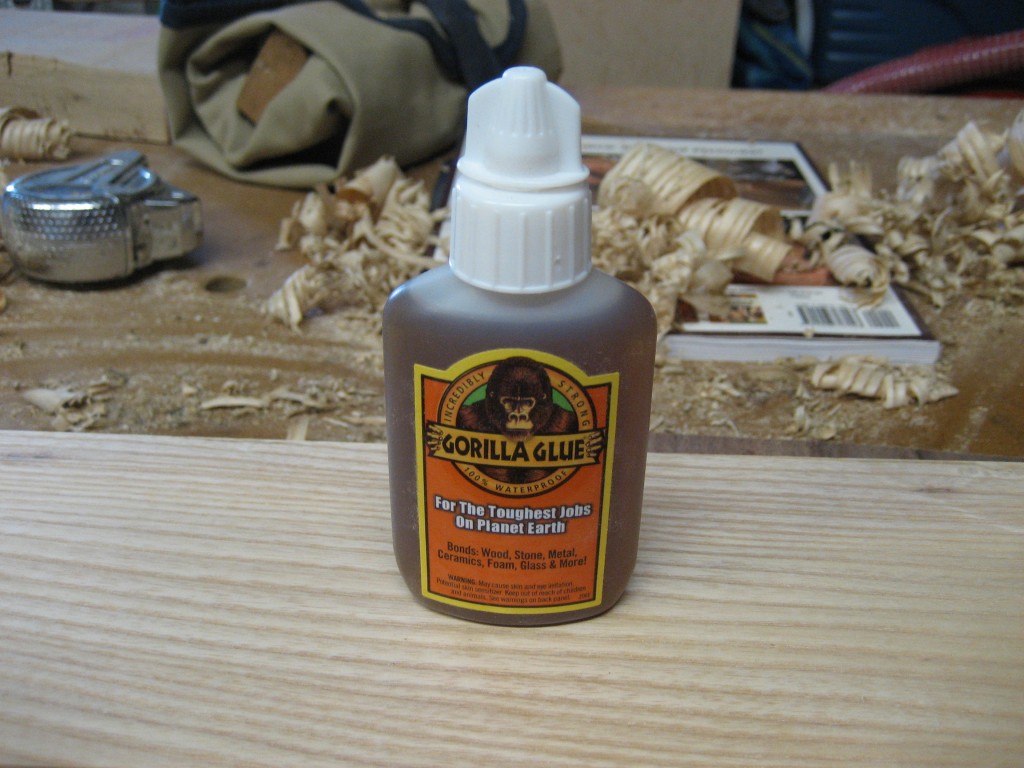
Recently, though, the folks at Gorilla Glue sent me a few bottles of the stuff to try in my shop. They say that the new stuff is a better formula, and they have improved the cap so the stuff won’t go bad.  So, why not give it another go?

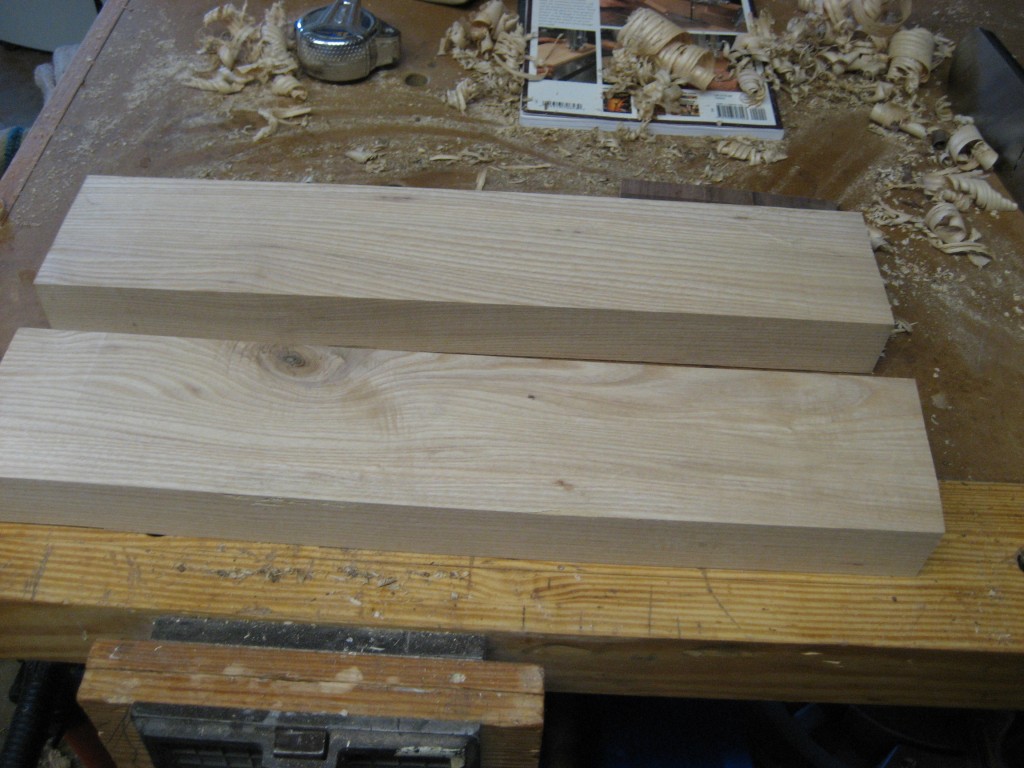
I’m in the process of building my first drawer-based bandsawn box, and I needed a thick piece of wood to build it.  I didn’t have anything thick enough to do the box on its own, but I had a nice big block of white oak that had been sitting on my lumber rack for a long time. It measured out to 7/4 thickness had a big crack down the middle. That wasn’t going to be an issue, because I ripped the board down the middle with my band saw and planed up the pieces. It looked nice.

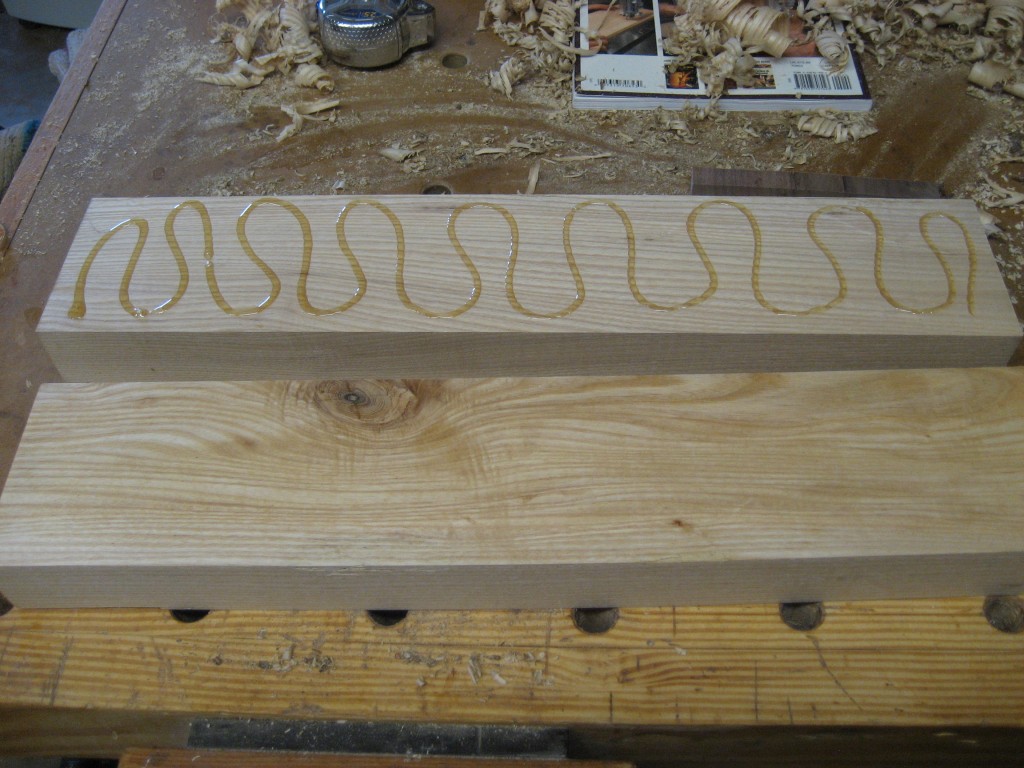
From there, I followed the instructions on the bottle.. Imagine that.  Since this glue cures in the presence of moisture, I took the time to carefully dampen one of the mating faces with a little bit of tap water.  On the other face,  I took my time to lay down a good bead of glue and then spread it with a wood scrap.

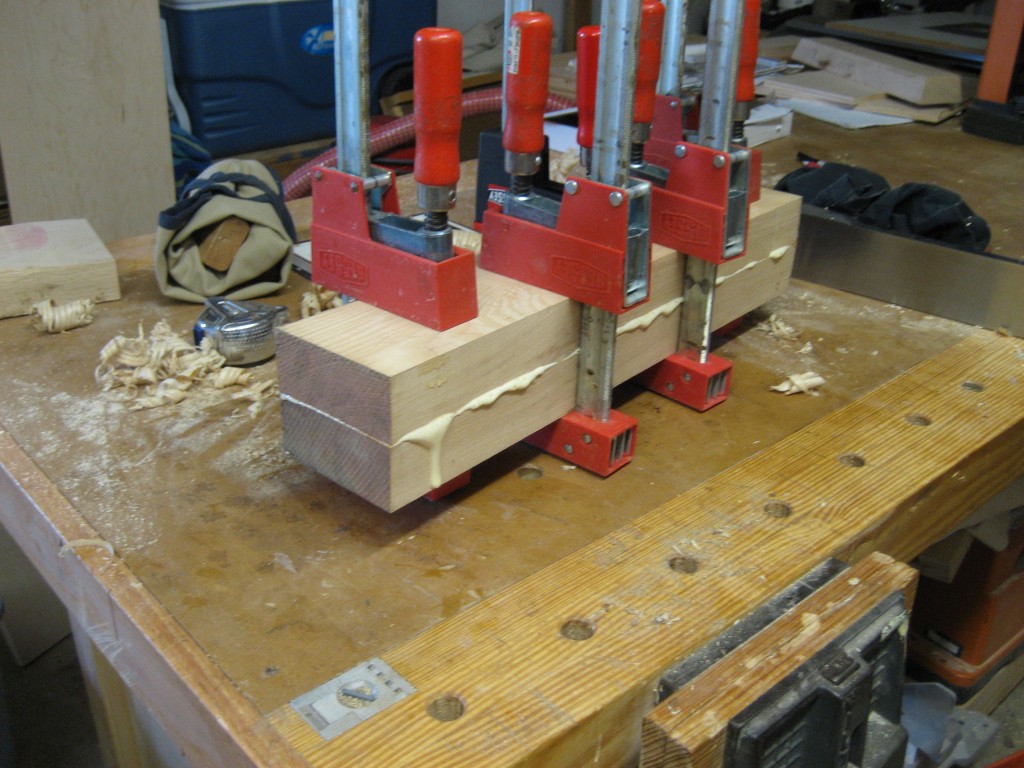
Once everything looked good, I placed the dampened face of one piece on top of the glue-covered face of the other. I broke out my shorter K-body clamps and put a good amount of pressure on them. As expected, as the glue began to cure, it foamed up. It was pretty cool to see happen…

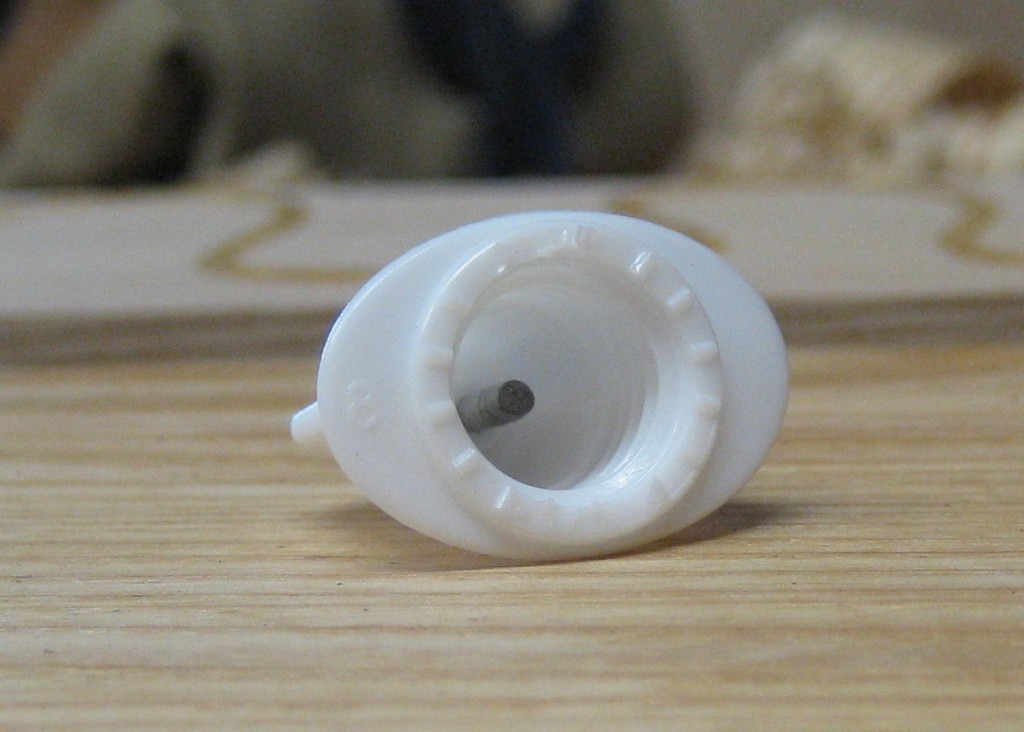
Once that was in the clamps, I wanted to get the bottle sealed up carefully so I wouldn’t have ‘issues’ later. The new cap from the folks at Gorilla Glue does two things to help keep moisture out.  First, it’s a very tight screw-tip fit. This seals out air better than the old style of cap. The other tactic they are using is a steel pin mounted in the cap that inserts into the neck of the bottle. This presents another physical barrier preventing air from messing up the glue in the bottle.

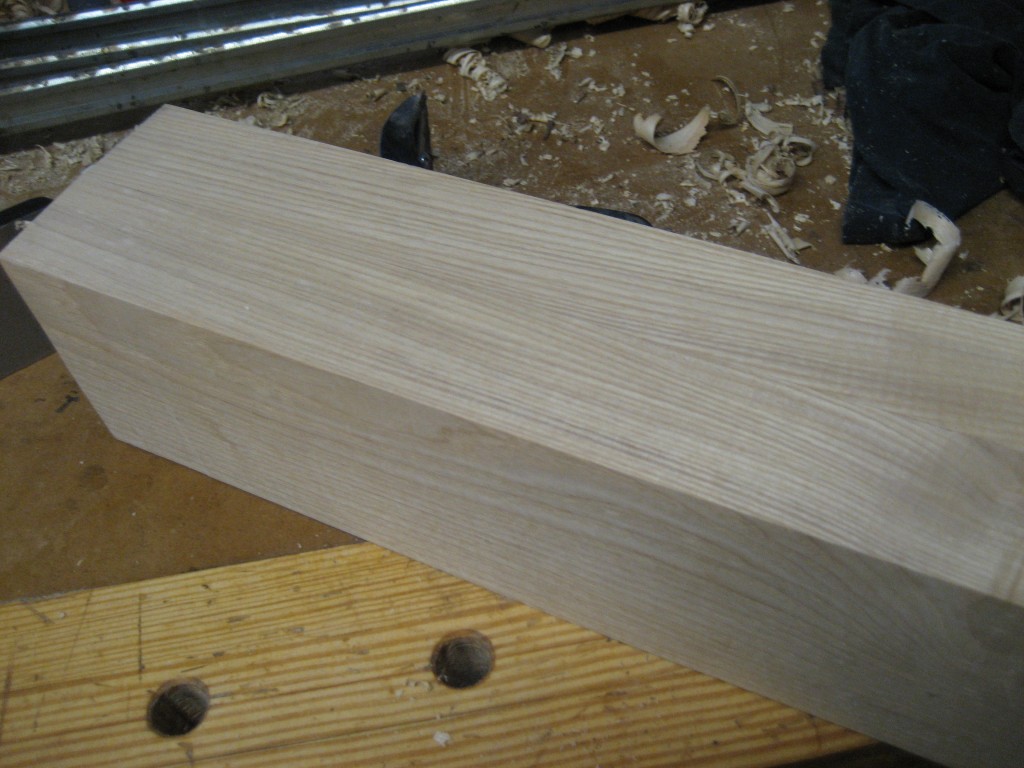
Once the glue cured (I gave it 90 minutes), I took the assembly out of the clamps and scraped off the foam. Then, I ran the block through the thickness planer to ensure everything was nice and flush.  It seemed to turn out good…

I stared working on the bandsawn box, but my saw decided to chew up and spit out the lower tire off the band wheel… Crap.  Oh, well, time to buy a new tire for the saw. I’ll have to put this project on hold until I can get the replacement part. And, I’ll have to check on the bottle of glue to see how well the contents have fared with the new cap.