Category Archives: Shop Talk

Pack it up

During the last Modern Woodworkers Association podcast, Roy Underhill engaged us in an interesting discussion about hand tools.  No, it had nothing to do about them being superior to power tools, although he did allude to that later on.

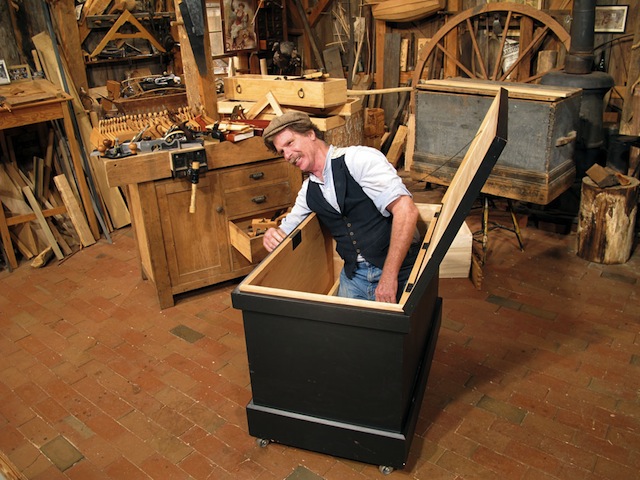
Roy in a box

No, this part of the conversation was about their portability.

Think about one of the most commonly heard complaints by woodworkers.  No, it’s not the ‘I don’t have enough clamps,’ one… Instead, it’s usually about the quest for more shop space, especially as it pertains to stationary power tools.

Add a table saw? You need more space. Adding a jointer? More space. Bandsaw? You betcha…

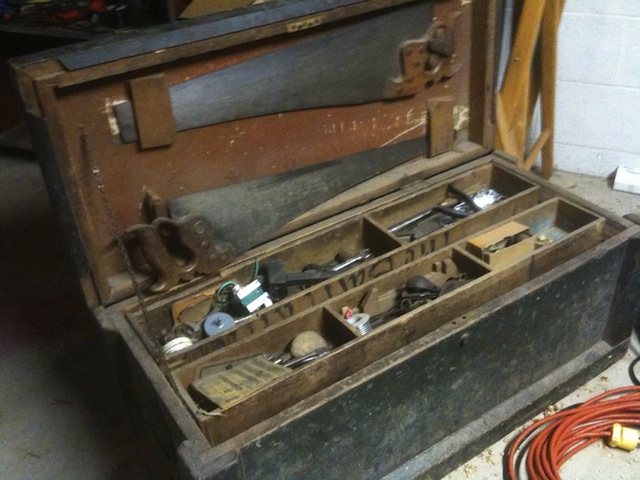
A classic old tool chestThis can be avoided if you worked primarily with portable power tools, such as track saws, jigsaws and routers. Yes, you need some type of solid work surface – such as a workbench – to work safely and accurately, but you can limit how much the shop grows.

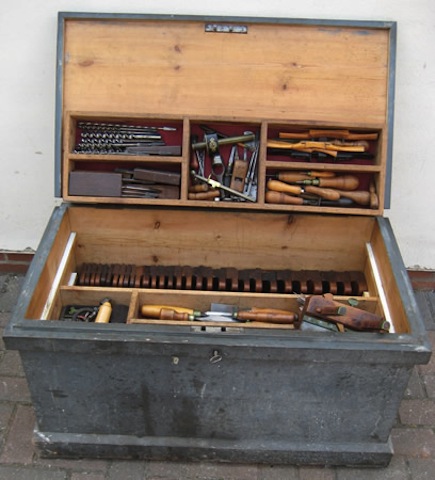
Hand tools – their very nature – don’t require much more than you would need to use for portable power tools. A solid work surface or two. Add enough space to place a chest of hand tools, and you are in business. Some of these hand tool chests, when well built and organized, could (and have) hold all of the tools that a skilled cabinetmaker would need in his or her lifetime.

A well-loved tool chestOf course, when you throw in items such as pole or treadle lathes, the space requirement does grow, but it’s incredible still to think that woodworking can happen even in some of the most modestly sized places.

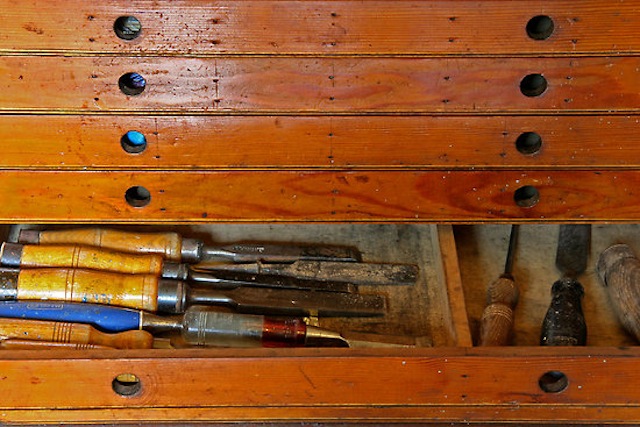
Hand tools in a drawerThis week, at Woodworking in America, I hope to pick the brains of a few skilled hand tool woodworkers to see how they stock their tool chests. I’d love to see how they make their magic – and keep the tools to make it in a smallish tool chest…


Cutting some crud

Growing up, I couldn’t help but notice that my mom kept a fastidiously clean home. I mean, the floors were cleaner than some restaurant plates I have eaten from. Beds were made, everything was dusted and I feared for any dirt that made it into the home.

Mom also had a pair of housekeeping annual events – spring cleaning and fall cleaning. I’m sure most of you know about spring cleaning, but to her, the fall cleaning was even more important. After all, we were about to close the house up for the next six months, so it had better be clean!

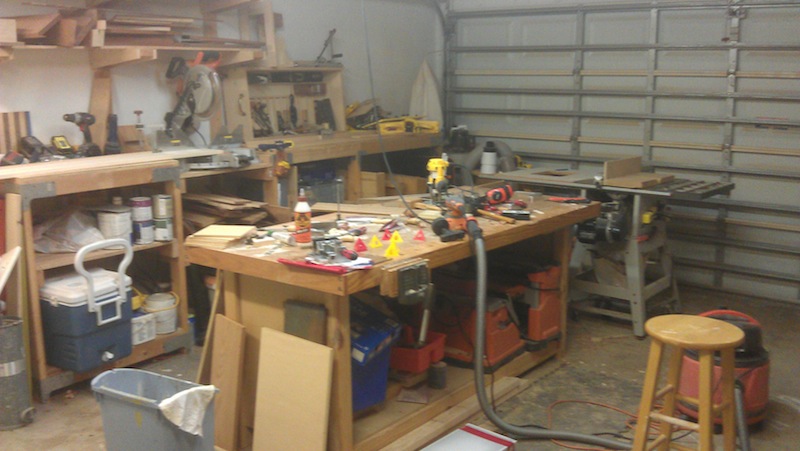
No, I'll never keep the shop that cleanWhile our home is kept tidy, Rhonda and I don’t set big annual clean up days. But, in the shop, you bet I do. Fall cleaning is a tradition in my shop, just before I get to the most productive time of the year in my shop. Think about it – all summer, I would drag myself out into the very hot shop, trying to get work done as fast as possible, before the heat gets to me. So, there are some routine maintenance things that I tend to put off in the name of getting the projects done.

But, with the summer heat losing its grip, the time came to do a little work in the shop. Some of the tasks I tackle include treating all of the cast iron tops, cleaning bits and blades and ensuring that everything is organized where it needs to be.

That’s why I was intrigued when my friends at Bora Tools told me about some of their new shop maintenance products and sent me a box to check out.

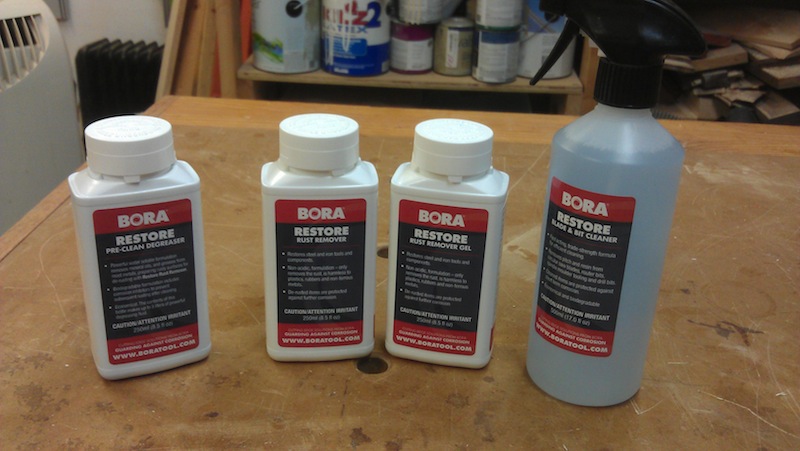
The cleaning crewI had heard about products like these, but never had the need to pull the trigger. But, with the old beat-up hand planes I have scrubbed clean, the pre-clean degreaser, and the two rust removing products will come in handy the next time I get my hands on one. And, who can’t do with a good blade and bit cleaner?

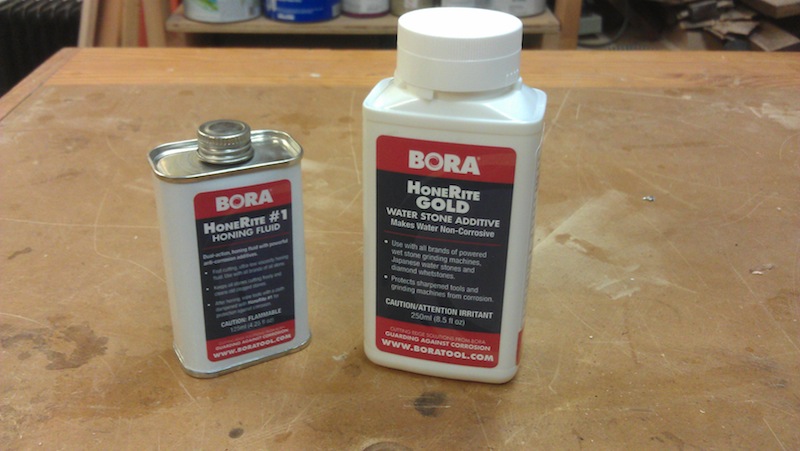
The honing stuffThey also have some honing products.  The small metal can is honing fluid for oilstones. I do have one with a very fine surface, so I’m looking forward to using this. The larger bottle is an additive to add to water stones and water grinders like my Tormek. I’ll give those babies a shot later.

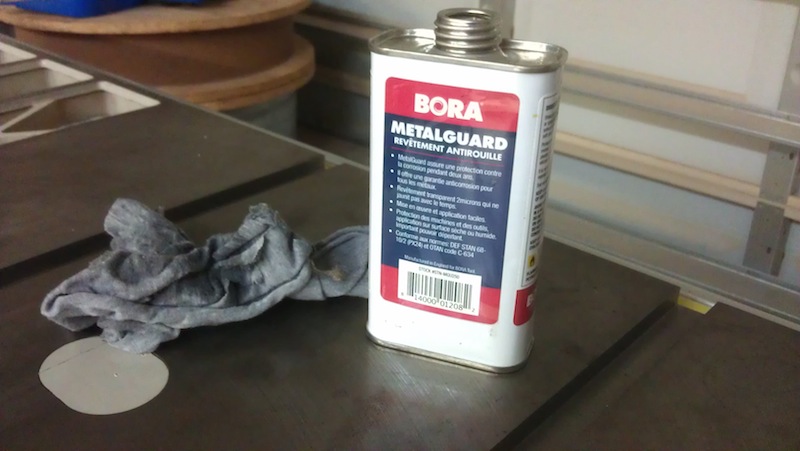
The protective itemsAnd, once you get everything nice and clean, it’s important to protect those surfaces. The kit contained a wipe-on metal protectant, a container of protective wax and three moisture absorbing disks. These will definitely come in handy.

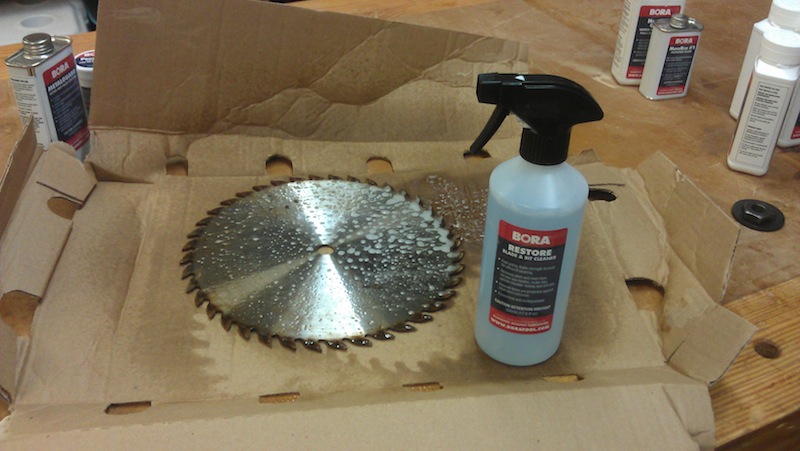
Spray it onThis weekend, I figured I should start with my table saw. So, I took the splitter, throat plate and blade out. I thoroughly vacuumed the inside of the saw’s body out, and then got to work on the blade. I sprayed the cleaner on to the blade  as it sat on a piece of cardboard. I waited the requisite five minutes, and blammo…

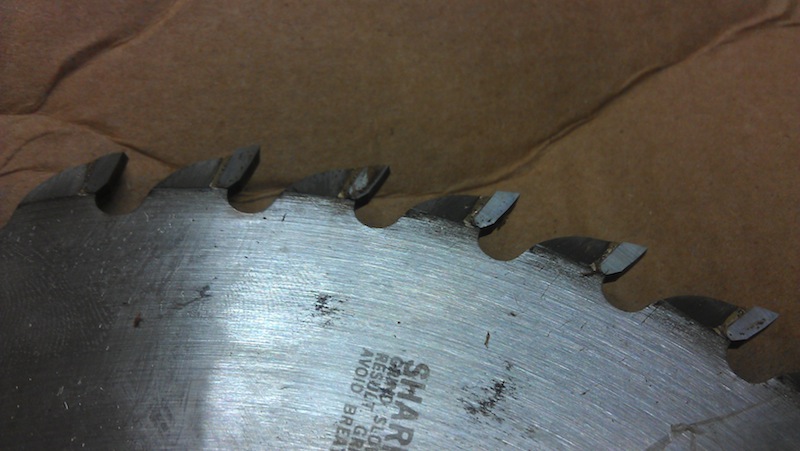
Gunk Be GoneThe blade cleaner worked very well, with the accumulated gunk simply wiped off with no scrubbing. You can see the difference between the leftmost dirty teeth and the rightmost clean ones.

Wipe on anti-rustHere in Florida, we are always dealing with rust. It’s a hazard that comes with living in a subtropical environment. With the saw’s table exposed, I wiped it down with some mineral spirits, which cleaned off the old layer of paste wax I had applied, and then wiped on a coating of the anti-rust product. It made the surface of the saw very slick, and I’m looking forward to more rust-free service from my decade old saw.

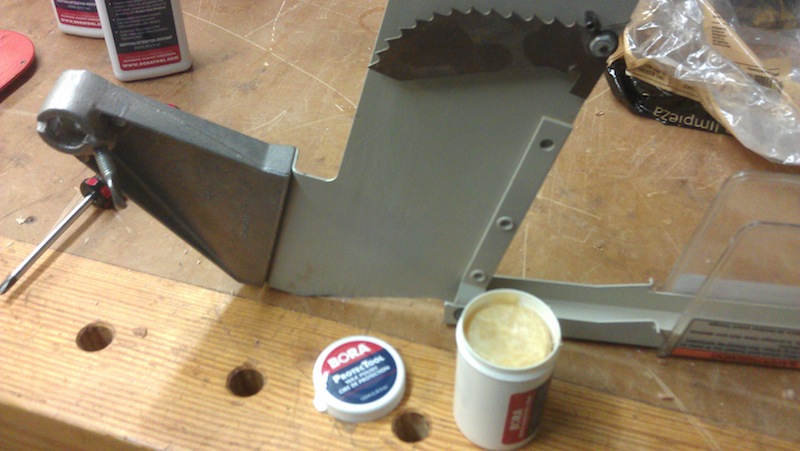
IMAG0075While I was at it, I took the opportunity to use the wax product to coat the splitter, fence rails and the body of the rip fence to ensure more effortless gliding. I checked everything after I reinstalled it, and the saw is ready for its next project.

I still have some more cleaning to do around the shop, but I think this was a very important first step in getting the shop ready for the busy fall projects.


One project ends, a new one readies…

Well, it had to happen.  The Confirmation box was finished just in the nick of time, and she and my youngest son Steven flew to Baltimore to deliver it to my niece Katie. After the big ceremony, everyone went back to the house for a big party. That’s where Rhonda presented the box to Katie.  I’m gonna go out on a limb here and say she dug it.

Rhonda and Katie admiring the box

While they were gone, I had a list of to-do’s that was about as long as my arm.  I had to paint a few walls, grocery shop, laundry, drive my oldest son Dominic to two day-long events, coach basketball… well, it was crazy.

But, I had another job to tackle.  You can imagine what it was…

Carving leaves a mess

Yeah, wood carving leaves a big mess.  I mean, seriously. It seemed as if all of my carving tools, sanders, glue bottles.. the works were out on the bench. And, all of it was covered in sawdust, wood shavings and plane curls. The works.

So, I had to spend a little bit of time to get the place back in order.  Surprisingly, this enormous mess took less time than I thought to get whipped into shape. All of the planes went back in the till, the carving tools into the drawer, the finishing supplies back into the cabinet. As I went along, I can remember my many firsts on this project. I can remember how I thought there was no way I was going to get this done. And, the satisfaction of getting the project done in time.  This was going to be a project that I was going to remember for a while.

And, suddenly, it was done. That unbelievably daunting clean up task was complete in no time, and the shop was back in ship-shape.

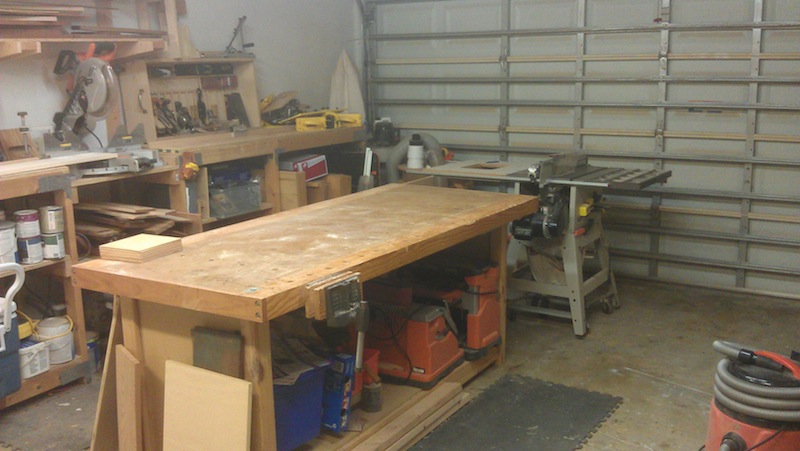
A clean shop is ready to go

Now, it’s prepared for the next project… and the memories it is going to bring.

My secret board stretcher

So, I’m trying to finish my niece’s hope chest so I can get it to her in time for her birthday. Yes, this is the hope chest I wanted to get done BEFORE I traveled up to teach at the Emergency Management Institute back in August. Yes, I’m slow!

I am using some Peruvian Walnut that was sent to me by my good friends at Bell Forest Products. Man, that stuff is SWEET! Kind of a dark purplish brown with some very interesting grain patterns. I spent this past weekend doing the cope and stick profiles in the rails and stiles, and those babies are all ready for assembly. But, say my niece doesn’t want everyone to see her belongings? I mean, this chest seems to be missing something…

Oh, yeah, panels!  I knew I would forget something!  That’s why I went looking through my wood pile to find some contrasting wood.. maple, perhaps. Maple is one of my favorites. The only problem? I didn’t have a board wide enough or long enough to make all six panels (the front and the back faces have intermediate stiles on them), as well as making the lid. Hmmm, I was in a conundrum, so I went locally to Weiss Hardwoods to see if they could help.

That’s when I ran into the mill guy Earl. Now, Earl has an eye for this kind of thing, and when I was describing what I needed, he scratched his chin for a minute, and then walked over to a bunk of rough maple. He was going to take a piece from this one order he had collected… it had some figure on it, and the guy he was milling it for probably didn’t want any of it.

Earl did his magic, planing, jointing and then sanding the piece on the wide-belt sander in the shop. That piece positively glowed when he took it off the sander.  He cut it into two seven foot long sections and helped me trundle it off to the car.

When I got home, I knew I had it nailed. That piece was plenty long for me to get panels cut out. I was feeling so full of myself… until I had a very bad thought. Would the piece be wide enough. Now, it’s not often that you get a beautiful piece of maple that is 14 feet long and 10 inches wide. The only problem, though, was that I was going to need panels that were 10 1/2 inches wide…

You have GOT to be kidding me. If I put the chest together like this, I was going to need a board stretcher to get the extra half inch. I looked at the board, then at the milled pieces of the frames. Then back to the board. As I pondered the kind of major surgery it would take to shorten the rails so they would fit, an audacious idea hit me… why not just make the board wider by adding two 1/4 inch strips to the top and the bottom? After all, most of these strips would be rabbeted to fit into the rails and stiles, right? I reached in the scrap pile, cut some lengths of 1/4 inch wide maple strips and glued them on.

After the glue dried, I planed  and sanded the strips flush. Bingo. They were on there solid as a rock. Now, all I have to do is cut the panels to length, rabbet all four sides, and get those panels into the frames for the glue up. Just a little more work, and I can send this project to one very happy soon-to-be 16 year old.

Let there be shop light

When you woodwork, you really need to be able to see what you are doing. Clearly.

Part of that is being able to extract the dust, chips and shavings from your work area. You probably also want to wear some high quality eye protection – corrective if needed. And, you need light. Lots of it.

There are many schools of thought when it comes to lighting your shop. Some advocate 100% natural sunlight, allowing you a raking view of the project you are working on. Others recommend flooding your shop in scads of overhead light bright enough of attract the attention of 747 pilots on a landing approach.

For me, well, my lighting situation stinks. Although it is much better than it used to be. At one point, the garage had one single ceramic screw-in light fixture. That was it. Man, was that place a dungeon.

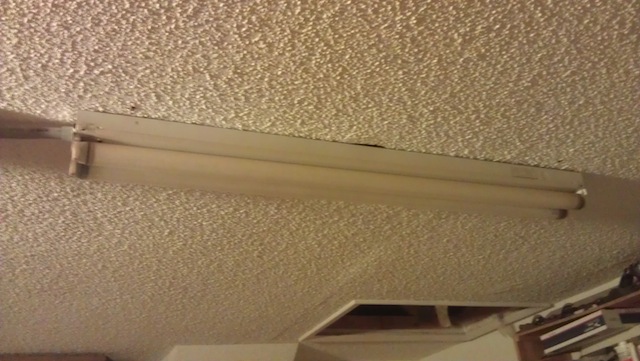
Since then, I have installed a pair of two-bulb fluorescent lights. Those suckers throw a whole lot more light than used to be there. And, for a while things worked out well. I even added a hanging shop light over my bench to get some additional light where I was working. But, ya know, that arrangement always seemed awkward. I had to turn the lights on, and then pull a switch to add more light. Invariably, I would forget to turn the light over the bench off, and there were times when I would walk out to the shop after a day or two, and discover it hadn’t been turned off.

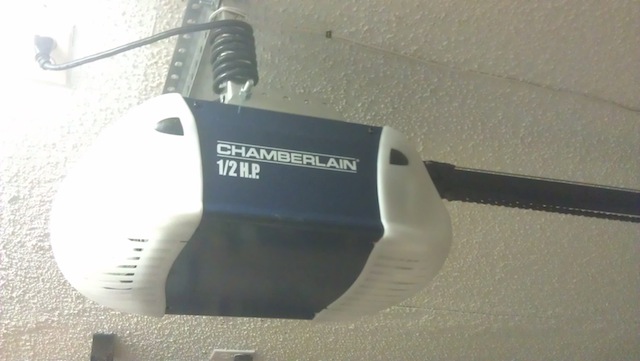
So, I decided to do a little something about my lighting situation. First things first, however. My automatic garage door opener hadn’t worked in about two years. I would manually open the door when I needed access to the shop, but the vast amount of time, it would stay closed. Recently, the big home improvement mega store was offering a great deal on a garage door opener, and installation included lubrication and balancing of the garage door.  The best part?  The unit came with two lights – one in front and one in back. I put a pair of compact fluorescent light bulbs in them that have the equivalent of 150 watts. Since the run on considerably fewer watts than advertised, they really boosted the light output.

What next? Well, My plan is to reuse the existing lights, placing them in more advantageous locations to help light more of the shop. The next step is to install a new eight-foot long shop light in the middle of my shop. This unit is pretty cool, because it uses four four-foot long bulbs, instead of the much more expensive eight foot bulbs. I will also link the three separate lights together so they all come on with a flip of the switch. With these new lights and the garage door opener, it will definitely brighten up the area.

I also need to put some lights up at the miter bench to throw off a little more task lighting, get a magnetic base light to get some more light over by the band saw, and I think I’ll be good to go.

And, if I do it soon, I might have all the lighting upgraded before I have to start wearing cheaters!


Found space

My shop fills a standard two-car garage in a typical Florida ranch house. Which means I have about 400 square feet of area to work with.. a pretty decent amount of floor space to do woodworking. But, only if it’s laid out well. Otherwise, you are going to end up with huge areas of dead space and tools you can’t access.

I recently reclaimed a ton of space when I built my miter bench setup across the back wall of my shop, but I still needed MORE space!  Why? Well, I have got to have some more locations to set up a few new tools. But, where the heck will I find it? Knock down a wall and expand?  I looked around the shop for a while, and then a thought hit me…

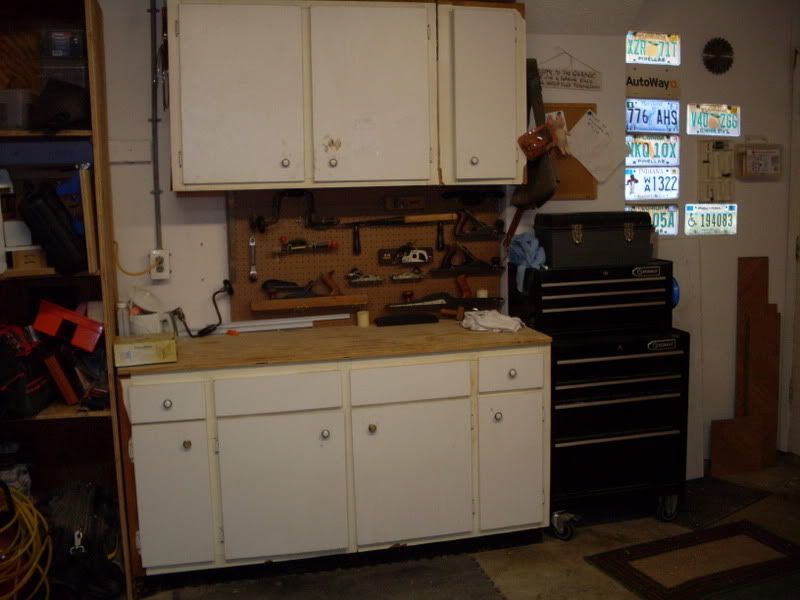
What exactly is in this side bench?  This is an old base cabinet I had gotten from a friend who was redoing his kitchen. And, I had put it into the shop about six years ago, and it was a nice area to put some planes onto, and it collected a lot of stuff that just ‘landed’ in the garage from the living area. But, what was inside?  I decided to reach in to see what was there. I was stunned.

The two pull-out drawers were full of useful stuff. Safety glasses, gloves, new respirator filters.  That was nice. But, under the cabinet, behind the drawers? Holy smokes. Some miscellaneous hardware. A few attachments I was never going to use for my air compressor. Empty blow-molded tool cases. A few old sheets to use as drop cloths. Man, what a bunch of junk! This stuff should have been pitched years ago, but for some reason, I held on to it. I guess I was waiting for it to age to perfection.

Since this served more as a place for my plane till to sit (and my bike to rest against), I decided that it was going to have to go. At nearly six feet long and two feet deep, I figured if I removed the cabinet, I was going to get myself quite a bit of square footage to work with. So, that’s exactly what I did this past weekend.

Fortunately, it took removing only a few screws to get the cabinet free, and with a healthy tug (I’m glad I didn’t put my back out), the entire cabinet pulled out from the space. Sliding the cabinet across the shop floor stunk as well, but I managed to muscle it outside into the side yard, ready to be chucked this coming Friday in the huge trash pick up day.

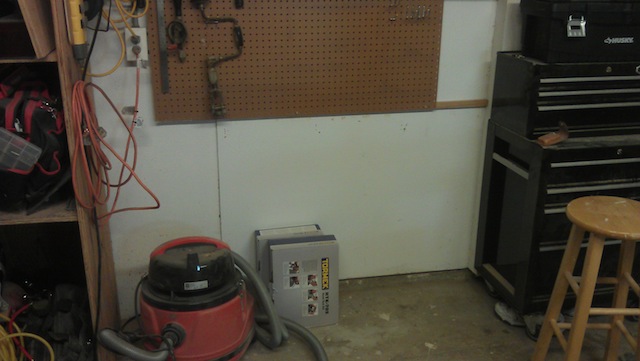
The area was very grungy. Lots of dust got behind and under the cabinet, so the broom and shop vac made an appearance to get the area cleaned up and ready to be thrown back into use.

Right now, it’s full of stuff that’s being stored, but over the next week or so, I think there will be some new shop features taking up space there. But, those are some other posts for another day…


Winner Winner Chicken Dinner!

I know it has been two months since I posted the announcement of the big thousand post giveaway. I thank you for your patience.

I have a feeling that you are going to be relieved that the moment is now upon us, and I have this feeling that the folks who won are going to be very happy!

First, though, I have to thank the people who contributed to the give away. Actually, I am humbled by your generosity and the fact that you believe enough in my blog to stand behind me.

Now, for the moment you have all been waiting for. Part of the reason for rigging the contest this way was to get your input as to how the blog has changed the way you woodwork or fit into your routine. I have taken the time to reply to each of the folks who submitted their entries, and I thank you for taking the time to get to me.

First up, reader Lawrence Richards replied to the call for entries. He is the winner of the set of four Revo clamps and clamping blocks (Set KRK2440) courtesy of Bessey Tools. His entry reminded me of a post I had written about him back in 2008:

Thank you for all you’ve done for me and my family- not just over the last 1000 blog posts, but at the WWA forum.  Your contest got me to thinking about our interactions over the last few years.  I remember with humbled gratitude the “Spotlight” article you did on me while I was deployed back in 2008 as well as the cool mentions of other folks overseas like David Wert..  I can’t tell you enough times how much this meant to me while I was overseas for what turned out to be the final deployment of my Air Force career.  The magazines you sent downrange were almost as valuable to me as the words of support, and I read and re-read them many times over.

The next winning entry came from Nick Sandmann who stumbled upon my blog just in time for a new addition to his family. Hey, Nick, you will probably have plenty of late nights coming up, so why not peruse the DVD with the complete Wood Magazine collection with issues from number one through 209. That’s 25 years of content to keep you busy during those feeding sessions!  Nick wrote:

About a year ago when my wife and I started trying to have kids I decided that I would build the crib myself and started googling for information on cribs.  I stumbled across this article which didn’t have all of the information I was looking for, but I browsed through some of your other articles(unrelated to cribs) which caught my attention and I have been following your blog ever since!

This one came in from my good friend Eric Rusch. Eric has been a loyal reader since the blog’s beginning (not sure how he found me in the first place) and has been an active participant in the process. Hey, Eric, what do you think about a 10 board foot project pack (no, wait, Eric Poirier of Bell Forest Products has upped the ante – it’s now a 15 board foot pack of bird’s eye maple AND a 15 board foot pack of tiger maple!) for you to work with? Eric Rusch wrote:

Do you have any idea how much woodworking information you have disseminated to a whole group of hobbyists that would have otherwise been left to figure things out for themselves? Or worse, get the wrong information from some lesser reputable sources? You have really done a big service to the whole woodworking community, and have done it in a way which makes it fun AND interesting.

I have a face for radio, and a blog that has inspired a number of others to try their hand in online woodworking. Steven Taylor either liked what I was writing or thought he could do better, and launched his own blog. Either way, he’s been a long time reader and wrote in about the influence on his own blog. Hey, Steve, how about something for you to use in that shop of yours?  I think your choice of a K8 or K12 jig courtesy of Kehoe Jigs might just fill the bill.  Steven wrote:

My favorite Tom’s Workbench moment was when I found it. Your site was one of the first woodworking blogs I came across and it became a gateway to discovering how big the online woodworking community really was. It was so influential you were the first reference I made when I started my own woodworking blog.

One of the funniest entries I got was from reader Ethan Sincox. He was relating how he likes to read People magazine (only when it’s in the bathroom and there’s nothing else to read!), and he occasionally stumbles across their “They’re Just Like Us!” article. It shows celebrities doing mundane things – like George Clooney picking up after his dog. The idea is that these folks are just like us! Well, when Ethan reads woodworking magazines, he thinks that every woodworking ‘celebrity’s’ shop must be a hyper clean, uber organized model of efficiency. Hey, Ethan, how about a scratch stock kit courtesy of Hock Tools, ’cause you were surprised to see how messy my shop was:

But then one day you had a picture of a workshop in one of your posts and I was like, “Man, what a mess.  I wonder who’s shop Tom posted a picture of…” And it was yours! Oh!  He’s just like us!  I feel better now. All joking aside, I enjoy the shop organization posts.  They aren’t always ideas I have done or even plan on doing, but they at least spark ideas in my head about what I can do to suit my own needs.
Next up, Greg Westbrook. Sometimes, I write posts that are about one thing, but people walk away with some other quick tip or trick to help make their woodworking easier. Greg liked an trick I used when I was setting distances for my finger joint jig – I used a drill bit as a spacer.  Something clicked with him on that post. Hey, Greg, how’s about a  a complete set of  Pocket chisels courtesy of FastCap Tools?  Greg wrote:
My favorite moment was the one about the box joint jig. Not because of the jig because I’ve seen those before but because of one little detail of one photo: using a drill bit as a spacer. For some reason this was a face palm moment where I said out loud: “Why didn’t I think of that?!” Before then I’d always tried to actually use a ruler to measure such things or in a few cases, made a ‘gauge block’ but at that moment I realized I already had an indexed set of gauge blocks already – my drill bits. That changed my way of thinking.
Some folks are just doing such good work, it was impossible not to recognize them. John Little represents a group called the Toymakers of East Lake, a group I had spotlighted many years ago that builds simple wooden toys for children in hospitals, low-income child care facilities and the like. . John wrote in to enter the contest, and I was amazed that his group was going strong. John, how about a PM2650 portable tool stand courtesy of Bora Tools for your volunteer’s shop? That should make things work better there. Good work, guys!
Here’s what John wrote:
Today we are going strong and will have completed 5 years in existence making simple wooden toys for kids in hospitals, homeless shelters, abused women’s shelters, low income child care facilities, and all kinds of places where children are in  difficult situations.  At about the same time you reach your 1000th  post we will reach one of our own. At our current pace we will deliver our 20,000th toy during our quarterly delivery this September.
Besides being a total goof on my blog, I also like to use it to help promote education – if we can expose some more folks to woodworking, there will be more incentive for companies to build high-quality tools and people to develop a love for the craft. Ian MacKay wrote in and commented about that. Well, Ian, since you like woodworking education, why not enjoy a semester one Hand Tool School registration courtesy of Shannon Rogers?  Ian wrote:
Ok, so you wanted my favourite post.  I’d have to say it’s the one where you first went into your kids’ school to talk about woodworking.  Watching you ‘perform’ to a bunch of smarmy teens was good for my soul.  It wasn’t the humour that made it #1 in my books, it was what it represented.  I see it as the seed that grew into the whole ‘get woodworking’ movement.  A lot of us are willing to ‘talk’ about saving woodworking and doing our part, but no one I know lives and breathes it like you do.  First, a huge thanks for being an inspiration on that front, and second, thanks for keeping me motivated when life gets in the way.
Some of the winners are newcomers to the blog. For instance, Val McPherson wrote in after finding out about the blog from a link on the Infinity Cutting Tools website. She and her husband are avid readers, and it is good to see them on board. I hope they like their one-year membership for the Wood Whisperer Guild courtesy of Marc Spagnuolo.  Val wrote:
I must admit, although I am new to your blog, I began perusing a few posts and, realizing the wealth of woodworking information and humor that you provide, I quickly bookmarked it as one of my Favorites — and this was BEFORE I saw your giveaway!
Steve Stutts found the blog very early on when he was just starting out, and one article he enjoyed concerned my finishing method called Becoming your own Mixologist. I’m surprised that he’s still sticking with the method, and I’m very happy he wrote in. Hey, Steve, how about learning a new woodworking skill – veneering?  I hope you enjoy a Veneering Essentials Combo pack courtesy of Veneer Supplies.com
As a novice woodworker in 2008, I found a formula for wood finishing that has not been replaced. I have used the formula many times. My largest use of the formula was to refinish the pews at my church. I had a crew sand down the pews and I applied the finish. It was fast and beautiful. Over the last three years I have shared your article with many woodworkers of all levels. I have used is on many furniture projects and many crafts projects. Large and small pieces. The formula lays down a sound basic method of enhancing my hard work in a good looking durable finish. Thanks for the formula. Thanks for the science discussion on finishing. Thanks for the blog. And thanks for making me laugh. I have really enjoyed and learned from your work.
Some of the other winners we have include:
Thanks again for everyone who participated… Tomorrow’s the big day!