
I miss my maternal grandmother. As we get closer to Easter, that was her holiday. She cooked the holiday meal for us, and I can remember her sending me back to college with a huge brown paper grocery bag full of leftover ham sandwiches, dyed Easter eggs and – of course – lots of chocolate. I was still her little grandson, even in my late teens.

The one thing I couldn’t get into? Her watching the Lawrence Welk Show. I know it was her kind of music, and I know it was her kind of entertainment, but I usually ended up watching baseball with my grandfather.
As with any good band leader, I’m sure Mr. Welk would remind his musicians during rehearsals that they were going to take it from the top when practicing a new piece of music. After all, that’s where the start of the music would be – at the top of the sheet!
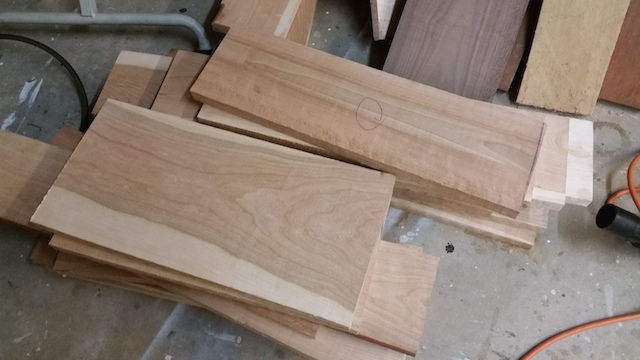
With my latest project, I am taking it from the top as well, literally! The latest piece is a hope chest for the third niece turning 16 in my family, and it’s time to get my toes tapping out in the shop. First, though, I had to go through a one or a two boards in the repertoire…
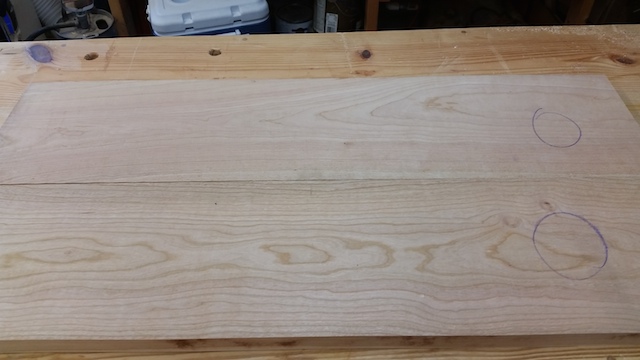
Ahh, these two boards seems to come together in a harmonious fashion. I guess it was time to help make these babies sing. But, first, it was going to take a little time to tune up the pieces to ensure the sound was going to be tight. So, I used my Bora straight edge clamps to set a fence to ride against the rip fence, and used my Grr-Ripper to push the stack through, to keep my hands safe.

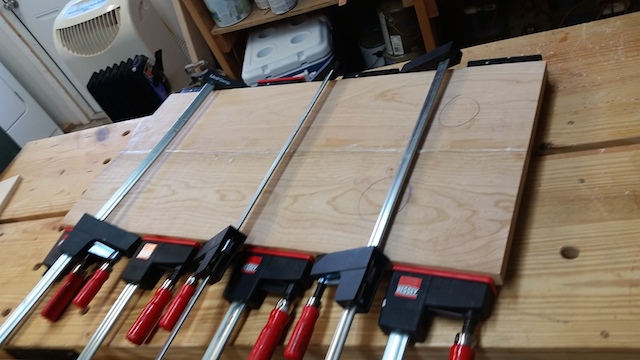
After sweetening up the fit, It was a simple matter to glue up the two boards that were going to make the top. No pressure, right?
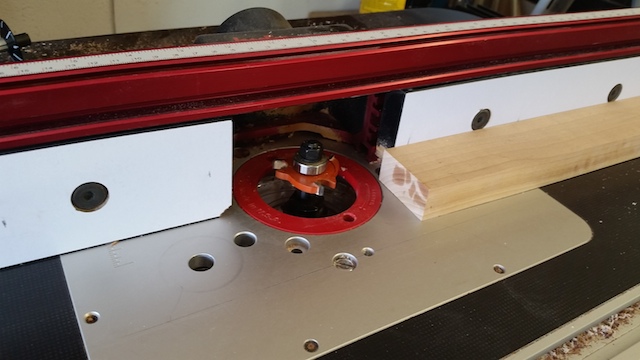
Wanting everything to stay true, I decided on putting an edge on the board just to make sure thing stayed flat. I turned to a tongue and groove router bit set and got the router table all set up for this kind of work. It took very little time, but it was ready to go in short order.
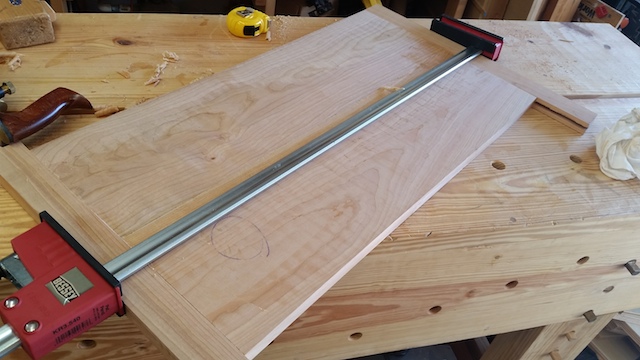
After grooving the breadboard ends and putting a tongue on the panel, I glued the middle four inches of the tongues on the panel and slid the ends into place, clamping them. Of course they were long, but that’s fine, I would trim them later.
Now, just a little sanding and this top will be just about ready for its debut. And, since I was taking it from the top, now I know the exact dimensions I need to build the rest of the chest to, and I am sure I used the nicest looking boards for the most visible part of the project.
That’s music to my ears!
Pretty interesting using the Bora clamp to set up a fence against your fence.
That’s the first time I’ve ever seen that.
With this being your third Hope Chest, I think your family knows who to turn to for that stuff !