
No, this post has absolutely nothing to do with my underwear. Although, it could be a good place for me to store them… especially since I like to wear high quality skivvies from places like Duluth Trading.…

It is, instead, an article of about how I built the drawers on the bed. After my angst-ridden debate on how I was going to make things happen, I decided to build the drawers using pocket screw joinery. First, I had to measure the size of the opening. I was going to put the pocket screws through the front and backs of the drawers into the sides, and I also needed to account for one inch on the inside of the drawer width to account for the drawer runners. So, I did the best thing I could have possibly done.

That’s right, I left my tape measure on the bench and stacked the two drawer sides and my 1-2-3 measuring block into place, and marked how long I needed the fronts and backs to be. This way, I was positive I was getting exactly the measurement instead of trying to read the right tick mark on my tape measure – and getting it wrong.

With the pieces all cut, I hopped quickly over to my pocket hole jig and started blasting out holes. It’s always amazing to see just how quickly you can cut joints with that sucker.
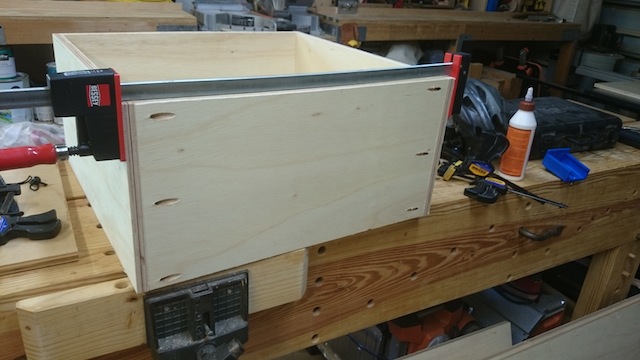
Using some clamps, a little glue and some screws, I was able to snug the drawers together and screw everything together in very short order. Instead of plowing dadoes for the drawer bottoms, I decided to just glue and nail them on. I figure that the runners I use mount to the bottom of the drawers, and they will hide the side of the bottom boards.
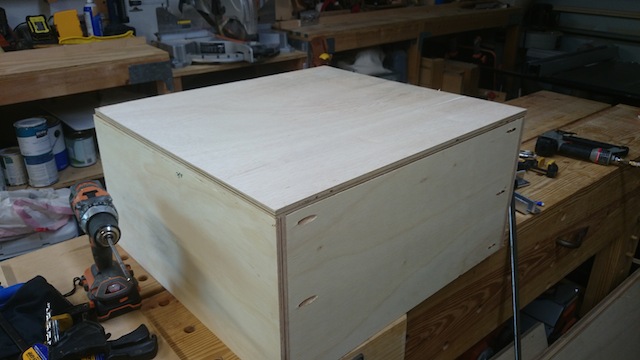
Again, that made things very easy for assembly. I was also able to use the drawer bottoms to ensure that the entire assembly was perfectly square – an important next step in the process.
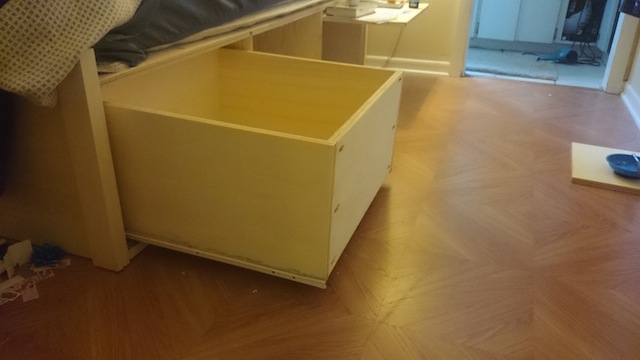
Using some inexpensive 3/4 extension bottom mount Euro drawer glides, it took very little time to get the drawers mounted and gliding perfectly, Since I am building the bed as a frameless cabinet, the next step will be to build some drawer faces to attach, and I will be just about done with this project.
Oh, by the way, I used a very similar – and hopefully clever – way to create night stands for the bed. Using a simple piece of piece of plywood and some 18 inch drawer glides, I was able to create flat surfaces for both sides of the bed. This way, Rhonda and I can put our books, electronics and other items down next to the bed.
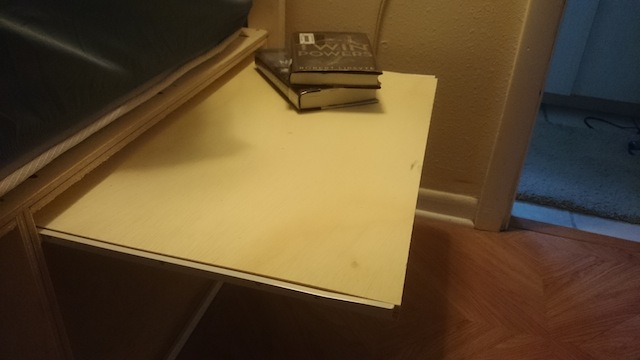
And, if we don’t need them, we can push them out of the way, totally hidden.

Rhonda likes this feature, since it creates a less cluttered, more compact bed area. Not too shabby…