Category Archives: How-to

Holding some runners

You know, next summer, the city of London will be hosting the summer Olympics.  Since I saw my first Olympic games (the 1976 Montreal games), I have always been fascinated by them. I mean, how else can you get that many folks together from around the world without all the diplomatic saber rattling?  OK, there were a few boycotts through the years, but for the most part, they have been peaceful affairs.

I’m looking forward to seeing the competition. The swimming. The diving. The biking. The crazy sports. (When the games were in Atlanta, my brother went.  He said he couldn’t get anywhere near the track and field, basketball or volleyball events, but it was a piece of cake to get into the judo and weightlifting venues.)

One of the events I look forward to is the marathon. The men’s race is the last event of the games, and both the men’s and women’s races are interesting to watch. There’s endurance. There’s determination. There’s a surprising amount of strategy. And, I discovered during the 1984 Olympics in Los Angeles that you can’t help a runner cross the finish line. That’s when Swiss contestant Gabriela Andersen-Scheiss entered Olympic Stadium overcome with heat exhaustion and staggered to the finish line, refusing help all the way.  Talk about an indomitable  spirit.

While Olympic runners can’t accept help, I think most woodworkers need it – especially when it  comes to installing drawer runners. There are many purpose-built jigs you can buy to help make setting runners easy, there is one easy installation method that is so foolproof.. heck, I don’t know if I could foul things up with it.

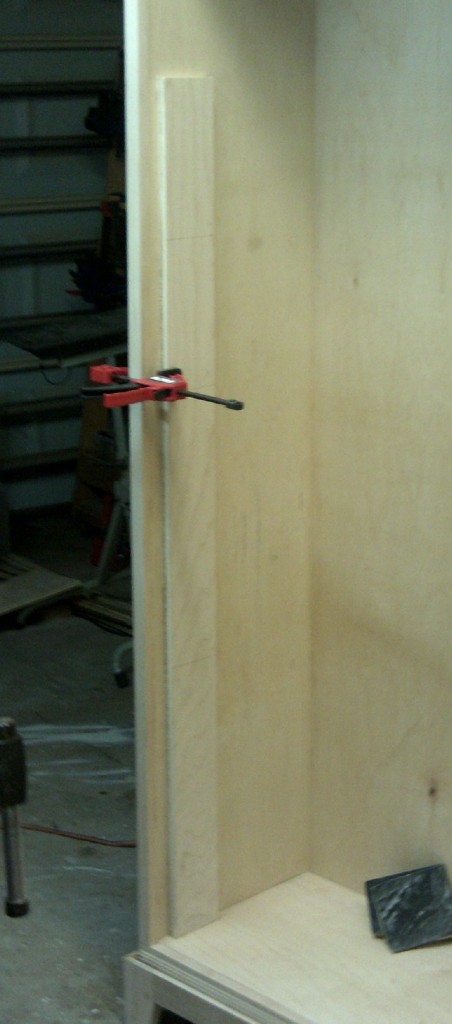
When you build a plywood project like the pantry I’m building, you end up with a bunch of odd sized offcuts. Some are very small, while others can be long and narrow. I found a piece of 1/2 inch ply that was about five inches wide and six feet long. That was going to work for what I was doing. I took the piece and crosscut it to a length that represented the distance from the floor of the piece to the bottom of where I wanted to bottom of the uppermost drawer runner to end up.  I marked out the heights of where I wanted the other runners to end up for later, and clamped the plywood strip to the inside of the case.

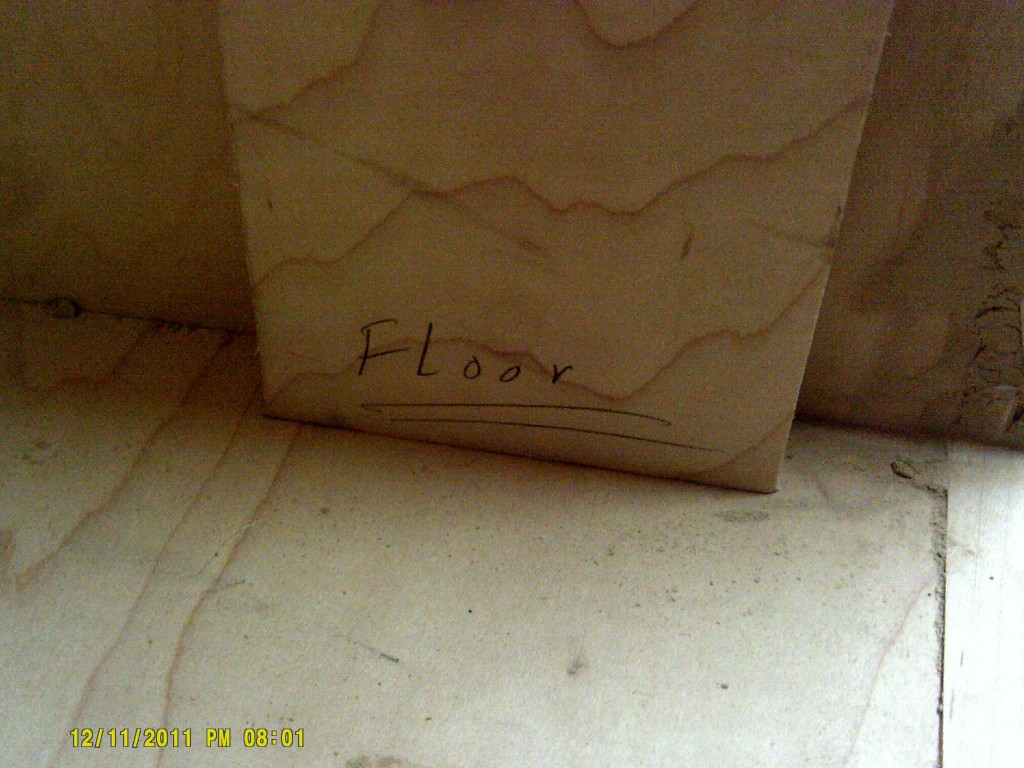
Of course, you want to orient the jig properly as you work with it, so, it pays to mark which end is up on your strip. Trust me, pencils are cheap, and it’s better this way.

Once I had it set up, I laid the part of the runner that connects to the case side on top of the strip and screwed it in place. I then moved the jig to the other side of the case and attached the that side’s runner there.

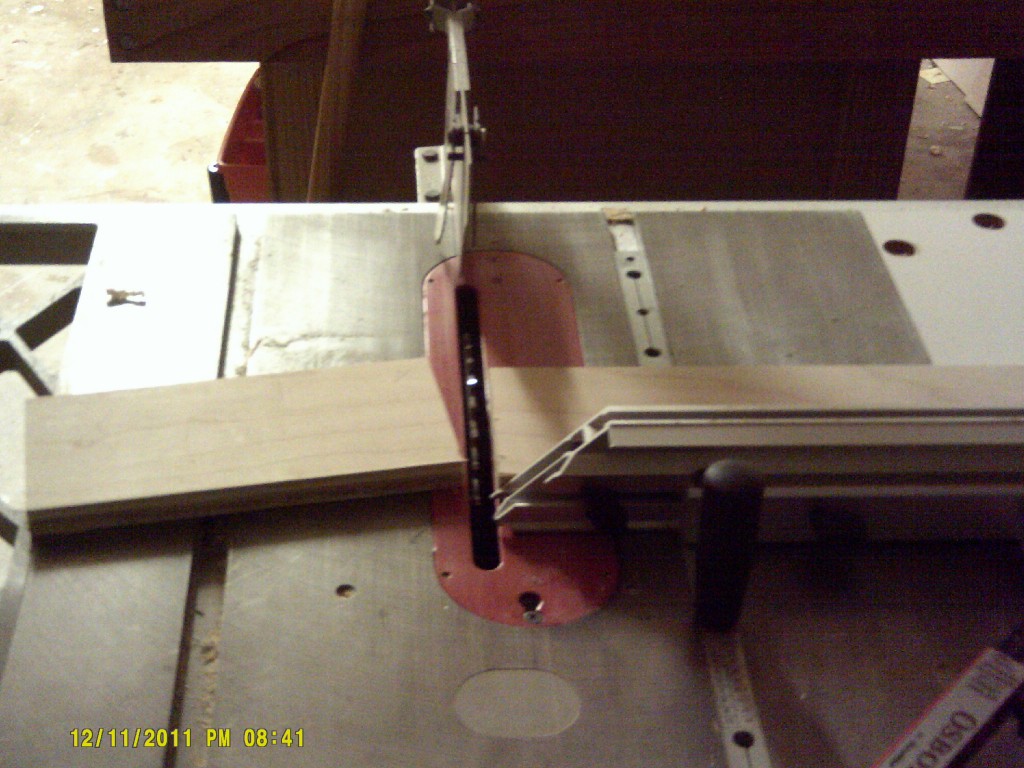
The next step was to head back to the table saw, carefully line up the cut mark with the blade and crosscut it to the new length where the next lowest runner was going to have to be mounted.

The next steps are very repetitive. Mount both runners on the two sides of the case, cut the jig to the next level and you are off to the races.
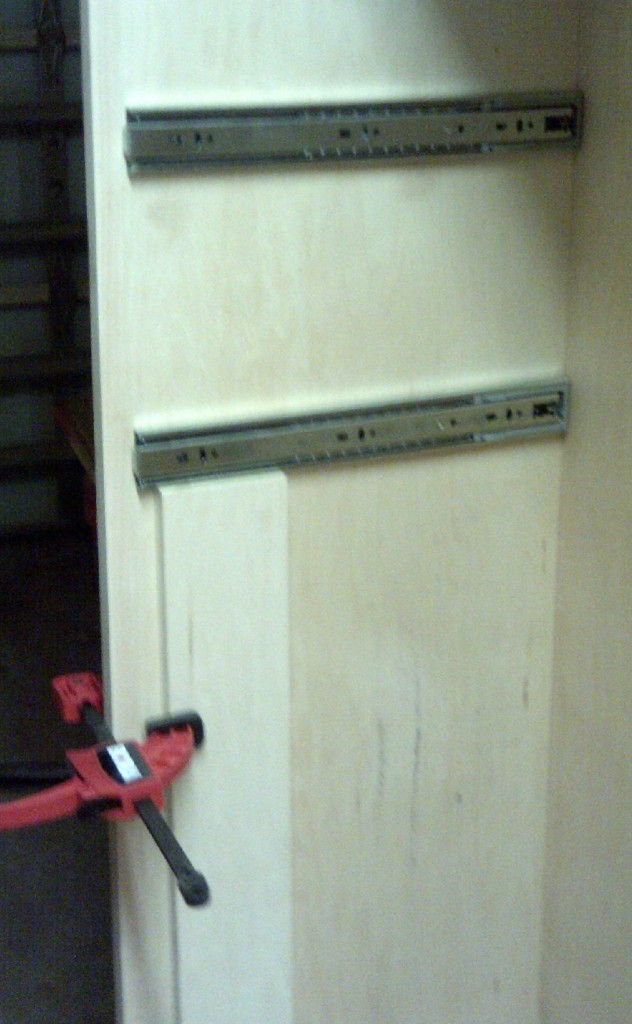

This method beats the tar outta measuring, marking, cursing and the other fun and excitement I have experienced over the years trying to do this stuff. And, if you aren’t working with a plywood case, you could fish around at an offcut bin at the local home improvement center or purchase a piece of inexpensive particleboard to serve as your guide.

Either way, it’s a simple way to get things right.


The unheralded sharpening tool

Sharp tools are important in any shop. They cut better, are much safer to use and provide hours of satisfaction.

And, just as there are many different woodworking personalities, there are many different ways to sharpen those tools. High-speed dry grinders. Water stones. Diamond stones. Slow wet grinders. Sandpaper… The list goes on and on.

The only essentials that are truly needed are a sharpening medium that is harder than the steel it is grinding and a way to put a consistent bevel on the tool.

Oh, that’s the tough part for any novice – and many experienced – tool sharpeners. Getting that bevel correct and consistent can mean the difference between a tool that cuts flawlessly and one that won’t work nearly as well. And, steeper angles make the edge stronger – so a 30 degree bevel on a mortising chisel will allow the edge to cut, but a 20 degree angle will chip like nobody’s business.

While you can often regrind a tool to change its bevel for a different task, most times you simply want to keep the bevel where it is and simply hone the blade to get a sharper cutting edge. And, there are plenty of gadgets and gizmos out there you can use to hold a tool at a certain angle, how sure are you that you have that angle perfect? A degree or two off can mean the difference between an edge touch up and the complete regrinding of the edge.

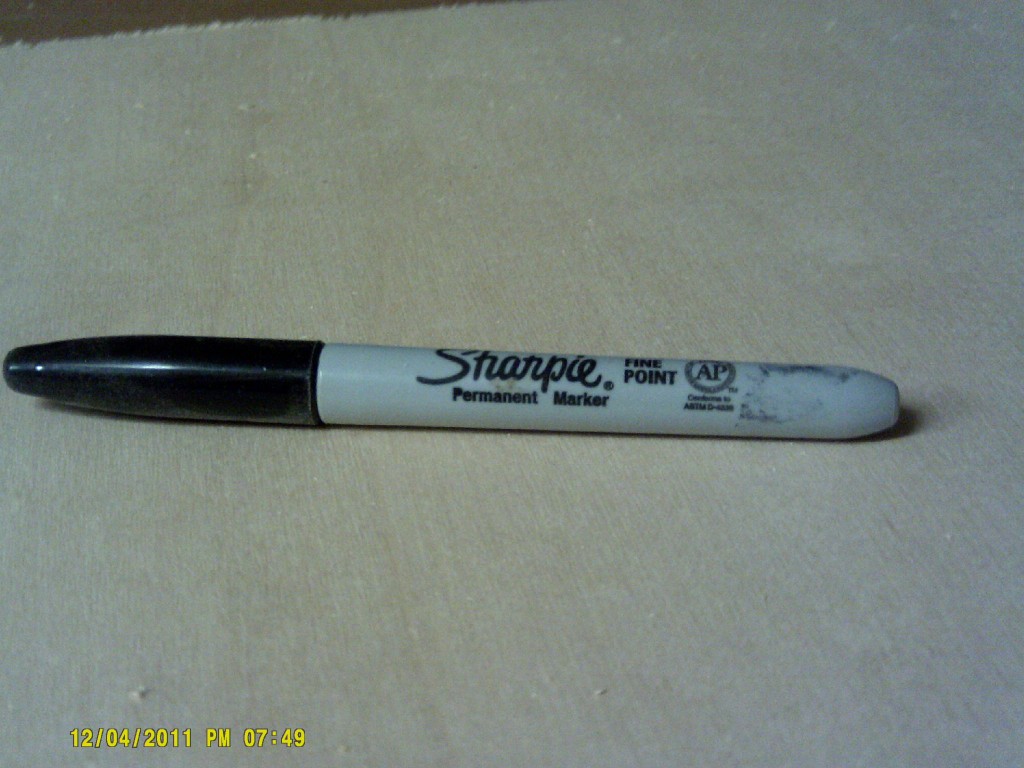
To help make things easier, you need to go a little more low-tech. In fact, you probably want to avoid the home centers and specialized woodworking stores altogether and head to the office supply places to pick up a permanent marker.

Yes, the tool your mom used to write your name on your underwear before sending you off to summer camp is a very handy accessory to have around when sharpening your tools. The ink is very durable stuff, and it writes beautifully on steel. While this may be nice if you are trying to mark which chisels are yours if you decide to go off to woodworking summer camp (does that stuff even happen?), it is a great characteristic for sharpening.

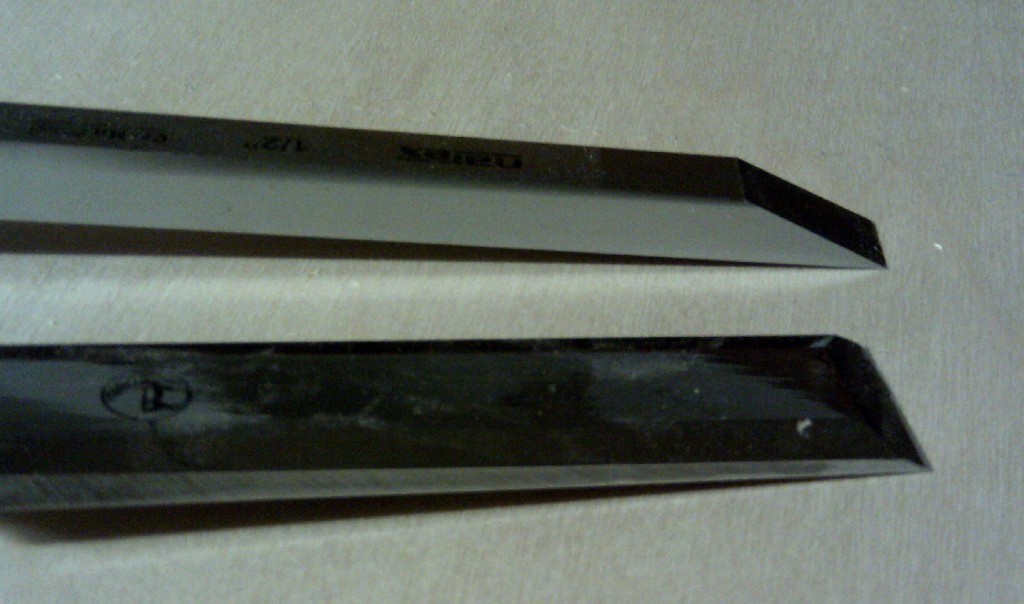
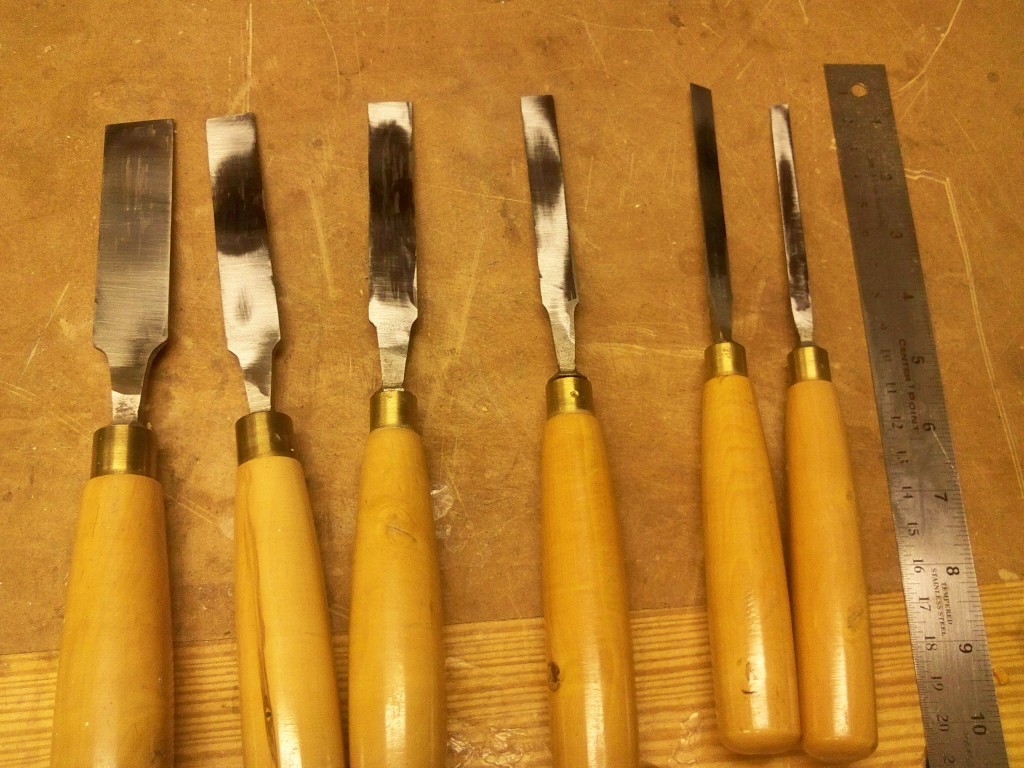
For a single bevel tool, think about how you sharpen it. First, you have to flatten the back of the tool, right? If you don’t it’s going to be mighty tough to get a nice, crisp edge on the bevel. If, before you attempt to sharpen your chisel, you color the entire back of the tool with marker and allow it to dry for a while, when you start to grind, the sharpening medium will wear away the ink in the high spots, showing how far out of whack your blade is. When I was sharpening a set of antique chisels I had purchased, it showed me that the tools were a little bit too far out of whack for my tastes.

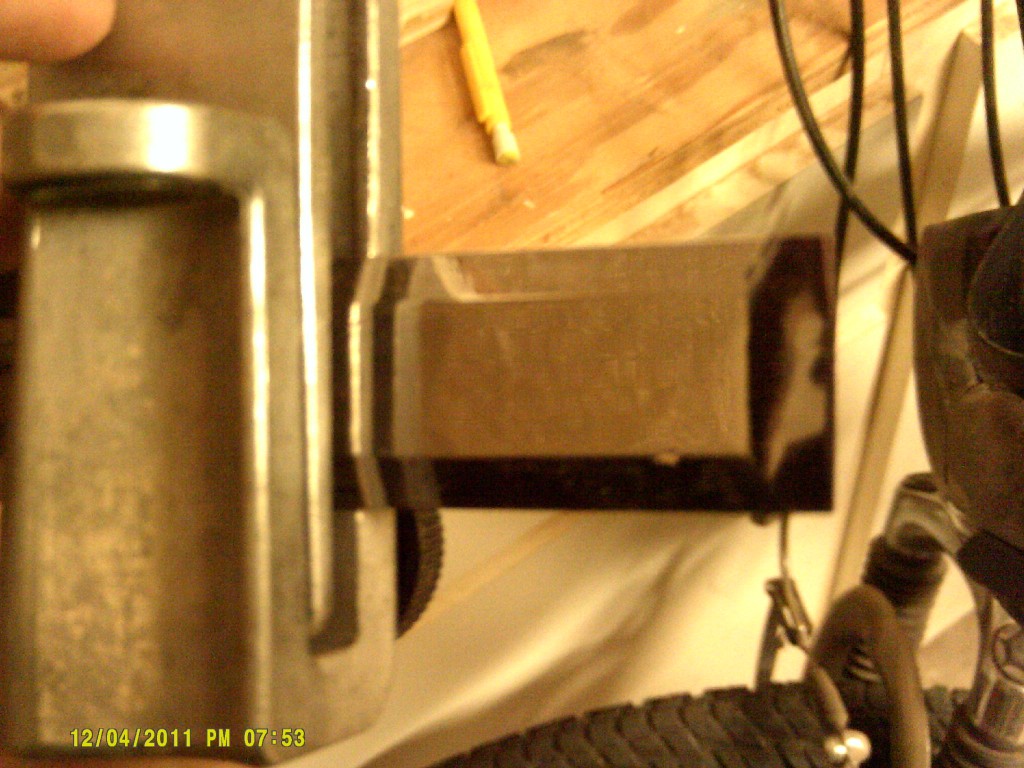
Once you get the backs in shape, you will want to make sure you are duplicating the bevel angle already on the tool (unless you are trying to change the angle altogether). So, you simply flip the tool over and color the bevel with the marker. Once you allow it to dry, it’s easy to check at what angle you are grinding.

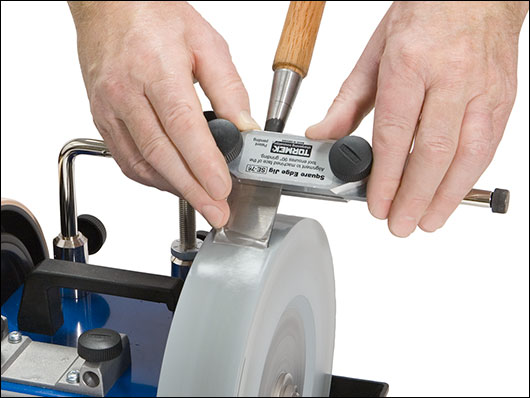
Even on my Tormek, with its fancy tool holders and angle setting guide, the instructions advise you to use the marker method to color the bevel. From there, I mount the tool into the guide and press the bevel to the stone. Using my hand, I spin the stone maybe one turn. That simple turn will show me exactly where the bevel is making contact with the stone, and whether I need to make any adjustments to get the bevel lined up correctly. This method works very well for freehand honing as well. In fact, by using the marker as technique feedback, you can train yourself to set the proper angle without any guides. It’s that simple.

When you are done with the grinding, the edge should be nice and shiny, with all of the marker worn off. By that point, you will be ready to add your microbevel – if you use one – and get back to the bench.

Not bad for an inexpensive sharpening aid!


Silly rabbets…

OK, so now that I’m back on track with this bookshelf project (doesn’t it seem like this project is taking longer than it should?), I am moving on to the joinery.  When last I left the frames for this project, I had cut the dadoes and grooves in order to put the shelves into place.

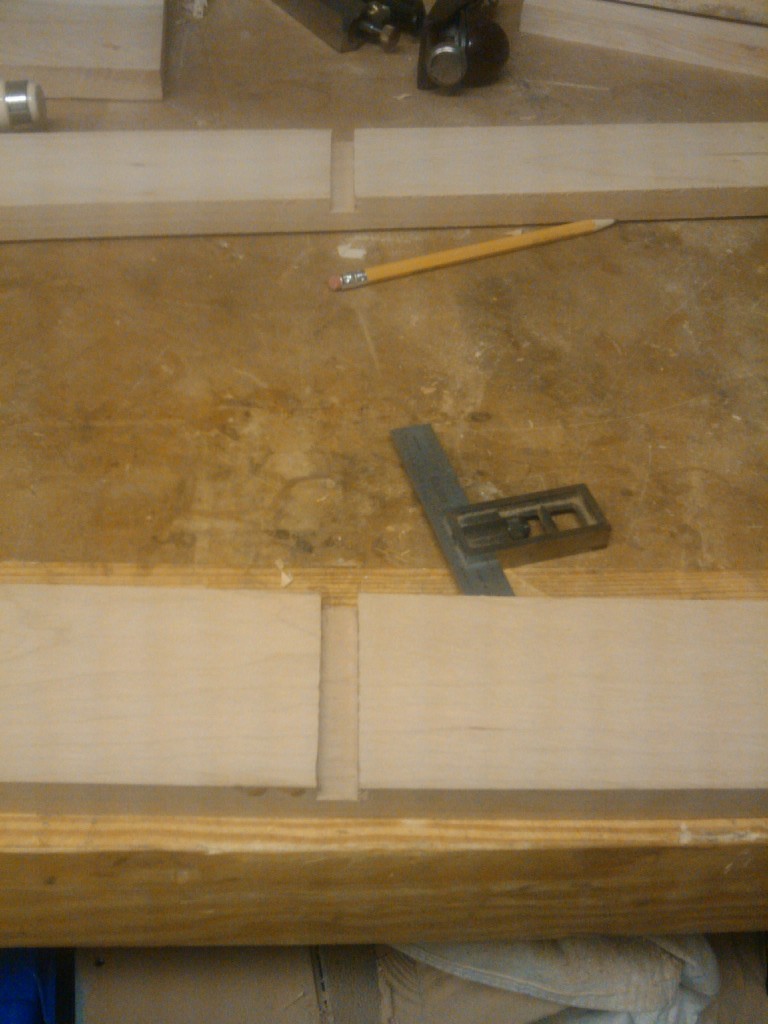
For the upper and lower shelves are a piece of cake – 1/2″ wide parallel grooves at 3/8″ deep along the length of the top and bottom boards to capture the shelves.  Since there is no problem with a cross grain situation, I will be gluing the shelves along their entire length to get the best contact possible.

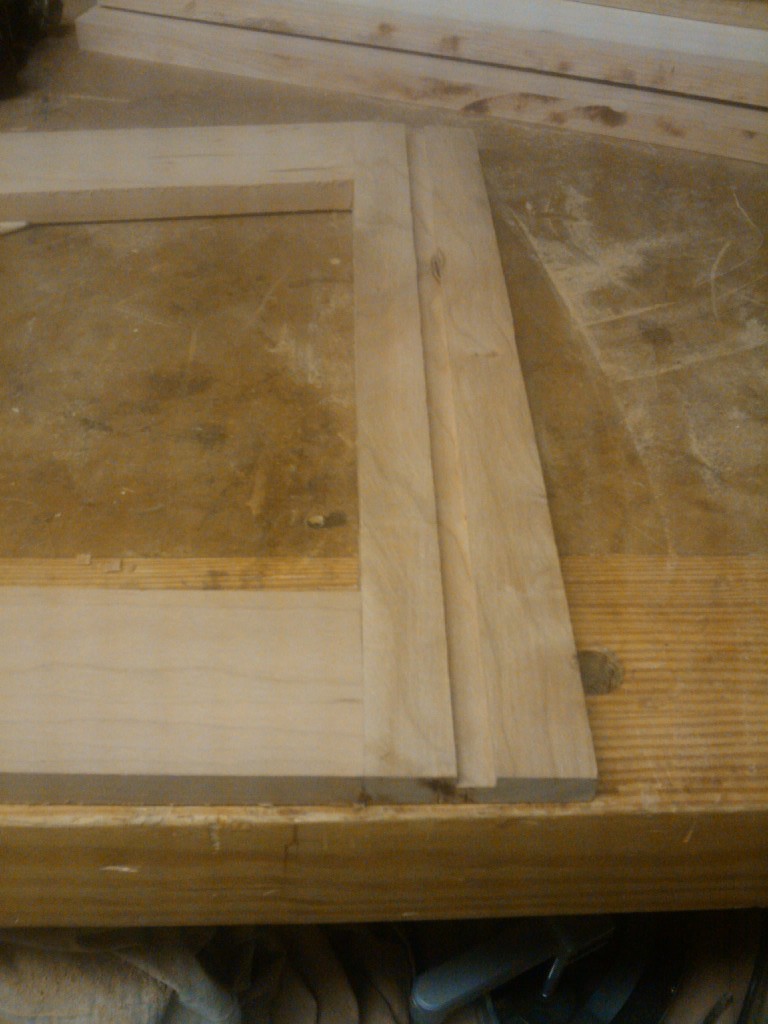
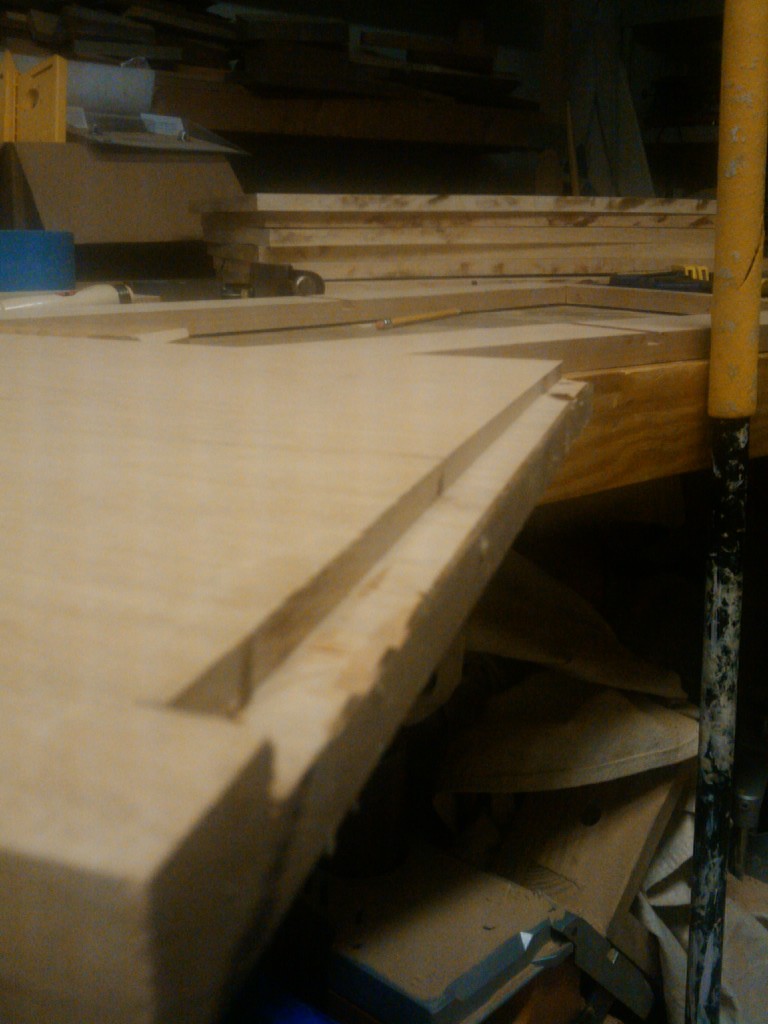
Cutting these rabbets was pretty straightforward, but it did require a bit of care. I am having each of the shelves extend past the front of the unit by one inch.  This means that I had to hold the rabbets back that one inch from the front in order to keep the that extra material there to work with.

I went with my hand-held router and a rabbeting bit to cut the joints, and they were plenty easy with my DeWalt router. I held back from my one-inch line from the front, and simply squared the rounded edge the router bit left with a sharp chisel.

These were the easy ones.  I’m now going to figure out how to rabbet out the two middle shelves for the unit.  They are attached to the bookshelf sides with a groove that spans both the front and back uprights, and the front upright is at a slant, meaning my rabbet will need to have angles cut into it to match up with the sides…

This should prove to be  pretty fun…


My abrasive personality

Being originally from New Jersey, I have many mannerisms that people here in Florida either love or hate. Sometimes, I have to speak a whole lot more slowly for folks to get me. Where I’m from, people talk fast because we have a lot to say.  Sometimes, people tell me I drive too fast. Well, I learned how to drive in a place where people drove with a purpose.

And, there’s something about my personality… I’m not sure what it is… but it makes some of the folks down here think I am obnoxious. Abrasive. Quick to judge.

No way… not me.  I’m as easy-going as the next guy.

But, there’s one thing that has me seeing red and using colorful language as of late… I’m still having issues with my panel glue ups. Even with very straight edges, biscuits and cauls, I still get the occasional slipped joint. Oh, my technique is so much better now, and the steps are no where near as bad as they used to be… but they are still there.

In the past, I have used my jointer plane to cross plane my boards to get them to size. But now I’m relying on an easier technique – for me at least.

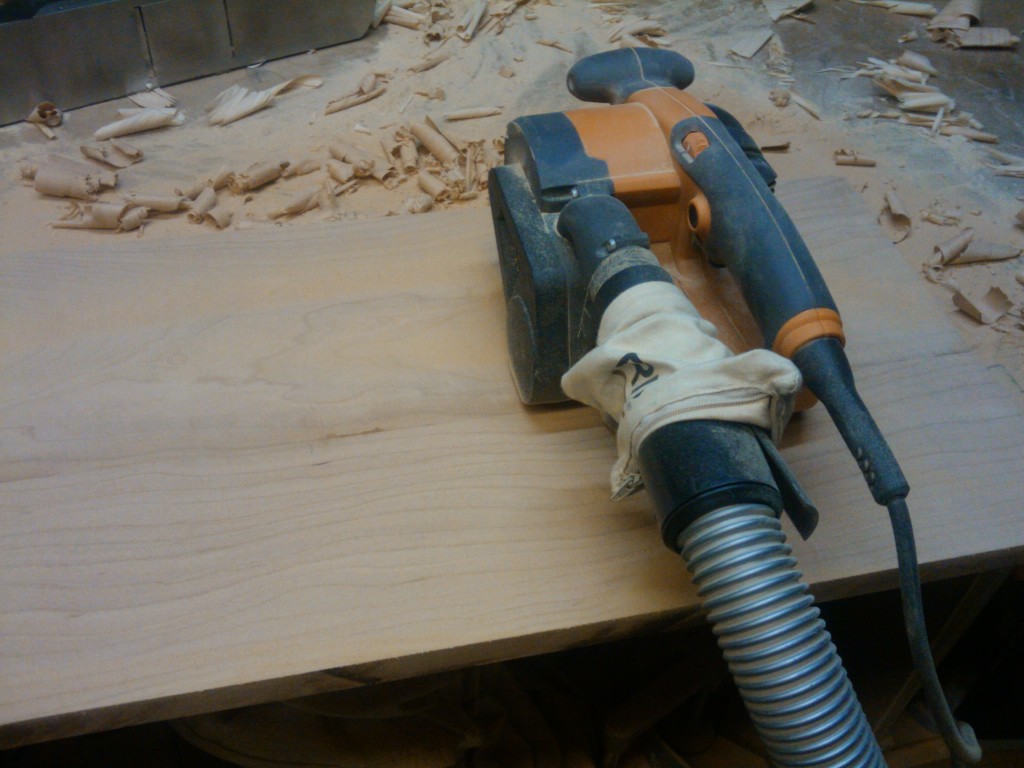
Welcome to the world of abrasive planing.  That’s right, I’m using my belt sander to get my boards smooth and level when there are issues. Why the belt sander?  Well, I seem to have a whole lot less splintering or tear out to worry about when I use the sander.  And, with the right grit belt, the work seems to go faster.

I have been starting with a 50 grit belt.  “WOAH!” you may be thinking. Sure, that’s kind of a pebbly grit to be using on fine boards, but, believe me, sanding is all about starting with the right grit and working finer.  If I had started this with a 120 grit belt, I would be out in my shop forever trying to get even the smallest imperfections out of the glue ups. With that powerful grit, I can take the board down to smooth (well, level… smooth is next) in very short order.

My method starts by working across the grain…

“GAAAAAAK!”

Would you please chill out?  Shesh… By working across the grain, it’s sort of like planing across the grain… my goal is to get all of the boards in the glue up level to each other.  If I sand with the grain, I’m just going to get individual sanding rows nice and flat, but the board may still be out of flat across its width.  Sand back and forth across the entire width of the panel. Don’t leave anything out… you don’t want to wear channels out where the glue ups are.

Oh, and remember that the other nickname for this tool is the belt saw… so never leave it in one place or you will dig a hole clean through your board. And, those kinds of sanding divots don’t come out easy.

Once I get things flat across, just as you would use a jack plane, I have to then go across the board diagonally. This helps even out any spots that may be higher than the others on the flattening operation.

Finally, I make a few passes on the board from one end to the other parallel with the grain.  By this time, any irregularities in the board are gone and the panel is nice and flat.

From here, you could go and progress through the grits… 80 and 120 in the belts, followed by 120 and 180 with an orbital sander.  If that’s how you work, more power to you.  But, I’ve found that a hybrid approach works well for me. The first thing I do is brush any sanding grit off the boards. Then I take my Veritas Low Angle smoother, get it set for a fine cut, wax the sole and get at it.  Usually two passes on the board gives me nice smooth results, but the first pass is actually pretty darned good.

Is this the ideal situation?  No.  Gluing up by boards perfectly would probably be a much better solution.  However, if you do have some irregularities, this isn’t the worst way to work.

What? You got some kinda problem wit that?


Circling for the game

I work with about two dozen very engaged and friendly folks at my office.  They are great colleagues and friends I can rely on when the chips are down.

So, when one of my friends at work told me that she and her daughters were helping to put on a carnival to raise money to benefit cancer research and that they needed help making a bean bag toss (aka ‘Cornhole’ game), well, I knew I had to lend a hand.

Basically, they needed to cut a few holes in plywood to serve as a game board for players to toss bean bags through.  They want to paint the piece to make it look like a speaker, with a woofer, mid range and tweeter cones. They were able to get the home mega-center to cut a 2 foot by 4 foot piece of ply for the board, but they weren’t about to cut circles in it.

I knew that I had to do this job with a router and a jig to make perfectly smooth circles.  It was a piece of cake.

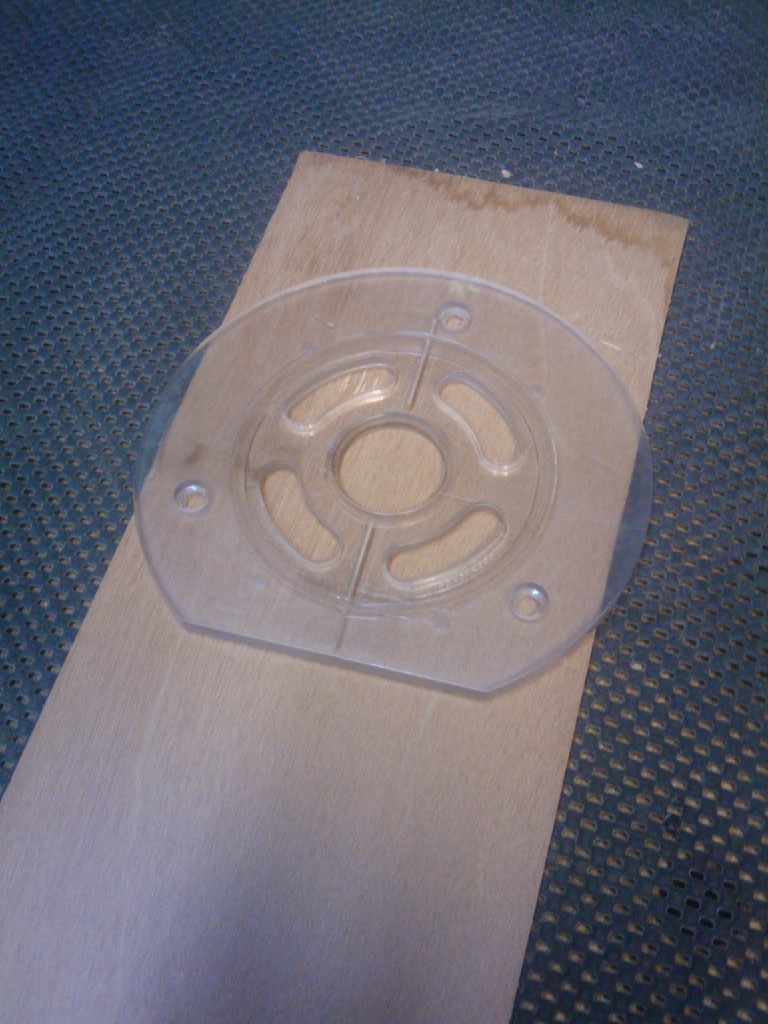
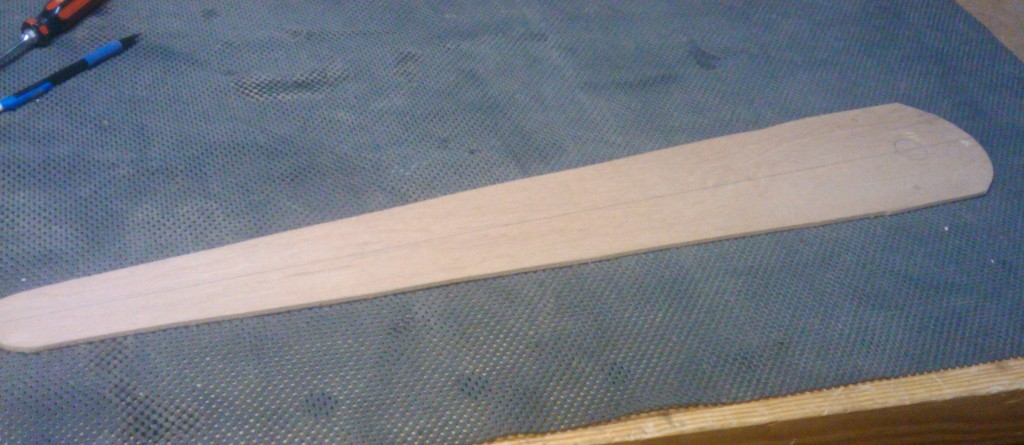
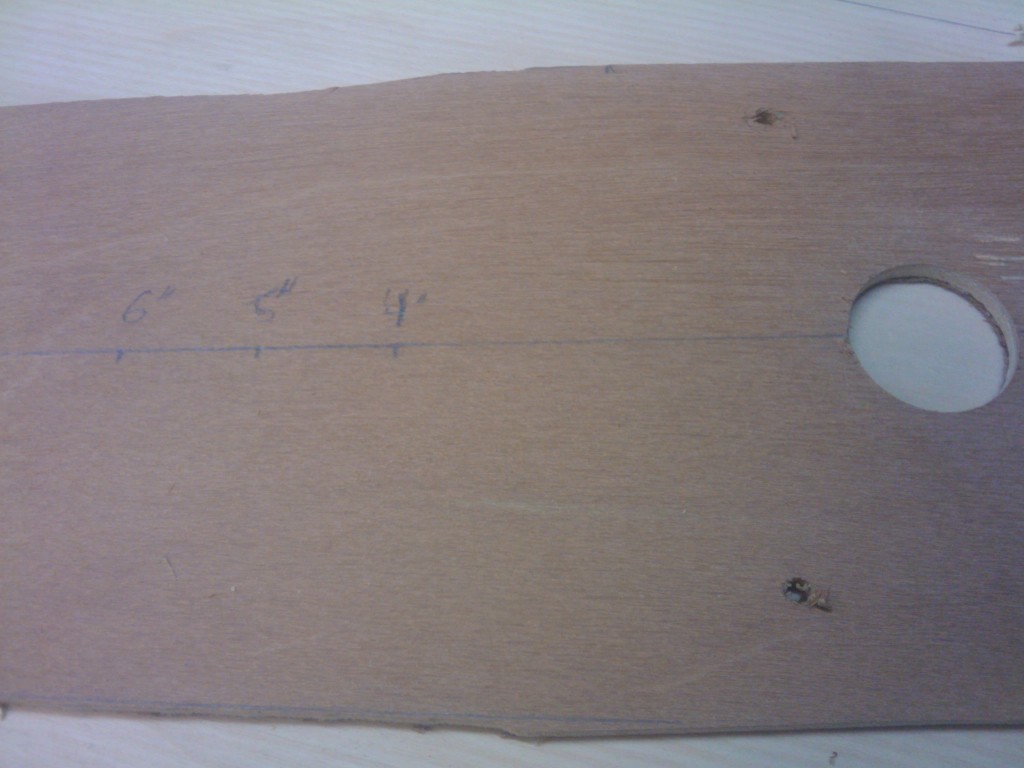
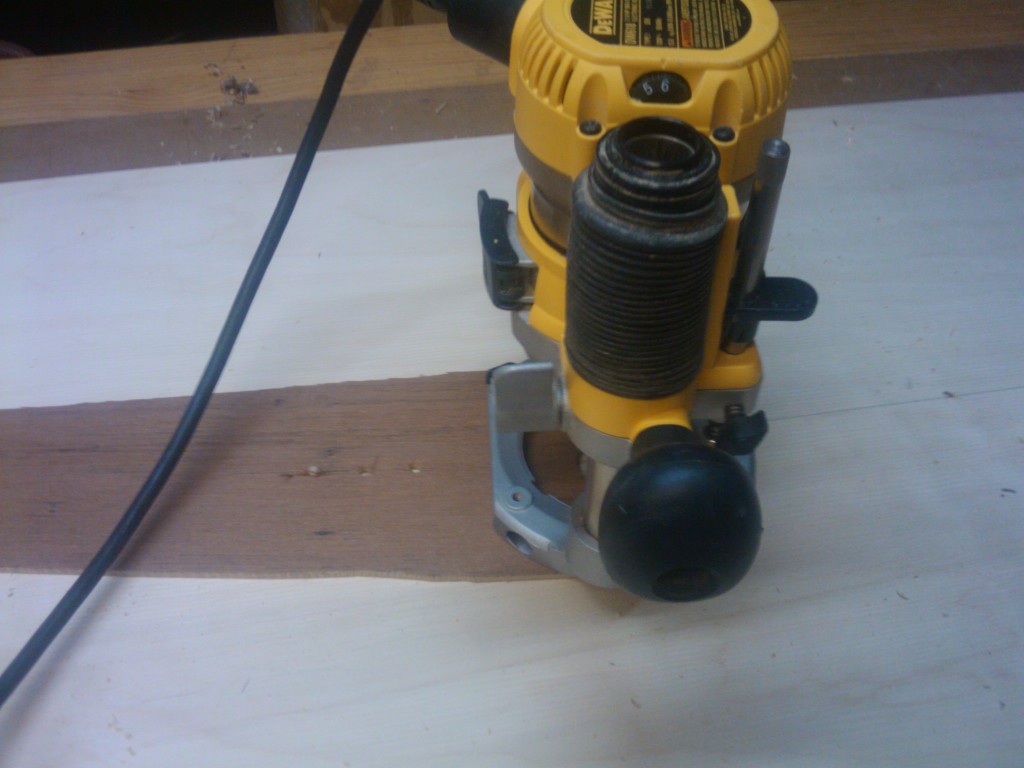
First thing I had to do was dig out a scrap of plywood from my scrap pile.  I found a piece of 1/4″ luan that was about two feet long and six inches wide. I took the baseplate off my DeWalt plunge router and used it as a template to mark out for the screw holes and the bit clearance hole.  I also scribed a line down the middle of the jig, so I could do some measuring later.

The next step was to cut the jig shape down a little bit to reduce the size. Was this step necessary?  Maybe not. But, it make the jig look really cool. Plus, it clipped the corners, so there was no way I was going to scratch myself.

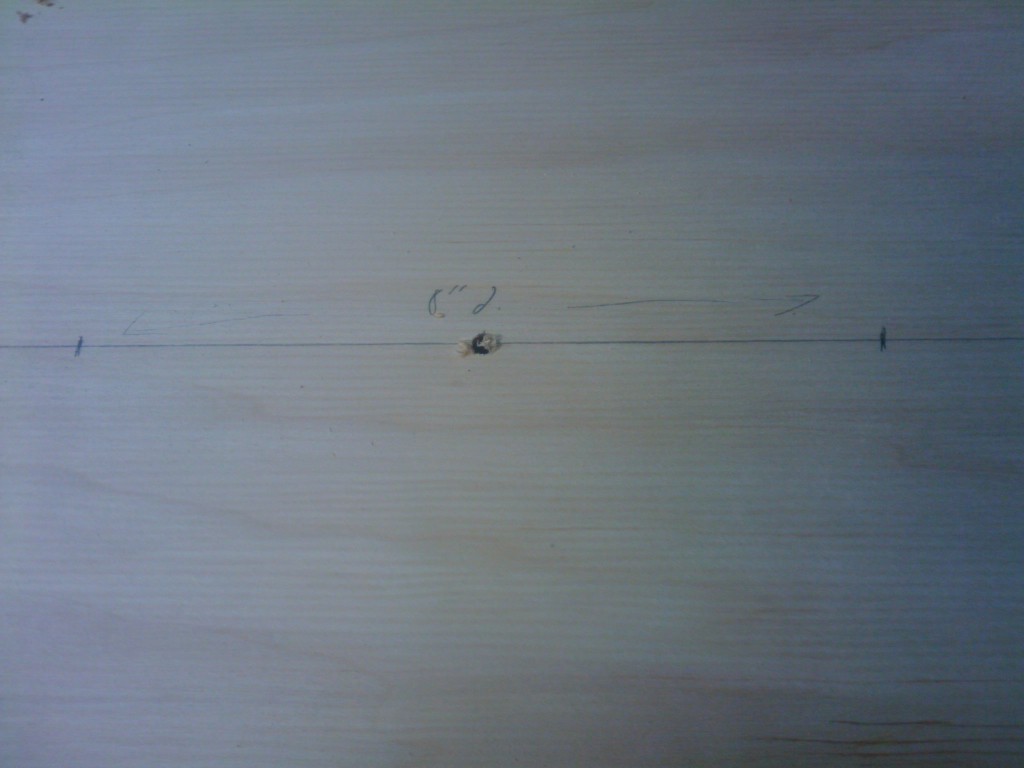
After drilling the holes for the baseplate and attaching it to the router, I started working on the piece of plywood. I had marked a center line along the length of the board and measured out for the diameters.  This is a very easy step… basically, I spaced out the centers for the holes I wanted to cut and measured up the radius on both sides of the center point, giving me a good idea of where everything would land, and that I had enough room to swing all three circles.

The next step was pretty easy as well.  I drilled the center point for each of the circles with a 1/4″ diameter bit.  I went through the plywood and slightly into the particleboard base I was routing on.  Again, because I was using a regular 1/4″ dowel, and I didn’t want to go into the bench top, I went very slightly into the backer board.  This way, the center wouldn’t shift once it was cut free from the board.


On the jig, I drilled three pivot holes to fit the dowel at four, five and six inches from where the bit edge.  From there, I installed a 3/8″ up spiral bit into the plunge router and set the jig in place.  Sure, it was kind of long for this smaller application, but if I ever have to cut a larger hole, I’d have the room.

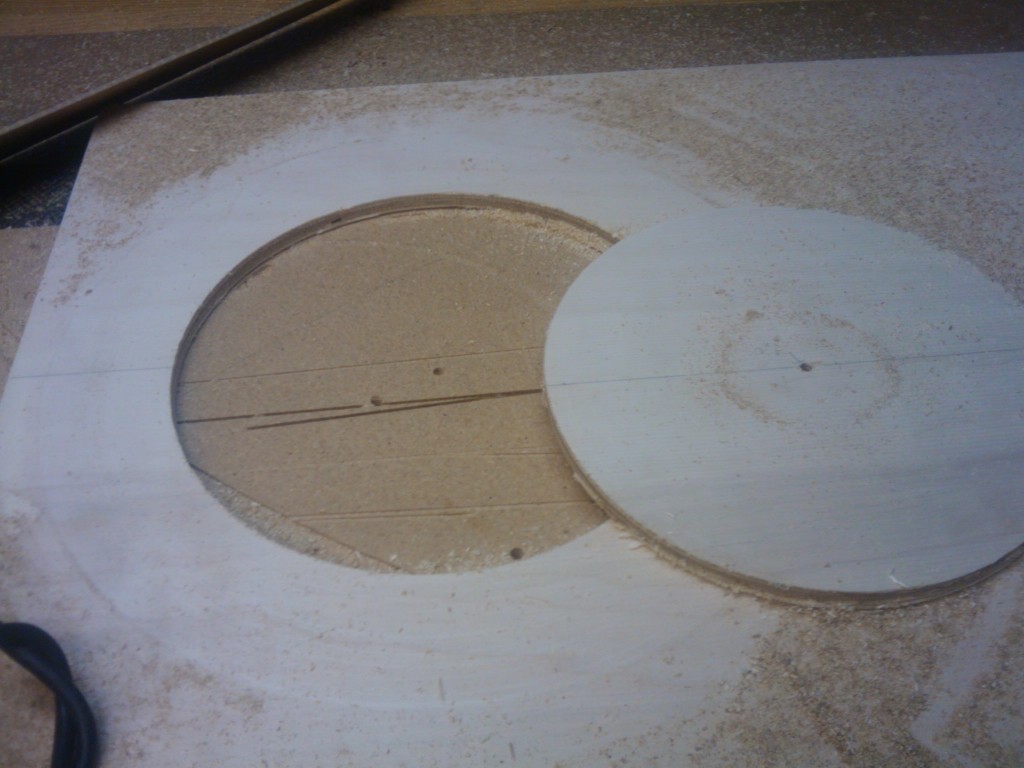
I set the bit plunge depth until it would just push through the board when fully at depth, and I knew I was going to have to do this in two or three passes so I wouldn’t burn the bit up.  Next, I popped the router and jig on the board, hit the on switch and let ‘er rip.  While you are spinning the router around, you have got to keep an eye on your power cable.  With two or three passes, you can easily get tangled up with the cord.  That’s not good.

After three passes, the circle was ready to pop out.  I’d say the result was pretty darned cool.  It was a perfectly round cut with pretty darned smooth edges.  There was a little splintering, but nothing a few passes with a sheet of sandpaper couldn’t handle.

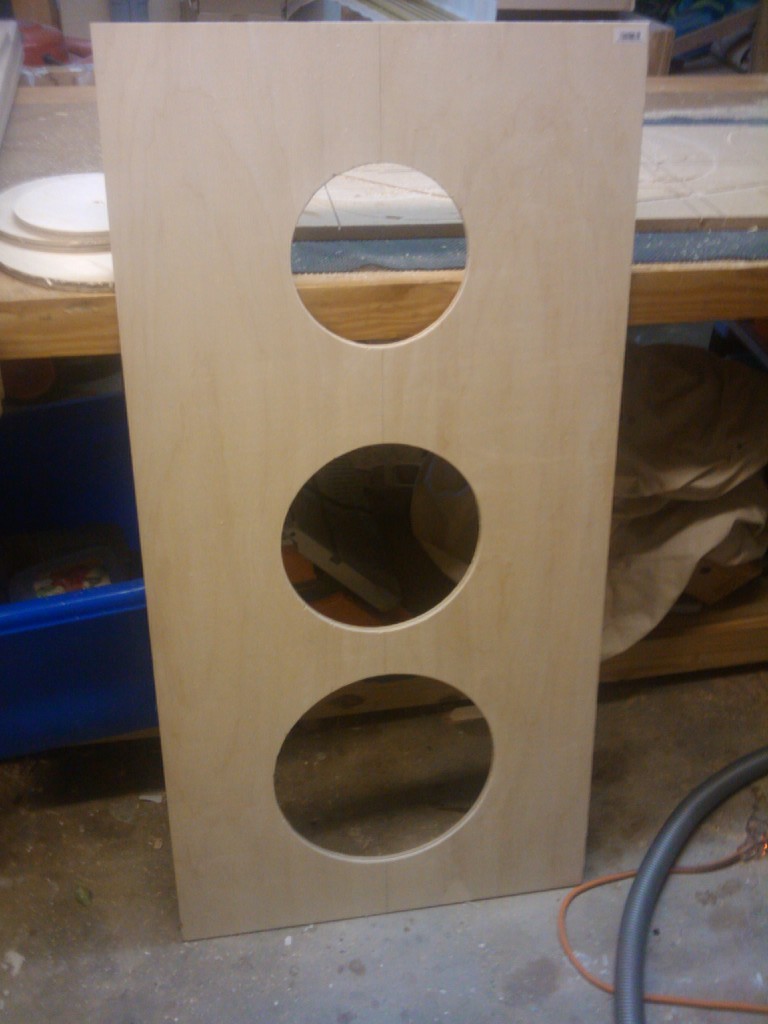
After repeating the procedure for the other two circles, here’s the finished project.  Sure, the holes are a little large, but remember, kids are throwing the bean bags, so it should be a little easier.  Now, my co worker and her daughters just need to paint, and this one will be ready for the bean bags.


Smoothing the wild

One of the things I enjoy most about woodworking is jointing and planing boards.  Think about it – you start with this rough, dull board that looks like something you wouldn’t put into a home construction project. When you are done, you have a gorgeous board you can build a masterpiece with.

Since I face and edge joint boards with a hand plane, the process is also a voyage of discovery. I can feel how that  rough outer layer peels  leaving a silky smooth surface behind.

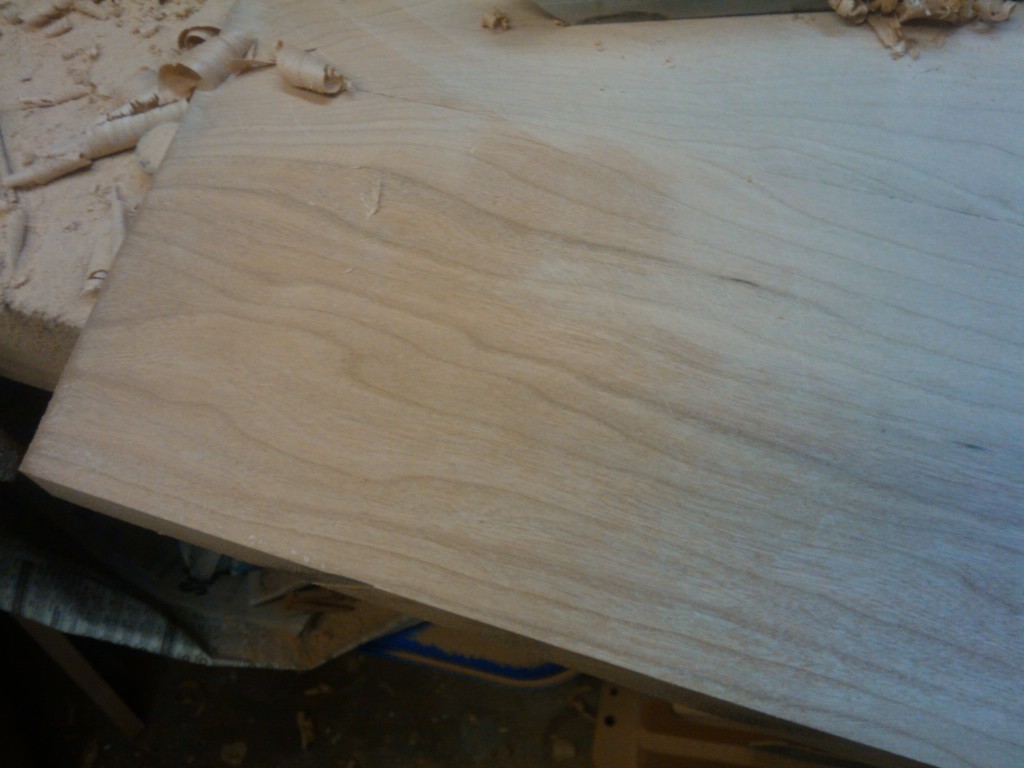
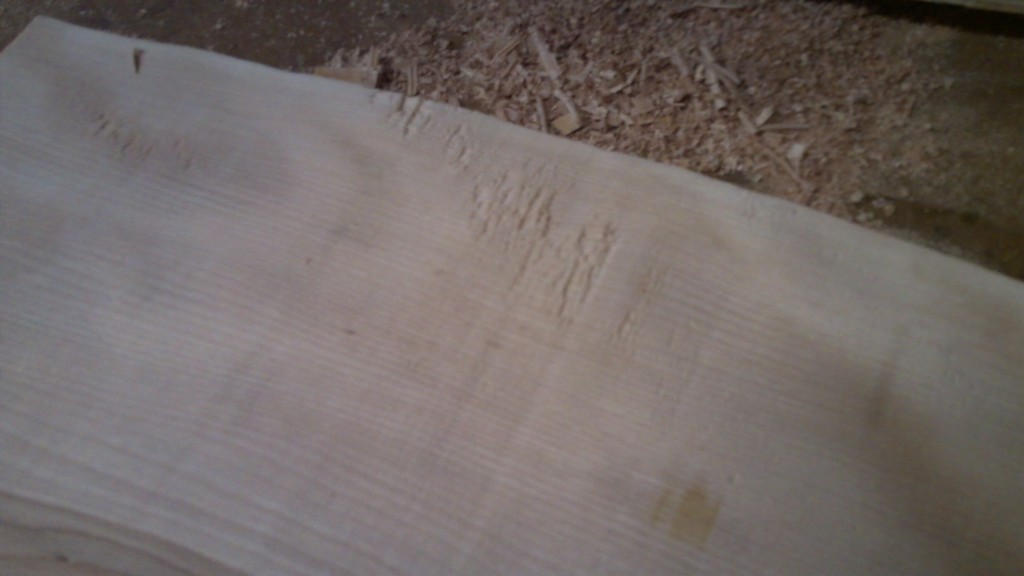
But, sometimes, there are those boards that don’t behave well. Ironically, those are usually the boards that are the most beautiful, full of figure and character. This describes a board that was recently sent to me by Bell Forest Products.  I was looking for a live edge slab, and the one they sent to me was beautiful – a slab of flame birch.

Now, flame birch is one heck of a board.  Beautiful waving grain. Its beauty, alas, comes at a price. It’s one bear to surface.

Even with my super cool, heavy duty Veritas bevel up smoother set to a very fine cut, it still tore out like nobody’s business. Running the board through the planer – even with the finest cut – led to much more ugly tear out.

I thought I may have had to run down to the local hardwood supplier to get the board run through their wide belt sander, but they were closed the day I was free. Bummer.  Thinking that I was completely out of luck, I went home and sat down for a glass of iced tea.

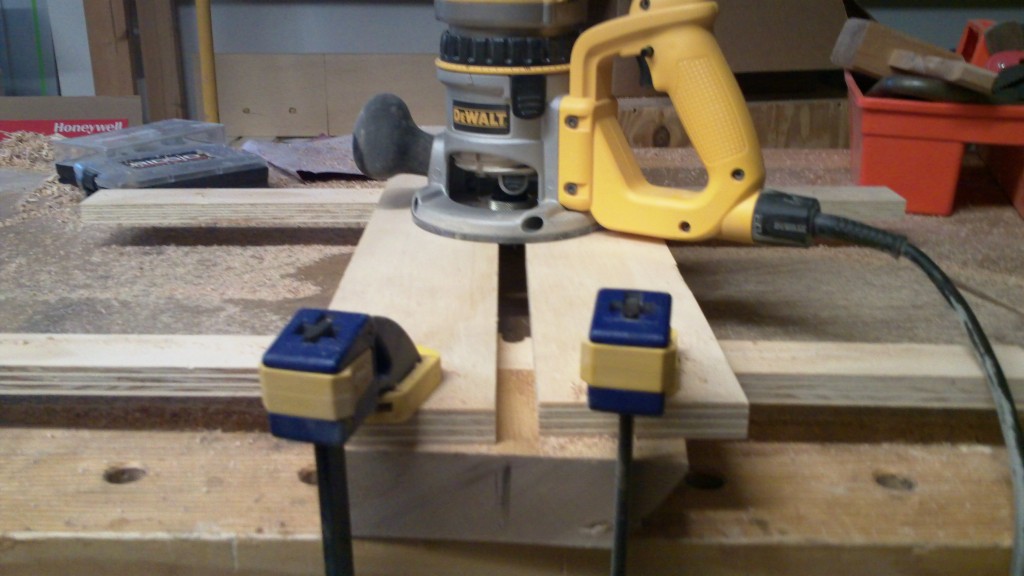
That’s when it hit me.  Why not make a thickness jig for my router? Without looking at a plan, I grabbed some plywood scraps from the kitchen cabinet pull outs and puzzled it out on my own.

The whole jig involves two pieces of plywood nailed to two cross pieces. The two pieces that go across the board are held 3/4″ apart, just wide enough for a router bushing to fit between. This way, the movement of the router could be carefully controlled while I pushed the board under it.  Under the cross pieces, I took some of the slab offcuts and used them as spacers.

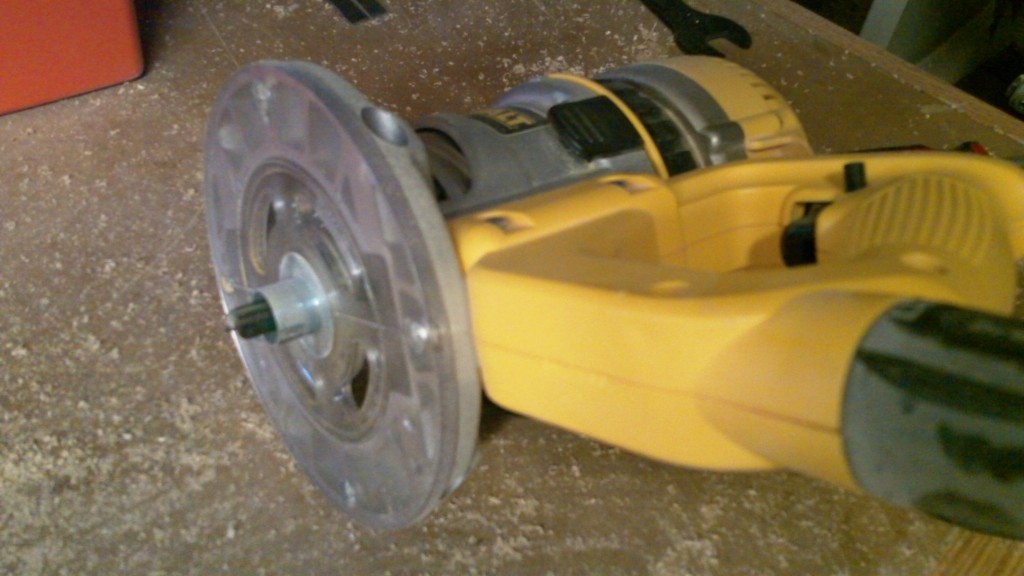
I put a 1/2″ bit into the router and set the base up with a 3/4″ router bushing. I set the depth of cut until it just grazed the top of the board and then turned the router on.

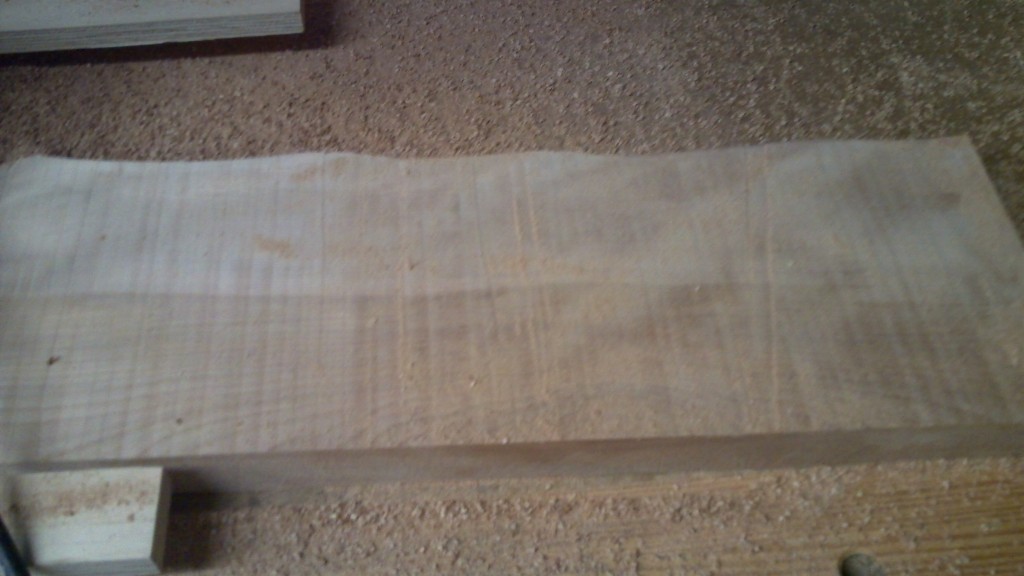
Feeding the board from left to right, I cut row after row across the board.  The tear out disappeared and the board ended up good and flat. What came out the other side was a board with some very fine router tracks, which were easily erased by a random orbit sander and some 100 grit sandpaper.

I would show you the final project, but I’m still building it and don’t want to spoil the surprise. However, when the boards are wild and unruly, now I know the secret of how to tame them in my shop.

I see what you resaw…

When you add the prefix ‘re-‘ to a word, sometimes it makes that word a whole lot less enjoyable.

Reheating a good dinner usually leaves it not as tasty as it did the first time around. When my boss asks me to reissue a press release, it’s probably because none of the local media has picked up on the story.  And, when my wife asks to review how much I have spent on woodworking tools… well… err…

But, when it comes to resawing, that’s usually a good thing. This past weekend, I was working with some thick chunks of ash and sapele which, while nice at nearly two inches in thickness, were just too thick for what I needed to do.  Rather than just throw them into the thickness planer and turn beautiful wood into sawdust, I decided to resaw them down to size.

Resawing is exactly what it sounds like – taking a board that was already sawn to a particular size, then sawing it down again to make a thinner board. I’m working with my regular tools… my table saw, band saw, hand planes and thickness planer.

My first move was to plane the rough boards smooth, flat and square. I ended up with boards that were about 5 inches wide and nearly 1 3/4″ thick.  It’s important that the edges are flat and square… you’ll be pushing your boards through and need them to sit flat on the table so you can saw safely.

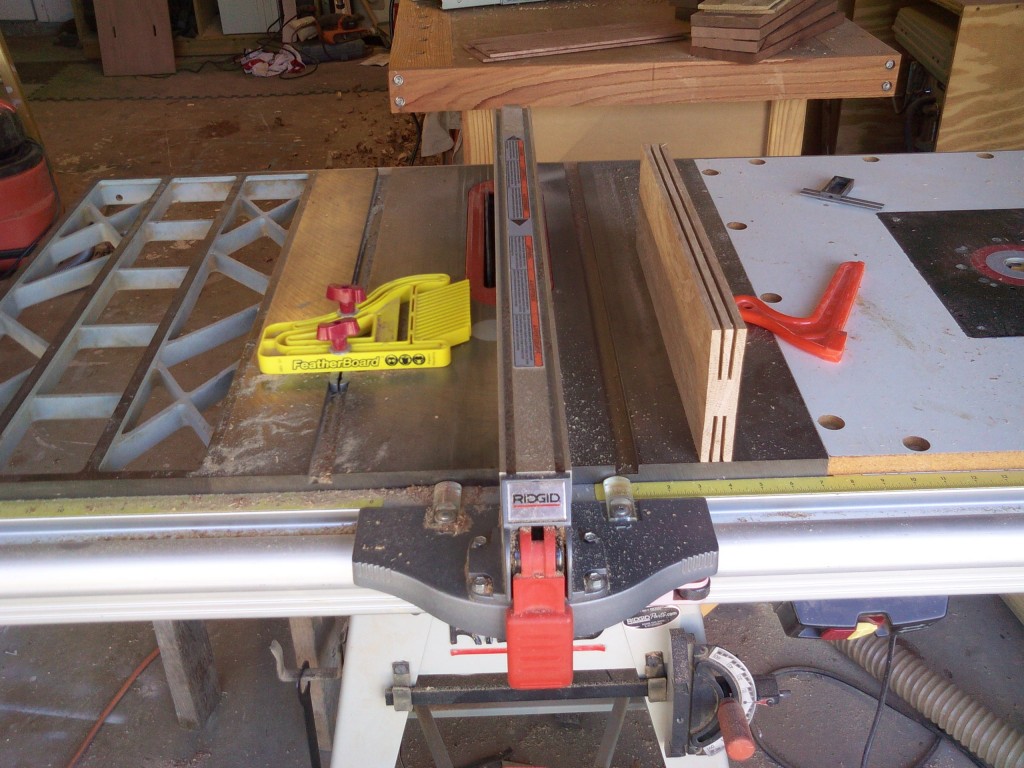
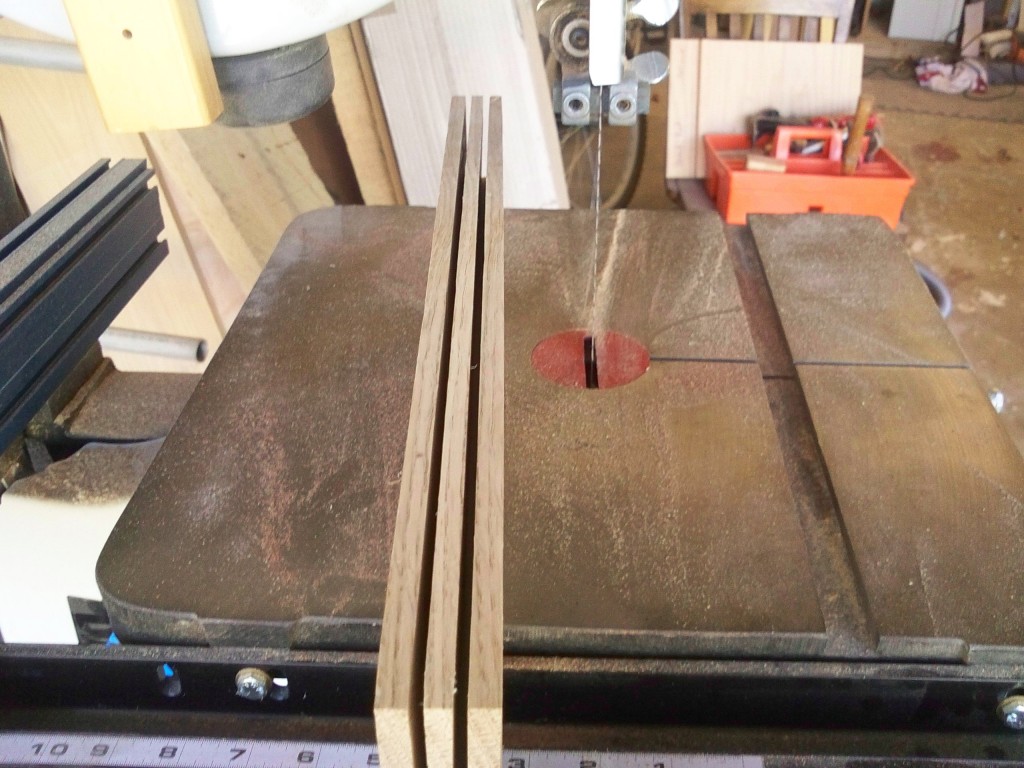
I start at the table saw. If I had a more capable band saw, I would have started there, but my Delta band saw isn’t great with resawing through thick boards. And, both ash and sapele are tough stuff.  To be successful, I’m going to have to stack the deck in my favor.  I measured the width I want to cut the boards – in the case of the ash, 3/8″, and set the blade height about 2 inches above the table. I have to remove the guard and the splitter to do this, so on goes the featherboard to hold the saw in, and I use a push stick to hold the board flat to the table. I push the board through, flip it end for end, then turn the board over and repeat the process.  This way, I have two deep kerfs on each side.  They line up and provide a channel for the band saw blade to run down as I saw.

Once that’s done, I move to my band saw.  One of these days, I really do have to upgrade this sucker…

I set the blade guard up so it clears the height of the board by 1/4″ – I want to keep the upper blade guards as close to the wood as possible to help guide the blade.  Once the blade it tensioned properly (I’m using a 1/2″ blade, by the way), I push the board through.  My anemic little saw gagged and sputtered through the cut, but managed to split the boards out. I don’t use a fence using this method – I just push the board through and keep the blade centered in the larger table saw blade kerf.  Works fine for what I’m doing.

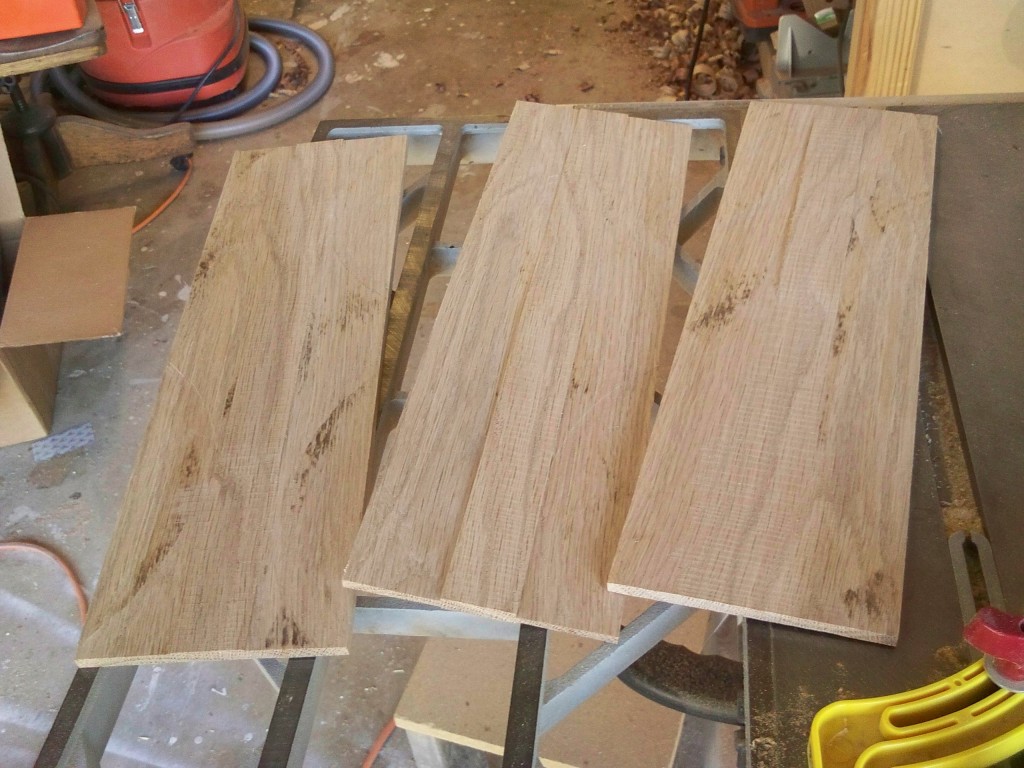
Now, I have the thinner boards with a strip of bandsawn wood in the middle.  I snug them in a vise and flatten them out with my bevel up jointer.  Then, once the majority of excess wood is off, I run the cut side through the thickness planer until I get exactly the thickness I need. No fuss, no muss, and a whole lot less waste.

What am I building?  Oh, you’ll see in due time…

For right now, it’s good enough to say that this piece will be in the next art contest at my place of employment.

Stay tuned for more.