You know, next summer, the city of London will be hosting the summer Olympics. Since I saw my first Olympic games (the 1976 Montreal games), I have always been fascinated by them. I mean, how else can you get that many folks together from around the world without all the diplomatic saber rattling? OK, there were a few boycotts through the years, but for the most part, they have been peaceful affairs.
I’m looking forward to seeing the competition. The swimming. The diving. The biking. The crazy sports. (When the games were in Atlanta, my brother went. He said he couldn’t get anywhere near the track and field, basketball or volleyball events, but it was a piece of cake to get into the judo and weightlifting venues.)
One of the events I look forward to is the marathon. The men’s race is the last event of the games, and both the men’s and women’s races are interesting to watch. There’s endurance. There’s determination. There’s a surprising amount of strategy. And, I discovered during the 1984 Olympics in Los Angeles that you can’t help a runner cross the finish line. That’s when Swiss contestant Gabriela Andersen-Scheiss entered Olympic Stadium overcome with heat exhaustion and staggered to the finish line, refusing help all the way. Talk about an indomitable spirit.
While Olympic runners can’t accept help, I think most woodworkers need it – especially when it comes to installing drawer runners. There are many purpose-built jigs you can buy to help make setting runners easy, there is one easy installation method that is so foolproof.. heck, I don’t know if I could foul things up with it.
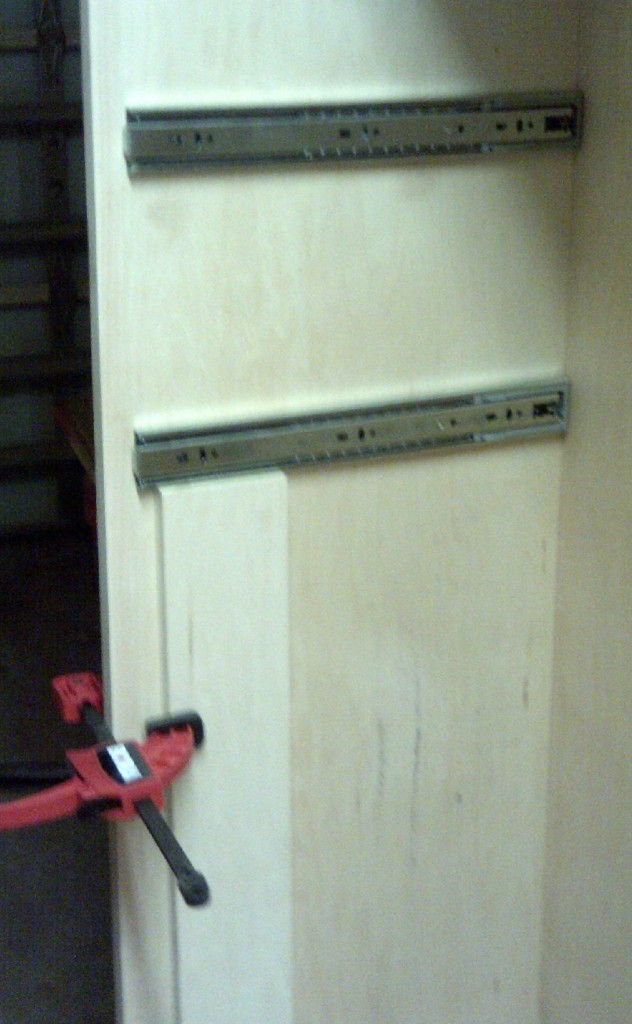
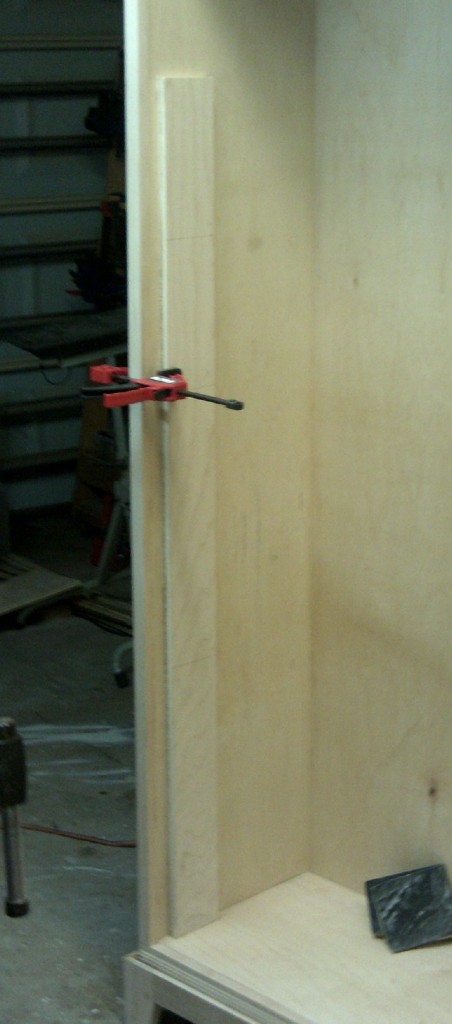
When you build a plywood project like the pantry I’m building, you end up with a bunch of odd sized offcuts. Some are very small, while others can be long and narrow. I found a piece of 1/2 inch ply that was about five inches wide and six feet long. That was going to work for what I was doing. I took the piece and crosscut it to a length that represented the distance from the floor of the piece to the bottom of where I wanted to bottom of the uppermost drawer runner to end up. I marked out the heights of where I wanted the other runners to end up for later, and clamped the plywood strip to the inside of the case.
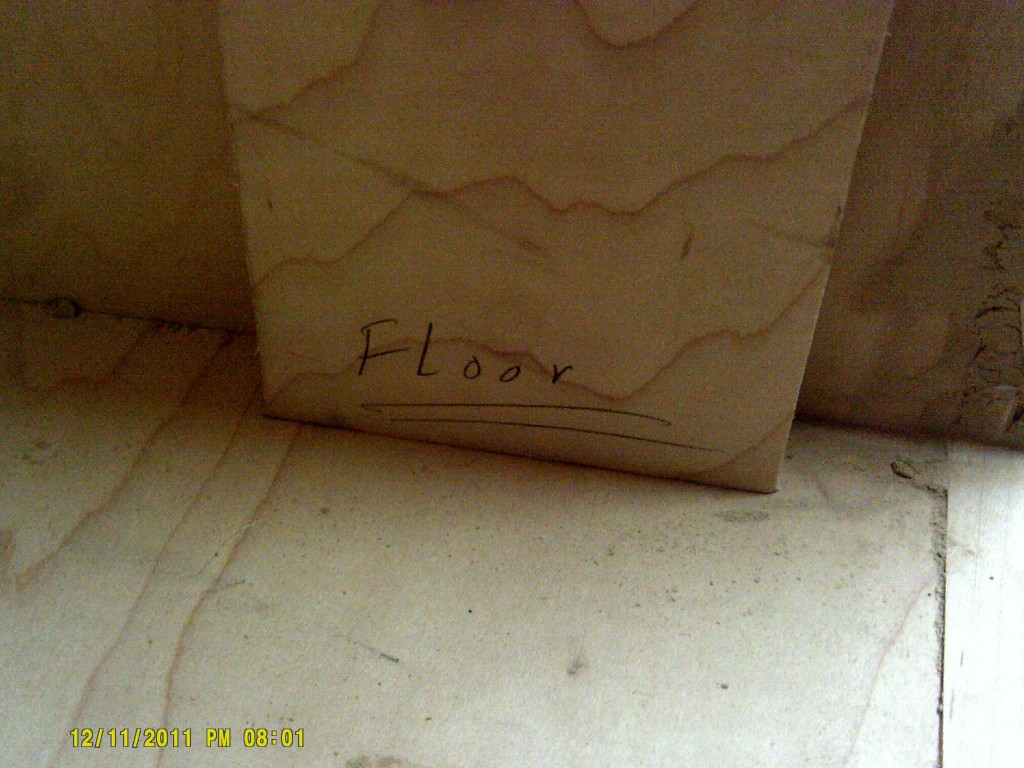
Of course, you want to orient the jig properly as you work with it, so, it pays to mark which end is up on your strip. Trust me, pencils are cheap, and it’s better this way.
Once I had it set up, I laid the part of the runner that connects to the case side on top of the strip and screwed it in place. I then moved the jig to the other side of the case and attached the that side’s runner there.
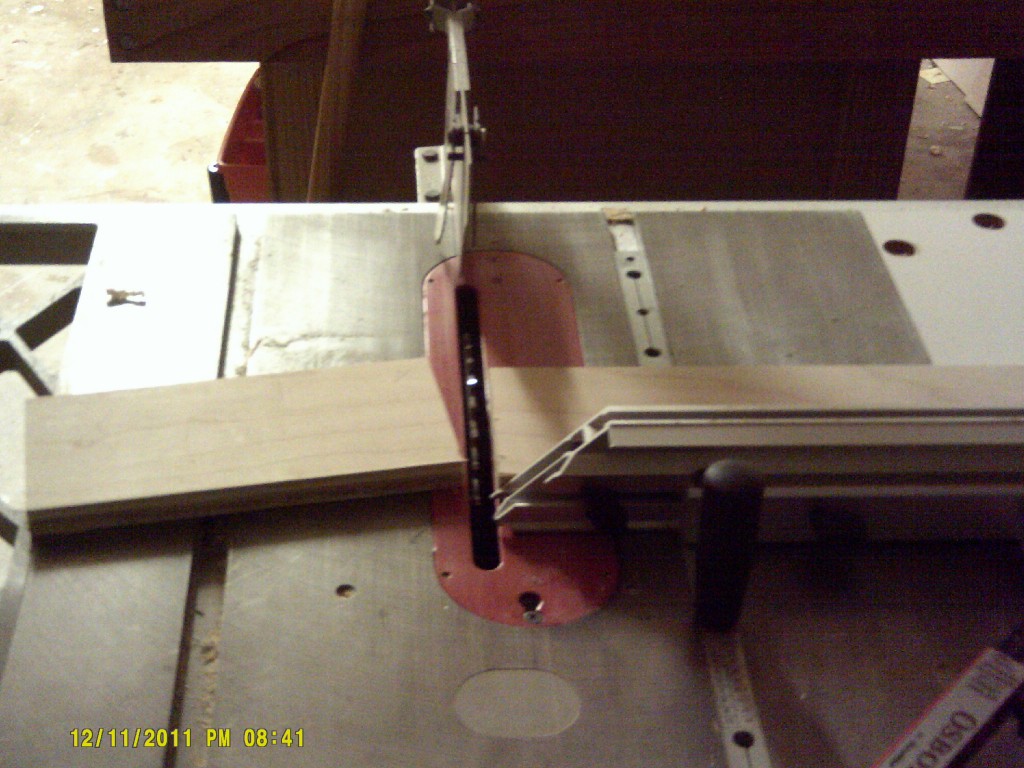
The next step was to head back to the table saw, carefully line up the cut mark with the blade and crosscut it to the new length where the next lowest runner was going to have to be mounted.
The next steps are very repetitive. Mount both runners on the two sides of the case, cut the jig to the next level and you are off to the races.

This method beats the tar outta measuring, marking, cursing and the other fun and excitement I have experienced over the years trying to do this stuff. And, if you aren’t working with a plywood case, you could fish around at an offcut bin at the local home improvement center or purchase a piece of inexpensive particleboard to serve as your guide.
Either way, it’s a simple way to get things right.


I was at a loss as to why you needed to mark “floor” on the “jig”.
As I see it the jig could be upside down or back to front, the escential item is the length.
Am I missing something
Regards
Frank
Great tip Tom.
I’m going to keep that one in my back pocket until next time.
(and that segue from the Olympics in to your cabinet project was a bit of a stretch, even for you!….lol)
Frank –
I varied the distance between some of the shelves (Shorter ones on top to keep cans from stacking up, taller once on the bottom to allow for tall things like cereal boxes). Rather than cut from the wrong end and messing up the spacing, I marked the bottom of the jig so I knew I was cutting from the right side. Call me a belt and suspenders kinda guy…. 🙂