I work with about two dozen very engaged and friendly folks at my office. They are great colleagues and friends I can rely on when the chips are down.
So, when one of my friends at work told me that she and her daughters were helping to put on a carnival to raise money to benefit cancer research and that they needed help making a bean bag toss (aka ‘Cornhole’ game), well, I knew I had to lend a hand.
Basically, they needed to cut a few holes in plywood to serve as a game board for players to toss bean bags through. They want to paint the piece to make it look like a speaker, with a woofer, mid range and tweeter cones. They were able to get the home mega-center to cut a 2 foot by 4 foot piece of ply for the board, but they weren’t about to cut circles in it.
I knew that I had to do this job with a router and a jig to make perfectly smooth circles. It was a piece of cake.
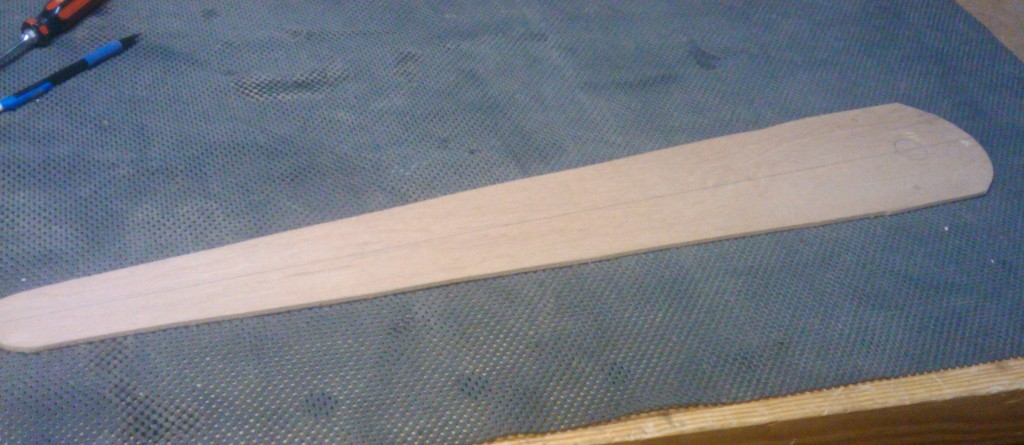
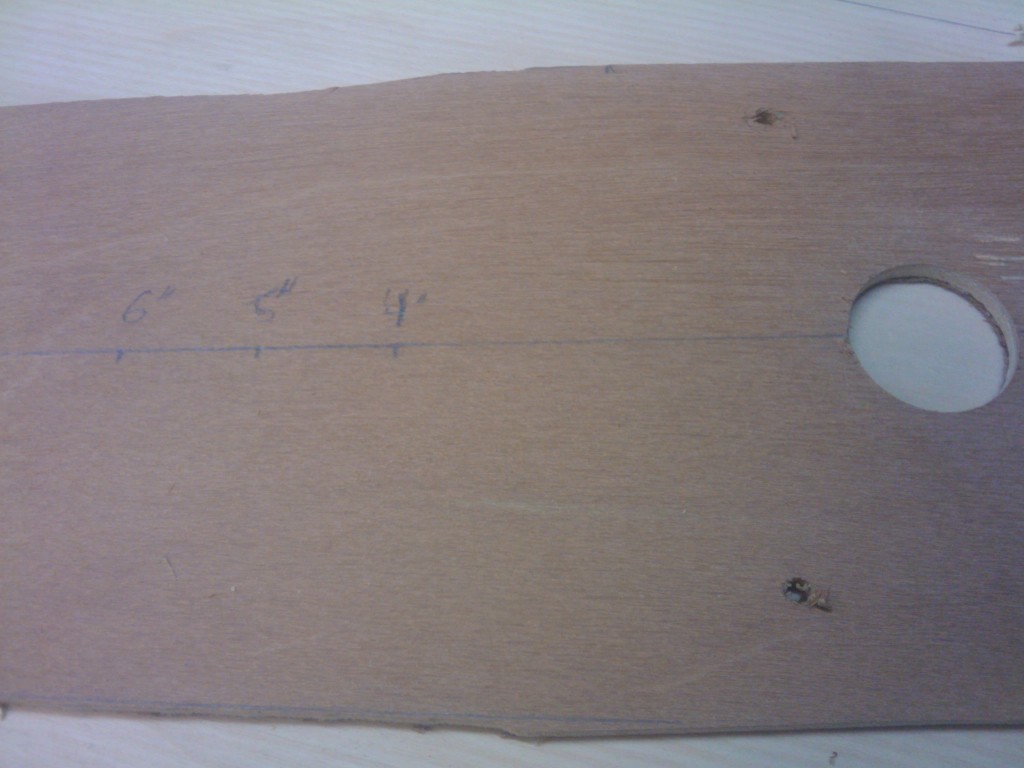
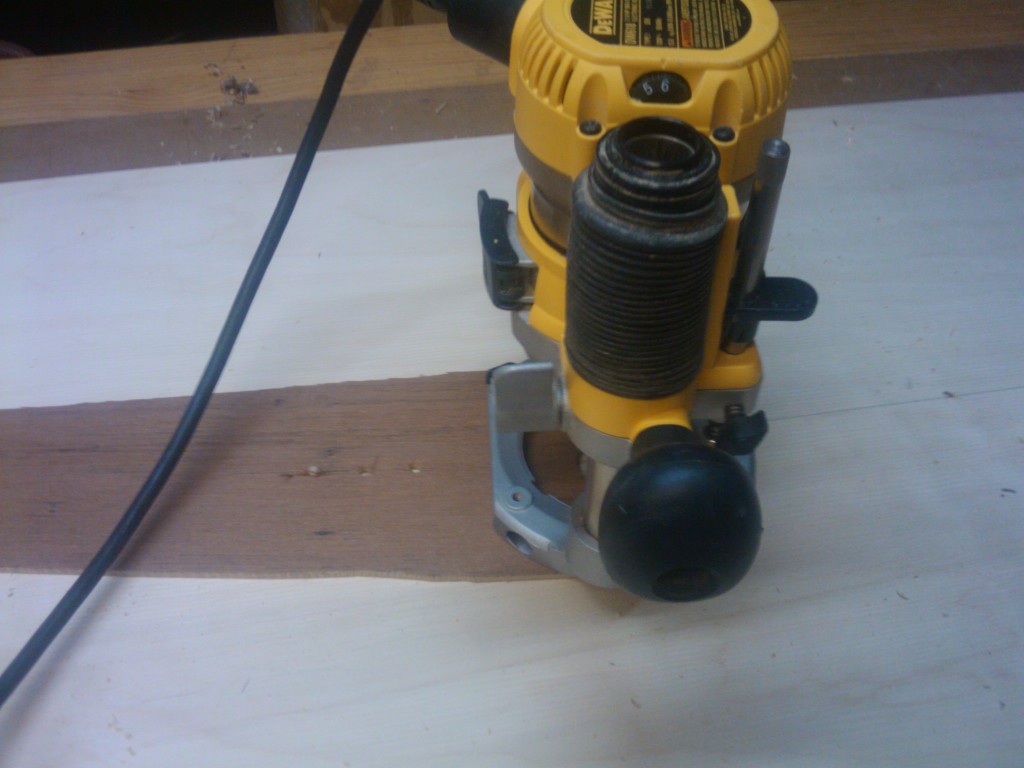
First thing I had to do was dig out a scrap of plywood from my scrap pile. I found a piece of 1/4″ luan that was about two feet long and six inches wide. I took the baseplate off my DeWalt plunge router and used it as a template to mark out for the screw holes and the bit clearance hole. I also scribed a line down the middle of the jig, so I could do some measuring later.
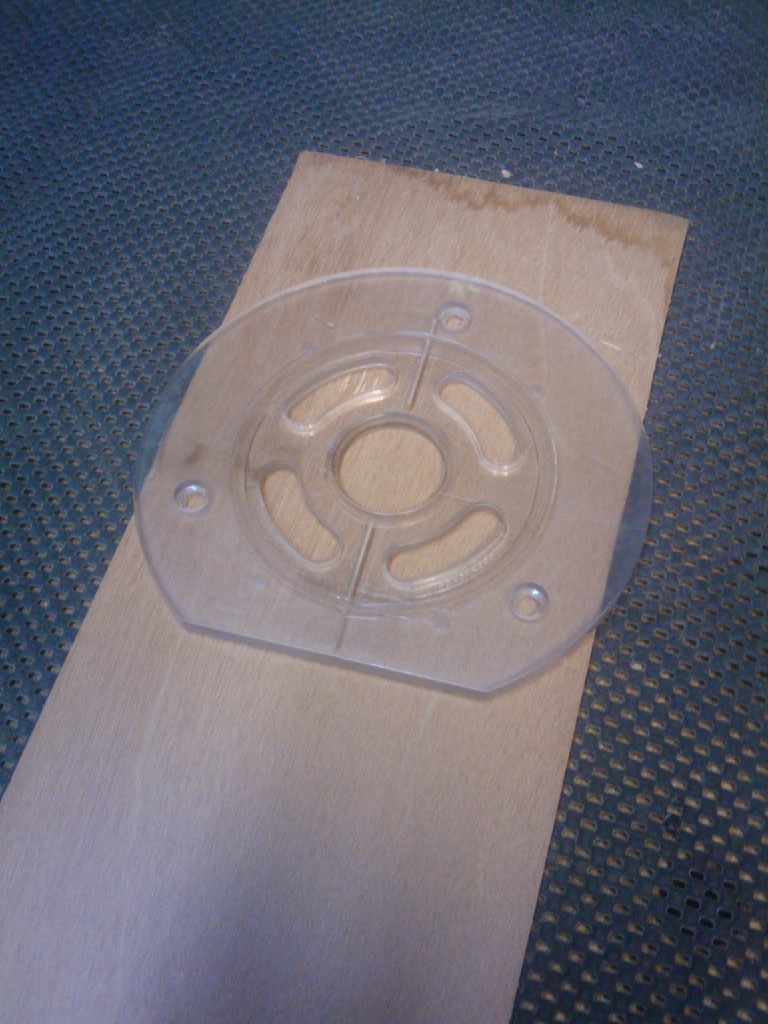 The next step was to cut the jig shape down a little bit to reduce the size. Was this step necessary? Maybe not. But, it make the jig look really cool. Plus, it clipped the corners, so there was no way I was going to scratch myself.
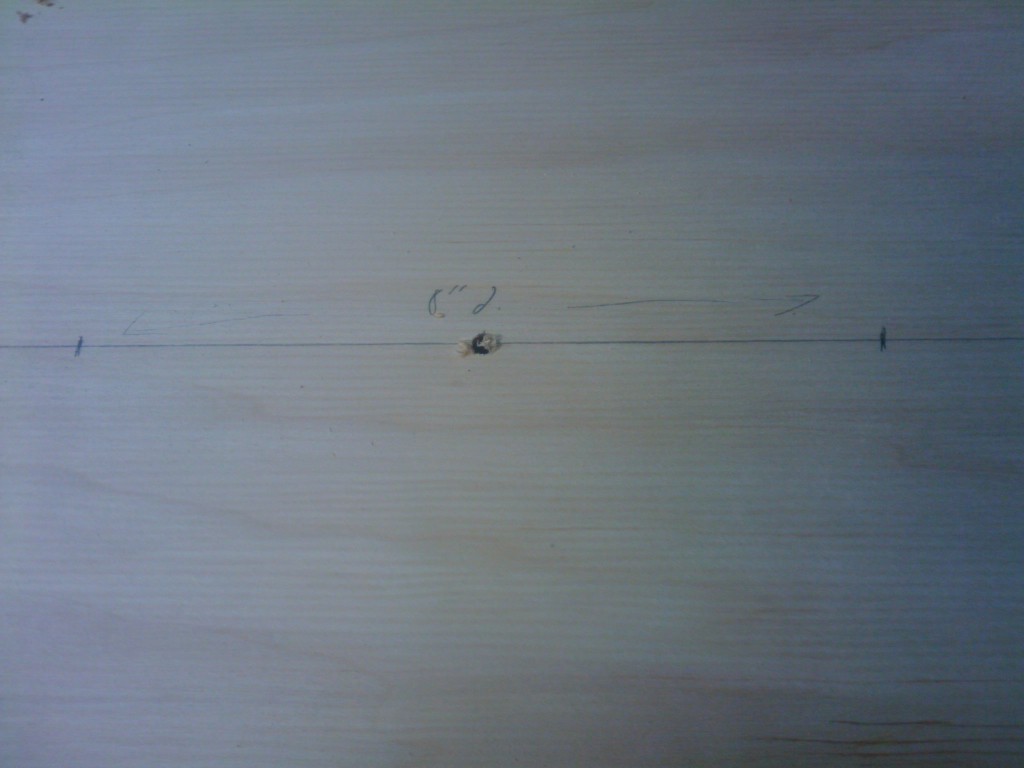
After drilling the holes for the baseplate and attaching it to the router, I started working on the piece of plywood. I had marked a center line along the length of the board and measured out for the diameters. This is a very easy step… basically, I spaced out the centers for the holes I wanted to cut and measured up the radius on both sides of the center point, giving me a good idea of where everything would land, and that I had enough room to swing all three circles.
The next step was pretty easy as well. I drilled the center point for each of the circles with a 1/4″ diameter bit. I went through the plywood and slightly into the particleboard base I was routing on. Again, because I was using a regular 1/4″ dowel, and I didn’t want to go into the bench top, I went very slightly into the backer board. This way, the center wouldn’t shift once it was cut free from the board.
On the jig, I drilled three pivot holes to fit the dowel at four, five and six inches from where the bit edge. From there, I installed a 3/8″ up spiral bit into the plunge router and set the jig in place. Sure, it was kind of long for this smaller application, but if I ever have to cut a larger hole, I’d have the room.
I set the bit plunge depth until it would just push through the board when fully at depth, and I knew I was going to have to do this in two or three passes so I wouldn’t burn the bit up. Next, I popped the router and jig on the board, hit the on switch and let ‘er rip. While you are spinning the router around, you have got to keep an eye on your power cable. With two or three passes, you can easily get tangled up with the cord. That’s not good.
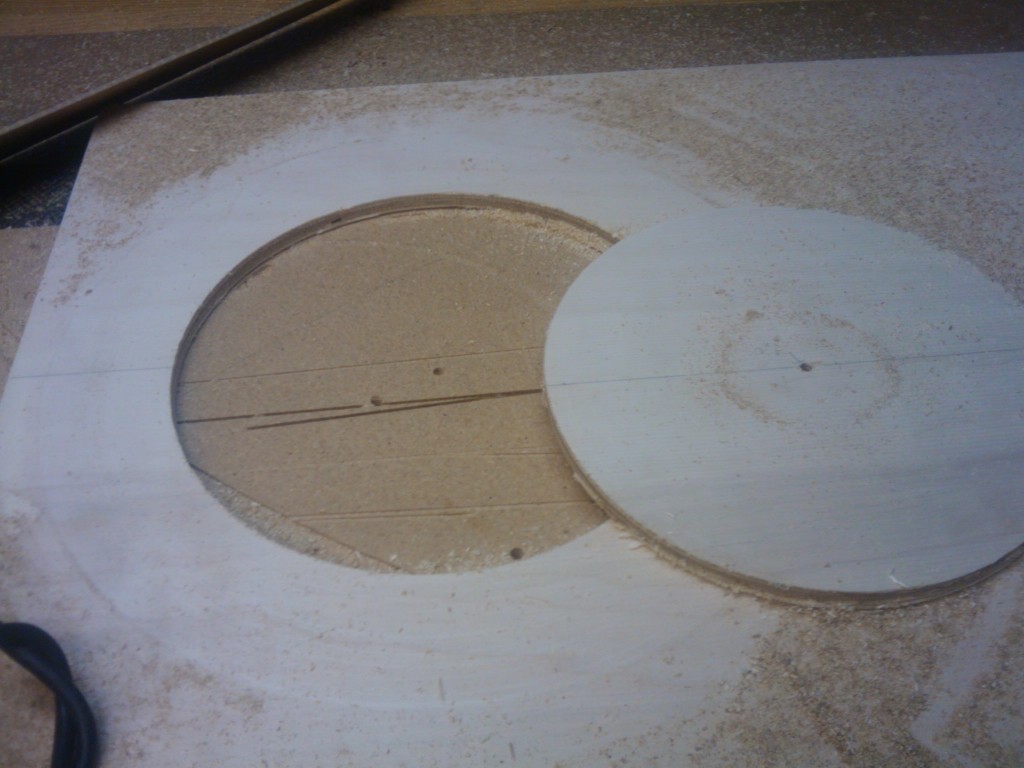
After three passes, the circle was ready to pop out. I’d say the result was pretty darned cool. It was a perfectly round cut with pretty darned smooth edges. There was a little splintering, but nothing a few passes with a sheet of sandpaper couldn’t handle.
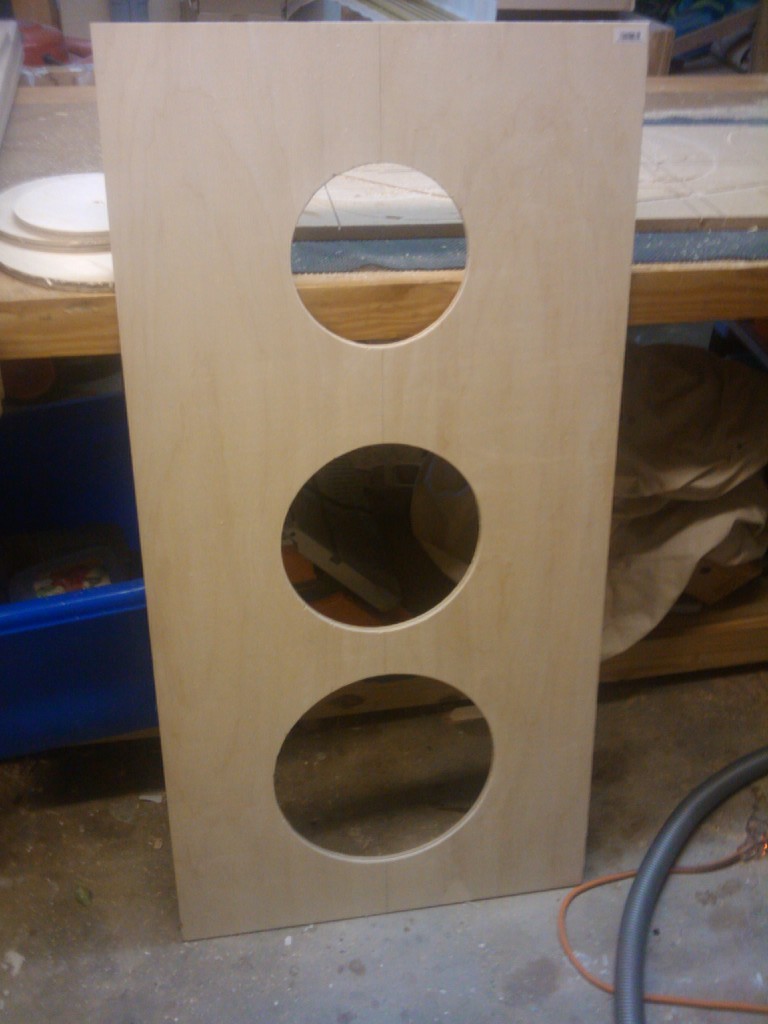 After repeating the procedure for the other two circles, here’s the finished project. Sure, the holes are a little large, but remember, kids are throwing the bean bags, so it should be a little easier. Now, my co worker and her daughters just need to paint, and this one will be ready for the bean bags.

Those came out perfect.
And, for a very good cause.
Good job Tom.