When you add the prefix ‘re-‘ to a word, sometimes it makes that word a whole lot less enjoyable.
Reheating a good dinner usually leaves it not as tasty as it did the first time around. When my boss asks me to reissue a press release, it’s probably because none of the local media has picked up on the story. And, when my wife asks to review how much I have spent on woodworking tools… well… err…
But, when it comes to resawing, that’s usually a good thing. This past weekend, I was working with some thick chunks of ash and sapele which, while nice at nearly two inches in thickness, were just too thick for what I needed to do. Rather than just throw them into the thickness planer and turn beautiful wood into sawdust, I decided to resaw them down to size.
Resawing is exactly what it sounds like – taking a board that was already sawn to a particular size, then sawing it down again to make a thinner board. I’m working with my regular tools… my table saw, band saw, hand planes and thickness planer.
My first move was to plane the rough boards smooth, flat and square. I ended up with boards that were about 5 inches wide and nearly 1 3/4″ thick. It’s important that the edges are flat and square… you’ll be pushing your boards through and need them to sit flat on the table so you can saw safely.
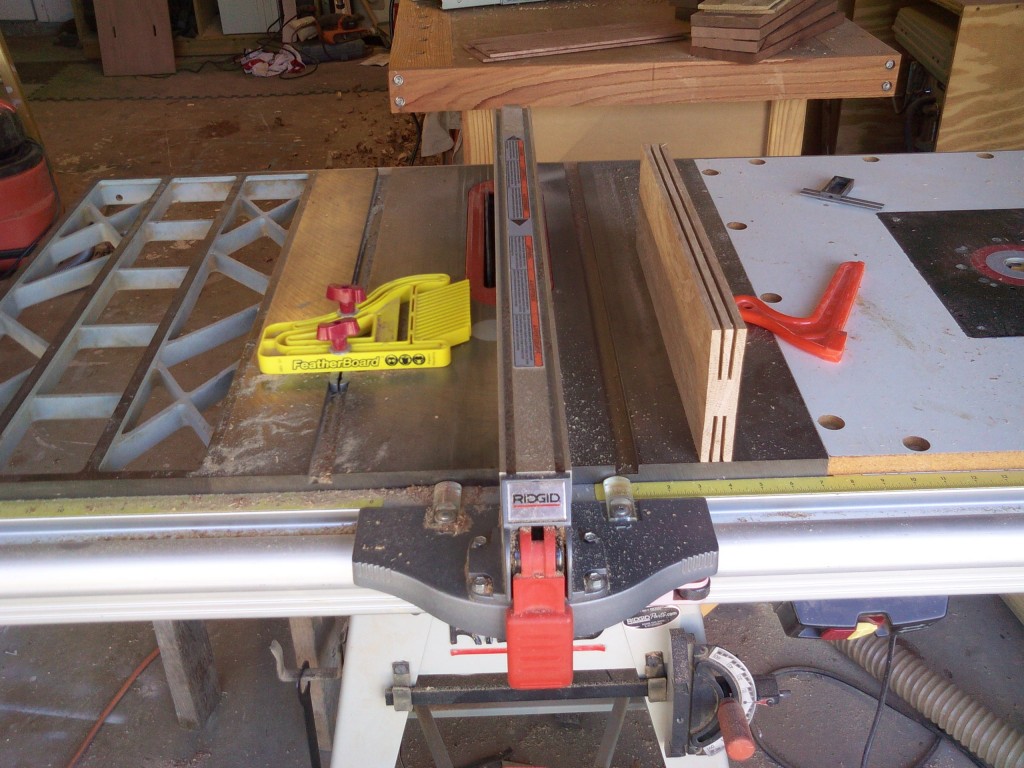
I start at the table saw. If I had a more capable band saw, I would have started there, but my Delta band saw isn’t great with resawing through thick boards. And, both ash and sapele are tough stuff. To be successful, I’m going to have to stack the deck in my favor. I measured the width I want to cut the boards – in the case of the ash, 3/8″, and set the blade height about 2 inches above the table. I have to remove the guard and the splitter to do this, so on goes the featherboard to hold the saw in, and I use a push stick to hold the board flat to the table. I push the board through, flip it end for end, then turn the board over and repeat the process. This way, I have two deep kerfs on each side. They line up and provide a channel for the band saw blade to run down as I saw.
Once that’s done, I move to my band saw. One of these days, I really do have to upgrade this sucker…
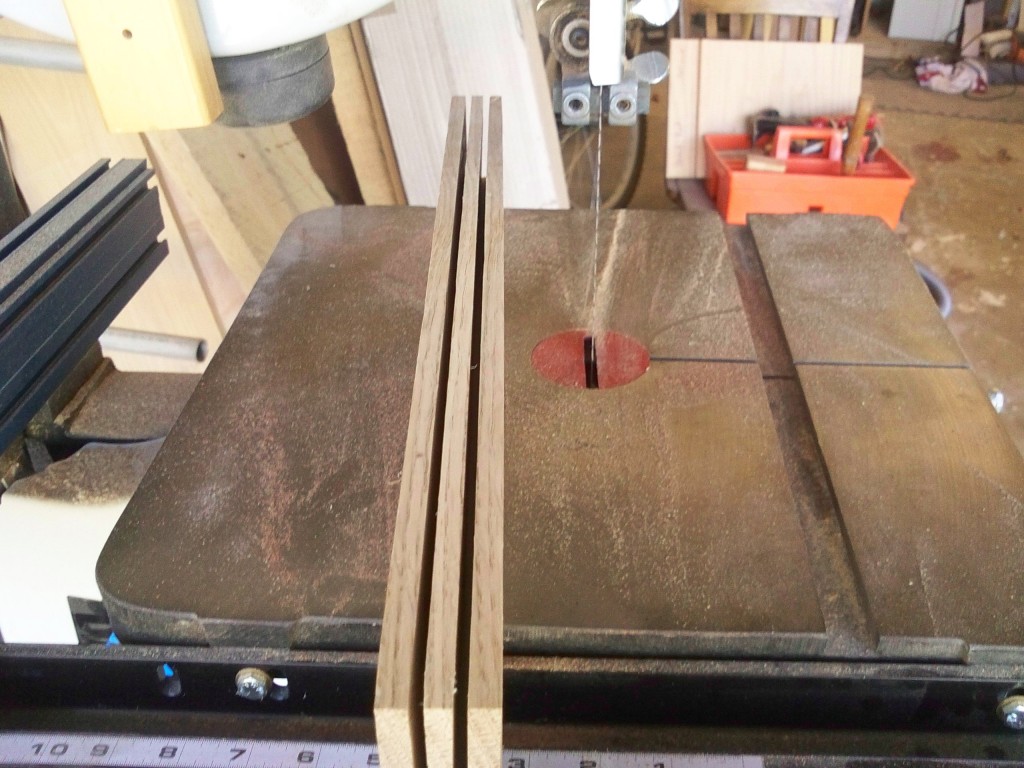
I set the blade guard up so it clears the height of the board by 1/4″ – I want to keep the upper blade guards as close to the wood as possible to help guide the blade. Once the blade it tensioned properly (I’m using a 1/2″ blade, by the way), I push the board through. My anemic little saw gagged and sputtered through the cut, but managed to split the boards out. I don’t use a fence using this method – I just push the board through and keep the blade centered in the larger table saw blade kerf. Works fine for what I’m doing.
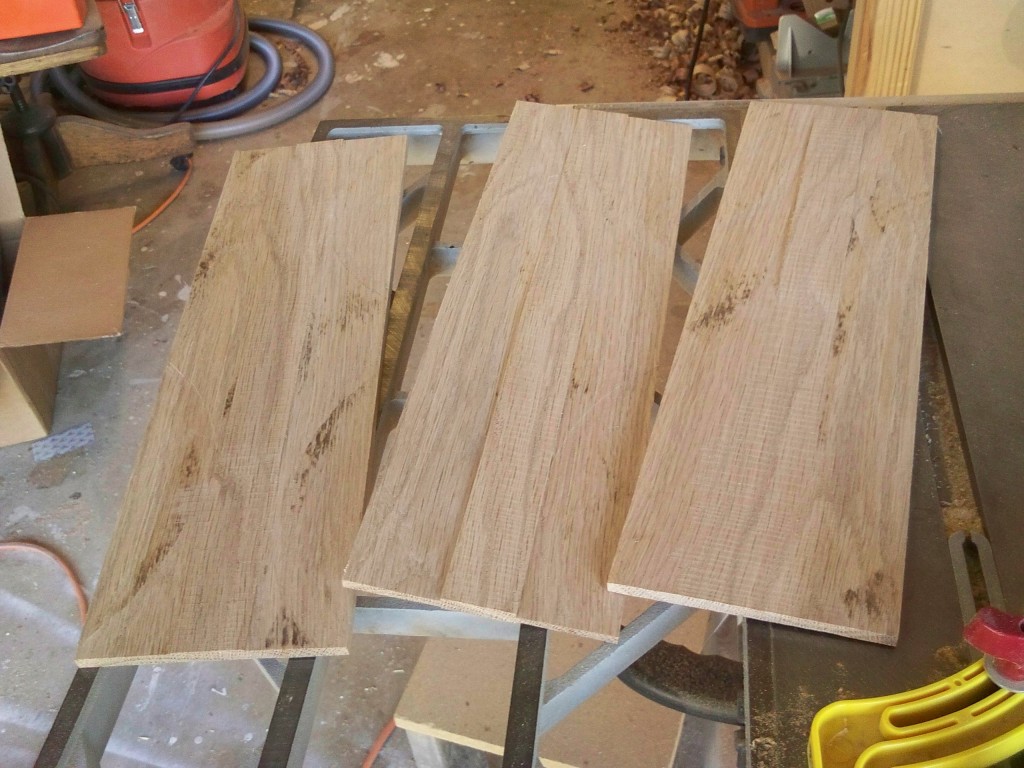
Now, I have the thinner boards with a strip of bandsawn wood in the middle. I snug them in a vise and flatten them out with my bevel up jointer. Then, once the majority of excess wood is off, I run the cut side through the thickness planer until I get exactly the thickness I need. No fuss, no muss, and a whole lot less waste.
What am I building? Oh, you’ll see in due time…
For right now, it’s good enough to say that this piece will be in the next art contest at my place of employment.
Stay tuned for more.


Looking good Tom. I had never thought about using the table saw first then finishing with the band saw. Having just aquired a small band saw this process might be in my near future. Thanks
I have resawn boards on the table saw like that but, not having a band saw, I use a hand saw to finish the cuts.
Rog
Personally I would try to come up with a splitter for an operation like this on a table saw. I have two splitters for my table saw – one that gets attached to a guard and the other that is separate and submersible in the wood. You never know when wood is going to bind on the blade.
Joe
Tom, I have resawn boards on my bandsaw which has a riser, but I recently saw an edition of Tommy Mac’s “Rough Cuts” where he did exactly the same thing as you by using the table saw to “precut” the boards before going to the bandsaw. I tried it, and it made a believer out of me! It almost eliminates the need for a fence and the associated problems of bandsaw drift.
Table saws make me nervous having cut a finger tip off several years ago so obviously I much prefer my Laguna LT18 band saw, blade drift is easy to adjust for, a good topic for your next blog.