For nearly 20 years, I would race to the TV on Saturday afternoons, turn on the local PBS station, and watch Norm Abram do his stuff on the New Yankee Workshop. Now that was a heck of a woodworking show. There were all sorts of projects being built in a very-well appointed shop, and Norm’s voice was just so smooth.
The one thing that puzzled me about Norm was that he wore a big old honkin’ tool belt while he worked in the shop. The belt held all kinds of useful stuff – his tape measure, a combination square, a pencil and some other handy tools. But, the tool belt is more of the mark of the carpenter, working away from a bench and tool storage and needing those tools at hand, instead of – say – coming down from the roof to grab them.
Today, let us know what you think about tool belts for woodworkers in their shops. Do you use one, or are they just overkill for a woodworker?
Hand tool woodworking, once a skill on the decline among woodworkers, has seen a tremendous renaissance over the past few years. High-quality tool manufacturers have teamed with knowledgeable craftspeople to rediscover the skills and to pass the knowledge to others.
One of the people at the forefront of this effort is Paul Sellers. His teaching at woodworking shows and schools – as well as his informative blog – help to bring the magic of hand-tool woodworking to eager students looking to master these once-ubiquitous skills.
Tools, techniques and projects are covered on the blog in great detail, and you can check out where Paul will be instructing next.
There are so many useful things in the shop that come in pairs. A pair of dividers. A pair of safety glasses. A pair of sturdy boots. A pair of stinky gym shorts? Wait, the laundry is out in the shop, and that must be where I dropped those!
Another useful tool in the shop is a solid pair of scissors. There are so many times they come in handy. Trimming some veneer. Cutting strips of tough double-sided tape for sticking on jigs. Opening packages. Name a task, and they are up to the challenge.
But, for them to work well, they need to be taken care of. After cutting enough tape – and collecting all of that nasty adhesive on the blades – and being dropped from the bench a few times, well my trusty pair needed a little TLC.
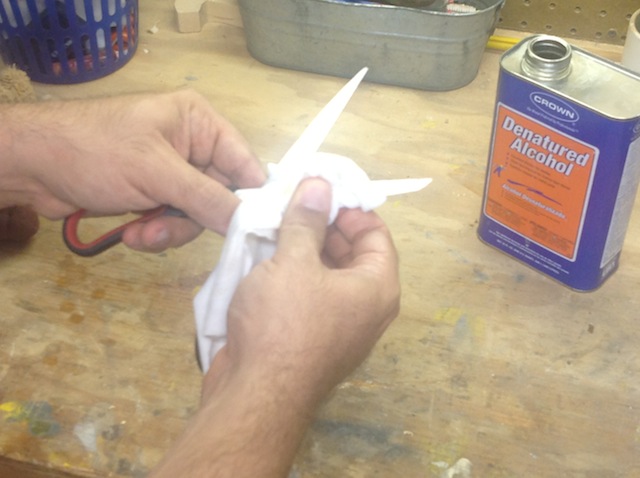
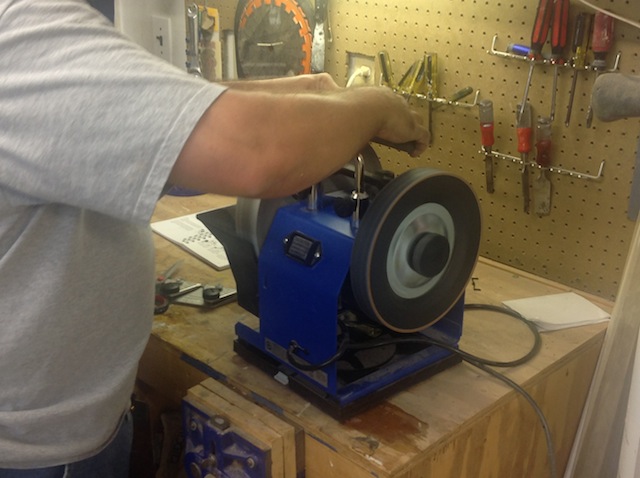
First things first, I had to wipe all of the accumulated gunk off the blades. This was a pretty simple task to tackle with some denatured alcohol and a rag. After a few minutes of wiping, the scissors blades were looking pretty darned sweet, if not still beat up.What was next was to give the blades a quick sharpening. Fortunately, my Tormek machinehas a scissors jig, making sharpening these babies a piece of cake. First things first, I had to fill the stone reservoir with water, and use the rough side of the stone grading tool to put the 200 grit surface on the stone. This also stripped out any remaining metal filings from the last time I sharpened, getting a nice, fresh face to work with. It took all of 30 seconds to tackle this.
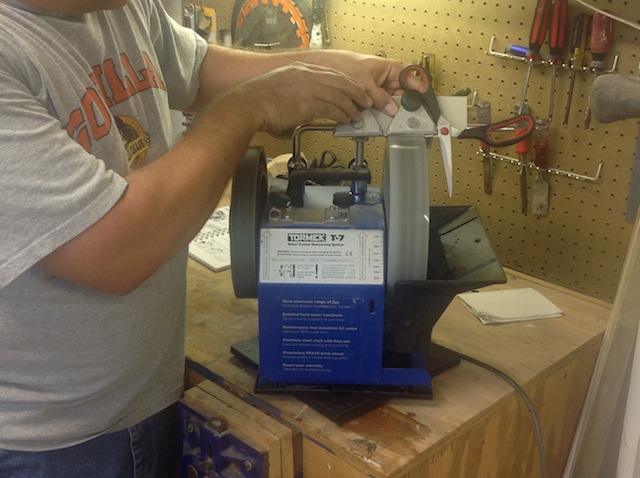
The jig itself is a two-part affair, with a clamp guide that grabs the individual blades of the scissors to hold them in place, and a backer plate that allows the clamping guide to slide back and forth. I clamped the first leg of the scissors into place, then guided it across the stone. The action was smooth, but the very high angle of the scissors created a squealing sound. Apparently, this is normal when sharpening at such a high angle.
I flipped the legs of the scissors and sharpened the other side. Once this was done, I used the fine side of the grading stone to bring the wheel to the 1000 grit feel, and sharpened both legs again. The blade looked nice and shiny. Now for a test.
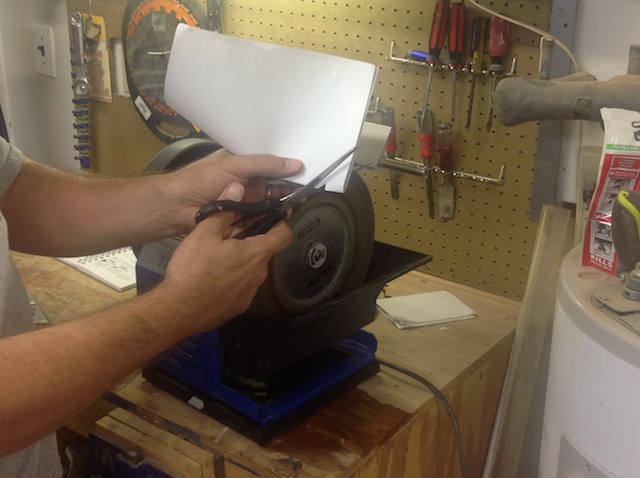
Sure, it’s not as easy to test the sharpness of a pair of scissors as opposed to a chisel or plane iron, but the test snips I made in paper were very crisp, gliding through with minimal pressure. They cut as well as the day I took them out of the package.
Now, I may need to use them to open the next package of laundry detergent so I can get those gym shorts back in to fighting shape…
Every woodworker has this fantasy. You may think you don’t, but believe me, you do…
It’s early on that special morning during the holiday season. Cup of coffee in hand, gathered with your pajama-clad loved ones, you wear the sly smile of someone who knows something that the other people in the room don’t. There’s a special someone there, looking for the gift marked for them, but they looked perplexed.
“I don’t see a gift here for me. Did you forget?”
“Oh, no. There certainly is a gift for you. In fact, I think you are going to remember this year’s gift for a long time to come.”
Taking that someone special by the hand, you lead them into the next room, where there is a gorgeous hand-crafted (insert name of woodworking project here) you spent six months creating, proudly displaying the (curly/figured/waterfall) grain and showing the (high gloss/subtle luster) finish you spent (weeks?) working on.
There’s an audible gasp, a huge hug, and then you are the person of the day, famed in song and story for years to come.
There’s a reason why I called that a fantasy – it has never happened to me. Why? Because I am a terrible planner. All of the grand projects I have thought about giving to my wife, kids, friends or others that would require months to build come to my mind about two weeks before the big day… leaving me smacking my forehead in disgust.
But, hey, that’s cool. In fact, projects that are a whole lot simpler in design and building techniques can be just as impressive as those grandiose ones, but require only a fraction of the time and materials. And, with dates certain on the calendar when they have to be delivered, easier can save your sanity during the crazy holiday rush.
That’s why I am launching a new woodworking effort this year – the Last Minute Elf. From December 1 – 7, I am going to present a few simple ideas for projects that can be built in a small amount of time but can offer a big impact. Just as I have done with Get Woodworking Week for the past few years, I am asking for some help with this project from some of my fellow bloggers – as well as some of the big players in the woodworking world.
The best part? Everyone I have pitched the idea to so far is on board!
What am I looking for? If you have an idea for a simple project that someone can bang together in a reasonable amount of time using a reasonable amount of wood, I’d like to see it. Maybe you have recipe for a quick-drying finish that can help you play beat the clock. Maybe you even have a heartwarming, funny or just crazy story about a gift you received or gave during the holidays. Write it up and let me know where we can find it. I’ll link out to your blog or article from here, just like I did for Get Woodworking Week. Oh, and if you are playing along, be sure to use the cool logo for the event!
Wake up, you lazy elf!
I’m hoping that we can spread the word about this effort, encourage some people to try making gifts for their loved ones, and maybe provide a little bit of relief for the procrastinators among us.
I see you out there. I can recognize those who work just like me!
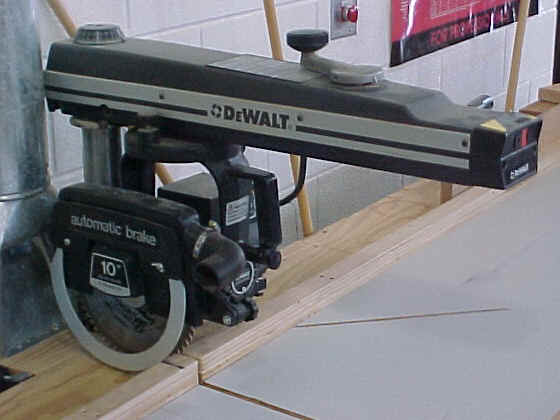
Since its invention by Raymond DeWalt back in 1923, the radial arm saw has had quite an interesting history. Once held as the ultimate home woodworking machine, the saw could crosscut, rip, dado, cut joints and do other tasks with specialized attachments.
While the saw was enjoying its reputation, questions about its accuracy, space utilization and – most importantly – safety were being raised.
With the invention of the power miter saw in the 1970′s, radial arm saw use declined precipitously. While radial arm saws are still produced today, table saws far outsell these machines.
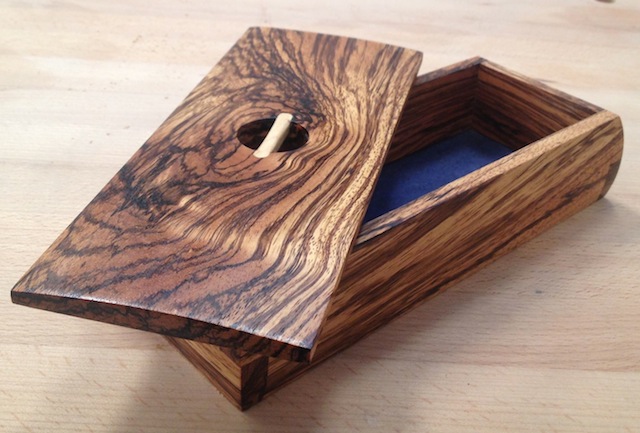
Deep in the heart of Tampa works a talented woodworker. His name is Kurt Raschke, and if you haven’t heard of him yet, now is a really good time to look him up.
After working the daily grind, Kurt decided he had enough of the rat race and started his woodworking career. Since then, his work has been presented in galleries across the country, he has spoken at several conferences and workshops and is now currently the artist in residence at Infinity Cutting Tools. At Infinity, he also teaches the woodworking classes offered a the company’s woodworking laboratory.
Kurt’s approach to projects is they should be as fun to build as they are to look at in their final location. I think you will find his work entertaining.
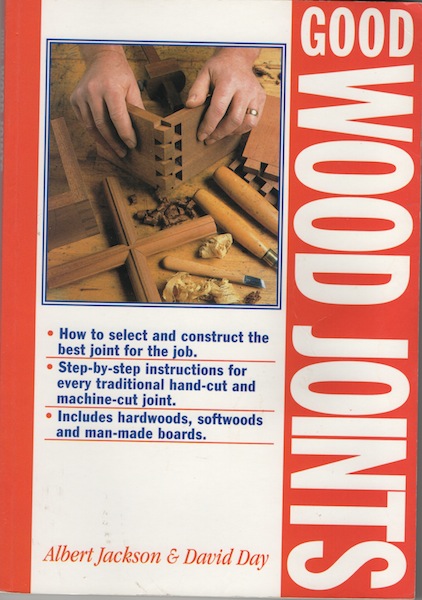
If I have said it once, I have said it a thousand times – the most fun thing about woodworking is how there are many different ways to get something done. And, when it comes to joinery,the options are nearly limitless. That’s why one of my favorite books in my woodworking collection is this one – Good Wood Joints by Albert Jackson and David Day.
This book is a little older, released in 1995, and the two authors were from the UK, meaning that they used funny (for me) terms to describe different things – such as calling C Clamps G Cramps – but, I think I can interpret.
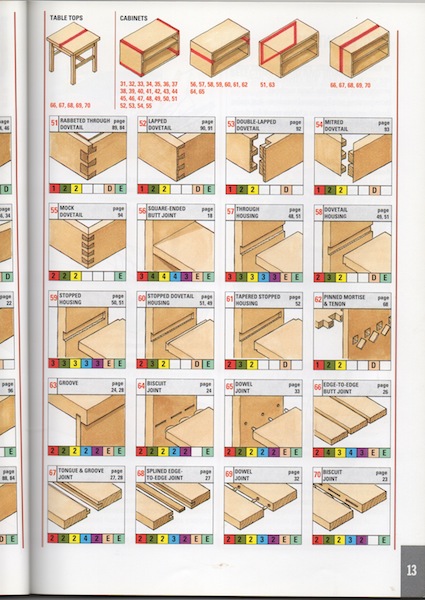
The fun thing about this book is the wide variety of joints you can use. How many? Well, there is a matrix spread across four pages offering the book’s entire array of joints with such information on how difficult the joints are to produce, how effective they are in different materials (solid wood vs. plywood vs. particle board) and if they are easier to cut with machines or by hand.
Even better, across the top of the matrix, there are drawings of different places where joints could be used, and which joints could be appropriate for the application.
Of course, each page goes into nice detail about how to cut these joints, most of them with instructions on how to cut them by hand and by machine.
Sure, you may not use all of the options in the book, but it’s good to have the options.