All posts by Tom

I'm the guy who writes the blog...

Link of the week

Sandwichbike

OK, so you are a woodworker, and you want to be totally surrounded by wood. Your furniture is wood. Your walls are paneled in wood. Your car has real wood trim.

But, what about your bike?

The Sandwichbike

Well, there’s a European company called Sandwichbike, and they are making some sweet bikes out of birch plywood. The name comes from the fact that you build the bike out of assembled wooden plates that overlay each other like sandwich components. The bike arrives in a box, and it can be assembled in 45 minutes using an included wrench and fasteners.

Right now, they are pretty expensive at €799 (about $1,100), but as production takes off, the cost should come down. Until then, it’s a pretty interesting design…


I *GET* woodworking

So, we are just a few short weeks away from Get Woodworking Week 2014, and I am excited about what I am going to read coming from blogs, companies, woodworking magazines and a lot of other folks around the Internet.

Get Woodworking Week 2014This is now our third year of doing this exercise, and I have seen some tremendously creative ideas for pushing the concept. Videos. Articles. Strange projects (Just what the heck is a B’rall, anyway?)

The best question I have ever received about the week came from Steve Ramsey over at Woodworking for Mere Mortals.  As you can see in this video, he was perplexed by the meaning of ‘Get Woodworking Week.’  Well, Steve, I’m here to answer your question.

Steve looks confused

At first, Steve thought – perhaps – that Get Woodworking week was some kind of order. “Get Woodworking, or I’ll give you the back of my hand.” Or, maybe an order as voiced in the famous 1975 Disco song by Van McCoy: the Hustle. You know that one… I think the only three words in the song are, “Do the Hustle.”

Disco down!I mean, I can understand you may not want people sitting at tables off the dance floor, watching the disco-frenzied, polyester-wearing skilled dancers strut their stuff, but maybe it’s a good idea to ask for their participation. You know, could you please do the Hustle? Would you like to try the Hustle?

That's heavy stuff, man....Or, perhaps Steve pondered, is it some sort of hyper conscious type of transcendental meditation where you have to hike up a mountain, partake of some mind-altering chemical compound and deeply reflect on woodworking until you, “Get it”, man.

“Yo, bro, after inhaling those heady cedar aromas while sitting naked on the mountaintop under the full moon, I totally get woodworking.”

In many ways, Get Woodworking Week isn’t one of them.. it’s both. After all, the main goal of the week is to find someone who has never done any woodworking, get them into your shop and just have them see what woodworking is all about. Doesn’t matter who it is or how old they are. A parent. A neighbor. A friend. A child.

Spreading the love of woodworking

In that way, it’s a Hustle-like order – stop thinking about woodworking, and try it for once.

Even more important, Get Woodworking Week is also an opportunity for people to understand what makes woodworking such a great hobby to pursue and skill to master. Once they understand how joinery choices affect the look and strength of the project, they will have a new appreciation for what goes into building a quality piece of furniture – and a better appreciation for how much skill it takes to make it happen.

So, mark your calendars for February 2 – 8, and take that week to do something special to help people get woodworking – in both senses of the term.

And, if you plan on writing posts to help spread the word about Get Woodworking Week, be sure to let me know so I can link to them here.


Jeepers peepers!

It was the famous western philosopher Yogi Berra who once famously said, “I don’t mind getting old. It sure beats the alternative.” Hey, Yogi!

While I am only at the young age of 45, there are some indications that I am no longer as young as I used to be. When I was 12 years old, I used to be able to recover from a cold in a day or two. Now, it takes me a week – after I go to the doctor – to start to feel better.

Instead of running and playing basketball for hours without any issues, I now find aches and pains in places I never knew that I had.

Me sporting my new framesAnd, for the past 45 years, my eyesight has been a perfect 20/20. But, I started to notice that I was having trouble reading things. I needed a ton more light, and I also needed some arm extensions. So, this past Saturday, I went to my eye doctor for a checkup. And, you guessed it, I need glasses. Not just for reading, but also to correct the slightest astigmatism in my distance vision.

Oh, well, it was bound to happen sooner or later.

While this does give me the opportunity to create a more distinguished look, it also presents an issue when it comes to woodworking. You see, as Norm Abrams reminded me before he built anything that there’s nothing more important than wearing safety glasses. Now that I have corrective lenses, I just can’t grab any pair of safety glasses. I now need to think of my options.

This is my Matrix lookMy first option is to just ditch the glasses in my shop and use plain old safety glasses. Again, my vision issues are up-close reading and a slight issue with distance. Since the vast mid-distance focal field isn’t affected, this is a viable option.

Eye see you, DoctorThe other option would be to get a pair of prescription safety glasses. This would keep me used to working with my new prescription while protecting my eyes. But, my first initial inquiries have a separate set of safety glasses coming in about $450. Just a tad too expensive for me.

Built-in cheaters

Another option would be to find safety glasses with readers built into the lenses. These are available online and at many home improvement centers. My prescription called for the reading portion of the glasses to have a 1.5+ diopter, which is a very common strength. The problem with this, however, is that my prescriptions glasses are going to be progressive lenses, which is a wildly different way of seeing with those bifocal type lenses.

Over the glasses protectionMy final option seems to be finding a pair of over-the-glasses safety eyewear. As the name implies, these safety glasses fit over the prescription eyewear, allowing for the benefits of seeing as with my glasses while having protection for both the glasses and my eyes.

While I will have to weigh my options, I was warned by my eye doctor that I shouldn’t use my new glasses in the shop for at least two weeks. That’s about how long it will take for me to get used to using the new glasses, and he was concerned with me putting my hands anywhere near blades or bits while trying to adjust to the new visual reality.

In the meantime, I guess I will just have to accept my new role as Professor Iovino, Monkey specialist.

Quick Poll

Criticism.

Man, talk about a loaded word. Some folks cringe at the very thought of having someone weigh in on anything they do, while others may be more open-minded to the possibilities that an honest evaluation can bring.

A woodworking critic weighing in on a projectAnd, when it comes to woodworking, we often find ourselves to be our own worst critics, pointing out every single mess up – no matter how small or inconsequential.

When the criticism comes from others, however, it can really be hurtful – or a springboard to improvement. (Thanks, Marc Spagnuolo for today’s poll idea!)

This week, tell us what you think about criticism, and can you handle it with your woodworking?


Link of the week

Chinese Woodworker

When most people think about Asian woodworking, their thoughts turn toward traditional Japanese woodworking tools and techniques. But, on mainland Asia, the Chinese have a long and interesting history when it comes to woodworking as well. The only problem is that there is very little information out there about it.

Master Craftsman Li Sifu
Master Craftsman Li Sifu uses a traditional hatchet to dimension a board.

Today’s link of the week can serve as an excellent primer into the world of traditional Chinese woodworking. From the tools and techniques to links to books and collections of these pieces, the site offers a broad introduction to how Chinese woodworkers plied their trade. It’s definitely worth a read.


The handiest tool

I have a confession to make.

Every time someone asks me, “Tom, what’s your favorite woodworking tool?” I always fail to tell the truth. It’s not because I’m trying to delude anybody. It’s just that I forget the one tool that finds its way into my grubby mitts for just about every project.

No, it’s not the joiner plane I mention frequently. Nor is it the table saw or the chisels. Instead, it’s my cordless drill.

My old Ryobi looked like this
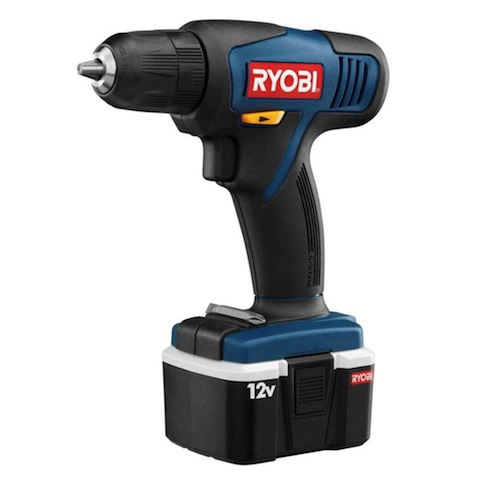
This past weekend, I bought a new one, making it – I believe – the fifth one I have owned. First, there was the Ryobi 12 volt. Uber cheap, it was the drill that showed me that I didn’t necessarily have to have a cord connected to the wall to be an effective tool. It served me well for about a year before the NiCad batteries crapped out on me.

My old DeWalt looked like this
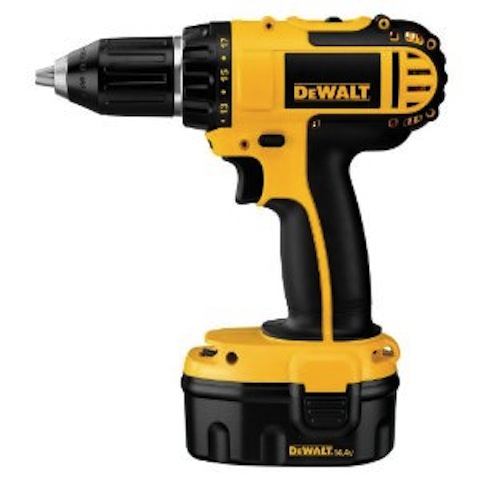
The DeWalt 14.4 volt I owned was awesome. That was a compact model that was built like a tank. It could handle all of the drilling and driving tasks I sent its way. I had that one for about three years of loyal service until, again, the NiCad batteries just gave up the ghost. Oh, sure, I could have bought new batteries, but the darned things cost more than a whole new drill setup.

My Kobalt looked like this 
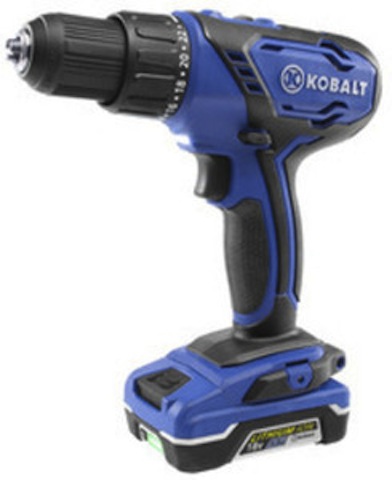
I was later gifted a Kobolt drill with a Li-ion battery. The new battery technology was great, but something happened inside the drill after about half a year. I was putting up some fence panels in my backyard, when the drill suddenly stopped moving. For some reason, the drill seemed a little underpowered, so instead of going through the warranty mumbo-jumbo, I decided it was time to move to another drill.

My old Porter Cable
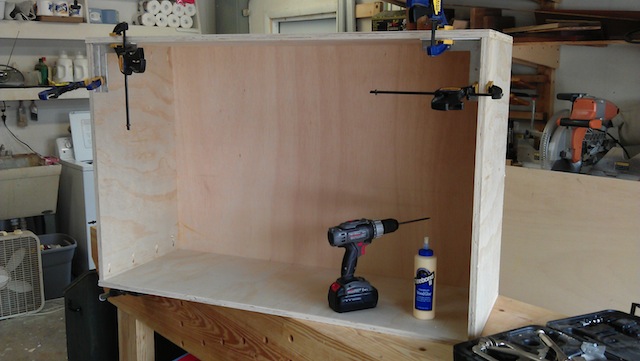
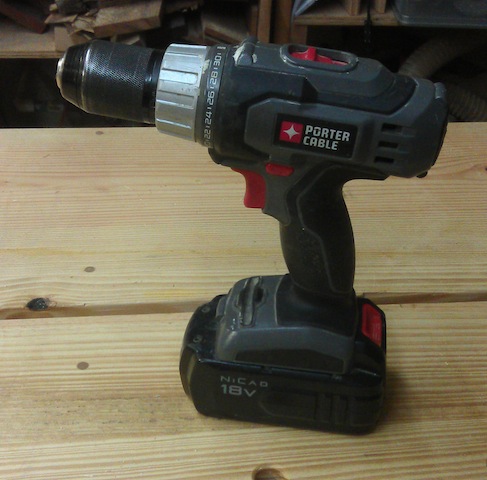
I picked up a Porter-Cable drill kit (complete with a battery powered circular saw) about two years ago, and that served very well as my primary drill. Again, it could handle just about anything I could throw at it. Drilling holes, driving screws, mixing thinset mortar with a paddle attachment. Yes, I still have some hardened thinset on one of the batteries.  The problem?  You guessed it.  The drill came with NiCad batteries, and after two years of charges, it started not holding charges anymore. I noticed during the start of the cabinet build that I was swapping batteries about every hour or so, and I wasn’t doing a lot of work with the drill. And, as you might imagine, new batteries cost more than a whole new setup. I needed a new way to do this….

The new Ridgid drill

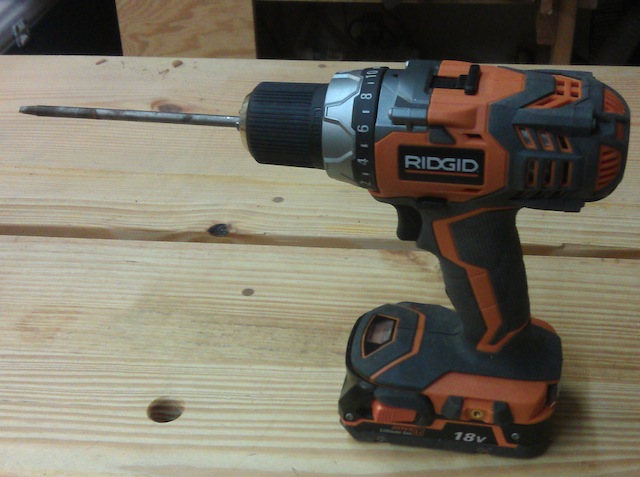
That’s why this past weekend, I picked up a new Ridgid cordless drill. I went big orange because of their lifetime warranty – which happens to also include the battery packs. So, if they go south, I can get new ones.

This drill is solid in my hand, with a 30 position clutch – an essential when driving screws. It has two speeds – slow for driving screws and fast for drilling. My Porter Cable drill had a light in line with the chuck on the drill, where the Ridgid has and LED light at the base of the handle, giving a much better illumination of the area you are working. It may seem like a luxury, but let me tell you, working inside a dark, cramped place, the light is worth its weight in gold.

Just like my old DeWalt, the drill is also far more compact than my last one, which will allow me to work inside smaller locations, making cabinet work that much easier.

And, like the old Kobolt, it’s a Lithium-Ion battery. What’s the difference?  Well, from everything I have read, when NiCad batteries start to run out of juice, the drill’s performance drops off significantly. When the Li-Ion batteries run low, they still provide top performance until there is no more juice.  The charger also recharges the batteries very quickly, meaning less down time waiting for batteries the charge.

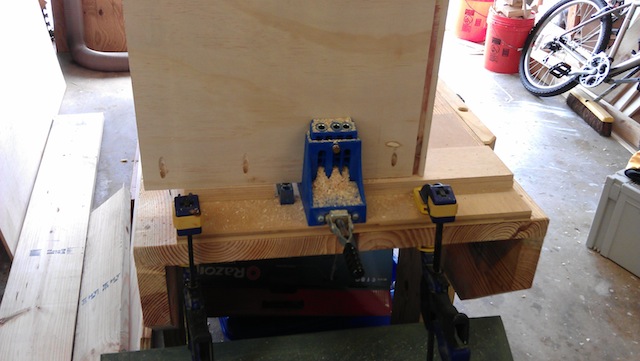
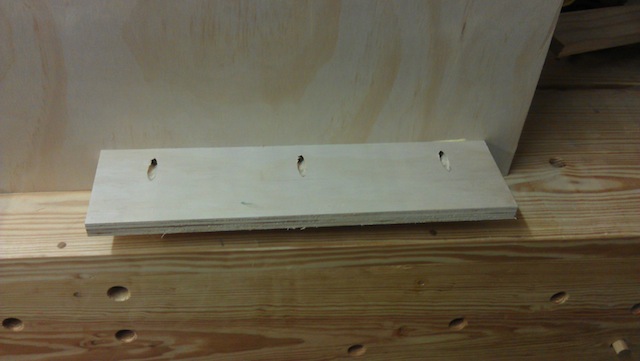
There’s nothing quite like the feel of a good quality cordless drill in my hands – especially when building an installing cabinetry. I can drive screws to build the boxes, then drill pocket holes in face frame members to accept screws. Switch to a forstner bit to drill holes for cable runs between cabinet boxes. Drive long screws through the cabinet backs to attach the boxes to the studs.

Yeah, I really do like my cordless drill, and this one one promises to be a solid performer for years to come. Look for this one to be by my side on some more upcoming projects.

A chain reaction

It all started in an electronics store. Yes, that’s right, not a single woodworking tool in sight.

For Christmas, my mom and Rhonda’s parents sent us some cash – as they do every year – to buy something nice for ourselves. The TV we had in the front room was a circa 1999 purchase, and it served us well for such a long time. But, as with all other electronics, it’s lifespan was limited, and the picture left something to be desired.

The TV

So, Rhonda and I bought a new TV. Really nice one with and HD tuner, built in wi-fi, and a gorgeous picture. A 42 inch model. Which created an unforseen problem – and an opportunity for a certain woodworker to strut his stuff.

So, over the recent holiday break – when I wasn’t aching with a terrible sinus headache – I started working on a new set of cabinets for the front of our living room. Basically, I wanted to build a low console cabinet for the TV to sit on, the stereo and other entertainment equipment to hide in and storage. That’s a critical component of living in a basementless Florida ranch house.

Cutting Grooves

I discovered that my new workbench – even though it was designed in the early 1800s – was awesome for modern plywood cabinetmaking. I was able to balance the sheets of plywood on it and use my track saw to break down the components. From there, I was able to cut a groove to hold the 1/2 inch backs.

The Kreg jig

On the tail end of the bench, I clamped my Kreg pocket hole jig and drilled the holes onto the sides. After that, I used some glue and pocket screws to assemble the boxes. I can remember from several cabinet projects that building the boxes is so easy, and gives you a false sense of nearly being done with the project. In reality, there are a lot more steps to go after you have three big boxes.

Assembly

For legs, I went with the design I had used on my banquette project from last year – the stiles of the cabinet sides extend four inches below the bottom of the boxes to serve as feet. I tapered those feet to give a little more grace to the project.

Extended stiles

I made the back feet just simple pieces of plywood pocket screwed to the bottom of the boxes, in a little bit from the back of the cabinet (so I didn’t have to remove the baseboards).

Back Feet

I will pass on a piece of hard-earned wisdom – do with it as you will. When planning a cabinet job that will go from wall-to-wall in a space, don’t build the boxes to be the exact dimensions of the room. You need about an inch of play total to allow the boxes to fit comfortably. You can hide the spaces between the boxes with trim, and you won’t have to cut your completed boxes apart to gain that space.  Trust me.

With everything attached to the studs and each other, I added some filler strips to ensure that everything looked clean and gap free. I bored some holes in the boxes to allow for passage of the cable and power cords, and even had my son Dominic drill the shelf pin holes using a jig to ensure proper spacing.

The temporary stopping point

While I got most of the work done, I have to build and add some shelves, paint the piece in place (and the wall behind it), build some tops (maybe oak to match the laminate floor) and build some sliding bypass doors. That will be a first for me.

As for the old corner TV cabinet where the old set lived, it’s not going anywhere. I will have to build a pair of doors to convert that open area into some closed storage.

For now, well, hey, we have a comfortable place to sit and watch some ultra-clear HD TV…