
It all started in an electronics store. Yes, that’s right, not a single woodworking tool in sight.
For Christmas, my mom and Rhonda’s parents sent us some cash – as they do every year – to buy something nice for ourselves. The TV we had in the front room was a circa 1999 purchase, and it served us well for such a long time. But, as with all other electronics, it’s lifespan was limited, and the picture left something to be desired.
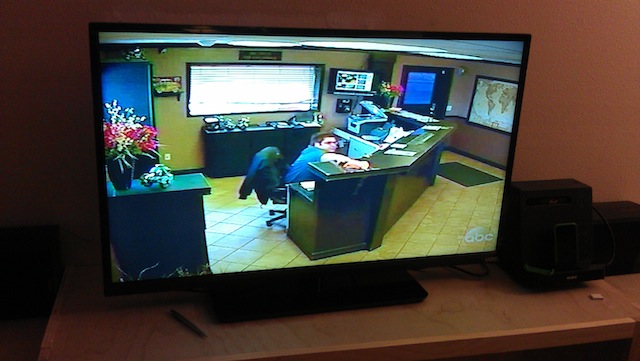
So, Rhonda and I bought a new TV. Really nice one with and HD tuner, built in wi-fi, and a gorgeous picture. A 42 inch model. Which created an unforseen problem – and an opportunity for a certain woodworker to strut his stuff.
So, over the recent holiday break – when I wasn’t aching with a terrible sinus headache – I started working on a new set of cabinets for the front of our living room. Basically, I wanted to build a low console cabinet for the TV to sit on, the stereo and other entertainment equipment to hide in and storage. That’s a critical component of living in a basementless Florida ranch house.
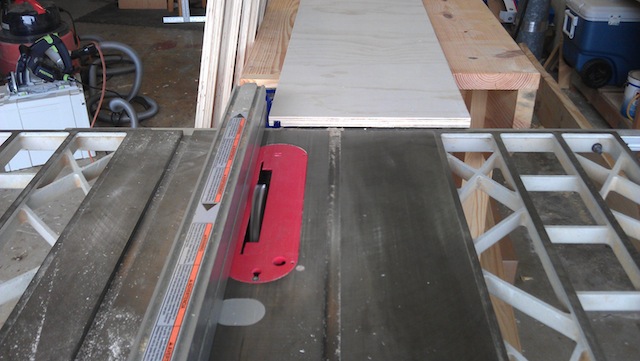
I discovered that my new workbench – even though it was designed in the early 1800s – was awesome for modern plywood cabinetmaking. I was able to balance the sheets of plywood on it and use my track saw to break down the components. From there, I was able to cut a groove to hold the 1/2 inch backs.
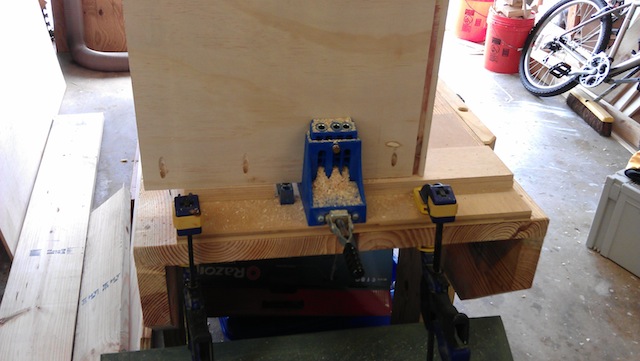
On the tail end of the bench, I clamped my Kreg pocket hole jig and drilled the holes onto the sides. After that, I used some glue and pocket screws to assemble the boxes. I can remember from several cabinet projects that building the boxes is so easy, and gives you a false sense of nearly being done with the project. In reality, there are a lot more steps to go after you have three big boxes.
For legs, I went with the design I had used on my banquette project from last year – the stiles of the cabinet sides extend four inches below the bottom of the boxes to serve as feet. I tapered those feet to give a little more grace to the project.

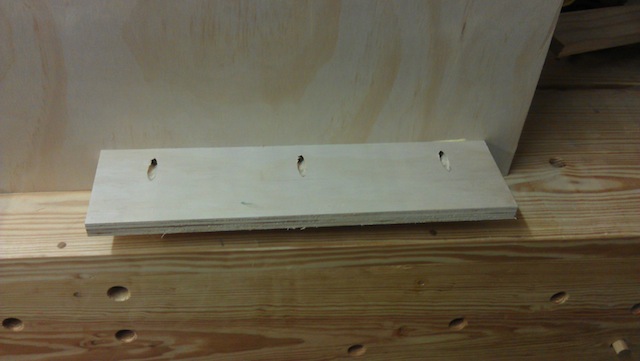
I made the back feet just simple pieces of plywood pocket screwed to the bottom of the boxes, in a little bit from the back of the cabinet (so I didn’t have to remove the baseboards).
I will pass on a piece of hard-earned wisdom – do with it as you will. When planning a cabinet job that will go from wall-to-wall in a space, don’t build the boxes to be the exact dimensions of the room. You need about an inch of play total to allow the boxes to fit comfortably. You can hide the spaces between the boxes with trim, and you won’t have to cut your completed boxes apart to gain that space. Trust me.
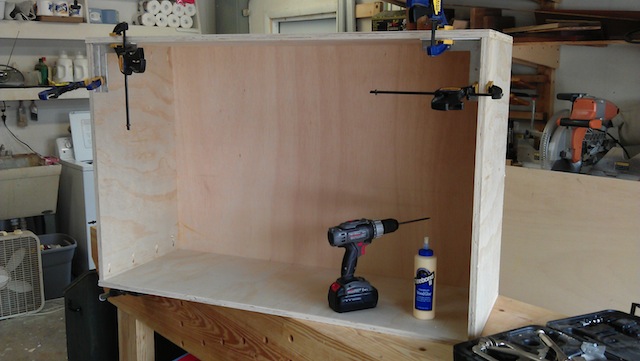
With everything attached to the studs and each other, I added some filler strips to ensure that everything looked clean and gap free. I bored some holes in the boxes to allow for passage of the cable and power cords, and even had my son Dominic drill the shelf pin holes using a jig to ensure proper spacing.
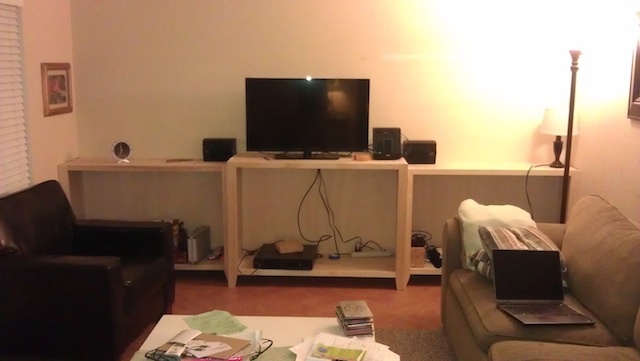
While I got most of the work done, I have to build and add some shelves, paint the piece in place (and the wall behind it), build some tops (maybe oak to match the laminate floor) and build some sliding bypass doors. That will be a first for me.
As for the old corner TV cabinet where the old set lived, it’s not going anywhere. I will have to build a pair of doors to convert that open area into some closed storage.
For now, well, hey, we have a comfortable place to sit and watch some ultra-clear HD TV…