Mention the world ‘veneer’ to some woodworkers, and they may turn their nose up at you. “That’s for cheap, mass produced furniture. I only use REAL wood!”
Well, surprise. Veneer IS real wood, applying it is a venerable woodworking skill to master and there’s a website that can show you just how impressive veneered projects can look.
Joe Gorleski, Jr, – known far and wide as Joe Woodworker – is a retailer of fine wood veneers that can take a woodworking project from nice to Woah!
 Joe’s beginnings in woodworking were pretty humble. “I had inherited a used jigsaw that was gathering dust in my parent’s basement. One evening, we were cleaning out the basement and I had to decide if I wanted to keep the jigsaw or toss it out. I saw this pine board lying on the floor, grabbed a pencil and drew a pig shape on the board. I cut it out with the jigsaw and I discovered that I loved it!” Within a few days, Joe had plunked down some of his hard-earned cash and bought some other essential tools. The woodworking bug had bit him hard, but the biggest discovery was yet to come.
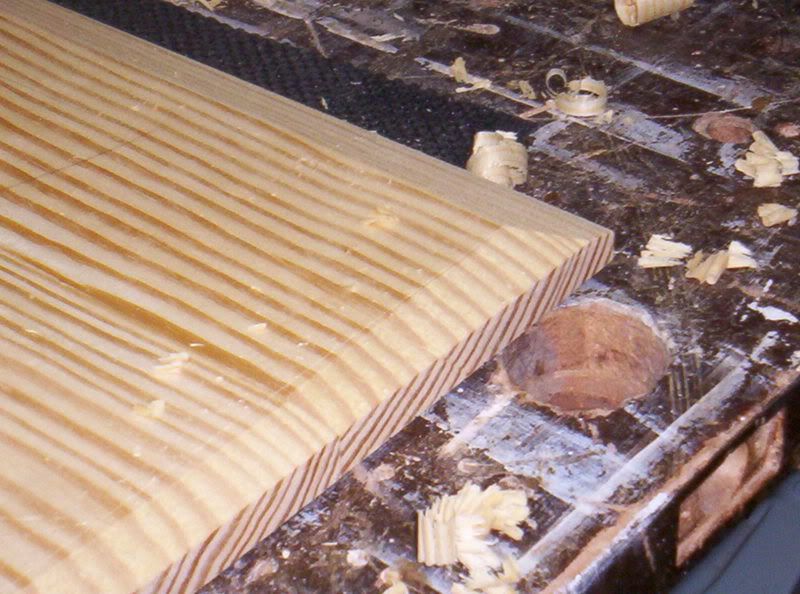
 “Veneer is definitely cool. It has dramatically affected the way I look at wood. I used to spend hours at our local saw mill looking through hundreds of freshly dried boards to find anything unusual. The hard part was finding enough lumber with character to make a project. Now when I buy lumber, I look more often for perfectly un-figured boards so I can highlight any veneered portion of a project and keep the visual focus on these truly figured parts.”
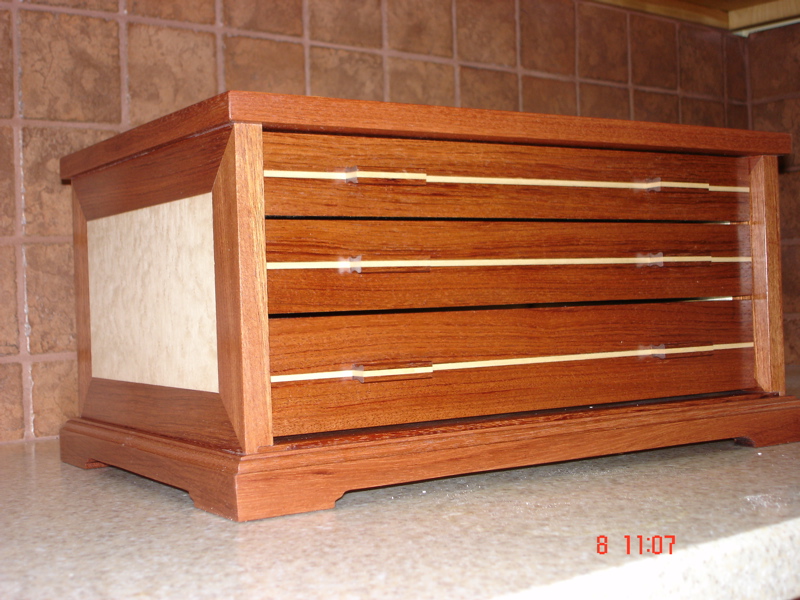
And, what figured parts they are! The selection of wood species available is stunning. Walnut burls, fiddleback maple and sapele pommele are just some of the stunning offerings on the site. It seems that you can find exactly what you need – regardless of your requirement for wood color, figure or even cost. Some breathtaking veneer lots can be found for cheap – offering multiple sheets for book matching or other eye-catching effects.
 For his first projects, Joe cobbled together a vacuum pump from plans he found online and by talking with other woodworkers. Since he was learning on his own, sometimes these early projects worked, other times, they didn’t. “Sure, there was trial and error. But, some of the techniques I’ve picked up from our gracious customers who very frequently share their success stories with me. One of the greatest things about woodworking is the incredible amount of sharing that goes on between woodworkers.”
From those humble beginnings, it didn’t take long for Joe to realize that he had way more veneer than he could ever use. “When I got to the point at which I was storing veneer under my bed, my wife and I realized it was time to let some of it go. Between veneer and vacuum press parts, we figured there was enough to get a small business going.”
Today, Joe’s commercial site VeneerSupplies.com provides quality veneers, equipment and – most importantly – know how to thousands of woodworkers around the world. “Our customers are quite varied. We have a lot of customers who are not woodworkers. They just want to veneer over something unsightly. I’ve had strange questions about veneering everything from refrigerators to turtle shells. I don’t recommend veneering your turtle!”
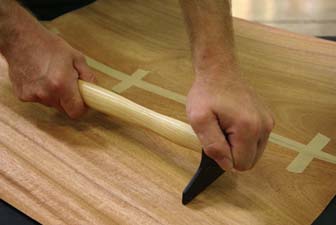
 Veneering might sound intimidating – and expensive – at first. However, there are some affordable options that the hobby woodworker can look into. First is a glue called Heat Lock. By using this glue, veneer and a clothes iron, the average woodworker can get good results. The ancient art of hammer veneering is also an option. But, for woodworkers looking to really expand their veneer options, vacuum pumps are the easiest – and sometimes the best – option. Some build it yourself kits start at $150, and complete systems can run about $400.

“Our website often conveys the image that we are a huge company. There’s a fine line between an average website and a professional one. I prefer to have a professional website but it’s not easy to communicate that we are still a small company consisting of just my wife Christine and myself. Our customers like the personal attention they get from us because it means that our answers and comments to their questions are always genuine.”
While Joe’s website is impressive, his personal approach with customers can leave some people a little off guard. “I always smile when someone calls to place an order and asks my name. When I say “Joe”, they always reply “the Joe?” I can’t help but smile because I’m thinking who else would answer the phone in my shop?”

 In the western tradition, we tend to build structures we want to see last a long time. Imposing stone castles from the Dark Ages and stone Roman Aqueducts still stand, hundreds or even thousands of years after they were built.

 So, you want to build a woodworking project, but you are not sure where to find a set of plans to get started with?