
I was working in my shop this past weekend using this mortising base kit I picked up at Eagle America to make centered mortises in a project I’m working on. It’s fitted out with two roller bearings that ride along the side of the piece allowing a gliding action over the surface of the wood.
Sure, there are lots of plans out there to build a base like this, but for $19, well, I couldn’t pass that one up!
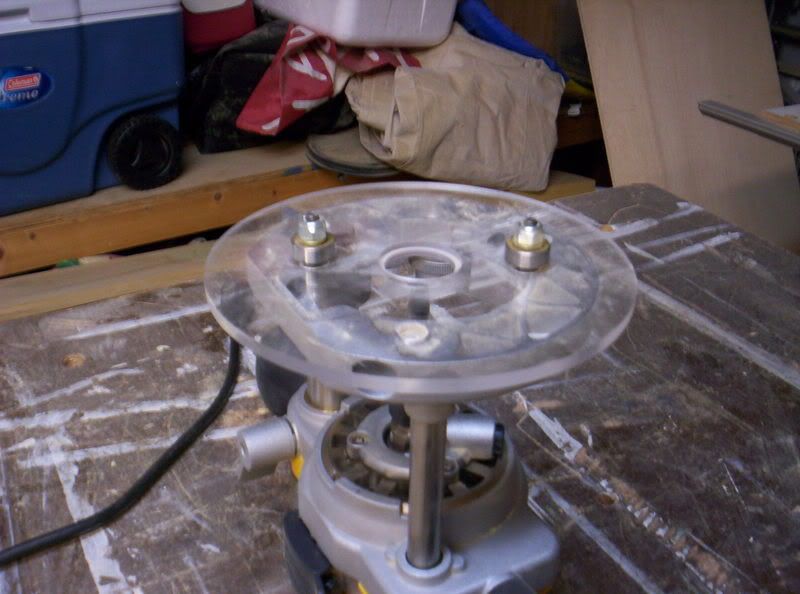 First, I had to drill the base plate to fit the base of my DeWalt router. Proper alignment is essential so the base is perfectly centered over the collet. Believe me, if you don’t get the base perfectly aligned, it’s not going to work as advertised. You may want to use a centering pin to ensure proper alignment.
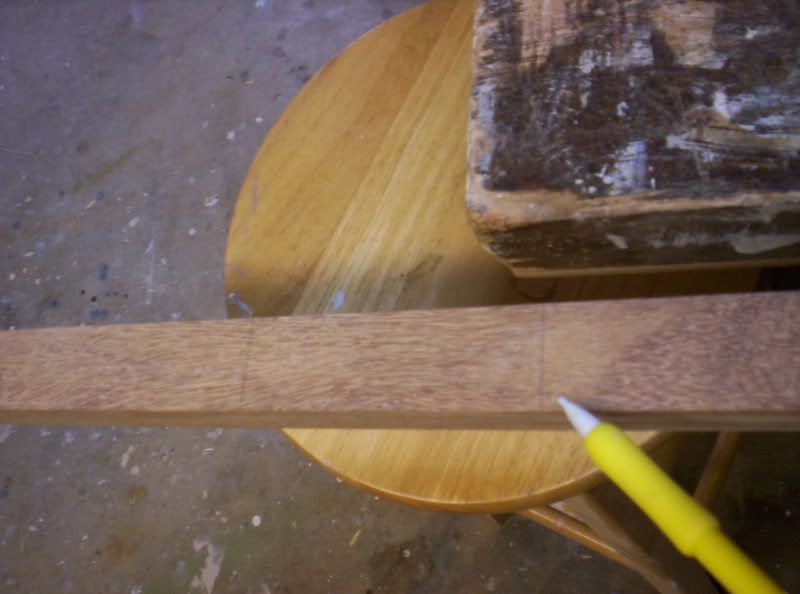 The next step is to mark out the limits of the mortise you want to cut. Since the mortise will be centered on the piece, marking the left and right sides of the mortise isn’t critical – the length, however, is.
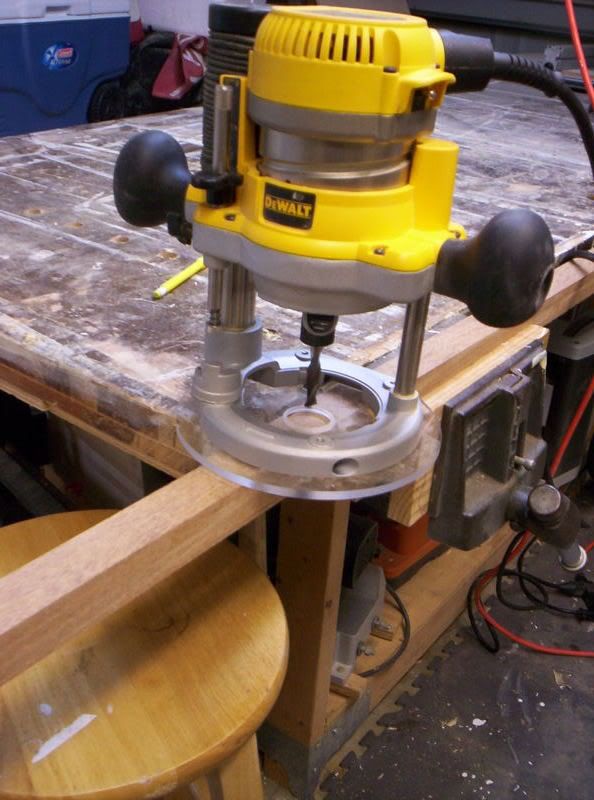 I put a 3/8″ up-spiral into the collet and set the router up on the workpiece. I set the depth of the bit at 9/16″ – allowing space for a 1/2″ deep mortise with 1/16″ space at the bottom of the joint to serve as a glue reservoir. When I rotated the base on the workpiece, the bearings made contact with the sides of the piece, ensuring the base is aligned with the work and the bit will land dead center.
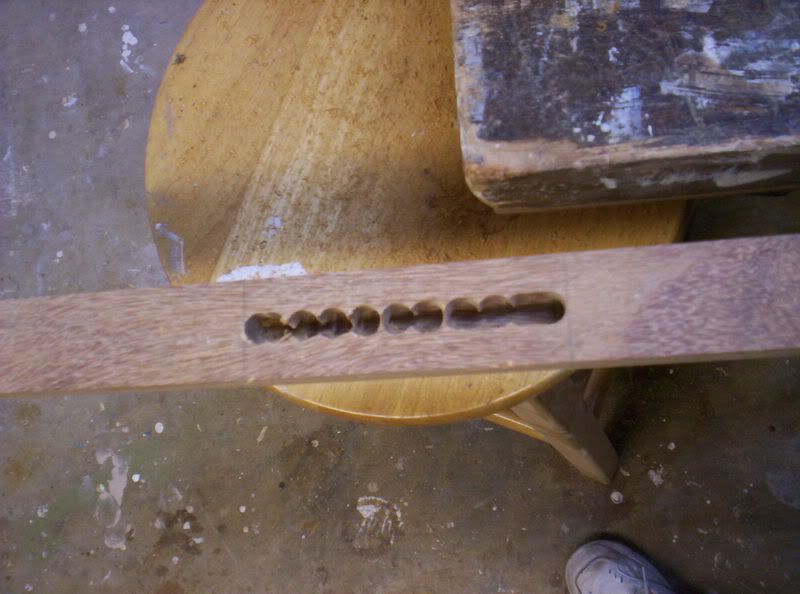 Next up, I started cutting the mortise. Rather than try making the mortise pass by pass, I started by plunging the bit to its full depth at both ends of the mortise. This established the start and end limits. Then I made a series of full-depth plunges the length of the mortise to remove the majority of the waste.
 Finally, I ran the router bit from end to end in the mortise to clean up the areas I had missed during the plunging action. Since there was very little to remove, I could plunge right to full depth and run the length of the mortise to get a clean mortise ready for a tenon.