Quick Poll

I have finished the tool chest.  I’ll be showing a lot more pictures of the completed chest tomorrow, I promise.

The tools in their new homeHowever, as I load my hand tools into the chest, it struck me that I didn’t really have all of my tools very well organized. Yeah, they were in drawers, but they were all jumbled together, making it kind of a mess.

So, for today’s post.. how organized are your tools?  Are you the kind of woodworker who draws outlines around your tools on the pegboard, or do you have a less organized system that you turn to?


Link of the week

Nice Ash Planes

Hey, that’s one Nice Ash Plane… or is that six?

Some Nice Ash planesYes, you have read that correctly.  Nice Ash Planes is a company based out of Kentucky that uses local craftsmen to make wooden hand planes from locally-sourced ash. They are very well made, and the company even makes its own plane irons (you can get them unsharpened from the heat treatment… they are the Half Ashed plane irons…).

Their offerings include planes from the Smooth Ash to the Jack Ash to the Big Ash jointer…And, when you equip one of these babies with their Round Ash blades, you get – an Ash Scrubber.

They are as much fun to talk about as they are to use. What are you waiting for?  Get off your ash and learn more about them!


In media res

In Latin, this expression means in the middle of things, and is usually used in discussion about literature.

In this case, well, it’s a peek in the middle of my case.. my tool case that is.

Case ProgressYes, the case of the toolbox is just about complete, and I couldn’t be any happier with the results. With the back and front on – man – this piece is looking pretty sweet. Now, when Chris Schwarz made the piece, he used all hand tools, but I didn’t…

However, I did use them more than I expected. Let me tell you, there’s nothing quite like paring pine with a sharp chisel.. it’s a pretty darned cool thing.

The tool rackIt was so cool, in fact, that I made this cool tool rack. Sure, Chris had gone with a plain board with holes drilled into it, but I went with a wider board that I notched two slots into the back, and secured it through the back with some screws put through slots. This allowed me to store some other tools, such as wider Japanese chisels and some squares, along with the chisels.

What should have been the easiest part, however, caused me a few issues.

The all American rejectsOK, so that was a mess. But, most of it was 2 x 4 scraps… and I have a fire pit.

The fall frontOne of the coolest features of this chest is the fall front, which is basically an unhinged front held on with a few battens and a sliding lock of wood that rides in some notches. This is where I got some really good hand saw and chisel practice, and it was fun. I see more hand tool work in my future.Tongue and grooveOne great joint I used for the first time – ever – was the tongue and groove. Using a router bit setup, I was able to join the back to make it solid, and it didn’t even need glue to make a nice tight joint. Now that I have done it once, I have become fascinated with cutting this joint with a set of matched hand planes…  But, that’s a post for another day.

Now, I have to do the lid, sand everything and finish it with some milk paint. Then, I can start becoming more friendly with my hand tools…


I made a boo-boo

You know, I’ve been talking about the Last Minute Elf project since September. And, I have even worked with some of the biggest names in the woodworking world to line up some sweet prizes for a contest for the best last-minute project designs.

Holiday presentsAnd, I forgot one most important thing… Where to send the submissions!

So, here we go again.

Build a simple gift project that can be completed in a weekend in an average hobby workshop, and the design needs to be your own (not pulled directly from a commercially-produced plan).

Submit it to tom@tomsworkbench.com

Be sure to select which category you want to submit it to:

  1. Best Turned project
  2. Greenest project (using recycled materials)
  3. Best project that will fit inside a large USPS flat rate shipping box (12 inches x 12 inches x 5 1/2 inches)
  4. Best gift for a younger child (ages to birth 12 years old)
  5. Best gift for a Teenager (ages 13 – 20)
  6. Best gift for an adult (20 or above)

The Last Minute Elf

And, that should be about it!

Right now, the current prize list stands at (With the newest ones on top):

A wooden snowflakeNow, here comes the best part. So far, I have gotten one … that’s right … ONE entry. Help us spread the wealth by submitting your plans. Get out into those shops and come up with some sweet inspiration to help those who may be waiting until the very last minute.


Quick Poll

There’s a joint out there that I have never cut, and I often wonder why anyone would.

Sure, it’s strong, and it requires a tremendous amount of skill to cut, but who will ever notice it?

Blind Mitered DovetailIt’s called the blind mitered dovetail, and it creates an incredibly strong miter joint. But, so do splines, which can be cut in a fraction of the time.

Today’s question is simple – for a joint like this one, would you ever cut a joint like this – very complex, very strong, very hidden – if there were other easier to cut joints available to you?


Link of the week

Jim Heavey Day at Infinity Cutting Tools

He is one of the most recognizable faces in the online community, and he’s coming to the Tampa Bay area for a day of instruction.  The St. Petersburg Woodcrafters Guild is proud to announce that Jim Heavey, Contributing Craftsman to Wood Magazine, will be hosting classes at the shop at Infinity Cutting Tools in Oldsmar on Saturday, December 7.

Jim Heavey is coming!

Join Jim as he shares some of his favorite tips for embellishing wood projects and laying down a picture perfect finish.

Woodworker in residence Kurt Raschke will demonstrate how he bends project components using a vacuum press, and Andy Gibson demonstrates some of his fancy instrument building techniques.

Registration for this event will be $49.90 per person, with the proceeds helping to defray the cost of this outstanding opportunity. Plus, hey, it’s Florida in December, and they weather promises to be beautiful.


Challenge accepted

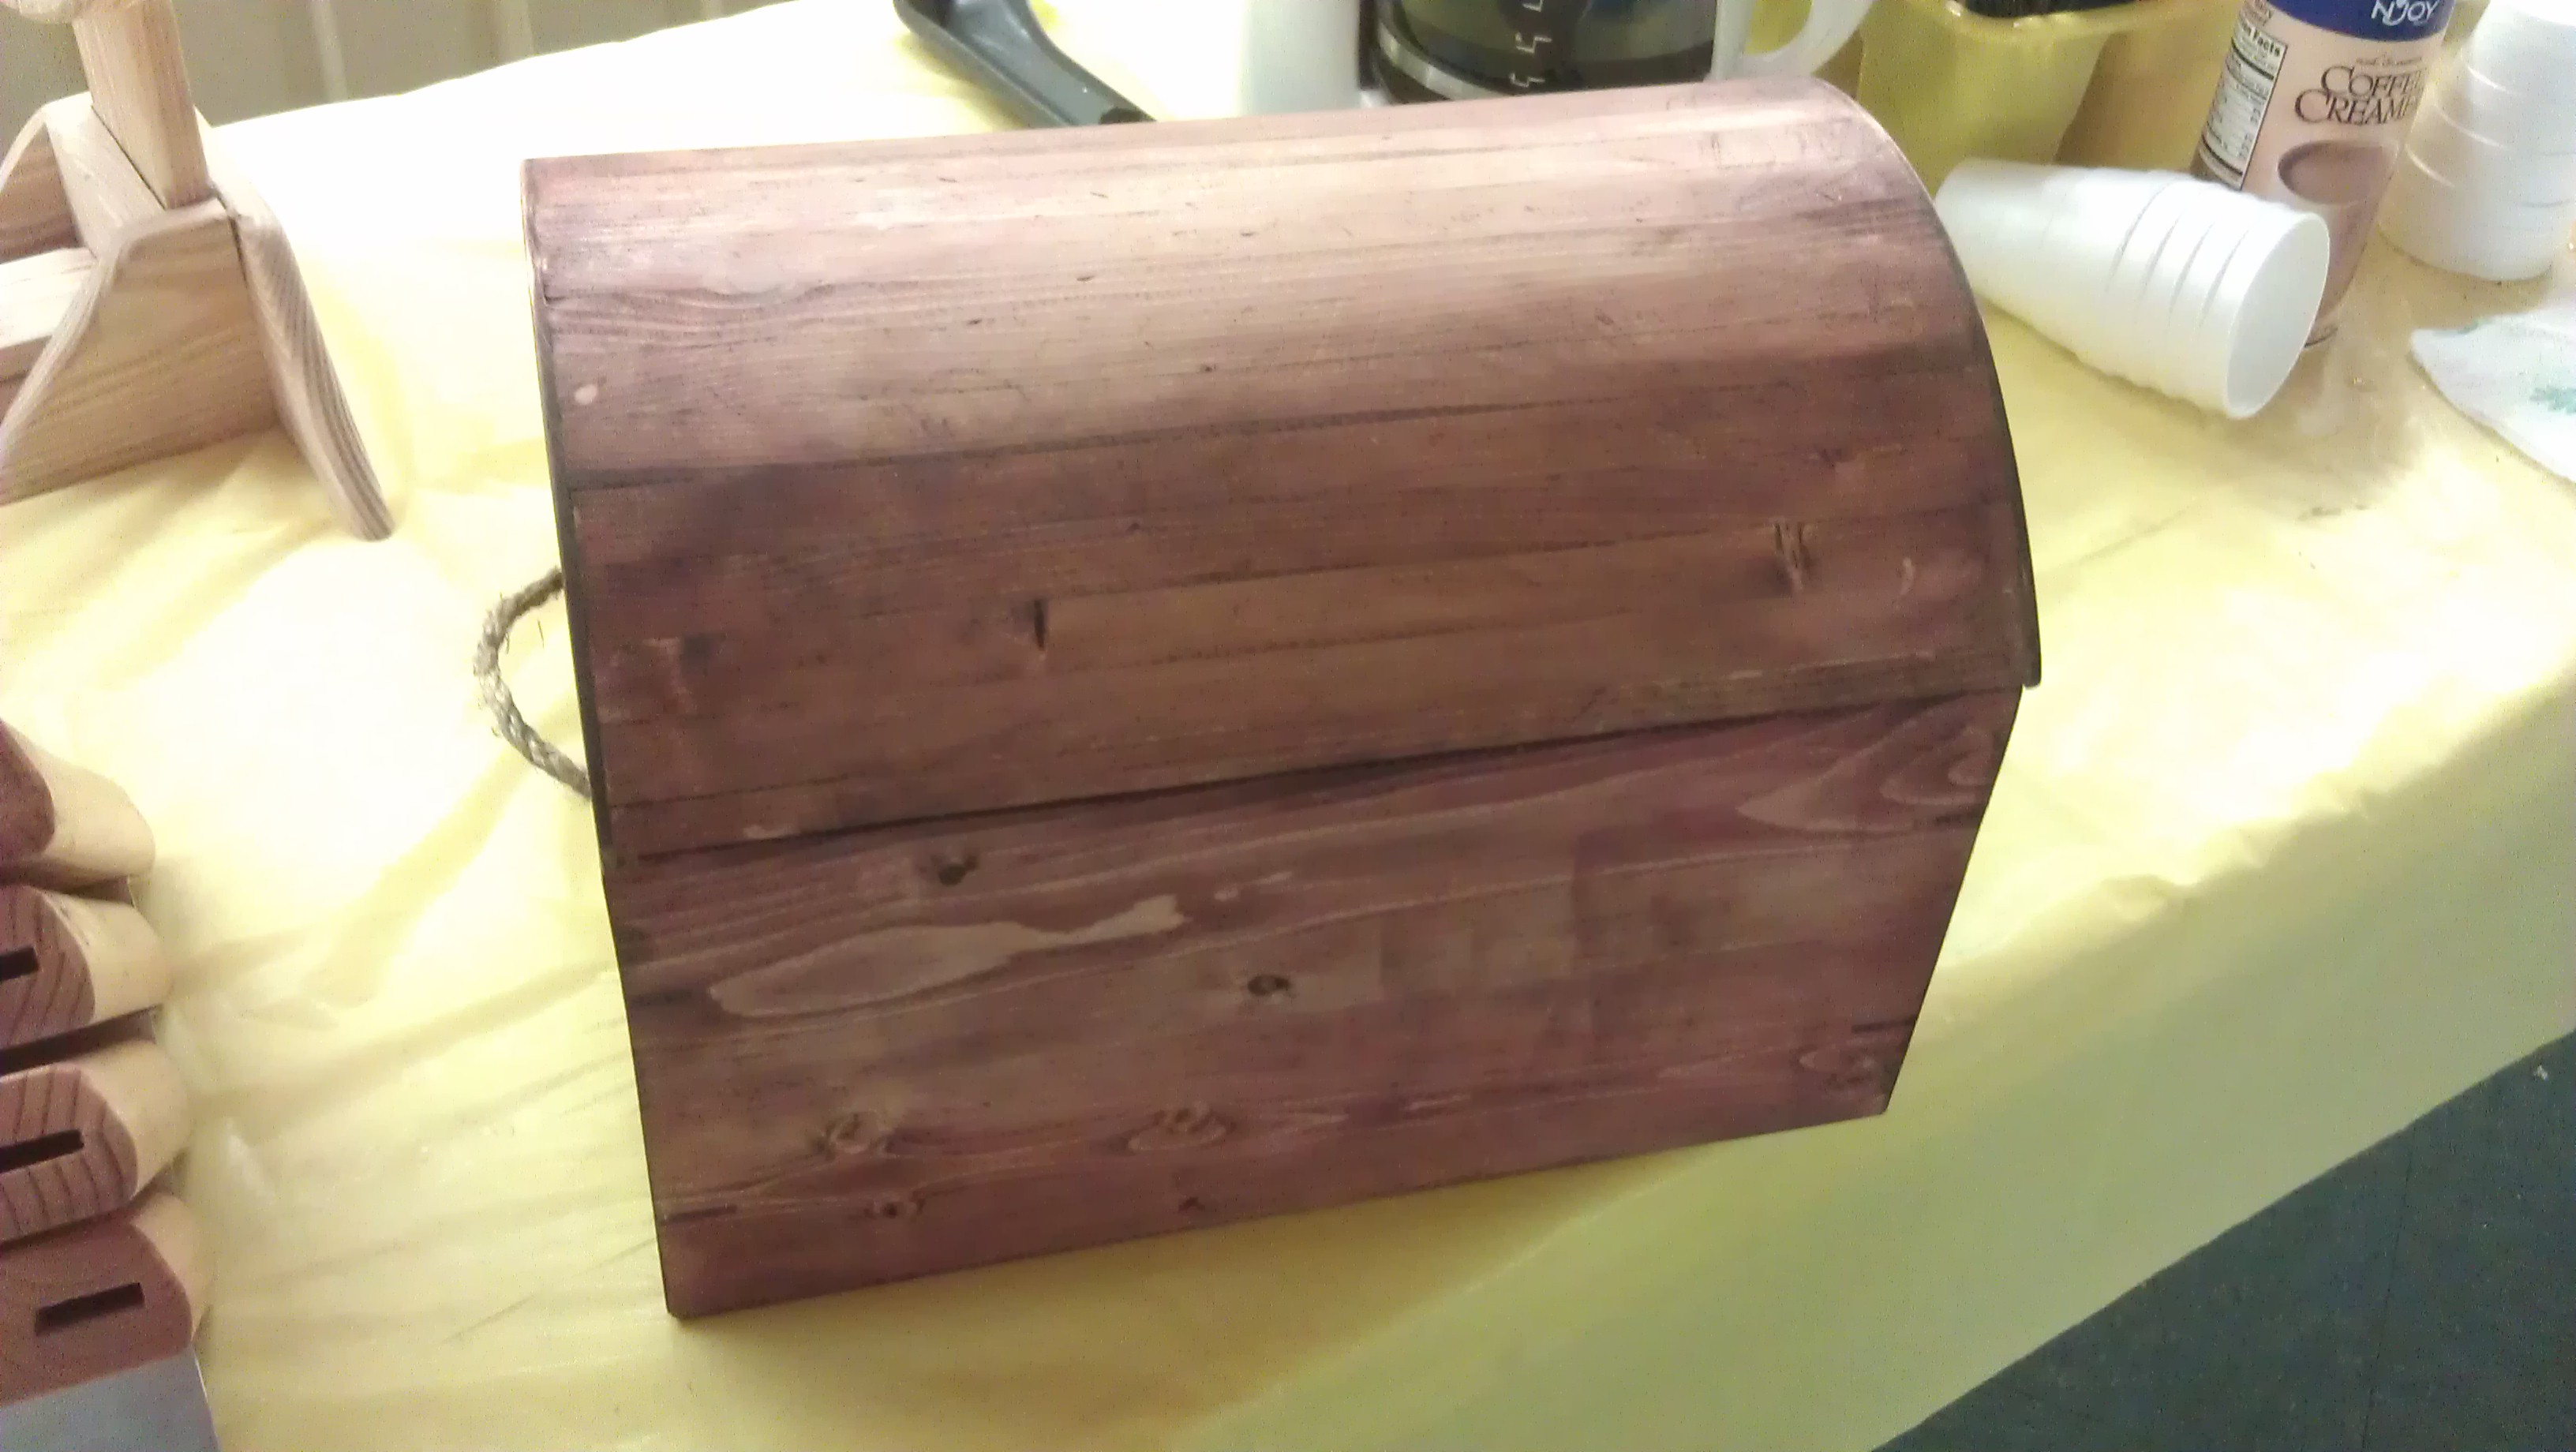
Remember the 2×4 challenge earlier this year? You know, the one where I built a pirate chest with a domed lid?

Well, you will never guess what the St. Petersburg Woodcrafter’s Guild is up to next… It’s the annual green challenge, where the majority of your materials need to be reused from another source. Last year, I didn’t get involved in the challenge because I ran out of time (oops!) before the deadline. But, this year, there was a convergence that kicked me in the rear.

Dutch
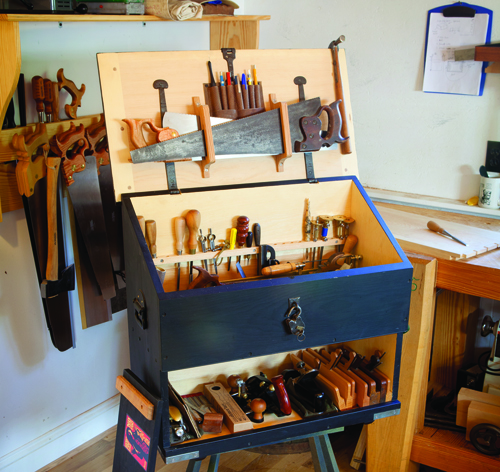
First, at Woodworking in America, I saw a great project built by Chris Schwarz of the Lost Art Press. He recently build a Dutch Tool Chest for Popular Woodworking magazine, and something about that project really caught my interest. The size, the shape, the slanted lid, the storage and the blue milk paint really tripped my trigger.

The other part has to do with the rebounding real estate market. For the past six years, home sales have been pretty darned terrible here in Florida. Some homes on my block sat abandoned, while others were rented out. As the economy has recovered, suddenly there is a flurry of sales in the neighborhood. And, with that comes the inevitable renovations. And, every week as I go around the neighborhood, I see piles of vanities, kitchen cabinets and other debris that has been thrown out.

That’s where I found some sweet, good old no. 2 common pine used as shelves. Since the tool chest has to be both strong and light, Chris built his out of pine, and I couldn’t pass on the opportunity.

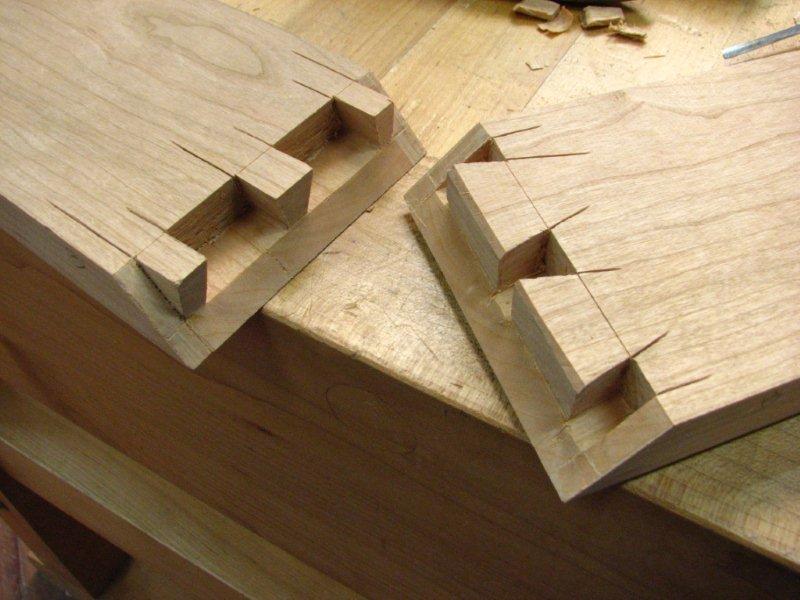
The plan can be found in the October edition of Popular Woodworking, and it’s very simple. Sure, I broke with tradition and didn’t cut my joints with hand tools, but the final piece will be function just as if it had been.

The piece in progress
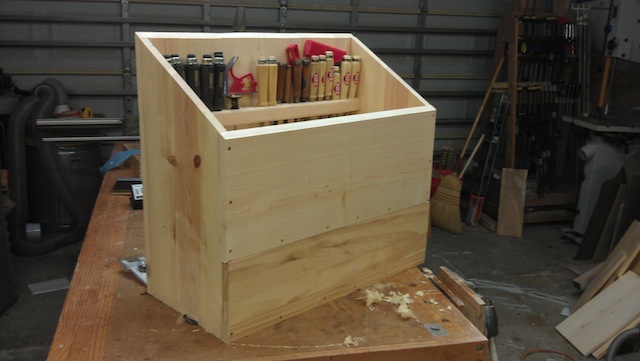
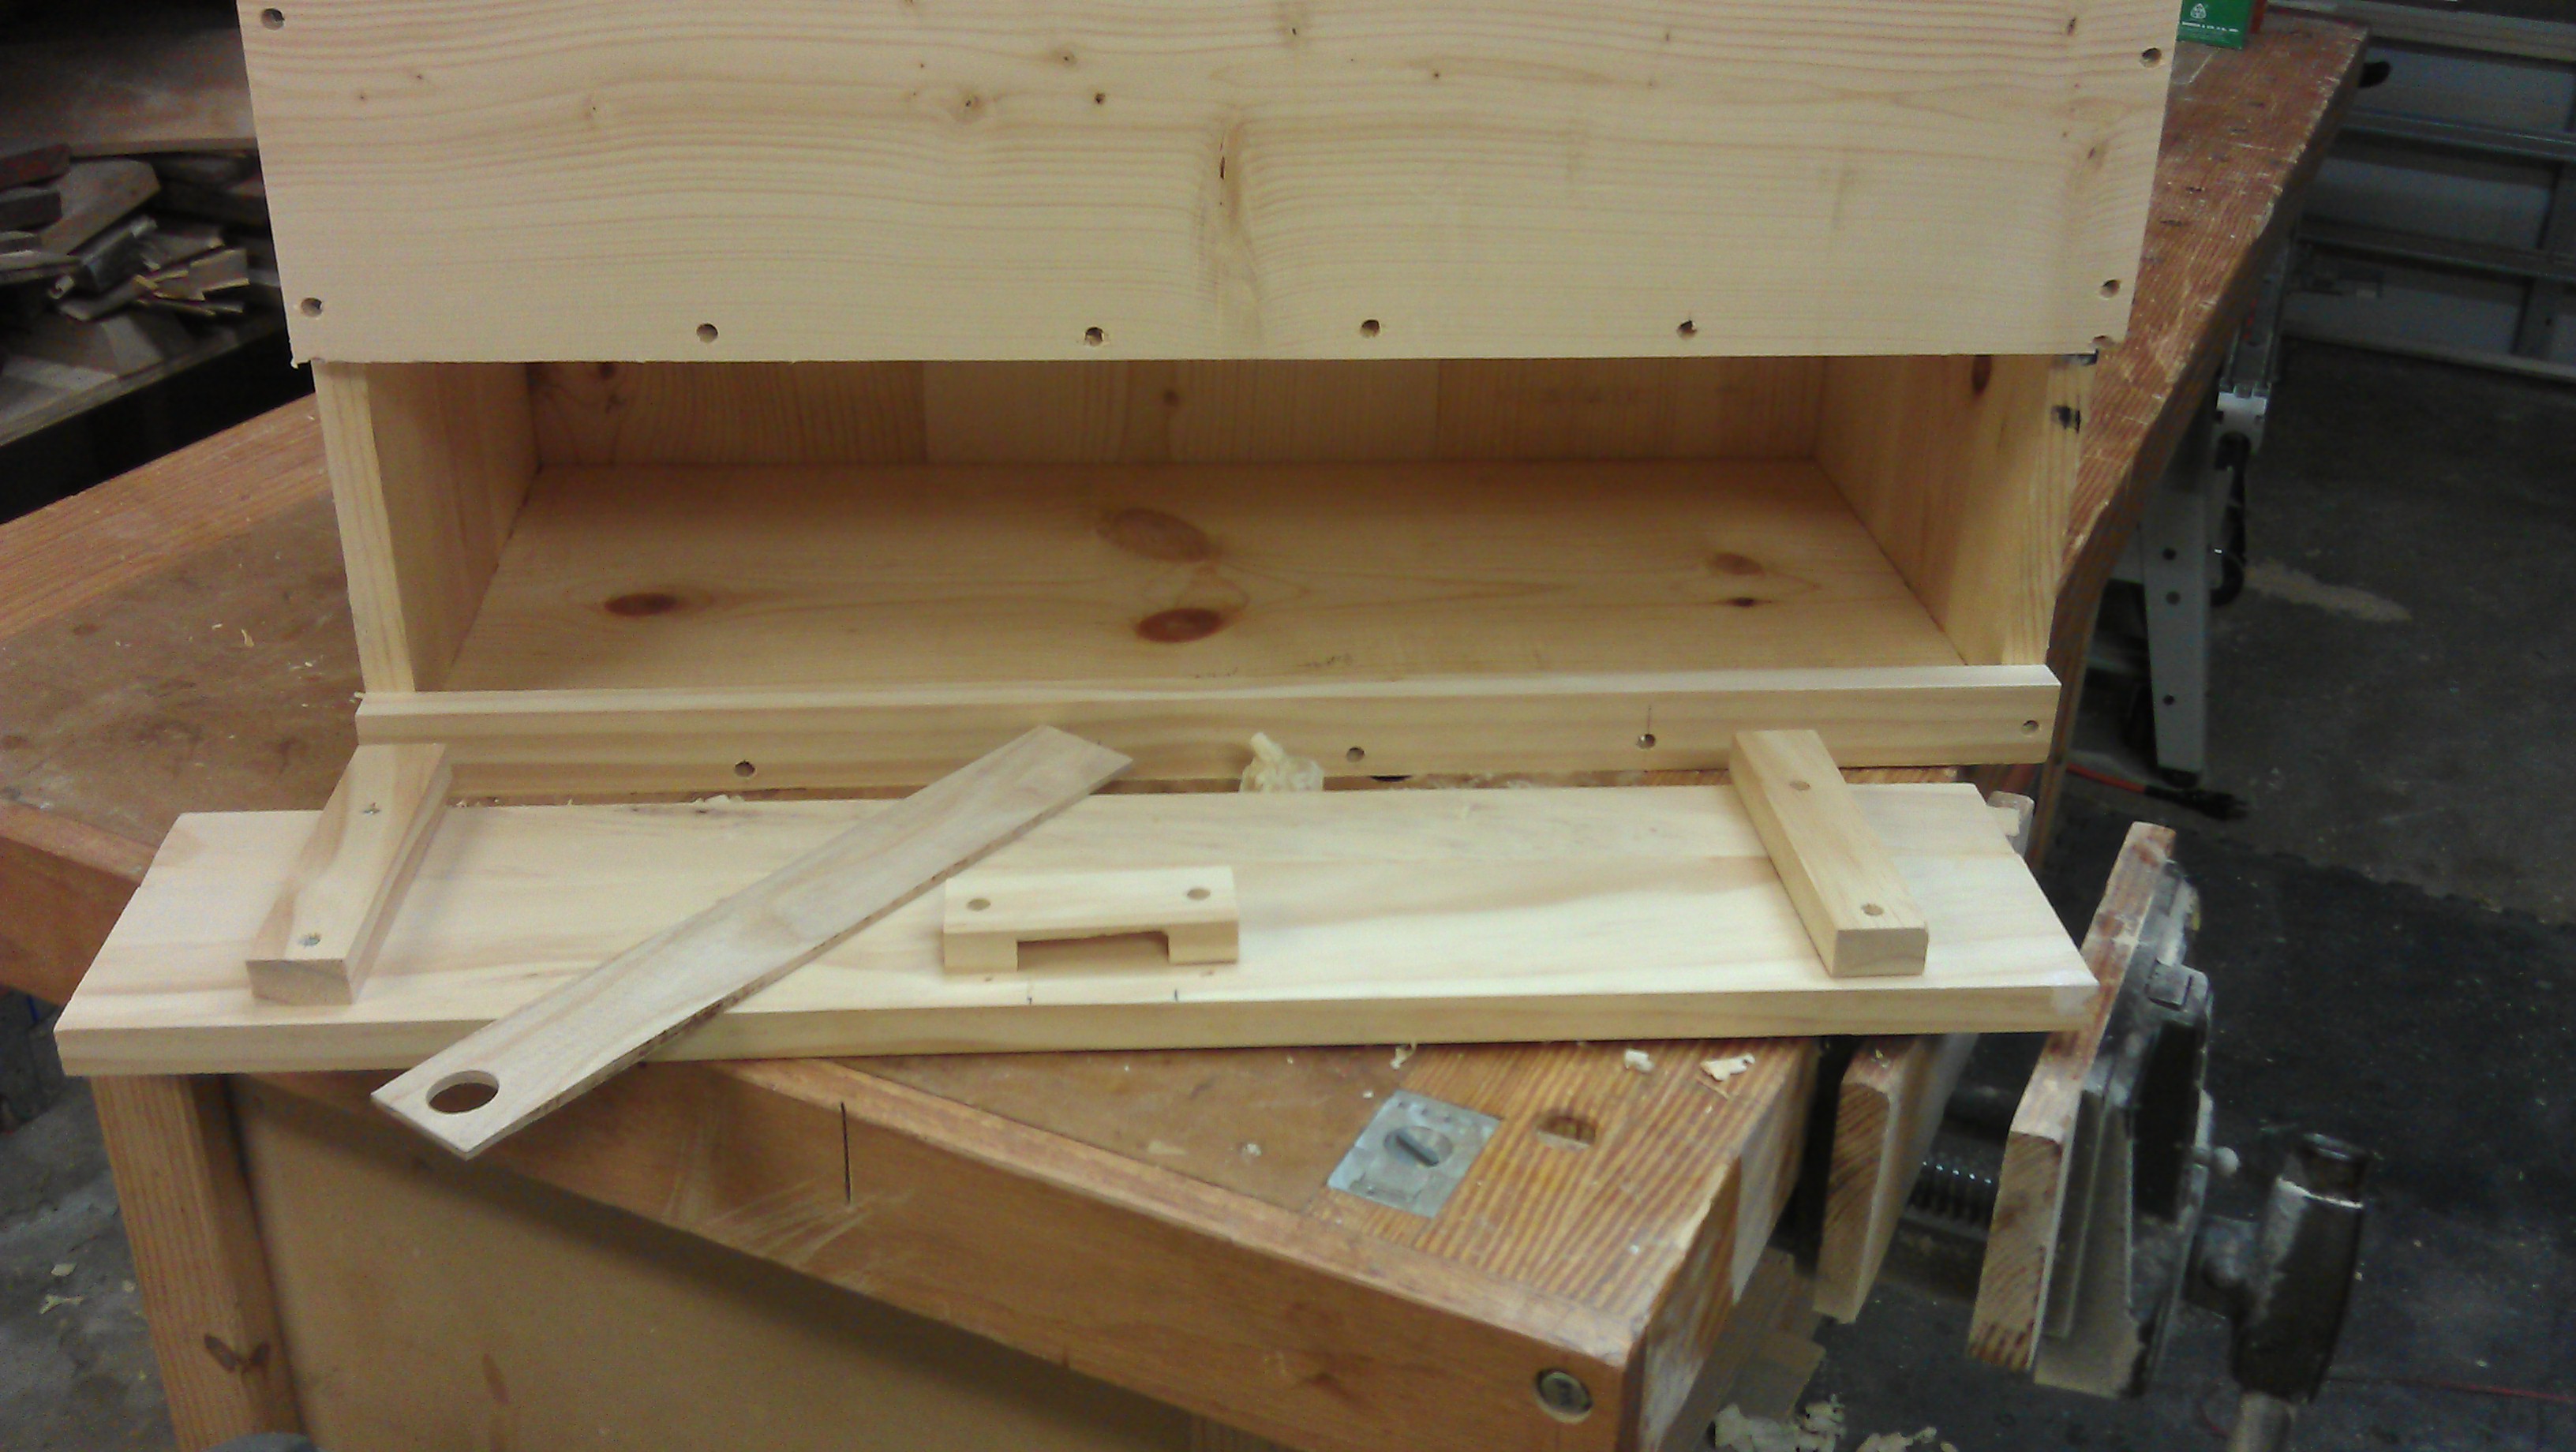
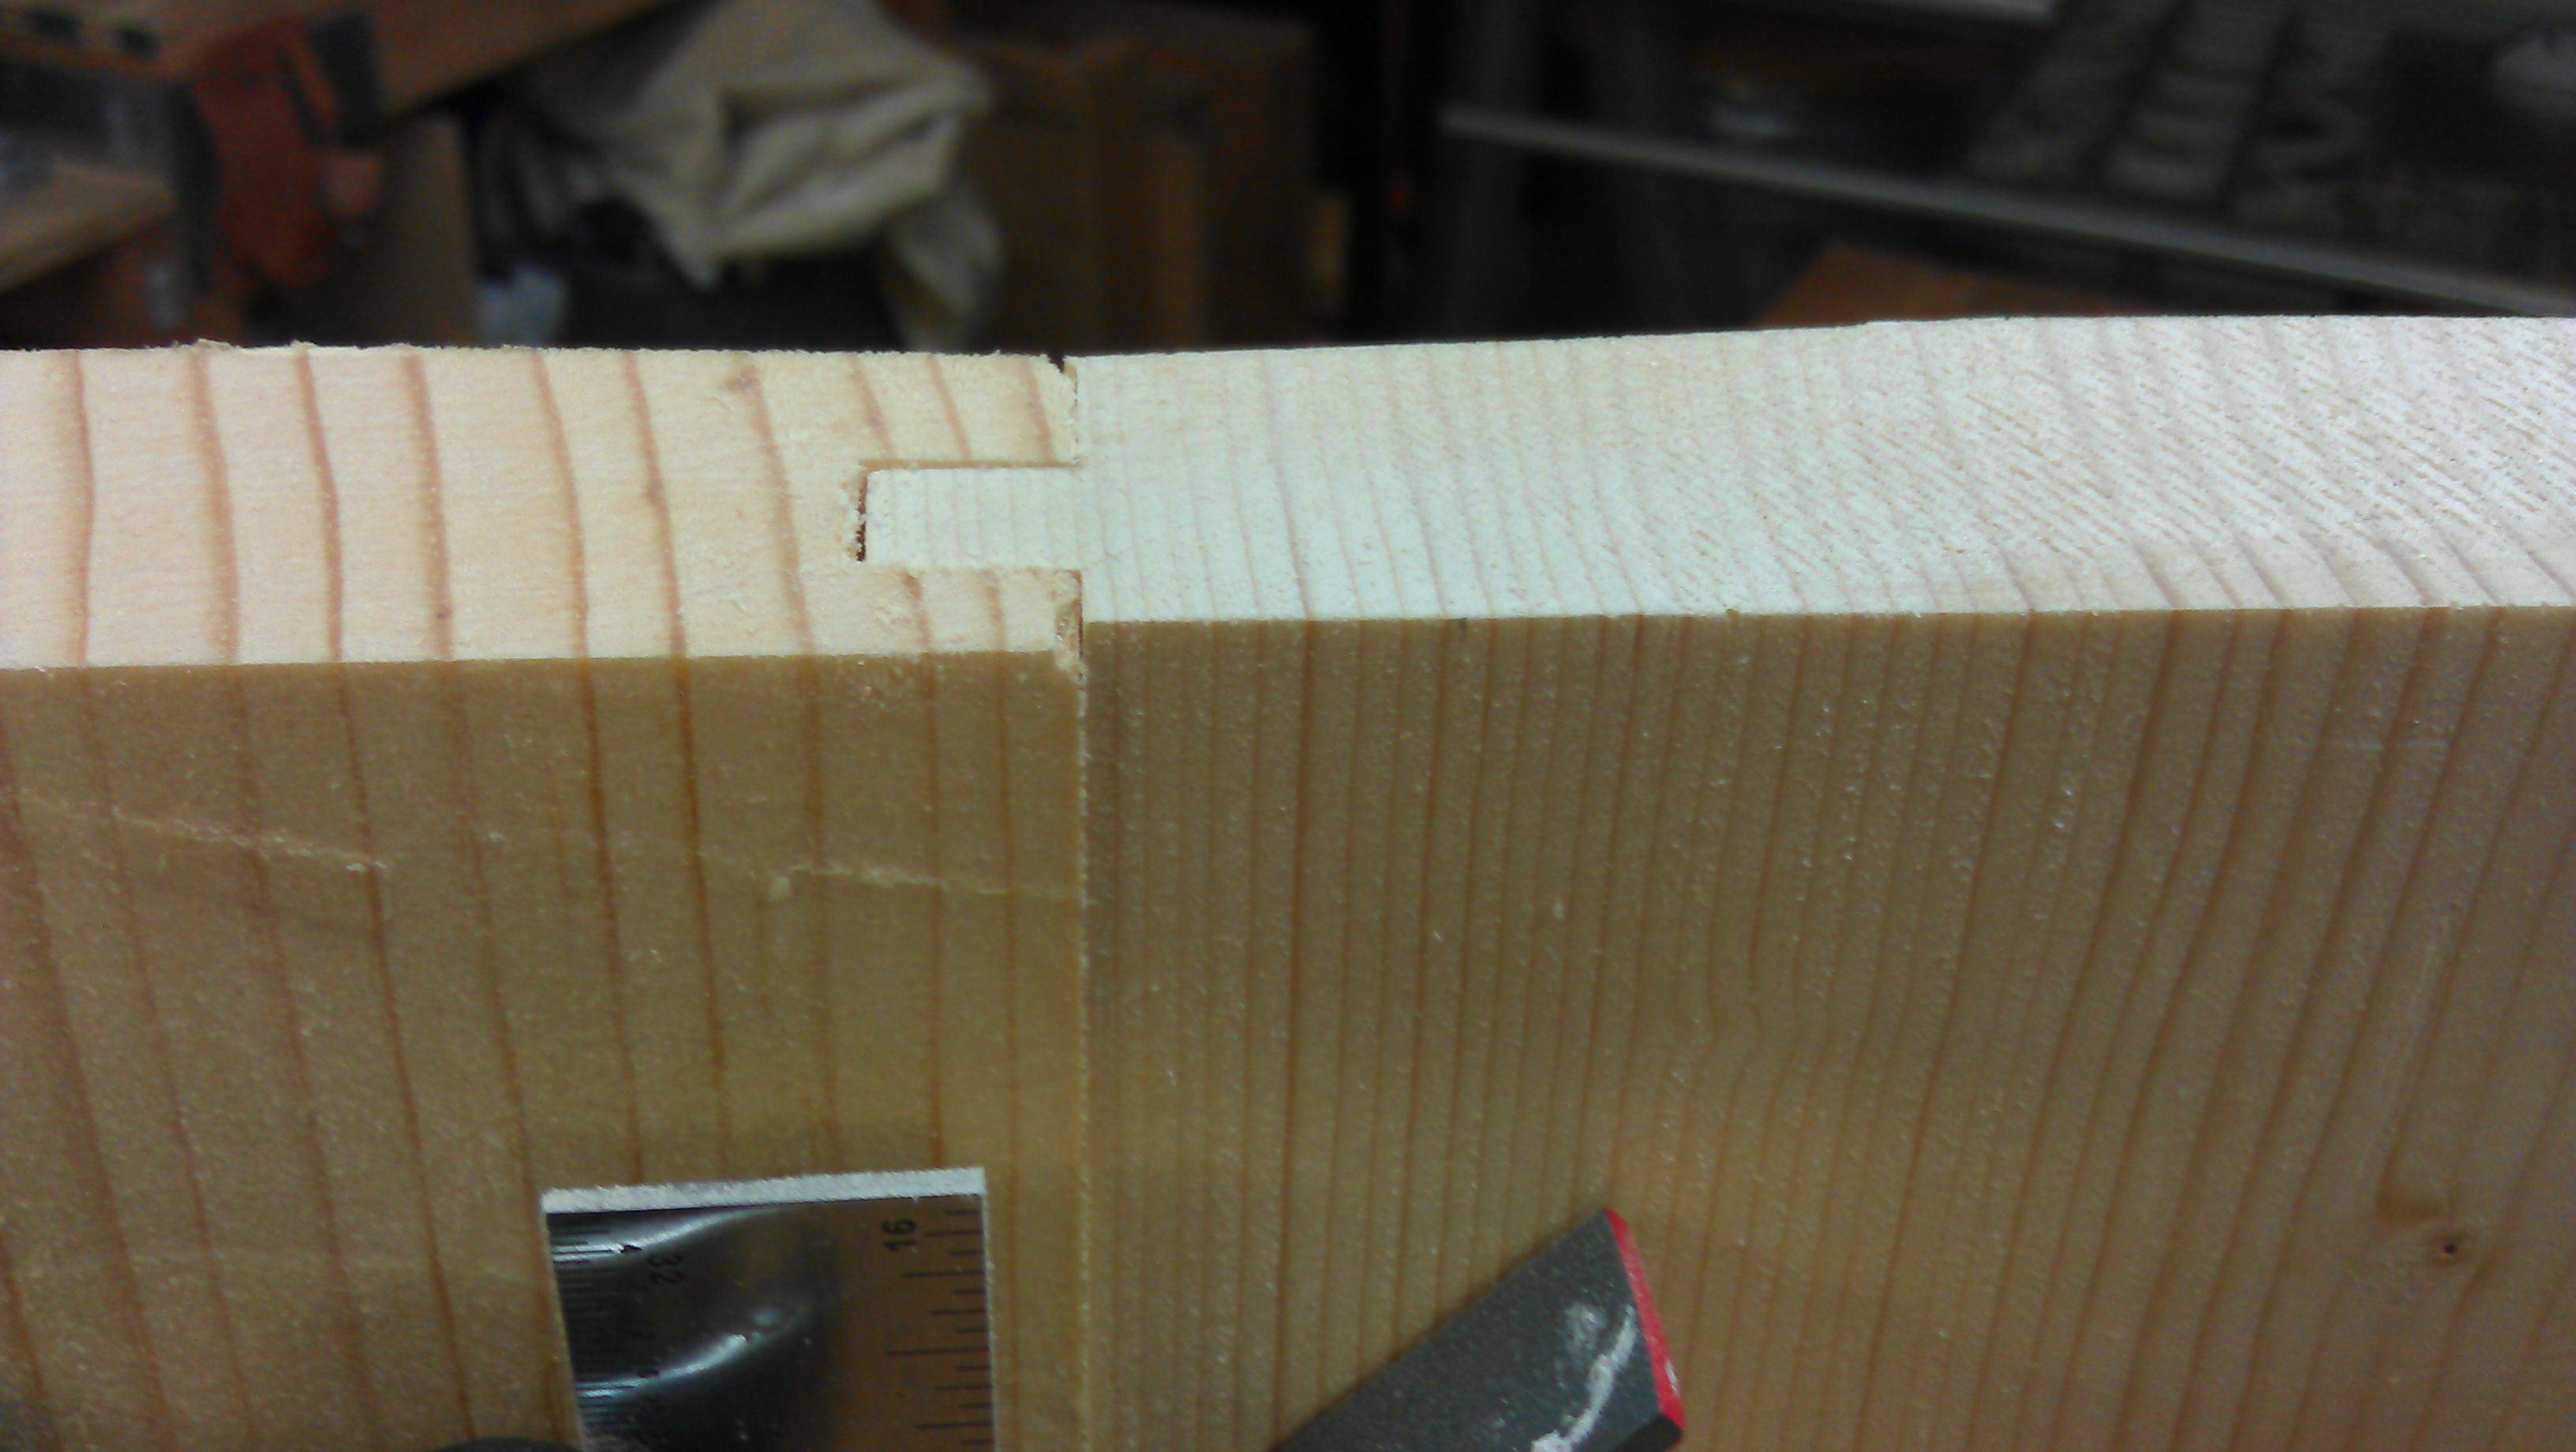
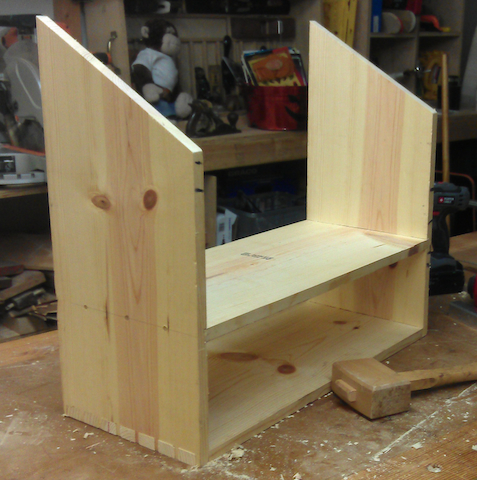
The sides of the case are dovetailed to the bottom, providing some tremendous strength for the assembly. A middle shelf is dadoed and screwed into the sides to help keep the case square and to provide a location for the back and front to be attached to the case, providing more strength. My plan is to use plugs to hide the screw heads from view once the piece is complete. Oh, and when I cover it in a coat of blue milk paint, I hope those plugs just disappear…

Of course, I have a long way to go with the case, but I hope to have it ready to go for our next guild meeting. After that, wouldn’t it be great to stash those nice hand tools in a protective, portable and stylish chest out in my shop?
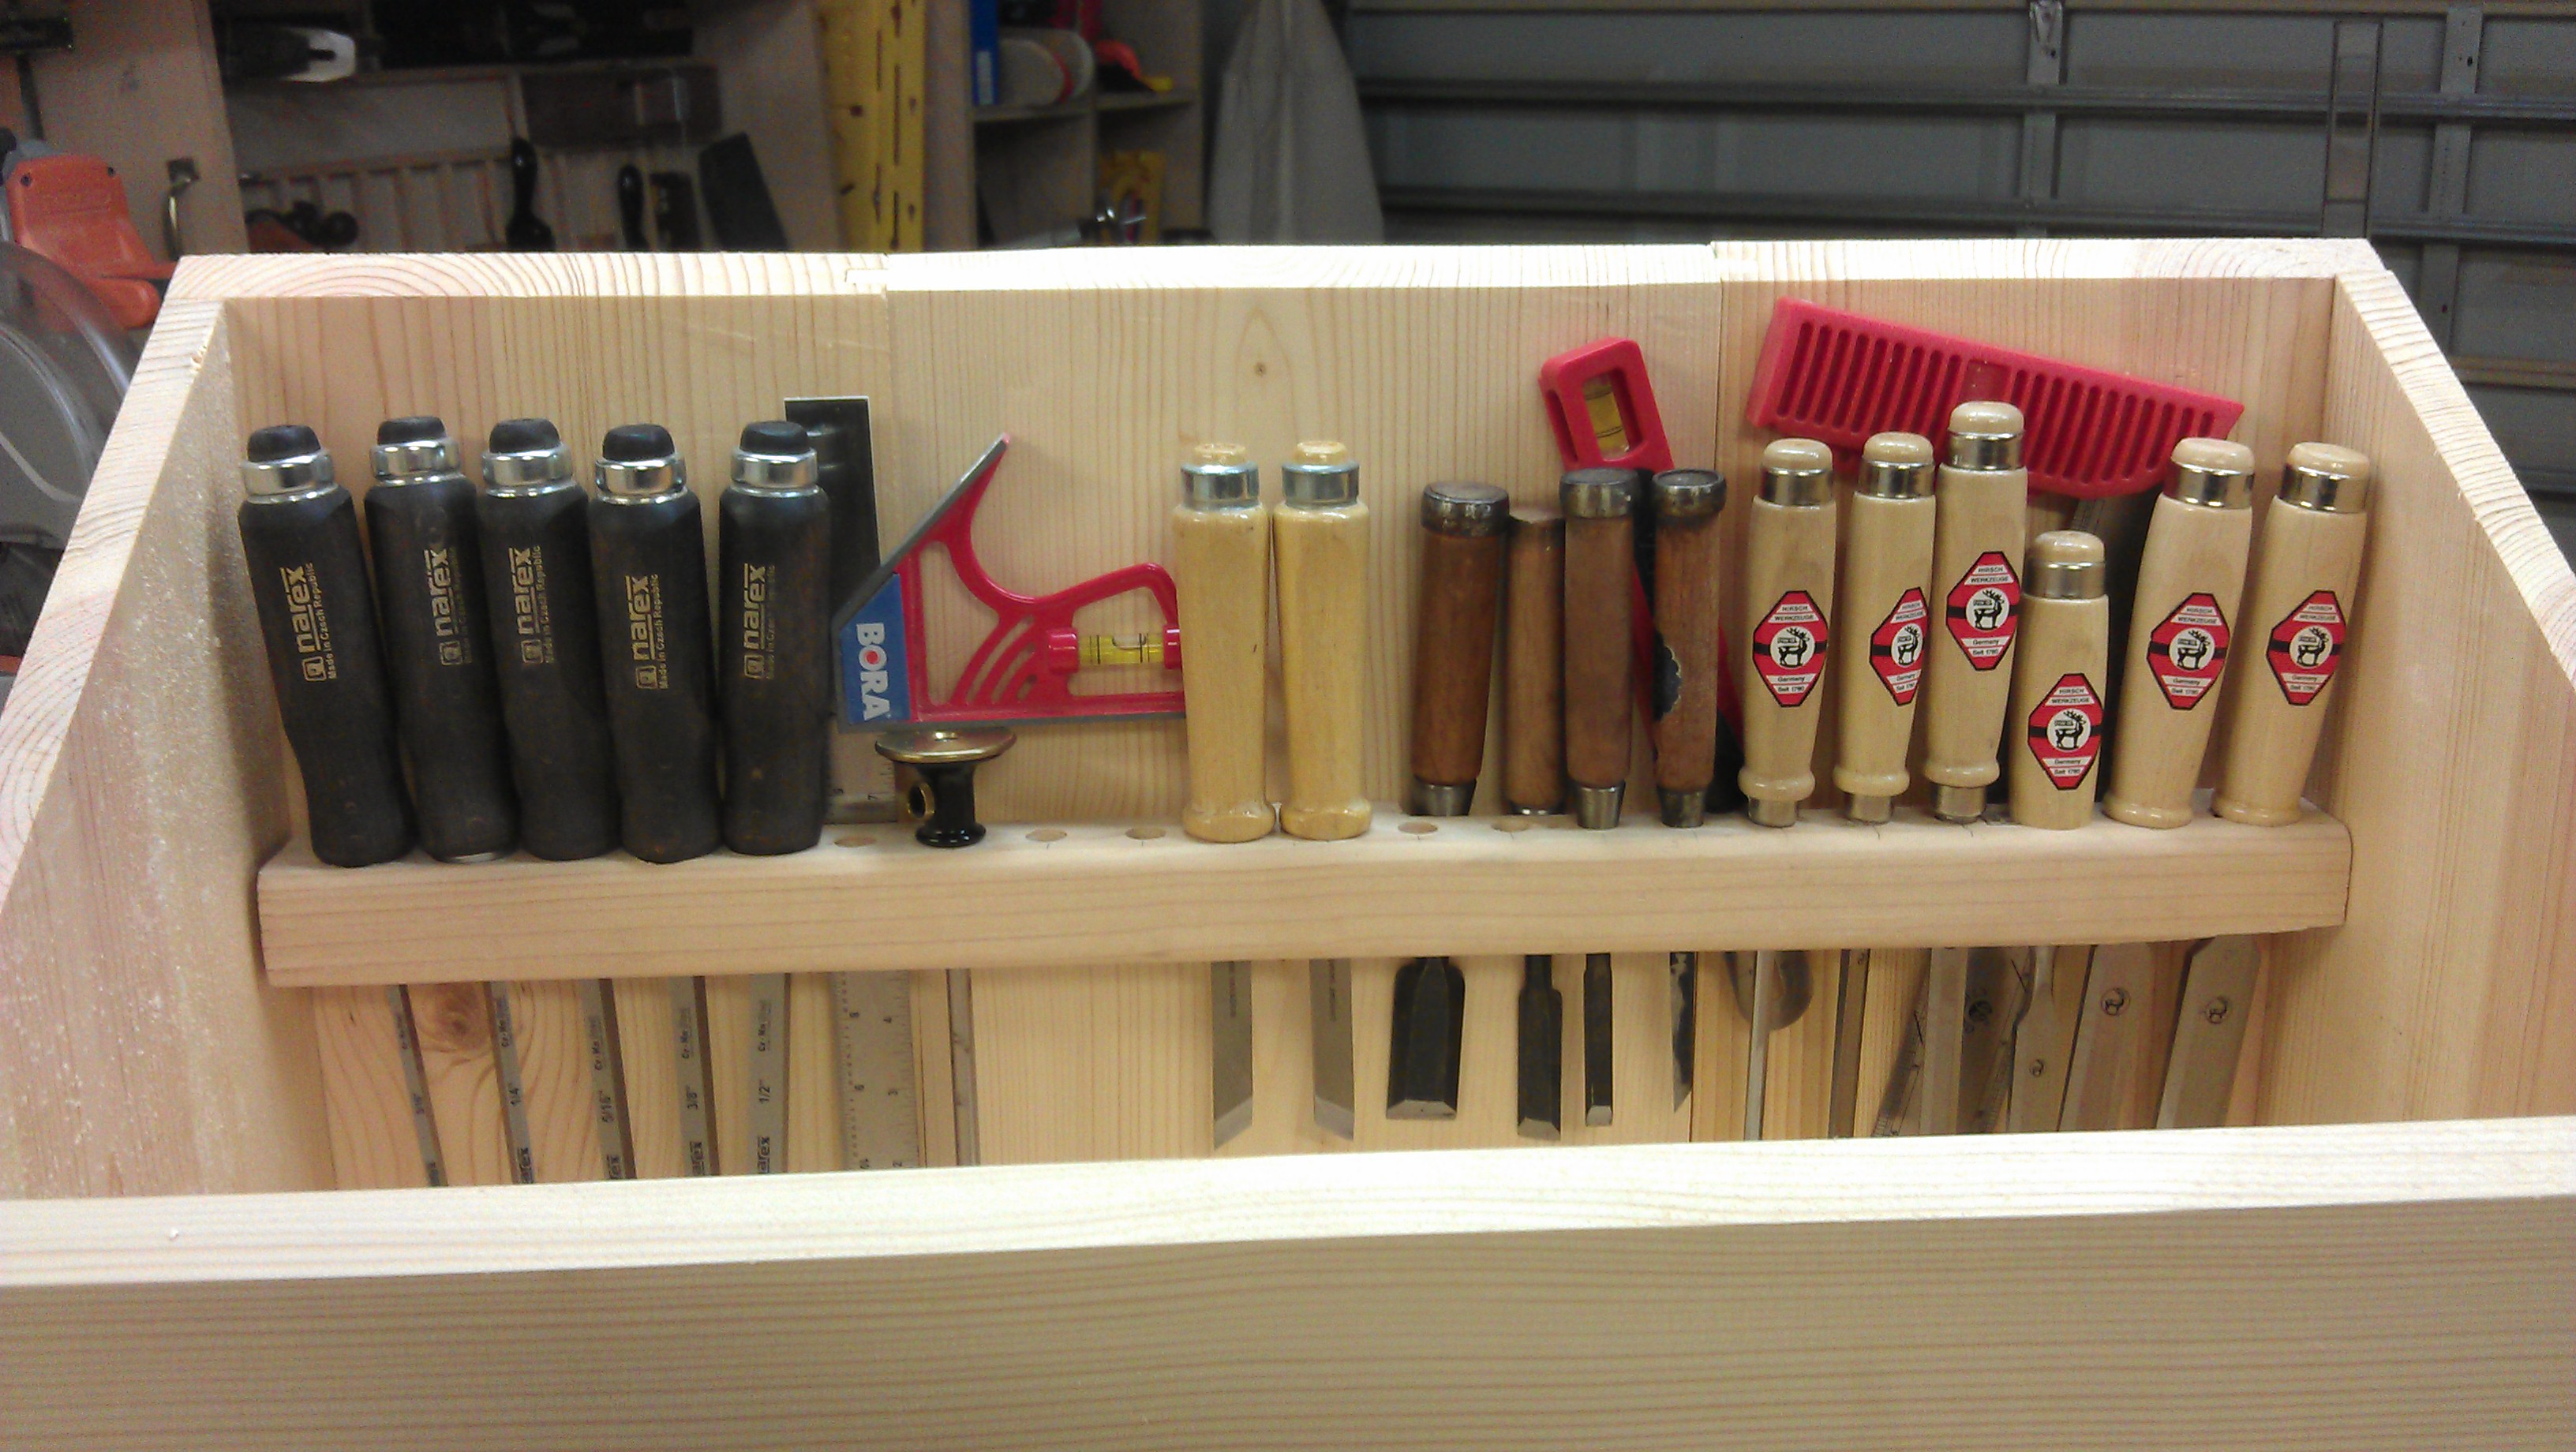
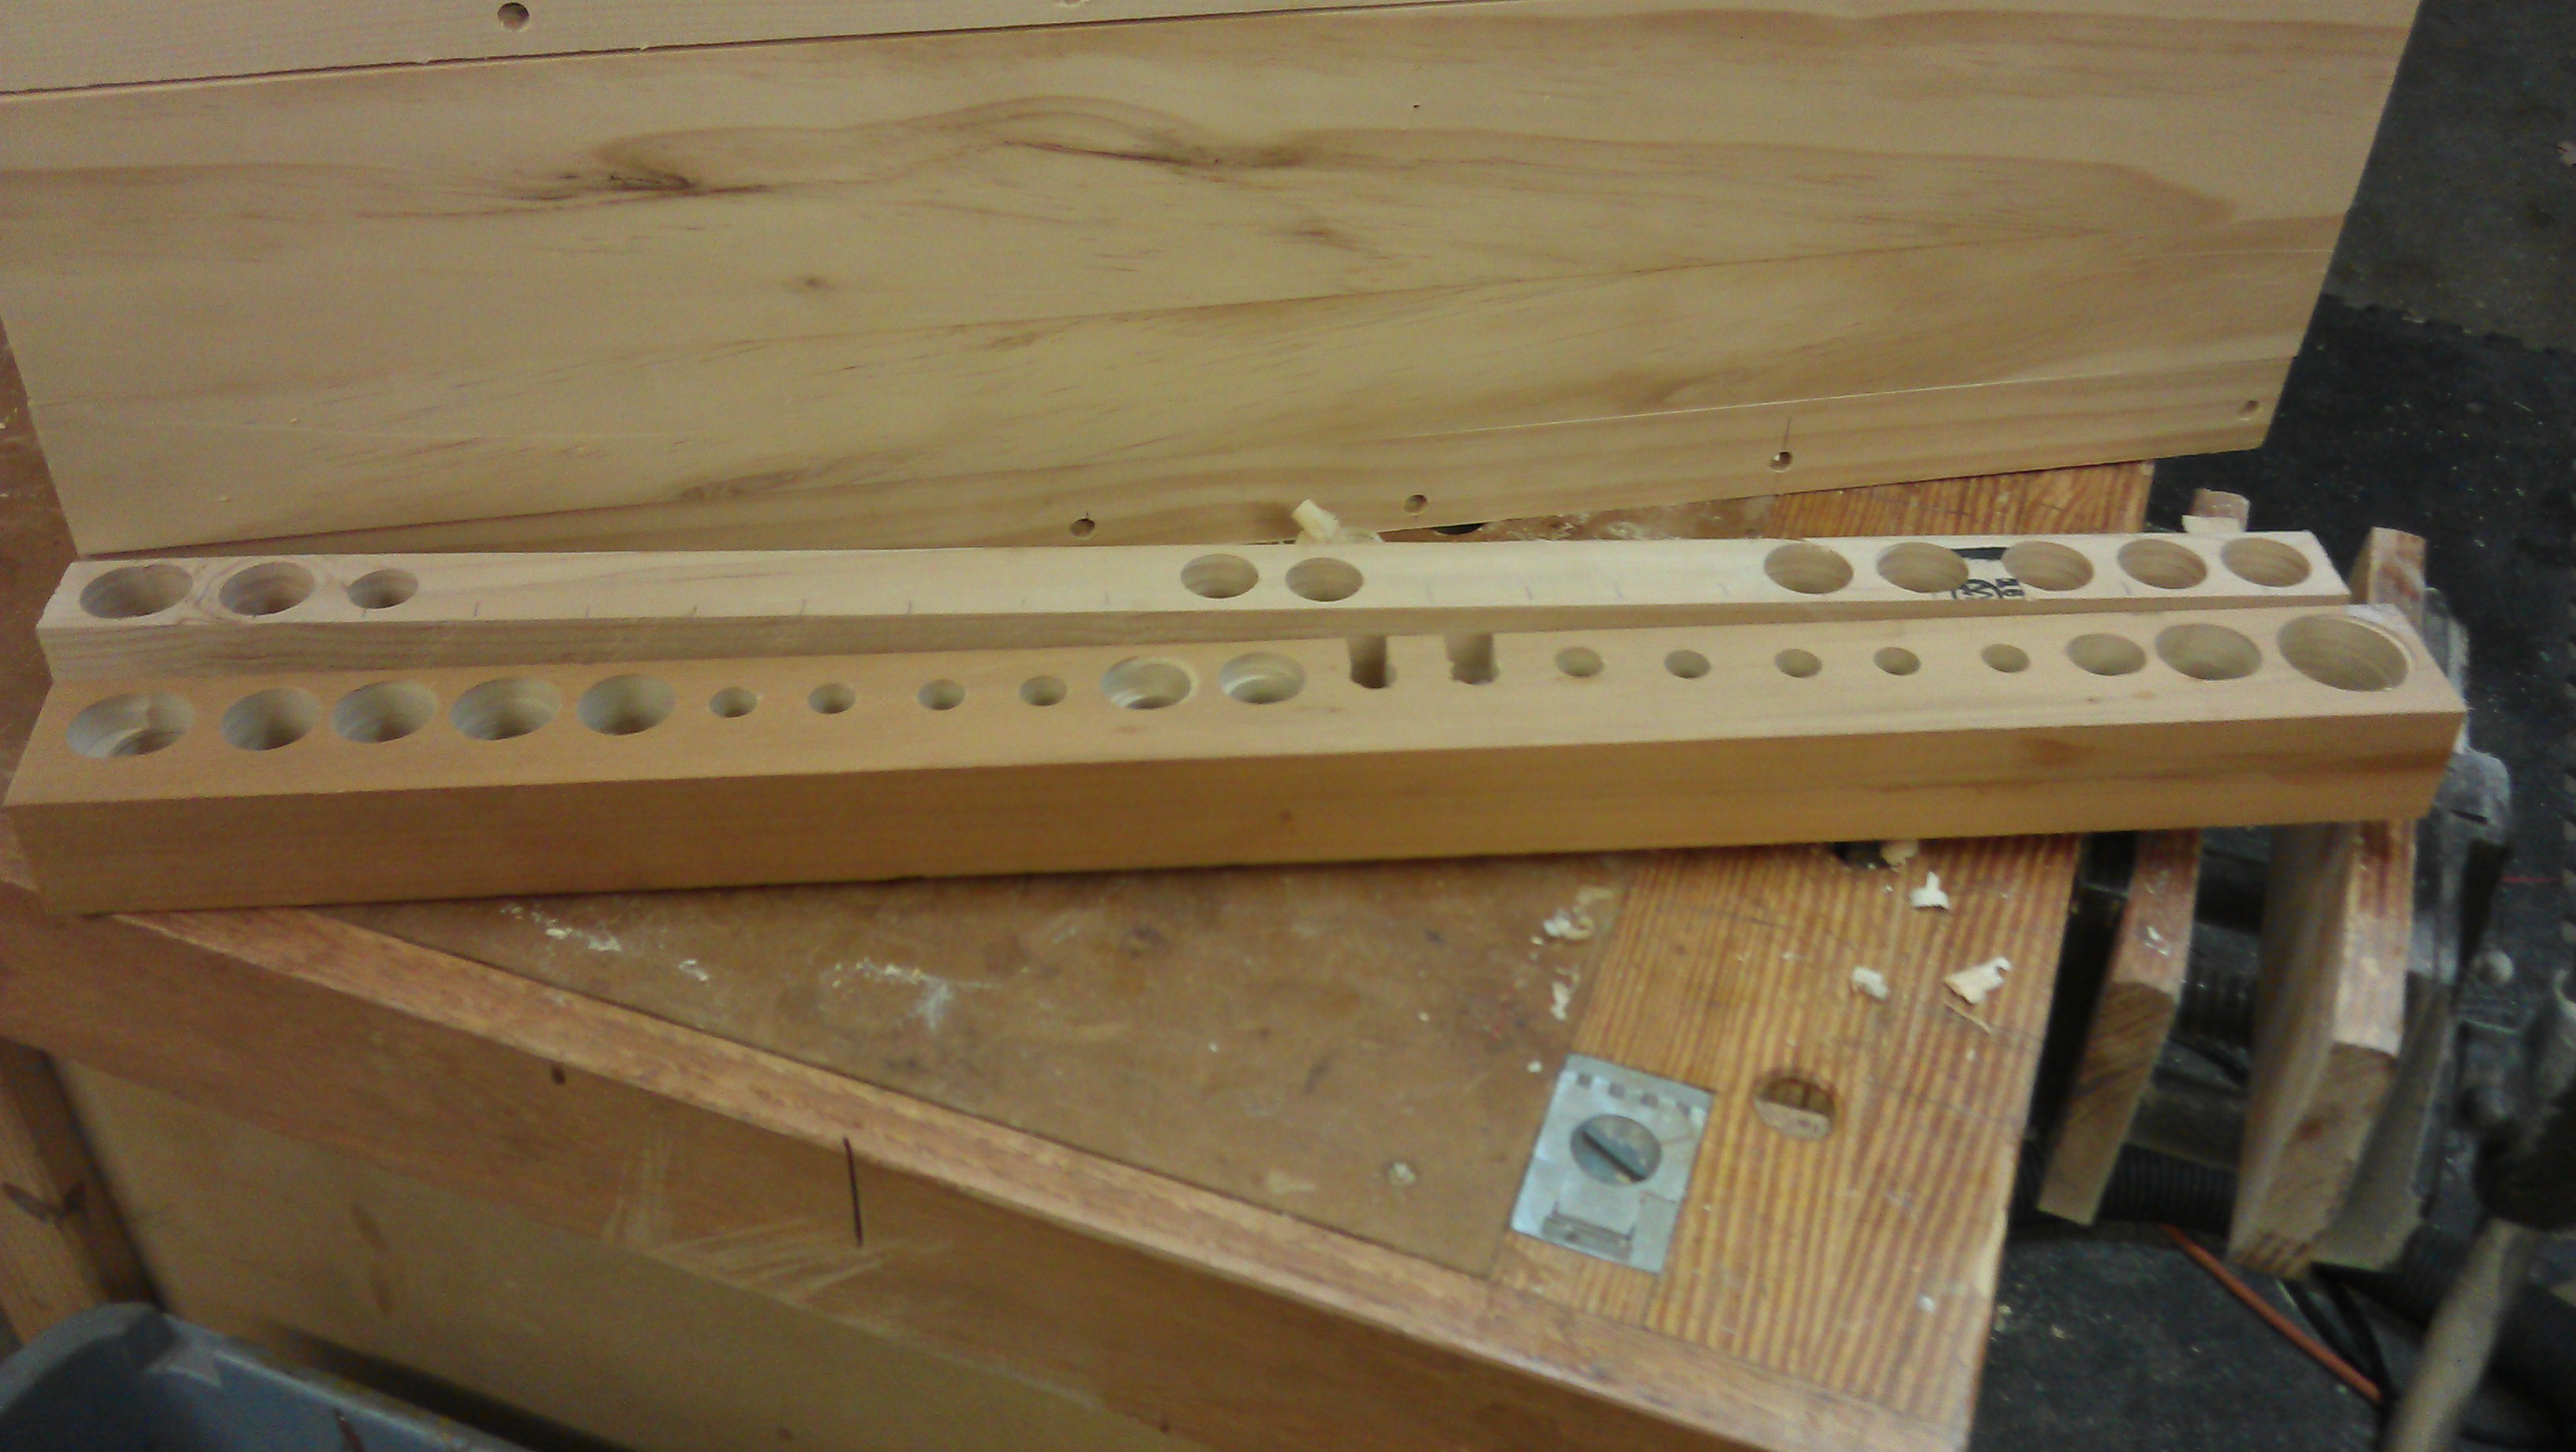
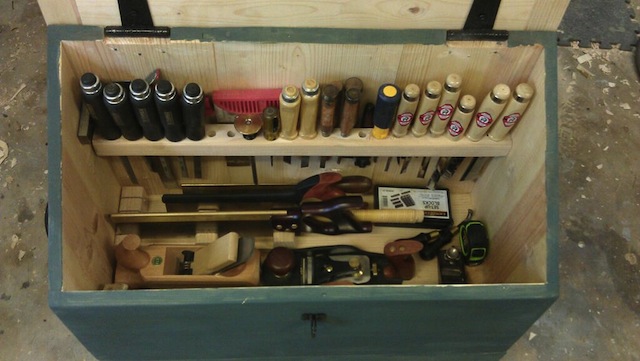
 

part of the Wood Talk Online community