Quick Poll

Wood is beautiful. That’s why we work with it.

But, there are those times when we want to make our projects even more beautiful. We can do that with design, blending species – or by doing an inlay.

A gorgeous inlay done by Marc SpagnuoloInlays can be very simple or uber complicated, with multiple species intertwined in decorative designs.

Today, let us know if you have ever done an inlay on your projects, and what you thought about the process.


Link of the week

Gränsfors Bruk Axes

One of the first woodworking tools ever created was the axe. And, for tens of thousands of years, stone, copper, bronze, iron and steel axes have felled trees, cut beams and even put decorative carvings on woodwork.

That's one sweet axeOne of the companies still making awesome axes is Gränsfors Bruk. This Swedish firm has been making these tools since 1902 out of high-quality steel and flexible yet tough hickory handles. Based on classic models, they offer sizes from small hatchets to large double-bitted models.

If you are looking to get your hands on a quality axe, this may be a good site to check out.


Species Spotlight: Cocobolo

Theobroma Cacao. Food of the gods.

Chocolate
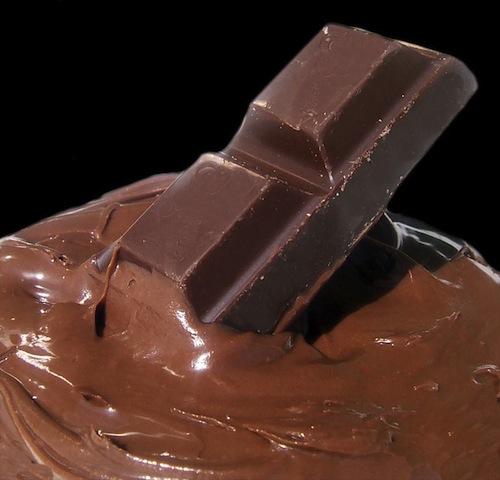
Yes, that’s what the scientific name for cocoa is – and it couldn’t be a more appropriate name. Native to Central America, the Aztecs fell in love with cocoa at first taste. The conquistadors who went on to discover the new world – and lay waste to the native cultures – were just as intrigued, and brought cocoa back to Europe where it eventually was processed and made into chocolate.

cocobolo - up close
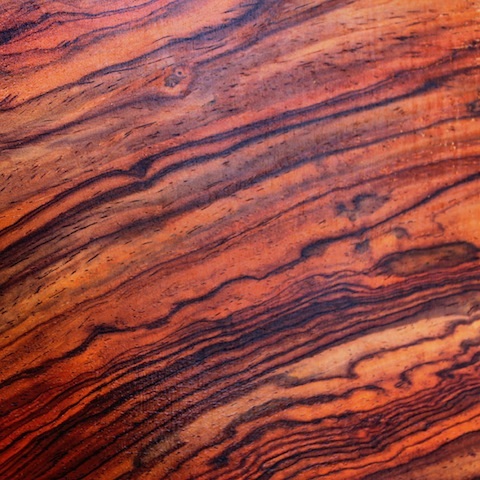
Today’s species spotlight isn’t on this plant, but instead it is on a dark reddish brown Central American wood that looks just about as delicious as chocolate.

Cocobolo grows primarily along the Pacific coast of Central America, from Panama to southwestern Mexico. The trees can grow from 50 to 60 feet tall with a diameter of about 24 inches.

The heartwood is a gorgeous, dark brown red with an irregular grain, which can sometimes be interlocked. Cocobolo is also a very stable wood which rarely checks or moves while drying. It works very well, taking crisp details and finishing to a high polish. The wood is also very hard and dense, which makes it an excellent tonewood for musical instruments.

cocobolo guitar back
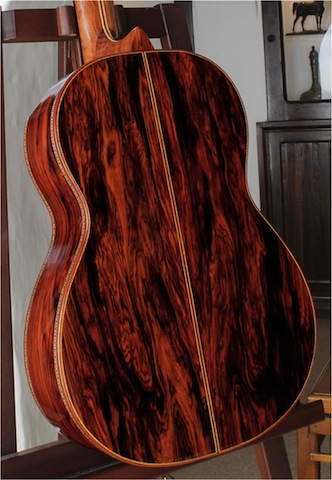
Cocobolo also shines as an accent wood for high end projects, such as knife scales, furniture inlays, pool cues and the like. When paired with a contrasting wood, it can really make a striking appearance.

As with many tropical woods, cocobolo is an oily wood, which can create issues while gluing. Wiping the mating surfaces with acetone before applying glue can help improve your success.

Cocobolo chess pieces
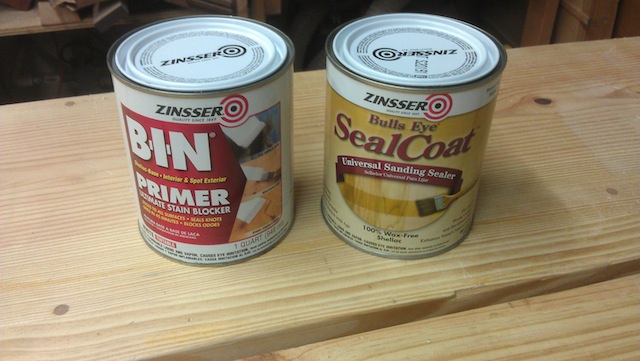
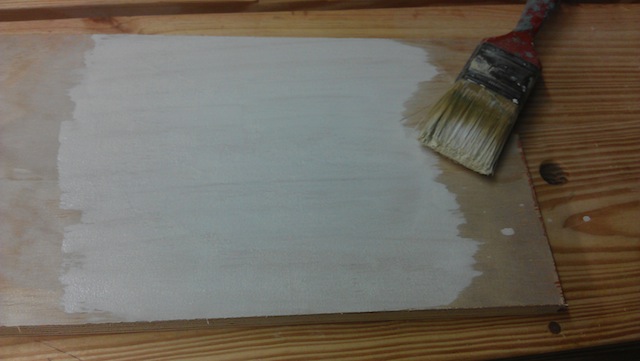
The oil can also make for trouble when it comes to applying finishes. So, you can go one of two routes. You can burnish the final project by sanding down to a very high grit. The finer the grit, the more lustrous the finish will be. Another option would be to use a sealcoat of shellac, which will isolate the oils from the finish layers you want to lay down.

Also, that oil can cause rashes or other allergic reactions, so be sure to use good dust collection, a particle mask and preferably long sleeves while working with it.

A cocobolo handled knifeAs you might imagine, with its limited growing area and striking beauty, cocobolo has been overharvested in the past, leaving the species as threatened. That’s why it is important to check with your supplier to ensure the trees come from managed areas and responsibly harvested.

So, the next time you want to put some tasty details on your woodworking projects, you just might to check out cocobolo, which could easily be named the wood of the gods…
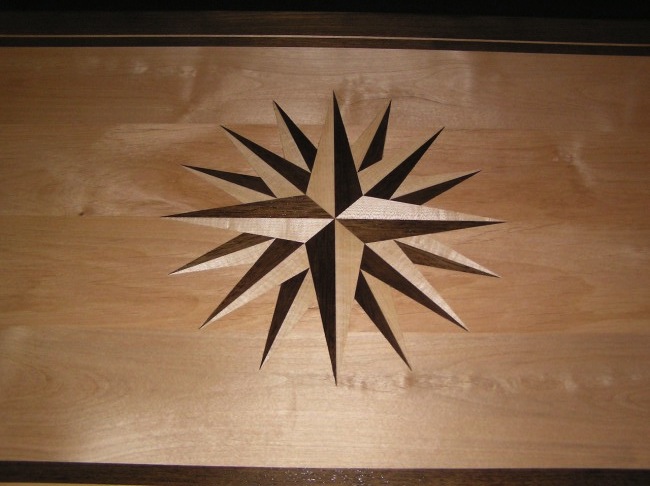
 

Hold it down

I have used my Kreg pocket hole jig for the past six or seven years with a great deal of satisfaction. It was the K3 model, and I have used it to build a lot of projects around the house.

Pieces partsBut, there were these items that came with the kit that I wasn’t sure what to do with. They were a steel plate with a keyhole slot in the middle and four countersunk screw holes on the corners. There is also a clamp that came with it, with a bolt that obviously engaged the plate that could be used to hold work pieces down to a table.

But, I wasn’t about to mortise this into my new workbench. Not on your life.

I had to come up with some way to use this. One Saturday, I saw an episode of the American Woodshop featuring Scott Phillips and the idea hit me. I could do what he did!

Ready to dadoFirst, I needed a block of wood. I had a nice piece of Southern Yellow Pine left over from the workbench build, so I was able to cut it to the size I needed and marked out the width of the plate and set it up to dado out a little material to help hold the plate in place.

A nice fitThere, a nice fit.  Now, for the next step, I had to head over to the drill press. After all, I had to remove the material just beneath the keyhole slot to allow room for the bolt on the clamp to drop below the surface of the plate. That was easy work with a forstner bit.

The forstner bitOnce that was done, I screwed the plate into place, using four high-quality wood screws to ensure a good purchase in the wood.

Clamped and ready to go To use this clamp setup, it’s an easy matter of clamping the block with the plate on it into the jaws of my vise, slip the bolt on the clamp into the keyhole slot and then secure the work down to the bench.

Face Frames

Sure, it works as a great hold down, but it works even better as a large face clamp for when I assemble face frames with pocket screws.

After using this set up in the shop for a few days, I do have to ask myself why I didn’t think of that!


Quick Poll

Woodworkers can find lots of knowledge about the craft by reading books, watching videos and browsing woodworking magazines.

Ask me about my cabinet scraperHowever, when the goal is gaining wisdom, we often turn to other woodworkers for advice.  Believe me, I have asked question after question to anyone who with woodworking experience who would listen…

Later on, I noticed that woodworkers started asking me for advice.  Very strange.

This week, tell us if you have ever had the occasion to give woodworking advice… and if you took the opportunity.

Link of the week

MonkWerks

When you think about the lives of religious men and women, you will notice many common traits. A strong devotion to their faith, a peaceful outlook on life – and an appreciation for the beauty of nature.

Fr. Tom, goofing around

So, when you swing by a site called MonkWorks, run by a Benedictine monk, well, you have to take a look. This is the blog run by Fr. Thomas Bailey, a Benedictine monk living in Missouri.

Fr. Bailey initially learned about woodworking by watching his father, and later went on to develop his skills as many of us did – by learning online and working in his shop. His work is exquisite, and his sense of humor… well… swing on by to give his site a read!

A primer primer

Sometimes, I like to paint my projects.

Holy smokes, someone call out the people with the butterfly nets!  Tom has lost his mind!

No, seriously. Sometimes, painted furniture is just what a room calls for. I have a number of pieces that I have painted through the years, and they look crisp against the walls and on the oak laminate floor I laid in my house.

And, when I want a nice, smooth, durable surface, I like to use primer on the project to set up my finishes for success. And, for years, I used a latex-based primer. And got OK results.

Zinnser's shellac and red primerBut, recently I saw a shellac based primer for sale at the local home improvement center. Since it is from the same company that makes the seal coat shellac I use for my finishes, I knew it would be a high-quality product. I also wondered if I could treat it like the shellac basecoat I lay down under my finishes?

The unstirred primerSo, I thought I would show a little bit of what it’s like to use. When I pried the lid off the can, I could see that the pigment settled out of the solution, and the top layer was slightly amber shellac. I was also greeted by a similar warm aroma of the alcohol the shellac was dissolved in. The pigment was a little gloppy at the bottom of the can, but a few minutes of stirring got everything mixed up.

prepping the brushI was going to apply this test with a brush, so I took the extra step of splashing some denatured alcohol onto the brush to prepare it for the primer. I shook out the excess, dipped it into the primer and started brushing onto a scrap piece of plywood.

Applying the primerThe primer laid down very easily, covering the plywood with little effort. After cleaning the brush and resealing the can, I stepped inside to wash my hands and catch up on some Winter Olympic competition.

After letting the primer cure for half an hour, I got out a sheet of 220 sandpaper and scuff sanded the plywood to get a nice smooth surface. The excess primer cut cleanly, leaving the glass smooth surface I normally get when I sand down the seal coat on my clear finish projects.

Sanding up the dustWith just a little clean up for the dust, This piece is now ready for a finish coat of a latex enamel paint. Knowing that I can use the shellac based primer just like the seal coat means I can be pretty sure that the finish on my entertainment center is going to be something impressive.

part of the Wood Talk Online community