Tomorrow is Thanksgiving here in the United States, and I would be remiss if I didn’t go ahead and continue my tradition of offering up what I am most thankful for. To think, I have been keeping this blog up and running now for more than eight years …
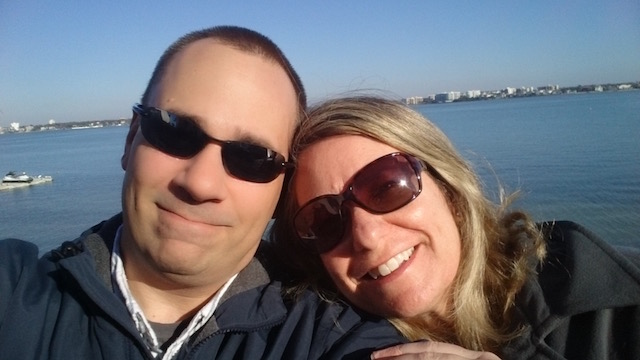
First, I’m thankful for my wife, Rhonda. She’s been a rock for me this year (as she always has), encouraging me all the way when it comes to building in the shop and inspiring me when I hit those creative impasses.

I’m thankful for my two sons. I can’t believe those little babies I brought home from the hospital – what seems like only a few years ago – are now both in high school, with Dominic ready to graduate this coming spring. It’s just about impossible to think about how much they are accomplishing without my eyes starting to leak a little bit.
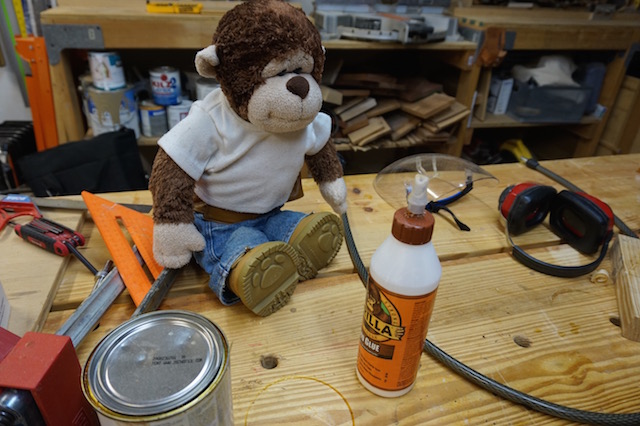
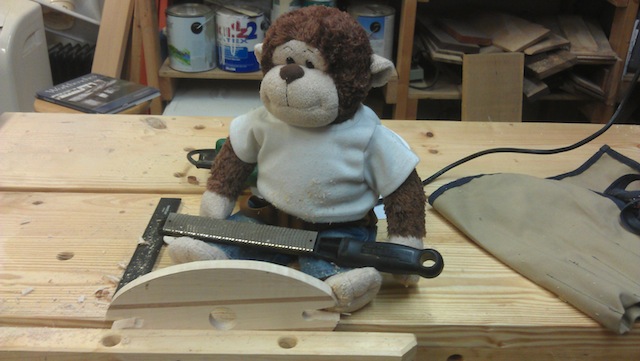
I am thankful that my Trained Shop Monkey Iggy has been hard at work, keeping his skills polished all these years. It hasn’t been easy for him, but he still manages to make magic in the shop even though I have been his greatest impediment.
I am thankful that my health has been good this year. It has been a struggle at times, but hey, I’m still up and at ’em.
I am thankful for my friends and family. It still gives me the biggest thrill to hear from someone I know and care about, “I read that on your blog.” Thanks for being my support throughout the years and for tolerating the crazy banter about what’s on the bench. And, a special shout out to my Mom and Mother-in-law. Yes, I know you both read, but you don’t comment… that’s OK, those clicks count!
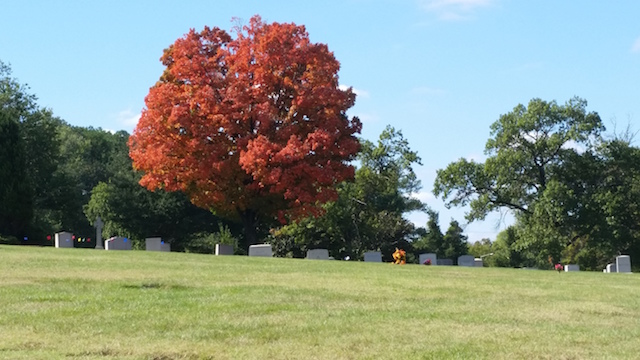
And, I am also thankful that even though I lost my Father-in-law this year, I was able to be there for my wife’s family during their trying time, and that I was able to serve as one of his pall bearers. He meant a lot to us, and I felt as if I was paying him the greatest respect by being there for him. We will miss his physical presence at the table tomorrow, but we will feel him with us for sure.

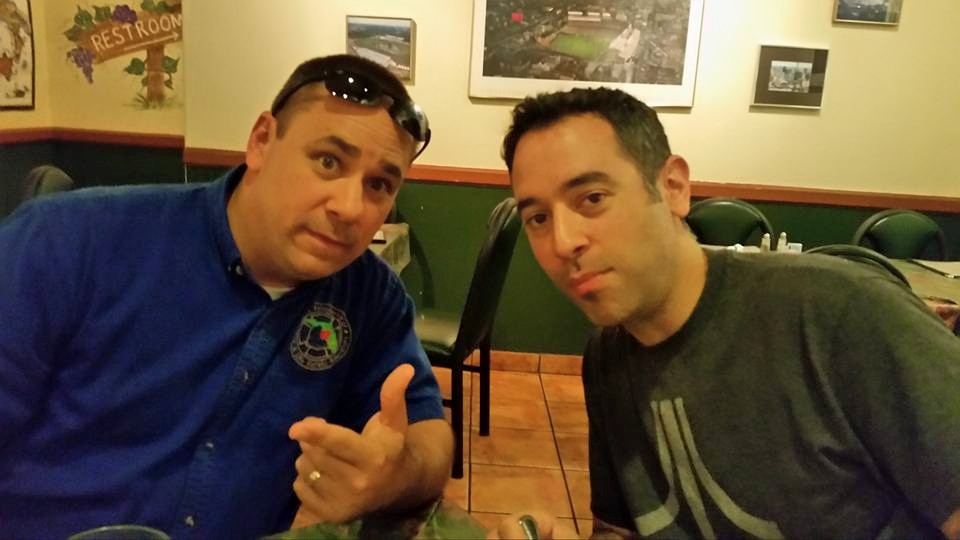
I am thankful I was able to attend the Woodworking in America conference this past October in Kansas City. Seeing all of my woodworking friends again truly inspires me to get off my butt and out into the shop. Plus, I mean, come on, it was in Kansas City – home to some serious barbecue!
I am thankful that Get Woodworking Week this past February went swimmingly. There’s nothing quite like watching the excitement build in the woodworking community about getting new folks into the shop, and I’m glad I could play some small role in inspiring at least a few woodworkers to get out there and try their hand at the effort.

I am thankful that I was able to land my new job over in downtown Tampa. While my commute has slowed my prodigious posting schedule a bit, the bus ride to and from the office gives me plenty of time to catch up on woodworking podcasts as I let someone else wrangle with traffic.
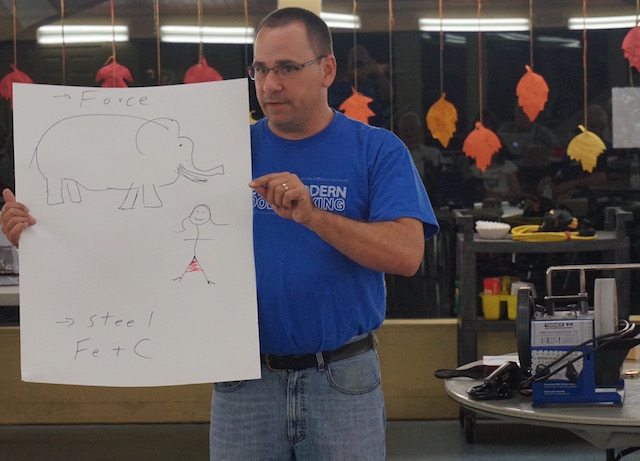
I am thankful that I was able to get back to the St. Petersburg Woodcrafters Guild to give a quick presentation on sharpening. Oh, how I love to get in front of a large group and talk woodworking. One day, I will retire and go on the speaking circuit in elementary and middle schools to introduce kids to the wonderful world of woodworking.

I am thankful that I was able to complete the summer of coffee tables, our new bed and my niece Katie’s hope chest. There’s nothing quite like seeing the face of a happy customer at the end of a project, and believe me, they sure were happy!
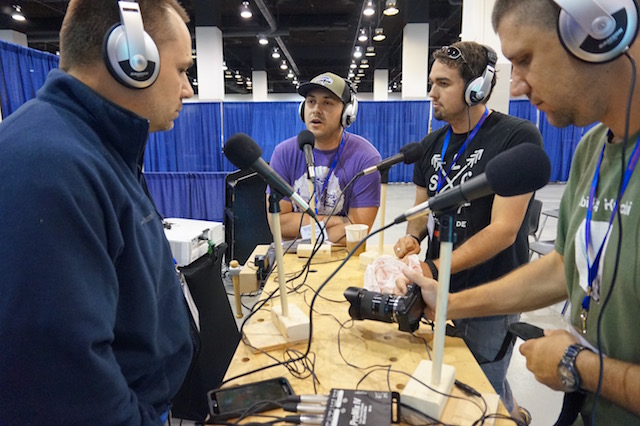
I am thankful that the Modern Woodworkers Association podcast continues to chug along, and that some folks actually still listen to it! I really do want to thank my partner in crime Dyami Plotke and all of our listeners for tolerating my hijinx…You guys rock.
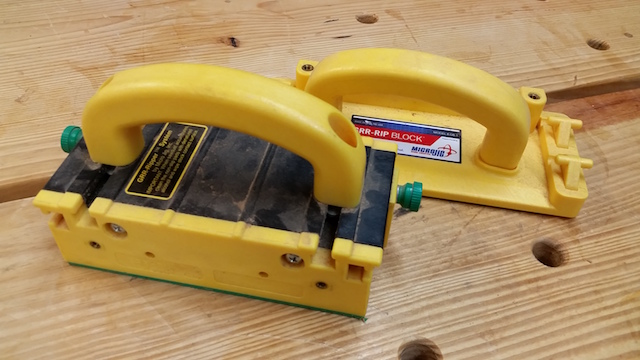
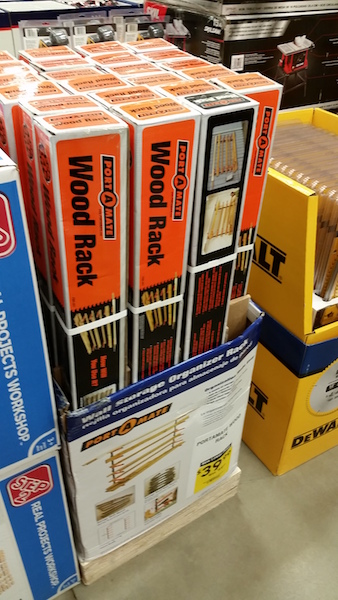
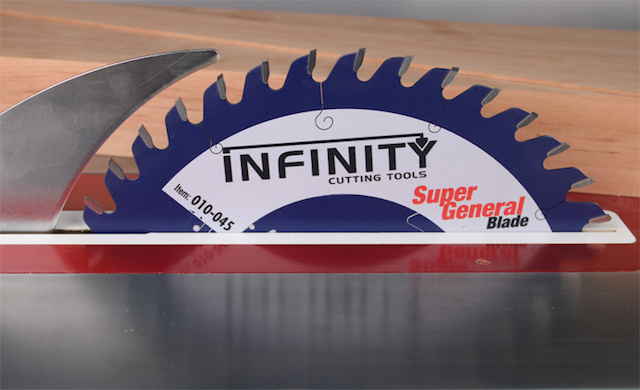
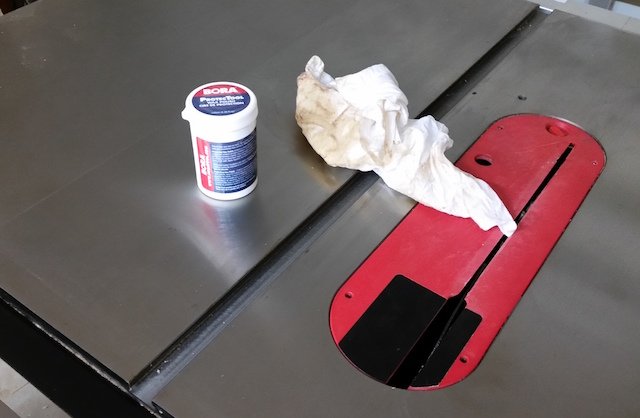
I am thankful for my sponsors – MicroJig Products, Bell Forest Products, Infinity Cutting Tools, Bora Tools and Tormek. Some days, I really do have to pinch myself – I can’t believe that you guys are still supporting me so readily!
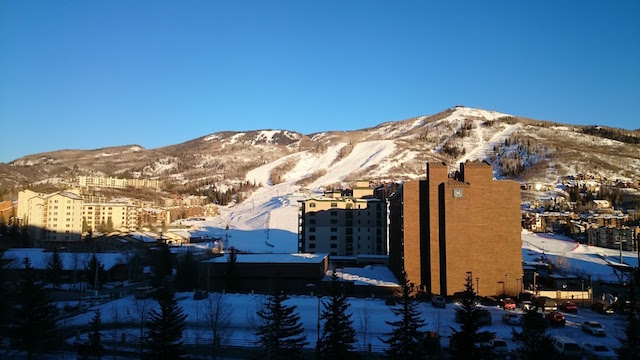
I am thankful that I got a chance to see so much of the country this year. From the snow-peaked Rockies last January to the Sonoran Desert in July (ugh) to (Viva) Las Vegas earlier this month, it has been a year of travel for sure.
And, on my tour to the Southwest, I am thankful to have seen Marc Spagnuolo’s shop in person and catch up with my old friend.
And, most importantly, I want to take a moment to thank each of you for reading Tom’s Workbench. Who would have known eight years ago that this little shop distraction would have become what it is today – a blog where people actually read the content? Thanks for all of your support.
Tomorrow, as I lift my glass to make the toast, I want you to know I’ll be making a special one for each of you…