 Don Vito Corleone lay in a hospital bed clinging dearly to life after an attempt on his life by the the Turk, Sollozzo. Vito’s son, Santino, paced angrily, demanding vengeance for this act. Family Consigliare Tom Hagen urged patience, asking Santino to get control of his anger.
Finally, after much heated debate, the Don’s youngest son Michael spoke up. Someone who had been formerly shielded from the family ‘business’, Michael offers to take matters into his hands and ‘take care’ of Sollozzo. When asked by Santino if this was in response to being slapped around by a crooked cop on Sollozzo’s payroll, Michael responded by saying, “It’s not personal, Sonny. It’s strictly business.”
Of course, I am referring to one of the most remembered scenes of was has been argued to be one of the greatest movies of all time, The Godfather.
Now, what does this have to do with woodworking – besides all of that gorgeous dark woodworking and paneling found in Don Vito’s office?
 Well, plenty. This scene flashed into my mind several times while I was reading Dan Ramsey’s book The Woodworker’s Guide to Pricing Your Work. Dan’s book goes into great detail about how to figure your shop costs, how to track your expenses and how to increase your profits. By following the recommendations in his book, you can learn how to turn your hobby into a paying business that can let you buy new tools, enjoy some extra night life or even quit your job.
The book is extremely clinical and unimpassioned. This is a very good thing, because running a business needs to be looked at in the cold light of reason and analysis. By getting emotionally involved in the process, you might make bad decisions which can derail your success.
But, I don’t think Dan addressed one of the most important aspects of running a woodworking business – pulling yourself out of the work. Let me explain…
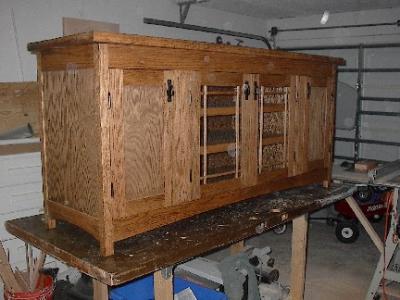
When I build woodworking projects, I typically build for one of three ‘audiences’. First, there’s me and my family. Projects such as the draw leaf table, entertainment center or my kitchen’s pantry were built with a specific purpose in mind – to fill a particular need. Our family needed a place to sit and eat dinner. Bam. And, it was built. The only person who has to be made happy is my wife – and she’s pretty understanding.
The other purpose I build for are items to be given as a gift. Small gift crosses, desktop boxes and cradles have all progressed out of my shop to the hands of grateful recipients. These too are easy to make and give, because the recipient of such a gift of time and effort always appreciated.
But, the third and most challenging purpose are items built for sale. Whether a commission for a customer or a piece built on spec and later sold, this is where things get a little dicey. After all, you are building something in exchange for cash or some other commodity (Hey, Bob, you are plumber… how about I build you something in exchange for installing my sink…), and these folks can make things a bit more difficult.
 So far, I have lucked out. The people who have bought my stuff have appreciated the value of hand-crafted work and have trusted me to do what I do best.
I have also heard about nightmare clients. People who change their minds on wood stain color after the piece is already stained. People who ask if the size or the complexity of the piece can be changed after materials are purchased and work has started. And, people who will carefully examine every detail of the final piece looking for what they consider major flaws in order to haggle down the agreed price.
That might make you uncomfortable. After all, haven’t you poured your time and creativity into the project? Didn’t you agonize over grain matching and panel colors? Isn’t it your baby? HOW DARE THOSE PEOPLE!
Deep breath. Have a cannoli. Serenity now….
Hey, to each or her own. And, if this is how folks like this want to conduct business… well, that says something about them.
However, as a woodworker selling your products, you have to remember the line delivered by Michael Corleone in the Don’s office… it’s only business. Nothing personal. Even though you’d like to roll your eyes and call your client an idiot, you have to fight the urge and realize that you are conducting a business transaction.
Some of the things I know professional woodworkers do to help prevent issues with their clients is to first spell out the agreement in some form of a contract. No, you don’t have to hire an attorney, but even a letter noting the date construction will commence, approximately how long the project will take, which key milestones you will have contact with the client, the payment schedule (half down on agreement, the other half on delivery) and the final price of the piece.
Another way to prevent issues with your client is to show scale drawings or computer renderings so the client will understand what the finished piece will look like. This is a great time to get feedback before construction starts and materials are purchased.
Showing sample boards with finish examples will certainly go a long way toward showing the client what the finished product will be, as well as demonstrating your finishing skills.
Finally, and most importantly, it’s important to stick to your deadlines, communicate with your clients and deliver the best product you can. By taking these simple steps, you can make the entire experience a pleasant one for everyone.
While slight mistakes are almost inevitable in large projects, your pride in craftsmanship will always come through. Someone who is coming to you and not headed to a large box mega-retailer is especially sensitive and appreciative of quality personalized craftsmanship. Besides, aren’t those ‘mistakes’ really design features?
And remember, once they get hooked on your work, you’ll then be able to make them an offer they can’t refuse – to build more stuff!


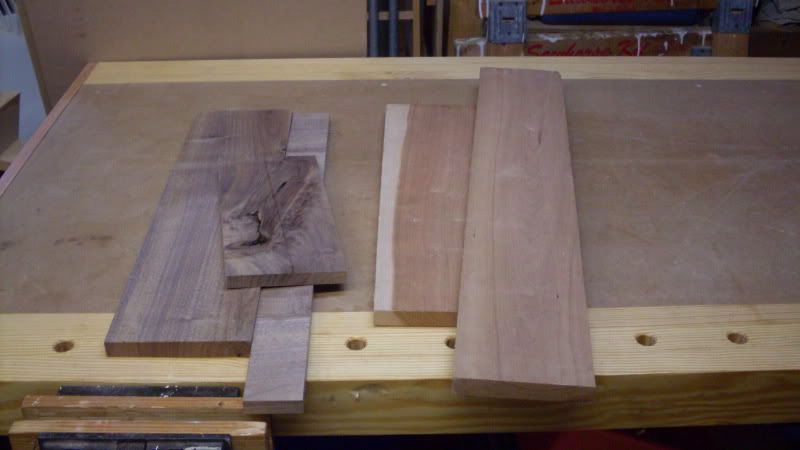 Last weekend, I had a day where I was going to be free to do some intensive woodworking. To offer a glimpse into my shop habits and the speed of my work, I decided to start a stopwatch in order to time how long it is taking me to build this box. This way, I could measure the amount of elapsed time for each step in the process.
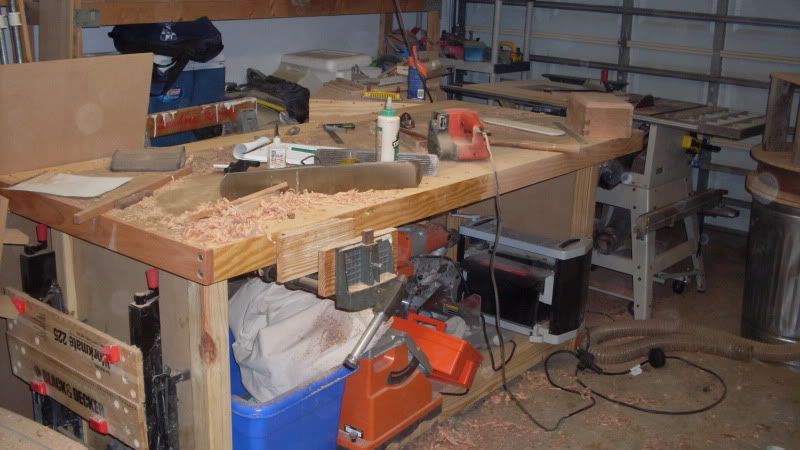 Sure, the box isn’t done yet. However, with the wedding set for May 9, I still have a little over a week to complete. The remaining tasks include sanding down the dovetail splines to make them flush, working on the box handle, sanding and finishing.
 I’ve discovered that many of the people who routinely point out when I run afoul of the rules of grammar – also known as the Grammar Police – can barely string together a coherent sentence on their own. It’s kind of like someone having a mastery of every nuance of a driver’s manual, but routinely getting into traffic accidents and receiving tickets for moving violations.


 It may seem tough to believe, but I actually have two consuming passions in my life. (Well, three if you count my wife – I don’t think she’d ever forgive me for NOT counting her on the list!)
 Woodworking is of course one of my favorite things. The other is the weather – especially hurricanes. That’s why my office sent me to the National Hurricane Conference taking place this week at the Austin Convention Center.
 I met Craig Andrews while at a woodworking school up in Indiana. We have kept in touch, and he is hosting me at his house. Besides the great Tex-Mex food, we’ve been doing a little work in his shop.
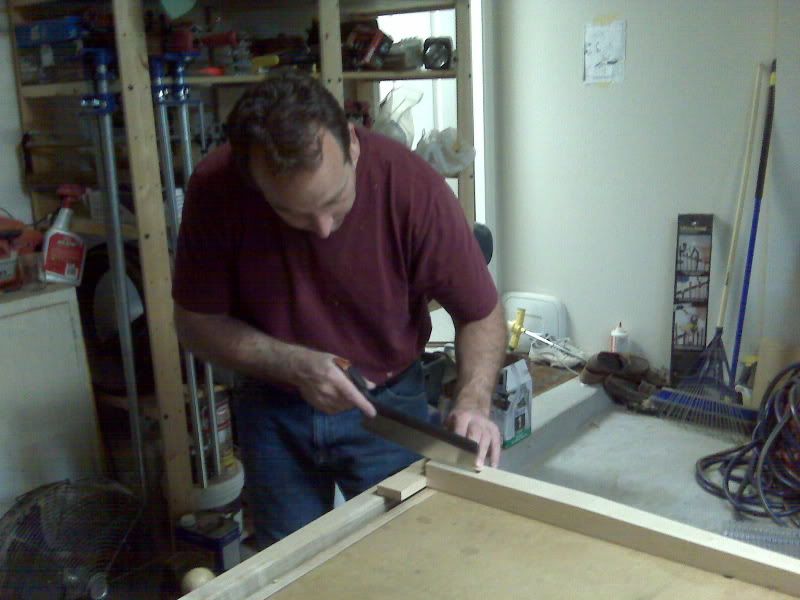 Before the trip, Craig promised me that he would show me a technique he picked up on how to hand cut a haunched tenon. Armed with a Veritas dovetail saw, a few chisels and some hand planes, we made a sample tenon to fit into a pre-milled mortise. Since all I had was the camera on my cell phone, I couldn’t get good shots. However, I will write that technique up once I get back to my shop.
 Talk to most beginning woodworkers about what gives them the most anxiety, and you might be surprised to hear that it’s not buying tools, planning projects or even tackling necessary joints such as the Mortise and Tenon…
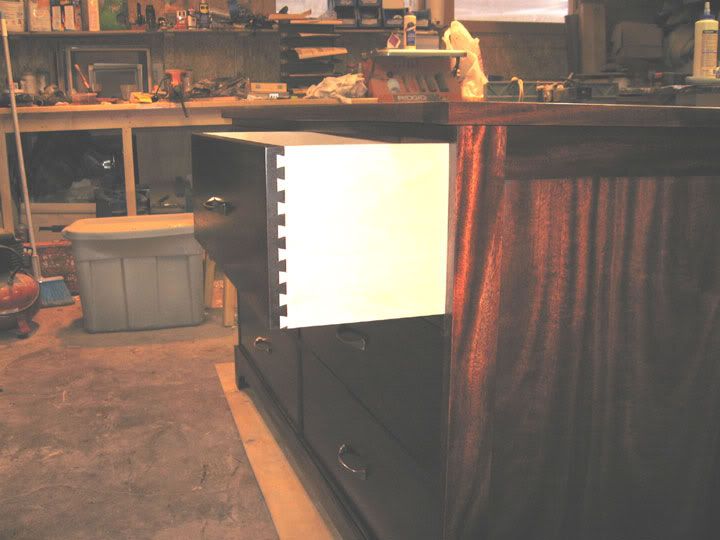 Secondly, drawers are also exposed to tremendous pulling forces on the front corners. Consider that a drawer may be opened tens of thousands of times in its lifetime, and, if it’s like the drawers in the dressers in my kids’ rooms, those drawers may be jammed full of clothes and have to be forced open.
 As far as materials go for drawer construction, few things are as useful as 1/2″ cabinet grade plywood. This stuff is easy to work with, very stable and strong. You can also either edge band or install a piece of solid wood on the top edges to hid the plies in the plywood if you wish.
 The joinery methods which connect the back of the drawer to the sides are very easy – these joints don’t normally take much abuse. So, setting the drawer back into a dado with some glue and bradding it into place should do the trick. Pocket screws can also work. Dovetailing or fancier joints can be done for drawer backs, but it would be considered overkill unless the drawer opens both sides of the case (a push through drawer) or it’s done for aesthetic reasons.
 By the way, if you don’t have a dovetail jig capable of cutting half-blind dovetails, or you don’t want to learn how to master cutting these joints, all isn’t lost. By cutting through dovetails with a jig or by hand – or cutting dovetail splines as with a Kehoe jig – and attaching a ‘false’ or ‘added’ drawer front, you gain the appearance of a half-blind dovetail joint and you can stretch your supply of good project wood by resawing thicker boards down to a thinner size. I prefer this method, because it also allows me to get the drawer face absolutely centered in the project opening.