All posts by Tom

I'm the guy who writes the blog...

Stuff I’ve built: The Cotterman

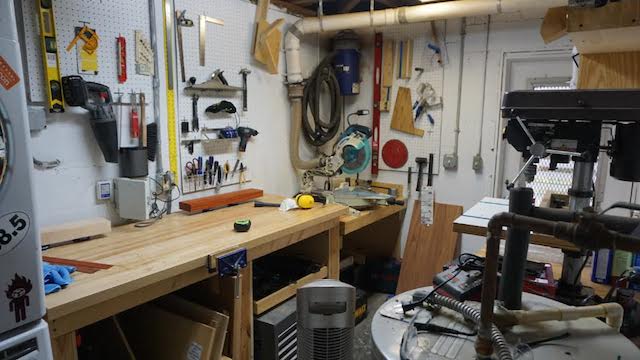
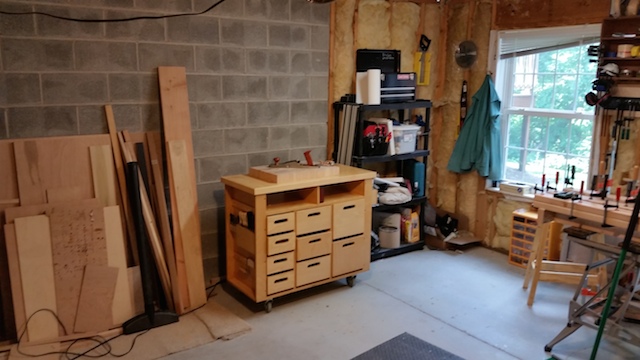
OK, so the name is a bit of a portmanteau between a coffee table and an Ottoman, but you get the idea – it’s a table for our family room that I built out of some beautiful, clear Southern Yellow Pine.

The Cotterman

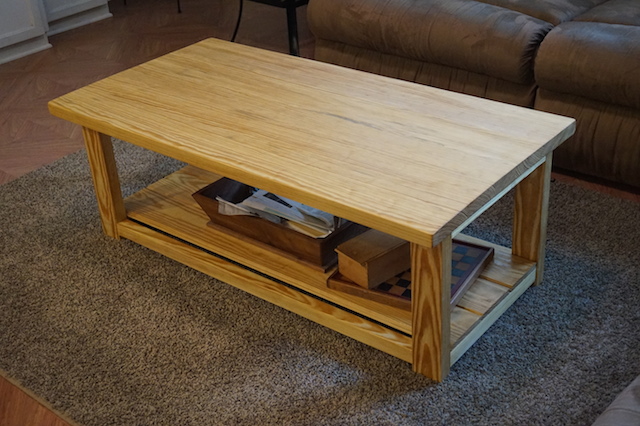
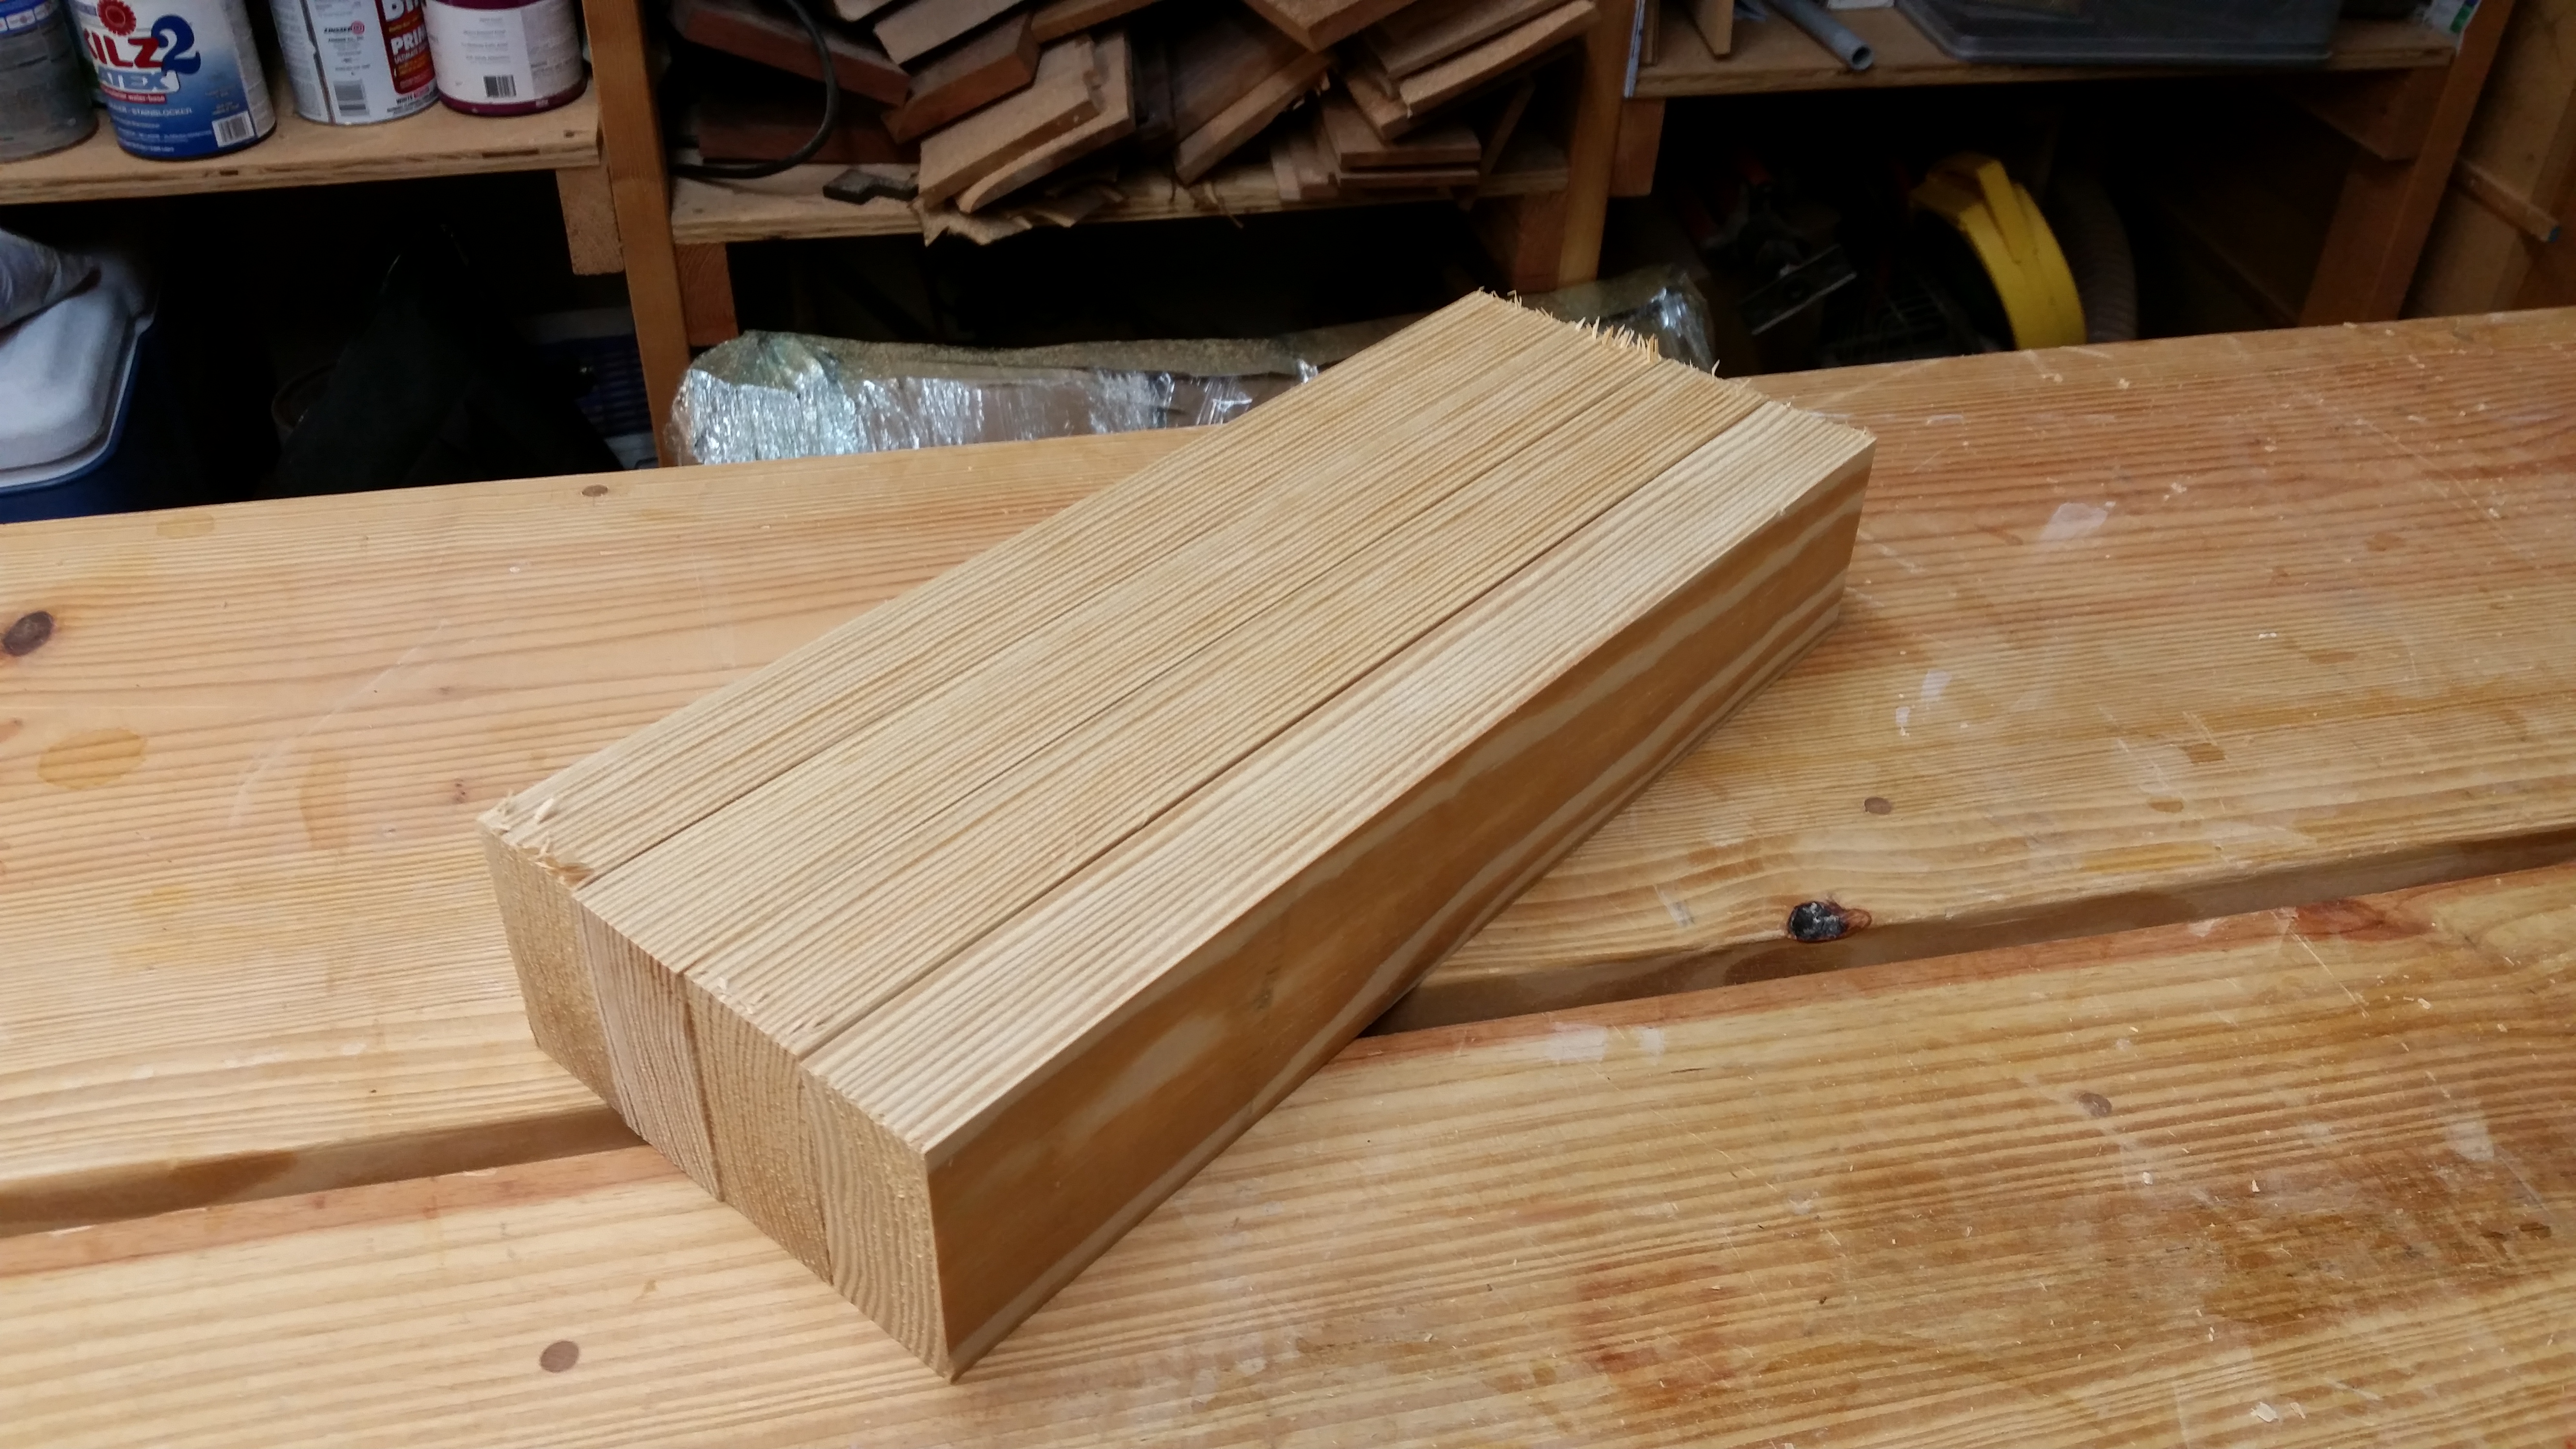
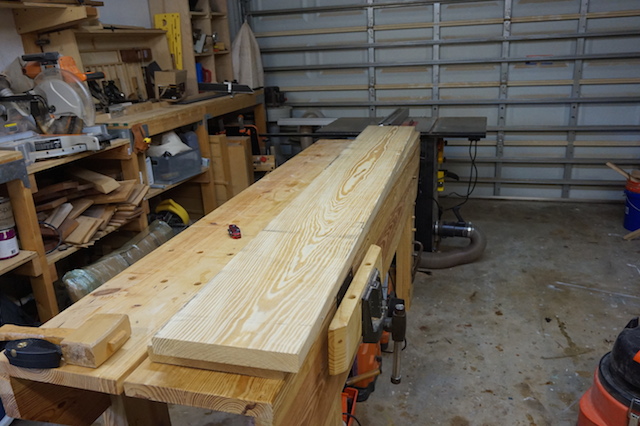
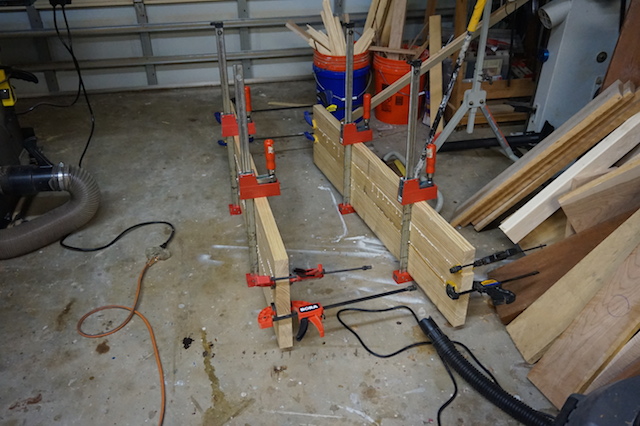
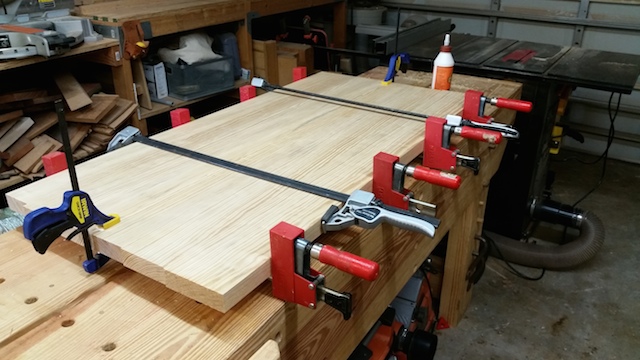
That’s right – the piece came from a pair of 2 x 12 Southern Yellow Pine framing timbers and a 12 foot length of tongue and groove boards for the bottom shelf. After building the piece and placing it in the living area, both Rhonda and I agreed that the piece needed some under table storage for magazines, our chess and checkers set and some other goodies.

Under boards

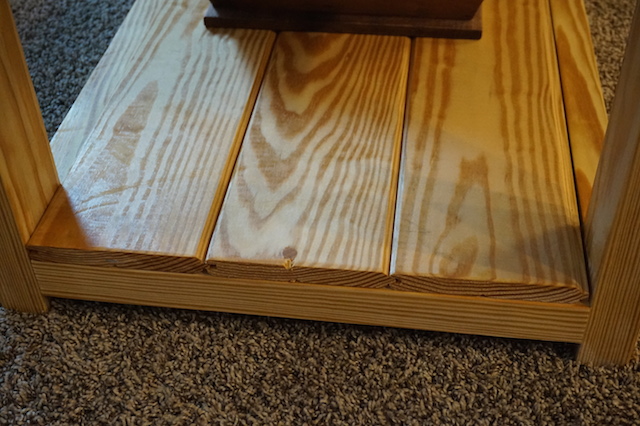
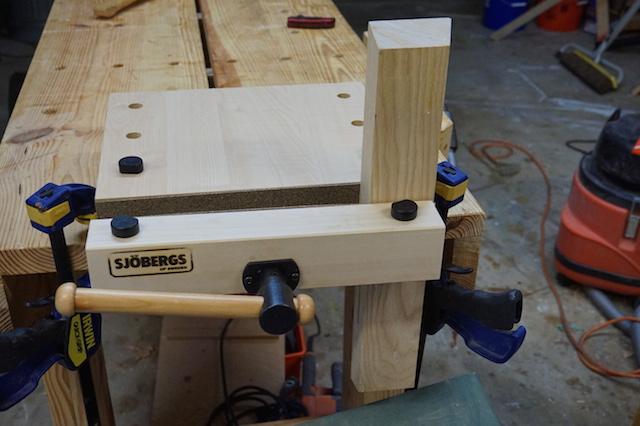
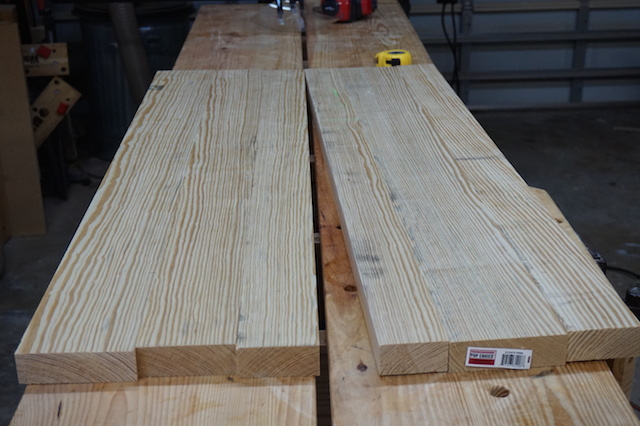
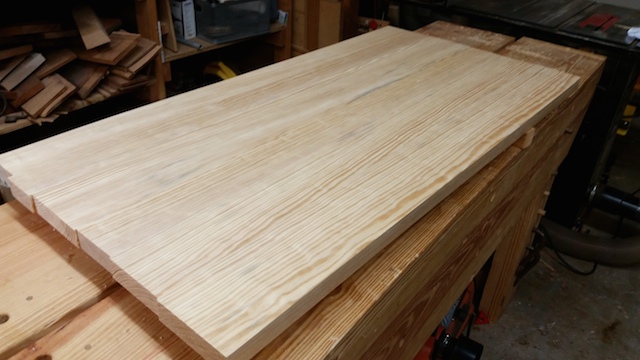
The tongue and groove boards were sweet, clear pine, and I had the option of either having them at their full six inch width or flipping them over and exposing a bead halfway down the middle of each board. I decided to go with the more plain looking side. I glued the tongues and grooves together, and secured them to the frame with a single Miller Dowel at each end, square in the middle of the center board. The two outside boards fit snugly between the frames, and with the glue dry, they won’t  knock free.

The top laid out

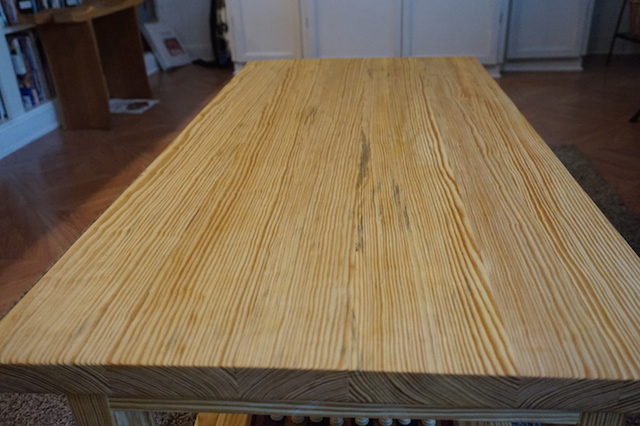
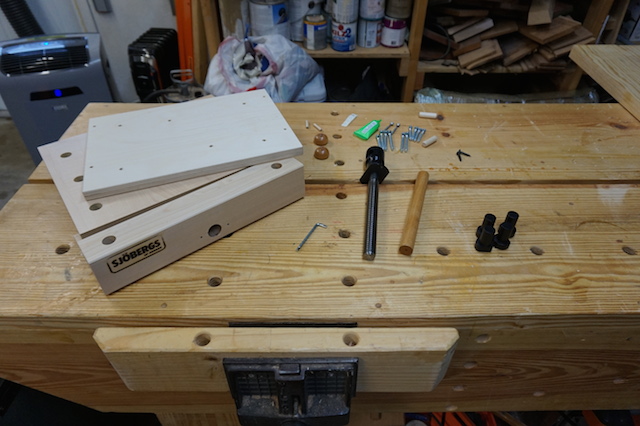
The finish started with the boys sanding the pieces with some 100 grit random orbit sanders (they need something to do during their summer break) until the parts were nice and smooth. Since it’s more of a rustic piece, I rounded over the edges with some rasps and sandpaper. Makes it look a little more weathered that way.

From there, I wiped on a coat of spar varnish. There’s something about that yellowed finish on the pine that really makes it look about 100 years old right off the rag. Once that dried, I sanded it down with some 320 paper, wiped it down with some mineral spirits, then put three coats of wipe-on polyurethane over the top to protect it against the spills that are bound to happen on a table like this.

Chess anyone?

With it in its place in the family room, I can see us using it for family game night, snacks for the big game, homework or whatever for years to come. It’s going to be a piece we use and appreciate every single day.

It’s not the size of the shop ….

There’s an old expression my dad used to use just about whenever we felt down or put upon growing up. Maybe our Little League team was down by two runs going into the ninth inning. Or, maybe it was a test we had to take that made up half of our grades. Whatever.

Anyway, it went, “It’s not the size of the dog in the fight, it’s the size of the fight in the dog.”

Paco the Brave

I’m sure you are aware that the meaning behind this bit of pithy advice is that it doesn’t matter how big you are, it’s what’s inside that makes all the difference.

So, two weeks ago, when I introduced you guys to the Smart Vise, I asked you guys to show me the shots of your micro shops. The shops shoved into all too often overlooked corners of basements, garages and spare bedrooms. The shops that you need to step outside of to change your mind. Those shops that leave you scratching your head wondering, “Just how the heck did that project come out of that shop?”

Well, I had a few entries, and all of them were tiny. Small. Diminutive. Without any further ado, here’s what we got.

Paul

This is the shop of my good friend Paul Carroll. He lives a few miles from my house, and, yes, the shop he occupies fits neatly into a 60 square foot area. Not only does his shop serve as storage for the portable table saw he has to wheel out into the garage or driveway when the weather cooperates, it also serves as his home’s laundry room. It’s very neatly laid out, and you can see that just about every ‘permanent’ power tool has its own dust collection hookup. Believe me, every possible nook and cranny serves as storage, and I’d have to say this is pretty darned impressive.

James Little

This tiny shop belongs to the appropriately named James Little, and as you can see, it’s one of those shops that just looks bursting at the seams with stuff. But, you can see a few different work benches, a whole lot of storage and organization out the ears. Pretty sweet looking shop.

Warren Valente

This spacious abode is the hide out of Warren Valente. Shoehorned into his 10 x 15 foot shop, he manages to build some big pieces. Check out the harvest table and benches he has working in the shop in this shot. Of course, if he needs any extra space for outfeed on his table saw, he can just push the piece through the (hopefully open) window!

Rossetti storage

Next up is the small shop of Justin Rossetti. Man, talk about small. This guy has to move ALL of his stuff outdoors to get anything done at all. That’s right – there is no real indoor shop space. Basically, the only space he has to work is outdoors. The storage area is right off his kitchen, those, so his wife usually doesn’t mind because she gets to keep an eye on him and see what he’s up to.

Eric's shop

Eric Cole from Pennsylvania has a very neat looking shop setup in his condo. While it measures a tiny 8 x 12, he has it packed with a lot of mobile bases on his tools, so he can get things exactly as he needs them for whatever operation he has planned. This he got from Wood Magazine, and his next project is a knock-down workbench by Chris Schwarz so he can get into more hand tool work.

Micklus 1

Micklus bench

Micklus Nail Chest

The winner, however, has to be the cozy shop of George Micklus of Connecticut. When he’s not aboard one of our nation’s submarines (thank you for your service, George), he’s working out of a cozy 10 x 14 shed near his home. He actually downsized a bit from where he started (in his garage), because as his family grew, he was voluntold to move out to convert the space into a new master bedroom. His time on a submarine has inspired his shop layout, which includes a sweet looking workbench, an Anarchist’s Tool Chest and a few other projects designed to maximize storage and working area.

Iggy would like to thank all of you who submitted your shop entries for this contest. It’s amazing to see just how much goes into planning a workshop in a very small space. One thing is for certain, however, from here on out. I will never complain about having to work in a two-car garage ever again. I promise!

The weekly plan

Yellawood’s garden arbor plan

It’s the season when gardens grow and flowers are in full bloom. And, there’s nothing quite like the experience of entering  a beautiful garden through an arbor full of bursting blossoms and cool, green foliage.

The Yellawood Arbor

This plan, provided by the folks at Yellawood – one of the leading manufacturers of pressure treated southern yellow pine – is free of charge, doesn’t take much material and should provide you years of service in your garden.

A strong frame

For the coffee table (the Cotterman, as Rhonda likes to call it. She’s still torn between calling it a coffee table and an Ottoman), the next step is to build a base for it. After all, if the top just sits on the floor, it’s going to be too low to hold my coffee. Right?

Nice legs

So, I cut four legs down to size. Since most coffee tables want to be about 16 inches high, I cut them a little longer than 14 and a half inches long to have the top land at the sweet spot. Fortunately, there was lots of extra wood left over from the original 2 x 12 to work with for this operation.

I also cut some rails for the sides of the table and cross rails that would help to hold the frame together and provide a strong surface for the table top to bear against and be screwed to. How did I attach them?  Sure, I could have gone all mortise and tenon on them, but, meh, with the shop as hot as it was and Rhonda wanting the piece as soon as possible, I opted to go the pocket screw route.

The pocket screw option

There’s a lot to be said about how fast projects go together with them. And, believe me, for what this table will be doing, they are plenty strong.

After just a little bit of work, I was able to get the frame together and just set the top on it to give it a test run.

perched

I dunno… looks pretty good perched up there on top of the workbench. Since it won’t be there forever, I had to make sure the measurements were going to be perfect on this, so I trimmed the ends even with my track saw, screwed the top into place through the battens and set it into the living room. Then, the moment of truth. I called a young, strapping lad in to give me a hand.

Big Stevie

So far, I’d have to say that the table is pretty strong to handle this much beefcake. Now, to build a deck for the bottom part of the table for magazines, board games and the like, and this one will be ready for the finish.

The weekly plan

Skil Tools’ porch swing plans

Summer is right around the corner, and if you plan on spending any time outside, a well-built porch swing will help make those lazy summer hours a whole lot more pleasant.

Skil Porch Swing

This plan, offered by the folks at Skil Tools, can be built quickly with common lumber and a simple kit of tools. Shortly after you enjoy a little shop time, you’ll be out enjoying the balmy summer breezes on your own front porch.

Small size, big grip

I never owned a G.I. Joe action figure. Seriously. We had the Adventure People, but our friends who lived down the street, they had the G.I. Joe action figure.

G. I. Joe, Homes

Notice I said action figure. Not doll. That was out of the question. We’re talking ACTION FIGURE here, people!

Now that I got that out of the way, our friend who lived down the street had their G.I. Joe action figures, and those action figures were small at only 12 inches tall, but boy, did they ever have their mojo. They wore camouflage. They had weapons. They had fuzzy beards. And, most importantly, they had Kung Fu Grip.

What did that do? Heck if I knew, but the Kung Fu Grip was awesome for having Joe hoist himself up on a rope and climb to the top of a dresser to get a better position. You could fight an entire war in a bedroom and be done before dinner. Those were the days…

Don't touch my toys!

Now that I have my head out of the 1970s, I have turned my attention to other toys. In my shop. That I build with. I love my shop. It’s got plenty of size and space for a workbench, a table saw, a band saw, tool storage… a ton of stuff.

But, I do know some folks who work in much smaller spaces like a spare bedroom in an apartment or on the kitchen counter. What about them?  You know what they need? The equivalent of a G. I. Joe doll action figure that can be small enough to tuck away but strong enough to hold their work.

The smart vise

I think the folks over at the  Sjoberg’s Workbench company may have found the answer. This is the Smart Vise, and it makes quite a bit of sense for all shops, but especially small ones.

Pieces parts

As with that other Swedish company that makes furniture for the house instead of the shop, some assembly is required. Mostly fasteners, the vise body, the screw mechanism and the dogs you will use later to help hold work.

The body assembly

To put this sucker together, you flip it upside down and attach the lower jaw to the upper body section with glue and some fasteners. It’s very simple, and in about five minutes, it was all buttoned up, ready for some serious steel.

A turn of the screw

This is where the Kung Fu Grip comes in to play. This heavy screw goes into the middle hole, where it engages the threads inside. Simply screw it all the way home, set the garter into the front block with a pair of screws and put on the handle. Easy peasey lemon squeezie.

Secure that vise

Flipped up onto its feet, the vise can be secured to a table (or workbench) with a few squeeze clamps or a few screws. What can you do with it? How about cut a few dovetails? Tenons? Maybe a little mortising?  And, it can be done in a very small area.

Get a grip!

Now, here comes the fun part. The folks at Bora Tools wanted me to give away one of their new Smart Vises to one of my readers. So, here’s how it’s gonna work.  I want you to shoot me an e-mail showing me just how small your shop working area is. I will take a look and have my Trained Shop Monkey select the smallest looking shop from the entries as our winner. Be sure to send them to Iggy@tomsworkbench.com.

You have until Saturday, June 13 to get them in, so don’t delay!

The coffee table begins

True to my word, yesterday, I started working on the rustic pine coffee table for the family room in the back of my house (Hey, Ian MacKay, is that worded properly for you?). I figured it would be the best one to start with, because it was easy, and I knew I was going to go to the home improvement lumber rack for the material. Easy peasey.

Wrapped and ready

But, first, I had to pack up Katie’s hope chest to clear the deck. With a lot of bubble wrap, cardboard and some flat twine, I made it all happen. Now, hopefully it won’t get all banged up in transit.

So, off I went to the home improvement center, and picked up a pair of 2 x 12 eight footers. I am always amazed at the quality of the wood you can find there – these two boards were nearly blemish free, with absolutely no knots and mostly rift grain along the edges. they were something to see.

The boards

So, I set to work on the top first. I knew I wanted to rip out the flatsawn grain in the middle to get the rift edges for the top, and that’s just what I did. I knew I wanted to do this in two parts – since the top was going to measure out to about 24 inches wide, I wanted to glue up each half, run them through the thickness planer, then assemble the final piece.

After crosscutting the boards on the miter saw, I set to work at the table saw, culling the nicest looking stuff. Wow, was this really nice!

The halvesI got a fairly good looking grain match after juggling the boards, and then set up to glue everything together to make the two sides. It was easy with a few cauls and a couple of clamps.

The glued halves

Once the glue was dry, I headed over to the thickness planer to get the sides planed down nice and flat and a uniform thickness. Since the widest half was 12 and a half inches, any my planer has a 13 inch capacity, this was a piece of cake.

The top, without glue

Now, how about that look?  The joint is tight without a single clamp. When that happens, you know you have done something right… The last task for the night was to glue the two halves together, which was insanely easy given the condition of the joint.

Top glue up

Now, back to work tomorrow, but I hope to be able to bang out some more work on this piece in the coming days. Wouldn’t it be great to put together a handmade table in less time than it would take to assemble an Ikea model?