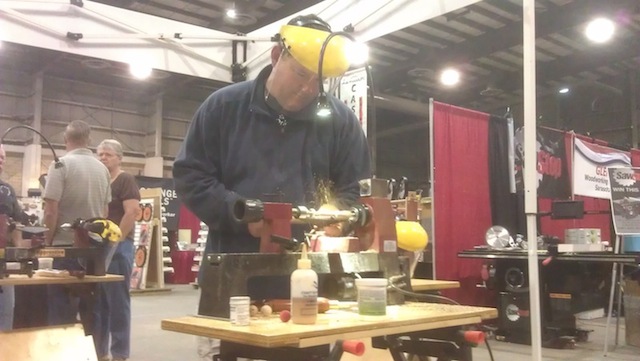
The Woodworking Show tours the country each year, Cris-crossing the states to bring high quality woodworking education and showcase some fine woodworking wares to craftsmen and women. This weekend, the show wraps up its season here in Tampa.
If you are in the Tampa Bay area and want to swing by, the event is being held at the Florida State Fairgrounds. And, I plan on being there on Saturday, running around, doing interviews and getting the entire Woodworking Show experience.
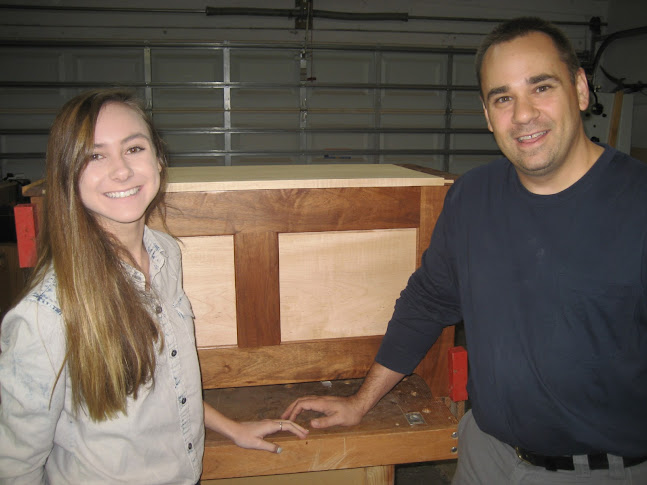
OK, I will admit, I am a sucker for my nieces. As they have been turning 16 years old, I have been building hope chests for them. So far, two down, and two to go. (Plus, a couple of friends of ours asked if they could have one for their daughter… who am I to turn down an offer like that?)
Lauren, her hope chest, and a relieved woodworker..
That has been pretty cool so far, but Rhonda has been asking me, “What about the nephews?” I mean, how could I leave them out of the action?
But, what do you build for young fellas? I mean, they can’t really use a hope chest… And something like a keepsake box isn’t really something I think they would like. Plus, I have more nephews (7) than nieces (4)… and three of them are already way past their 16th birthdays!
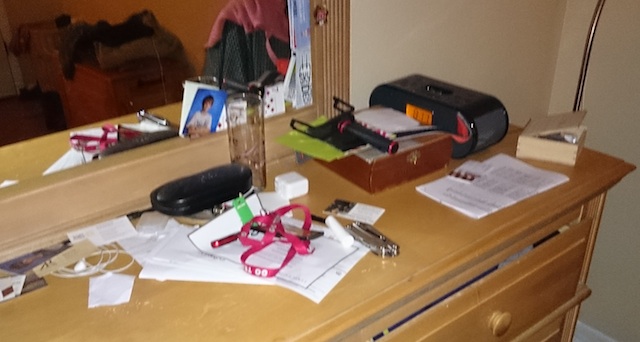
Inspiration came to me one night while looking at my messy side of the dresser top in my bedroom…
As with most males, I carry quite a bit of stuff on me in my pants pockets. A wallet. Keys. A multi-tool, My work ID. Pocket change. There are also papers on that dirty sucker, so I will need to clean those items up. But, how can I get control of the sprawl? I mean, there has to be a solution…
Wait a minute….
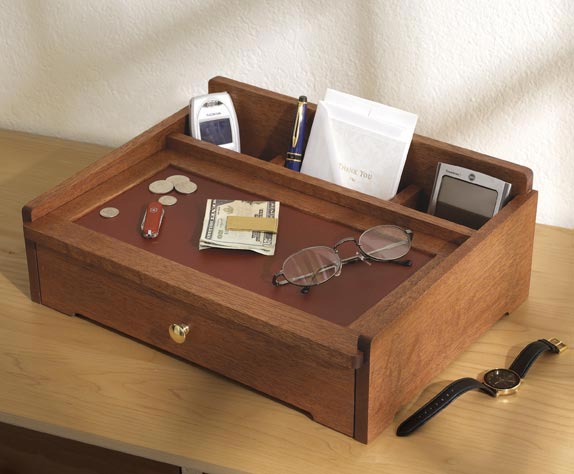
What about a dresser top valet? You know those things… they are a catch-all for all of the crap I carry on me during the day.
And, you know what else? Why not a valet that also has a place for me to stash my smart phone and connect it to a power supply to charge it? That way, I can keep the whole kit and caboodle in one location, and give it a glance over before I hit the hay for the night.
Fortunately, I’m not the first person to think of an idea this crazy. There are TONS of dresser top valets out there… with many of them made out of pleather-covered cardboard or some el-cheapo laminate that just won’t work. Others are highly-lacqured, overcomplicated behemoths that just won’t work.
Even back in 2005 (Check out the awesome looking cell phone in that back area!), the plan designers thought about including a corralled in area for electronics, and an area on top for loose change, keys and the like.
The plan also includes a drawer under the top part for stuff you might not use all that much – maybe a dressier watch or something else.
This looks pretty darned good for my nephews. There are some things I might change. For instance, the top calls for a padded vinyl panel, but I’m afraid that might look a little cheap. So, I might go for a leather insert, or maybe a rich green felt.
Also I have to pick the right kind of wood for this. Masculine, but still striking. Maybe walnut or cherry.. not sure yet. Fortunately, the plans look fairly easy to execute.
I think I may go with one for myself first, just to make all of the mistakes on one that won’t see the light of day and perfect my technique once I start pumping them out.
So, I’m done with the front entertainment center. And, my bench is clear, with no project on it.
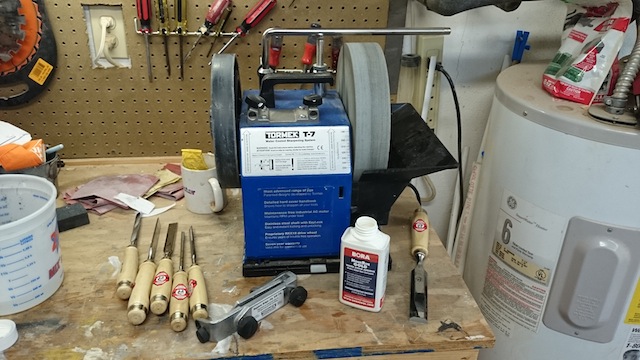
Making it the perfect time to tend to some important shop maintenance. One of those tasks is to tend to a little sharpening. My bench chisels have been taking a lot of abuse lately, and while they have worked well, it’s time for me to show them a little bit of love.
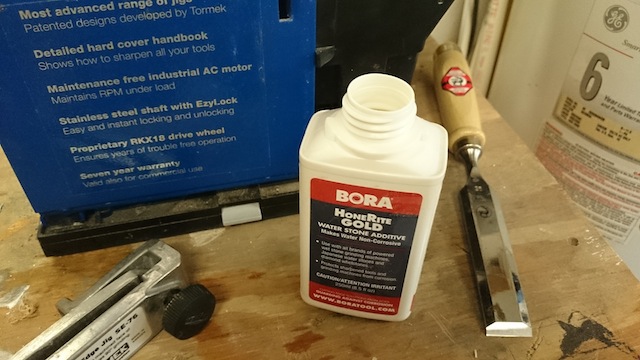
First step was to break out the Tormek to put a new edge on those suckers. I took the time to fill the water bath with water and a capful of Bora’s HoneRight Gold, which helps prevent rust from forming on the tool and the sharpener. While it may not be absolutely necessary, I need every advantage I can get in my humid shop.
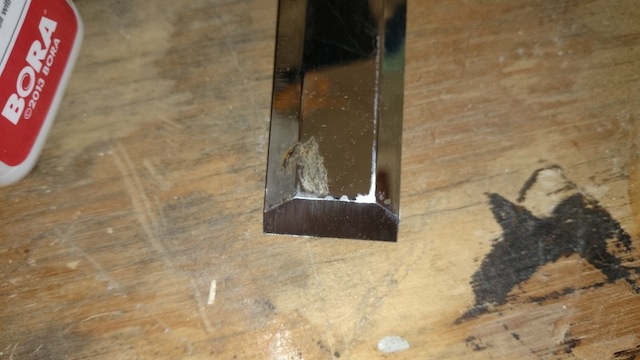
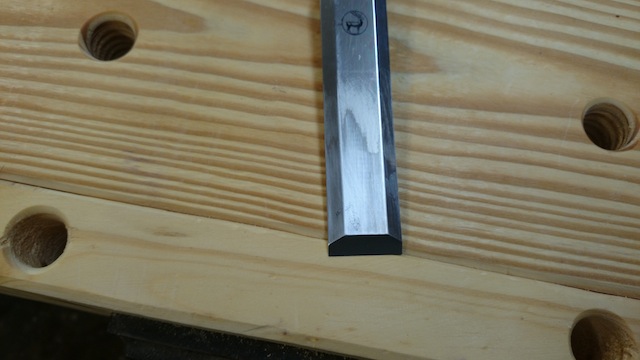
After jigging up the smaller chisels and doing them in ascending size order, I got to my one inch chisel and noticed this crap… What?
Apparently, I had left a glob of glue on the edge of my chisel, and it created a rust spot on the top. Dangit.
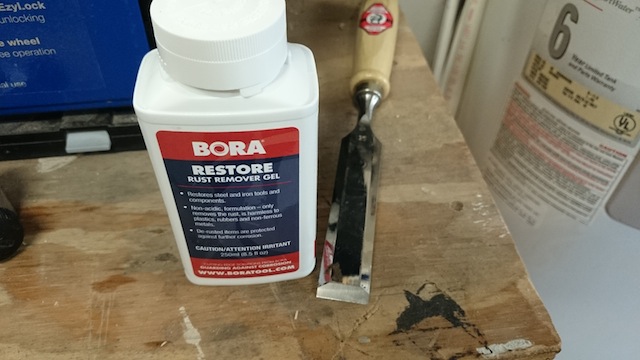
Fortunately, my Hirsch chisels are made of pretty tough stuff, and I was able to tackle the rust on the blade.
I put a little dab of the rust restorer on the stain and rubbed it gently with some 600 grit wet/dry paper. I wasn’t looking to impart a satin sheen on the chisel – just use enough abrasive to get the glue, rust and crud off of the tool.
Just a little bit of elbow grease was required, and the results were very nice.
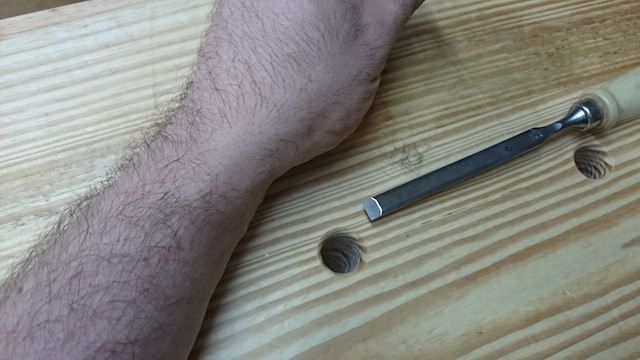
After each of the blades got a good sharpening and honing, I wanted to test just how sharp each of the edges was. After all, if I wasn’t getting a sharp edge, I was just wasting my time. Being of Italian decent, I am not lacking in a way to test the sharp edge…
I wonder how long it will take for that arm hair to grow back?
Satisfied with the edge, I put the chisels back into my tool chest, and I started planning for my next build… what will it be? I’m not even sure!
Today’s quick poll idea came from my friend Chris Wong, who is looking to build a new workbench of his own…
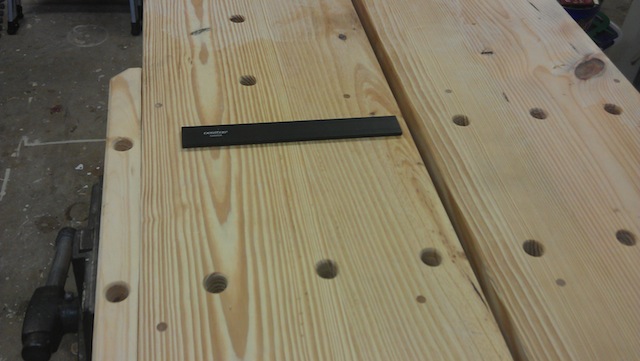
Dog holes in my new bench
Workbenches are awesome. In addition to providing a solid, flat work surface at a comfortable height, they can also become more versatile when you add bench dogs, planing stops and hold downs. And, many of those devices require a hole to be drilled or chiseled into the workbench side or apron to make those happen.
So, today’s question… How many dog holes do you have in your workbench? None? A ton?
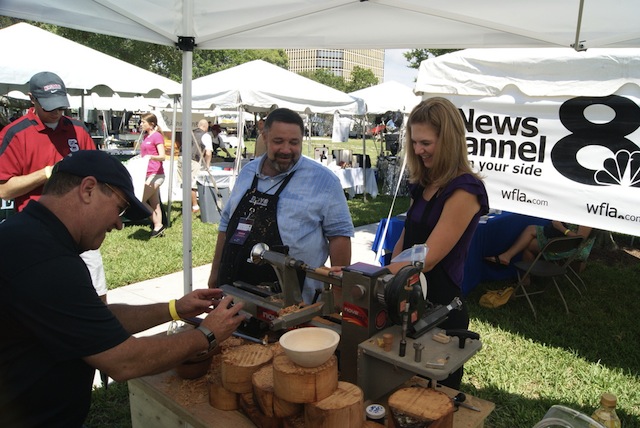
Would you like to learn how to turn a beautiful wooden bowl, but don’t have access to a lathe or the skills to do so? Would you also like to help feed some underprivileged people while you learn?
The Empty Bowls project in Florida is the local chapter of an international effort for craftspeople to build decorative bowls, which are then auctioned off. The proceeds are donated to local food pantries for the purpose of keeping the shelves stocked.
The Florida chapter holds bi-annual fundraising events at a local restaurant where participants turn bowls in the parking lot, and then enjoy a simple meal of soup and bread. This reminds participants about why they are taking part in this worthwhile effort.
OK, let me think here for a minute… I bought the plywood to build this thing on a rainy, slightly exhausted New Years Day at the local home improvement center. And, last night, I finished up the last details on the new front entertainment center. So, I have been moving slowly, haven’t I?
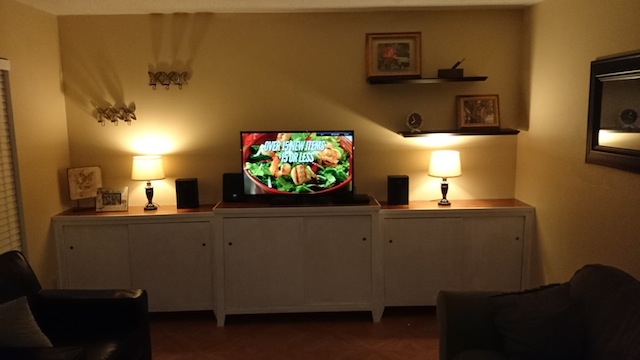
Well, anyway, here are the results. I’m pretty happy… It’s a very atmospheric shot, no?
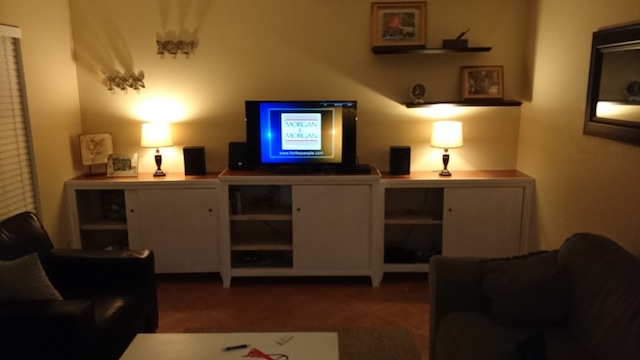
As you have seen in the previous posts, This piece was build from three separate cabinets enclosed by plywood sliding doors. Here’s the piece with the doors open.
The sliding doors are just the best. They open wide, and don’t take up a lot of room in front of the piece, which means we can maximize the area in our living room. The new TV looks great up on top of the unit, and I have even stashed the stereo and Blu-Ray player on the top of the unit, so the doors won’t ever need to be open to use the equipment.
Underneath, the piece can store a ton of DVDs, board games, our older laptops that we still sometimes pull out, my wife’s watercolor supplies… and there is still plenty of room left over.
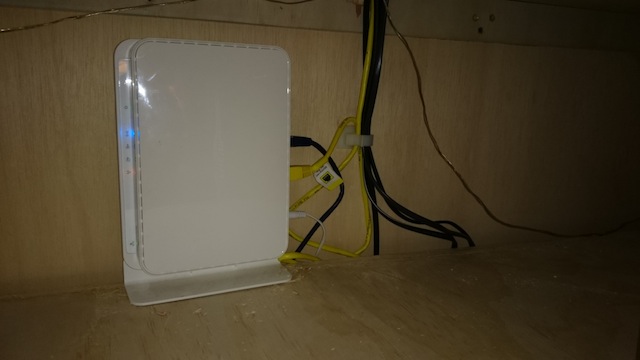
I also took the opportunity to go into the electrical department and grab some wire ties and cable clips to help manage the inevitable spaghetti farm that grows wherever electronics dwell.
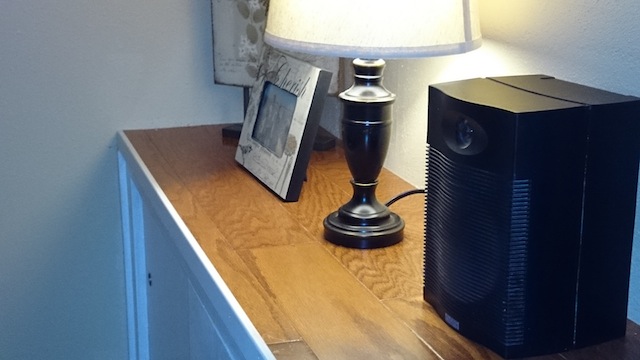
The top worked out pretty well with the flooring attached to the piece. Not sure I would ever do that again, but I can tell you it came out looking pretty darned good.
With everything pretty much in its place, I can FINALLY cross that project off my to-do list.
So, this past weekend, I told myself, “Tom, this weekend, you have GOT to finish that front entertainment center.” Not that there is much left to do. I just had to put a top on the three separate units, reattach all the wires and I can finally put a fork in this project.
So, I went to my local hardwood supplier and found out that – wow – they are no longer at the location they had been at since they opened! What the heck was I going to do?
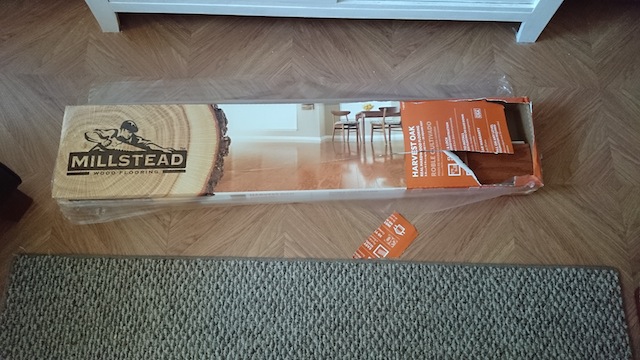
One thing I was NOT about to do was go to the local home improvement center and drop the equivalent of $6 a board foot for red oak. No way, no how. But, I did go to the home improvement center and I did pick up something I had considered for the top of this unit for a while…
A carton of prefinished engineered hardwood floor. Yeah, it was an interesting choice, but I knew that it would be available in oak in a shade that would be close to the laminate floor, and it would be prefinished with a very durable surface, eliminating the need to put on a finish after the fact.
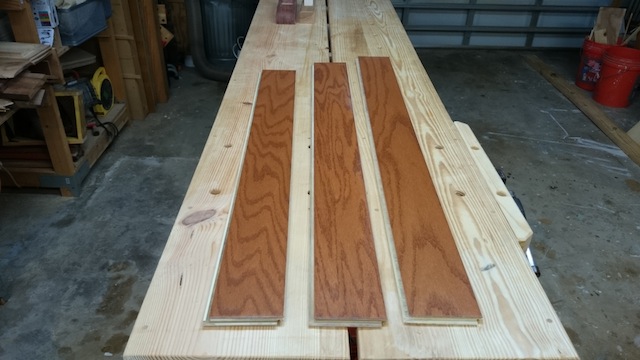
I unpacked the box and discovered that – much to my happiness – the boards were individual pieces of random lengths. That wasn’t going to give me that laminate plank look. I spread them out on my bench, and knew I was going to need all of the 20 square feet that came in the case.
With the planks having all tongue and groove joinery, they snapped together easily. I assembled each row, glued them down to the tops of the cabinets and then tacked them through the tongues to hold them in place while the glue cured. Next row, same process. Lather, rinse, repeat.
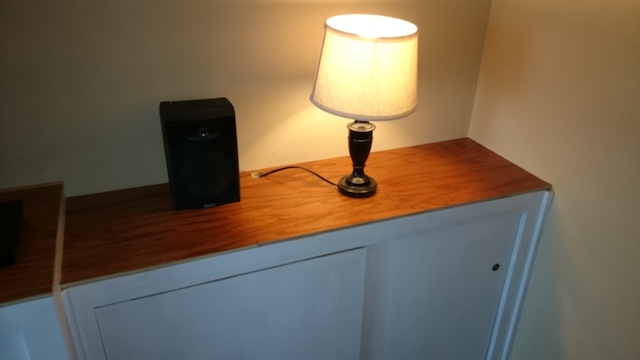
Before long, I had the three cabinet tops done. Now, since the edges of the flooring are pretty much the edges of plywood, I know I have to put some edging on to the cabinets to hide the look. But, before I did that, I know I had to put the lamps, speakers, stereo, TV and other entertainment components back into place so the family could enjoy them. I will probably handle the trim work over the next few nights and eventually call this one done.
In the meantime, there was a fairly small stack of scraps on the workbench. I had indeed needed every single plank in that case, and I just knew that I had to be VERY careful as I came to the end of the project, just to ensure I didn’t have to buy a whole new case for just a few pieces.
I’m not sure I will use flooring again on any of my pieces, but this certainly was a interesting experience.