All posts by Tom

I'm the guy who writes the blog...

You got your color in my finish!

Putting a finish on a project is one of those processes people have written books about. Yes, those books are worth their weight in gold. Adding color to – or changing the color of – your project is also a topic that throws a wrench into the works.

Wait a second… what if you could add color to the finish … wouldn’t that at least cut your problems in half?

Reeses... mmmmm

Or, could it cause an issue, kind of like when someone combined chocolate and peanut butter? Hmmm, or, I mean mmmm…..

Polyshades

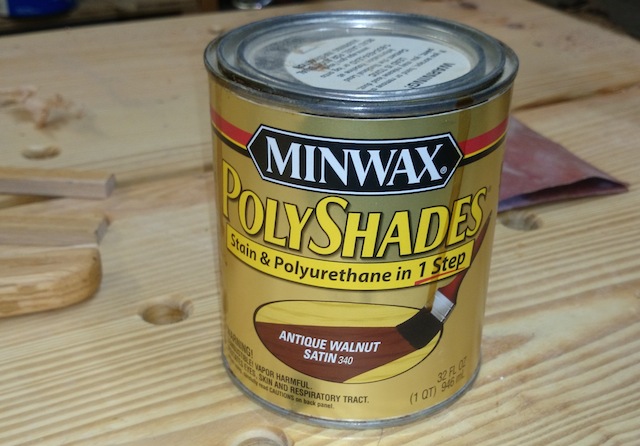
Surprisingly, there are already products out there that do this. My first experience with this type of product is made by Minwax – Polyshades. This is basically polyurethane mixed with an oil-based stain. I read the label recommendations very closely, but ended up with a finish that ended up with some pigmented brush streaks.

The instructions on the can state very clearly that you are not supposed to thin the finish at all, but I mixed some thinner into the finish to the point where I could apply it with a rag, and got a better result.

Ingredients for your own home brew
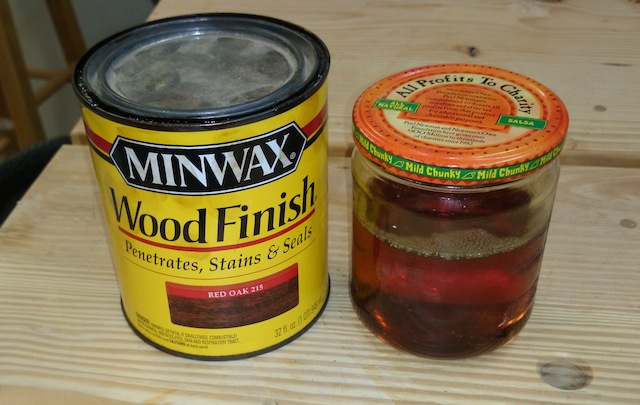
Of course, you can accomplish something similar by mixing some stain into a clear finish you use. In the jar, I have my homebrew finish of boiled linseed oil, thinner and varnish, and I have mixed the two together and finished projects in the past. Of course, you want to match the solvent in the stain or dye and the finish…

My dining room table

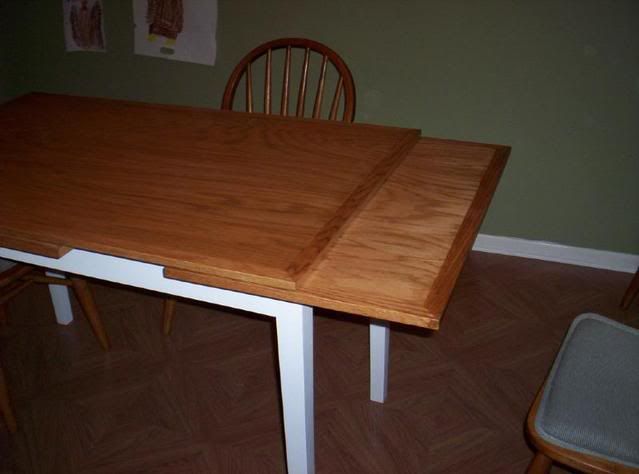
For instance, the top of my dining room table was primarily done with a clear finish. The first coats looked good, but after a while, I realized I couldn’t get the tone right. So, with a splash of some red oak stain into the finish, I put on the next coat and I was a lot more happy with the results.

Watco colored Danish oil

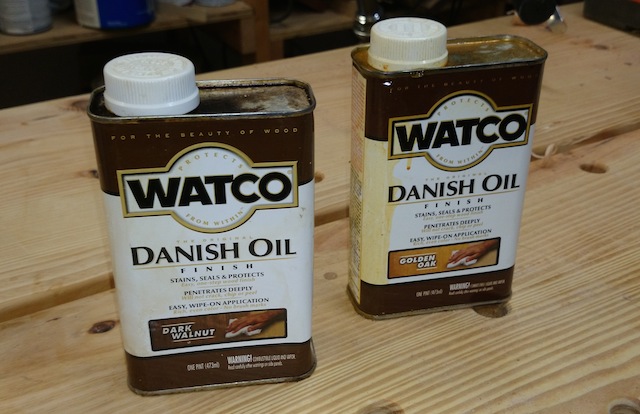
Another color and finish combo I have used is made by Watco. It’s sold as Danish oil, and it comes in the standard clear color. But, it also comes in blends that add color to the wood you are finishing. I am using the golden oak mix right now on the surprise project I am building, and it’s matching the color of the wood in the office I am trying to mimic. I have also used the dark walnut color on oak in the past to simulate an arts and crafts look, and it comes out looking good.

It really is a matter of simply wiping the finish onto the wood, letting it sit for a while and then wiping it off. I have yet to have it give me streaking when I apply it, and the surface is that same soft, touchable type of finish that I get from the clear version.

What they look like

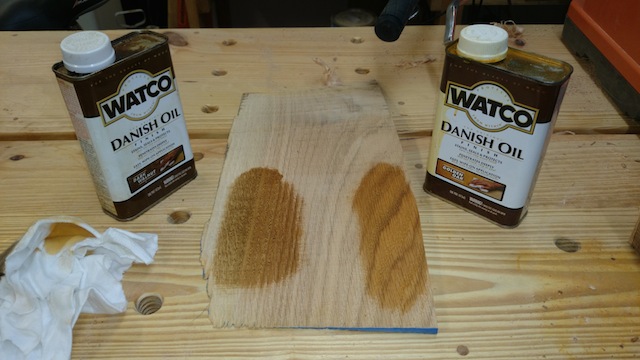
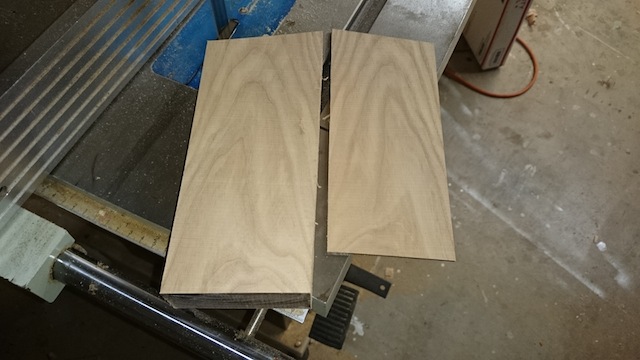
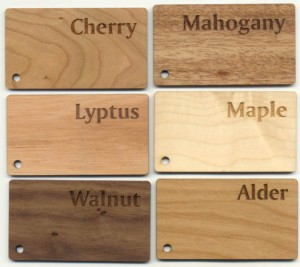
As you can see from these samples… that’s some pretty good looking stuff.

The weekly plan

About.com’s Portable Miter Saw Stand

Powered miter saws are handy tools to have in the shop. From cutting lumber down to size to executing compound angles for moldings, they can do quite a bit of work.

But, only if they are easy to get to and have a solid station on which to work.

The Miter Saw stand

That’s why today’s plan is so great. Made from common construction lumber, the stand is easy to build and can be broken down to be moved to where you are working. If you own a powered miter saw, a project like this is a must.

Link of the week

William Ng School of Fine Woodworking

William Ng comes from an engineering background and uses a similar approach in his woodworking. Precision, accuracy and efficiency are emphasized in his teaching.

Someone who starts a bio about himself like that had better be able to back it up, and William Ng does so in spades.

Happy students at the William Ng school

From his school in Anaheim, California, William instructs students on building gorgeous pieces in his well-appointed shop. When William isn’t teaching the students, he brings in big-name instructors like Marc Spagnuolo, Chris Schwarz and Darrell Peart to run the classes.

William’s site also features some great links not normally found on a woodworking school site – including a comprehensive link to travel information on how to get to his school.

Get my drift?

As I have said before, band saws kind of have a mind of their own. And, when the blade you are using starts to get dull, it’s time to shell out a little bit of dough and pick up a new one.

Since every blade is a little bit different, setting up your fence for drift is something that you have to do when changing the blade. It takes a little time, but it’s not an impossible task. It uses a few materials and takes a little bit of time. This is the process I followed on my Laguna.

A straight line

The first thing I had to do was to mark a straight line down the face of a board parallel with one of the edges. I did this on a piece of southern yellow pine using a combination square and a pencil. This is going to be your reference line to work from.

Rip that board!

Push your fence away from the board, and freehand that board through, following the line carefully. Because the bandsaw pulls down toward the table, there’s very little chance of a  kickback, unlike at a table saw. Once you get about halfway down the edge, stop the saw, and do not move the board. That’s important, because that’s the angle your blade wants to drift, or cut off of square. I have seen some bandsaw pros – like Michael Fortune – advise that drift can be eliminated. And, when Michael wants to come to my shop and show me how that process works, I’ll make him dinner and give him plenty of beers. Until then…

Now, loosen your bandsaw fence’s contact at the point where it rides on the front rail. The Laguna uses an allen wrench for this purpose, but you should check your manufacturer’s guidelines to find out how to do that on your saw.

The pine cut

Once I got that locked in, I decided to test on the board I was working on. The results were pretty darned spectacular. But, that’s pine. What about something harder, like this block of Ash I had sitting around?

Nice ash!

Wow. That’s a clean cut that will require very little sanding. Hmm, I have a few boards that I need to cut up for some projects… with the new blade on the saw, I think it will be easy to tackle.

What an open house

This past Friday, I took off work a little early to do something really enjoyable.

No, I didn’t take off to take in a mid-day Rays game, although a day at the ballpark would have been fun. And, no, I didn’t take off early to hit the beach, although the weather was absolutely gorgeous.

The Infinity booth

No, I took off early to head up to the Infinity Cutting Tools open house. That’s right, they opened the doors and invited everyone to come on over to check out the deals and get their hands on the tools.

David Venditto offered a great spread of food, reps from the companies Infinity carries were on hand, and even Andy Gibson, a big-time hand tool enthusiast, was showing off some of his decidedly less than modern tools.

Andy showing off his tools

Oh, Andy’s tool chest is certainly something to drool over.

Andy's tool chest

The real fun happened when Ben Farrell of Nova Teknatool brought out his lathe and started doing some demonstrations. Boy, was he a busy guy, helping people come out to turn their first bowls.

Ben the Bowl Man

Ben is a skilled turner, and he was getting total noobs out to do some turning. For instance, Jessica Venditto, David’s sister, did her first bowl, and she wasn’t ashamed to show it off…

Jessica shows off the bowl

Now, silly me, I didn’t get any shots of myself doing the deed, but I did end up turning a bowl out of a very Florida wood – grapefruit. Yes, citrus trees are pretty cool to work with, and this little bowl is a honey.

The grapefruit bowl

That actually ended up being the second bowl I turned. The first one? Well, it looks like this…

Crash boom bam

I guess that’s why folks are so adamant that you wear a face shield when you turn…

All in all, it was a pretty cool day, and it was fun to be a part of it.

The weekly plan

Fine Woodworking’s Shaker Rocker

Darn those Shakers!  They were a community of such industrious, clever and creative folks that their furniture style lives on longer than they did.

I guess maybe that strict no-kids policy must have been their downfall.

Now that's a rocker!

Anyway, today’s weekly plan comes from our friends at Fine Woodworking. Ernie Conover drew up some sweet, easy-to-follow plans for how to build a tape back and seat Shaker rocker. In addition to the plan, there are also online lessons for steam bending, spindle turning and tape weaving.

If you are looking to build a comfortable place to rest your bones after a hard day at the shop, this may be what the doctor ordered.

Link of the week

Wikipedia’s entry on laser engraving

Sure, there are lots of ways you can sign a project. Maybe you want to study pyrography or get your hands on a brand.

But, if you really want to get fancy for a special piece, why not consider laser etching on your wooden project?

What etching looks like on different species

This Wikipedia entry gives the basics on how laser etching works, what material can be etched and the different technologies that are used to do the etching.

Most trophy shops offer this type of service, so be sure to call locally to find out where it can be done.