All posts by Tom

I'm the guy who writes the blog...

Link of the week

The Hawaii Forest Institute’s Reforestation Projects Page

The island state of Hawaii is famous for many things. Beautiful beaches. Amazing volcanoes. Radical surfing. Awesome food.

A gorgeous koa desk built by Mats Fogelvik

And, Koa wood. The tree that begets this gorgeous wood was harvested extensively for the past two centuries, and has been cleared to make room for ranch and farmland. Since the tree only grows in Hawaii, the reduction of half of it’s natural habitat put tremendous stress on the species and the hardwood harvesting.

Groups such as the Hawaii Forest Institute have worked extensively with private and public entities to plant hundreds of thousands of acres of land with young Koa trees, helping to restore the number of these valuable trees and to provide breathtaking wood for future furniture makers.

Species Spotlight: Red Zebrawood

In my day job as a public information officer, I work closely with our local media outlets – TV, radio and print. And, over the years, I have heard a lot of jokes about our friends who work in the media and the media industry in general.

But, my all time favorite is one that I heard back in second grade:  What’s black and white and read all over? A newspaper!  Of course, when you see the joke in print, it loses some of its punch, with read and red being homophones and all…

Black and white and read all over

Recently, though, my friend Eric Poirier at Bell Forest Products told me about a wood that’s black and red all over… and it’s a relative newcomer to the lumber scene.

Known as red zebrawood or ebiara, it’s a handsome wood that comes from western Africa where the trees grow up to 90 feet tall, with a fairly narrow trunk. These trees can often be found shading coffee plantations. Think about that before you suck back your next cuppa joe…

Red Zebrawood

The wood has a coarse texture, and, for the most part, has a straight grain habit. There are areas of the board, however, where that grain is interlocked, so some care should be exercised when hand planing.

A turned box by Al Fox

As with zebrawood, it features bold, dark striping on a lighter background. As you might guess, the lighter background wood is more red tinged than that of zebrawood, leading to its naming.

Unlike many other tropical woods from the area, red zebrawood is not known to cause allergic reaction, and isn’t oily, meaning that standard gluing and finishing procedures can be used.

A beautiful box made by John Collicott

What can red zebrawood be used for? Just about anything, really. Cabinetry, marquetry, veneers, furniture, instruments … the stuff is even used to build boats and to make railroad sleepers back in Africa. It turns beautifully and takes a beautiful polish, making for some stunning pieces.

Sure, red zebrawood may be relatively new to the woodworking community, but one look at it, and you’ll want to share the news about it as well!

A la chitarra

I love to do some home cooking. And, as with the woodworking thing, I like to get my two sons involved in the process. It’s such a great thing to watch the boys get into the creation of their meal from beginning to end.

making pasta

For instance, yesterday we made some homemade pasta. I showed them how to build ring of flour on the table, and to crack the eggs and drizzle the olive oil into the middle before they mix it with their fingers, creating the dough. We kneaded it, and then used our pasta maker to roll out sheets of pasta before slicing them into ribbons. Sure, it was hard work, but I told the guys that it could have been tougher – we could have made the pasta the real old fashioned way.

Now, I have waxed poetically in the past about the combination of wood and food. And, I know that there are plenty of wooden gadgets you can build and use in the kitchen. Cutting boards, tortilla presses, knife handles and pepper grinders come to mind, and I have seen dozens of awesome examples proudly built in woodworking shops. But, how many of you know about the pasta guitar?

la chitarra

Yes, you heard me right – a kitchen guitar, on which you can make spaghetti alla chitarra. Basically, this kitchen implement is a wooden frame across which a series of thin wires is tightly stretched, and it makes some of the most unique pasta you have ever tasted.

How is it used? Flash back to the Abruzzo region of Italy on the eastern Adriatic Sea coast in the mid 1800s. In the days before automated pasta machines, the housewives of the region would make a standard pasta with eggs, durum and soft wheat flour and a pinch of salt. After kneading the dough, she would roll out the pasta with a rolling pin into thin sheets that would fit on top of her pasta guitar.

Rolling the pasta

After moving the dough on top of the wires, she would then use her rolling pin to apply pressure to the sheet. The wires would then slice the sheet into individual strands. Since the individual strands might not fully release from the chitarra, the housewife would – and I love this – play an arpeggio by strumming her fingers across the wires of the chitarra to ensure that the individual strands would fall free. 

A quick dusting with flour to keep the strands separated, and they would be ready for a three to four minute dip in salted boiling water.

spaghetti-alla-chitarra

The pasta itself is unlike a round extruded pasta. In fact, it is square in cross section, and quite porous, which aids in holding on to sauces.

The process is pretty cool to watch in action. Here’s a video showing exactly how it works:

While my woodworking plans don’t have me making a chitarra any time soon, I wanted to make sure that 1) you were aware of this totally awesome wooden kitchen tool, and 2) I cataloged it, just in case I wanted to make one in the future!

The weekly plan

Extreme How-To’s Office Desk

Now that we are in the middle of August, students across the country are starting to dread early morning wake ups, heavy backpacks and homework. Yes, school is about to start (or may have already started where you live), and thoughts are turning to school supplies, bus routes and brown bag lunches.

Extreme How-To's desk

Giving the students in your home an organized place to do their homework can certainly help them do their best. And, this plan from Extreme How-To is not only easy to build, but it’s height adjustable as your student grows and pretty easy to build from commonly-available materials.

With a desk like this, the only excuse your student will have for not doing well involves a hungry family dog…

Link of the week

DIY Driftwood

So, your summer plans take you to the seashore. That’s nice. But, while you have your toes in the sand, you don’t have to stop thinking about woodworking. Why not? Well, there’s always driftwood!

Driftwood Island

Today’s link is a great resource about all things driftwood – how to clean and prepare it for woodworking, how to work with it and how to finish it. There are some amazing craft project ideas and – if your plans don’t take you to the seashore, there are even some finishing tricks you can use to get that driftwood look.

My Mortise Pal

I have cut mortises a few different ways over the years, but I think I may have found my new favorite way. You see, about a year ago, I got a gift card and decided I would purchase a Mortise Pal jig. I had read a lot of good reviews about it, and short of shelling out the cash for a Festool Domino, it seemed like it would be a fast and repeatable way of making mortises.

The Mortise Pal kit

The kit comes with the jig itself, an end stop, a bushing for the router base and several replaceable plastic bases that are gauged to allow you to cut a variety of mortise sizes.

Draw your line

Using the jig is pretty simple – first you draw a line about where you want the mortise to fall. You can center that line, or you can vary the setback from either face… the jig is adjustable.

Jig clamping

Once you get the line drawn, you clamp the jig to the board you want to cut the mortise in. As you can see with this piece of inch and a half thick fir, there is plenty of room for a considerably wider board in this setup.

Line up the jig

Using the line where you want the mortise centered, you can line up the center mark on the guide block. As you can see, it’s a pretty simple adjustment to make, and you can lock down the guide block with a cam lever. Pretty easy stuff.

BushingThe system works well because it is geared around a guide bushing for a router base that ensures the router can’t move the wrong direction. It fits a standard router baseplate, and works best when used with a plunge router.

The jig becomes the baseUsing an upcut spiral bit, simply set the router bushing into the plastic guide and get ready to cut. As you can see, the jig itself provides a stable platform for the router to ride on, preventing the router from tipping over and ruining the cut. Pretty clever.

The mortise

As with all router bit cut mortises, you will end up with rounded ends. That’s cool. You can either round over the edges of your tenon, cut your tenon a little shorter than the mortise or – if you are feeling froggy – you can square up the ends with a chisel.

Stock

Or, you can go even a totally different route. The company also sells loose tenon stock, which allows you to cut matching mortises into the different components and join them that way. You can even cut your own loose tenon stock and keep it on hand if you want to do that. This way, one machine setup can answer your joinery needs.

Now, all I need is a project that requires some mortise and tenon joinery…

Accuracy vs. Specificity

I am trying to make my son Dominic a film geek.

The effort, so far, is going well. We’ve seen movies like Jaws and Close Encounters of the Third Kind, and marveled at the cinematography. We’ve watched movies like Paths of Glory and Lawrence of Arabia and were astounded by the casting. Next up, I want to show him the classic Cold War era knee slapper Dr. Strangelove or: How I Learned to Stop Worrying and Love the Bomb.

Slim Pickens rides the bomb

Strangelove is one of those gems of a movie that comes along once in a lifetime. The dark humor, the outstanding acting of Peter Sellers and the off-the-wall humor of Slim Pickens – from going through the contents of the survival kit to his climactic riding of the atomic bomb to its target of Laputa, in the Soviet Union.

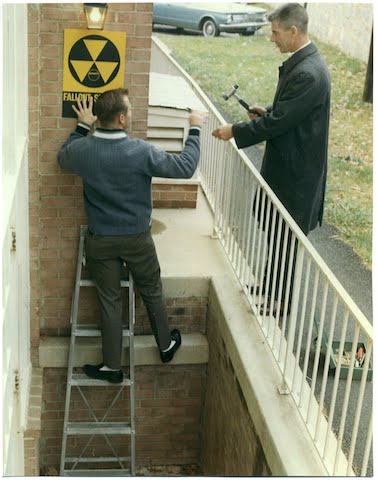
When I think of Strangelove, I always remember a class I took back in college. It was a class, in fact, that was partially responsible for me getting into the disaster response field. It was called The Sociology of Nuclear War. Sure, it sounds strange now, but the class proved to be a hard-hitting study of society’s perception of civil defense, their trust of government and military authorities and the portrayal of our communist adversaries on the other side of the Iron Curtain.

Fallout Shelters

While I can bore you to tears with all I learned in the class, as a woodworker, I keep coming back to an important distinction that my professor made in class when we were speaking about the dangerous weapons: Accuracy vs. Specificity.

I learned that in the world of nuclear weapons, that accuracy was a measure of how many times a warhead would land within a certain error diameter – say 50% of the warheads would land within a 2 mile radius of a target. Specificity, on the other hand, was a measure of how ‘targetable’ a device was. Could it hit a hardened missile silo, or would it be better used on a large, unarmored target?

Rulers can be accurate

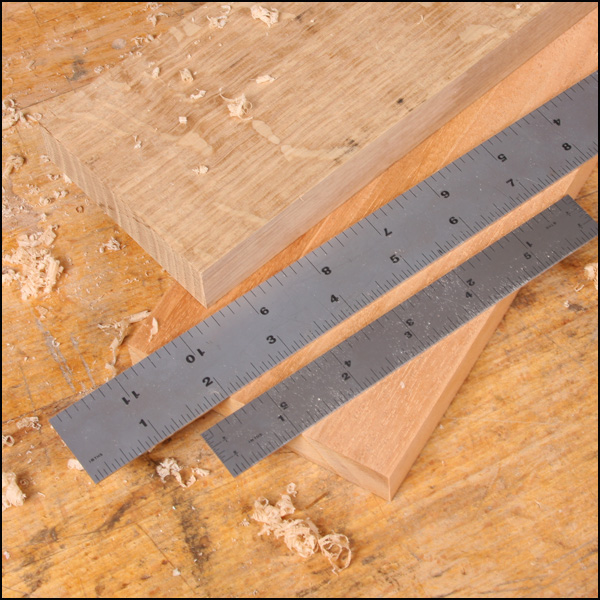
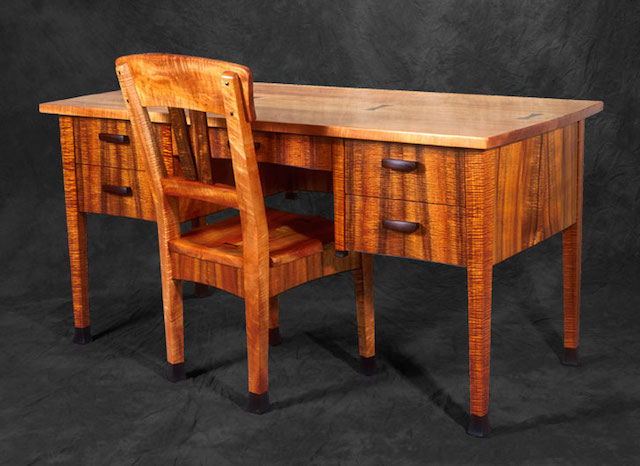
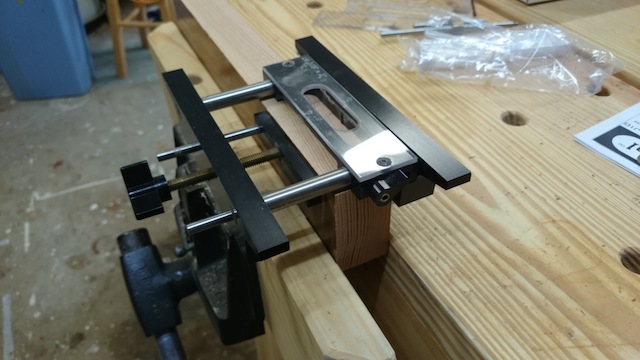
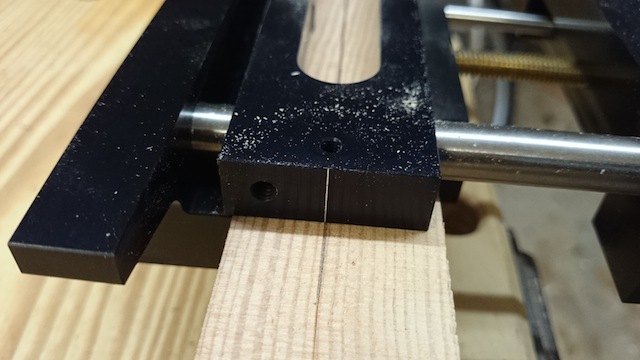
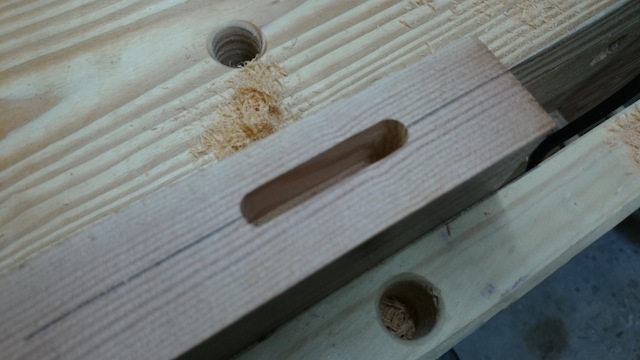
When it comes to woodworking and we are building projects, a very similar concept comes into play. Accuracy is the ability to mill and cut pieces to exact measurements. Say you are building a project from a commercially available plan. If the drawer runners need to be exactly 1/4″ by 1/4″ by 6 5/8″ long, can you cut that piece accurately enough to recreate the project as it was built on the designer’s workbench? Remember, these dimensions are checked time and again to ensure they are accurate enough for you to build the piece in your shop as designed.

Story Stick

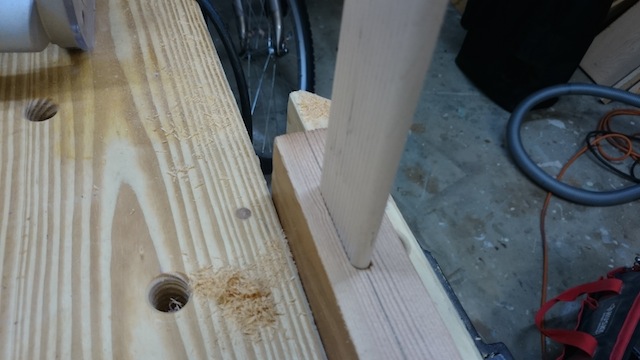
Specificity, however, in woodworking is also known by other names such as relative dimensioning. In other words, can you carefully dimension and cut a piece of wood to fit a specific part of a project you are building? This too is an important skill to have in your repertoire, because, in the real world, not everything is square, true and the exact size you need it to be. When it comes to specificity in woodworking, who cares if the piece is 7 23/64″ exactly? What you are really going for is a snug fit with no gap. This is the world where story sticks come into play.

Which is better? A ha!  That’s a trick question. The answer is they are both very important, and both skills need to be honed in order to ensure that you can build exactly what you want. Accuracy ensures that your project will end up the right size, and specificity ensures that each component fits accurately.