All posts by Tom

I'm the guy who writes the blog...

The weekly plan

Wood Magazine’s portable router table

Many of us have sweet router table setups in our shops that can do everything – joinery, edging, slice, dice, julienne….

But, what if you have to use your router in a table somewhere else? Or, what if you have no space for a permanent router setup? What then?

Wood Magazine's portable router table

Wood Magazine has the plan for you. Made from simple materials and designed to be used over a pair of sawhorses, this can easily be a secondary router table for your shop, a great portable one or maybe a primary one if you are space challenged.

Planing perils

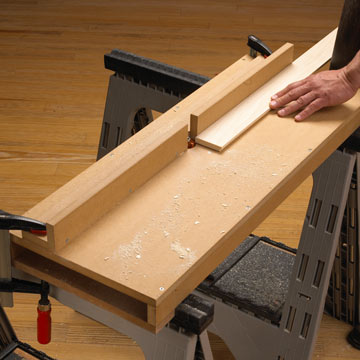
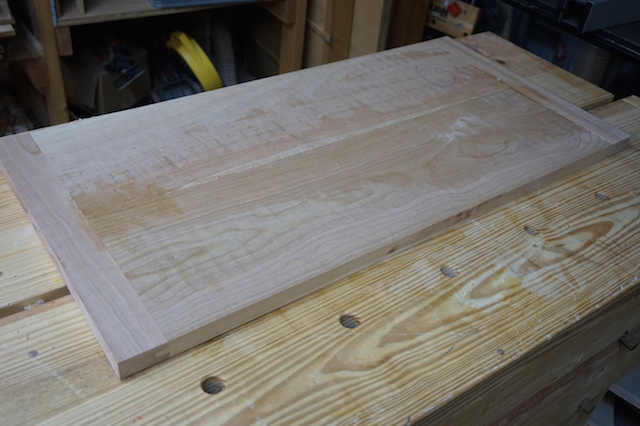
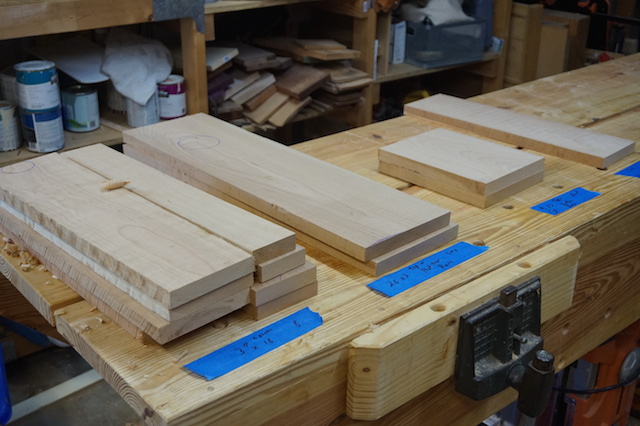
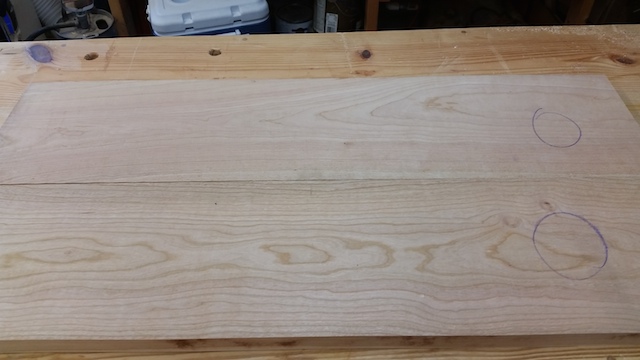
So, after I got the parts all milled and cut out for the chest frame, I decided I would turn my attention to the lid of the chest, just to get it a little closer to finished, There was a little unevenness, and I thought initially that I would give the belt sander a go to get things ironed out.

Belted

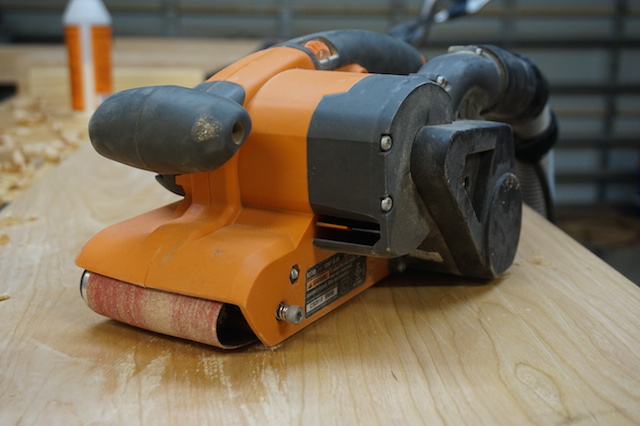
Of course, as luck would have it, I didn’t have a coarse enough belt to do any type of leveling, just a 120 grit which takes a little too much time to abrasively plane the wood down. Something like an 80 grit – FRESH out of the package – would have been a smarter pick.

Oh, well, there was a quieter, more traditional way to do the deed. Hand planes. If you speak with a hand plane enthusiast, they will tell you in glowing, nearly poetic terms how deftly and gently they can do the work of smoothing pieces out, leaving them ready for a final finish with barely a drop of sweat on your brow.

Get back Jack

Yeah, right. I did feel for the worst spots (one area was about 1/16″ high…), so I figured I would start out with my #5 jack plane. And, it did OK, shaving off the high areas and leaving a not too terrible surface. Knowing this was just the first step, I wasn’t going to sweat this at all.

So, I figured I would move toward my next step – my jointing plane. I figured, “Hey, I want the lid of this chest to be nice and dead flat. Why not run the plane over the lid and let the long sole get a good, flat surface on things.

The jointer's jumping

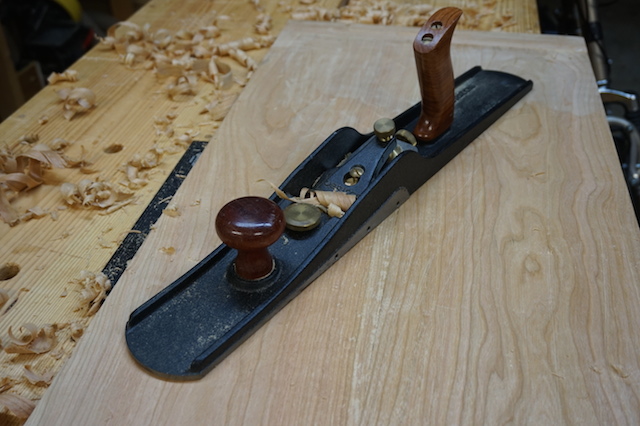
Well, gosh, that worked well – for a while. In the middle of the panel it cut like butter, I was making such awesome progress, just feeling like the unicorns were dancing on rainbows right there in my very shop.

Ain't that pretty?

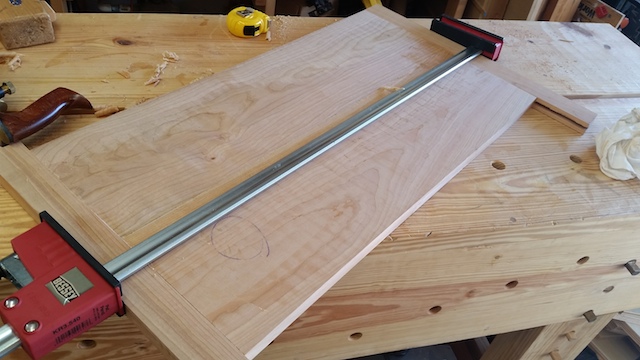
That’s when things went sideways. Or, maybe I should have reversed the grain direction. When I got to the breadboard edges, I pushed along the grain with the jointer plane. I’m pretty sure either I had too much iron exposed, the mouth too open or I was a complete hammerhead, and it just tore out like an S.O.B.

Replace your divots

Bummer.

Now, I have to decide what will be the best way to fix this problem. I’m thinking of perhaps just flipping the board direction, planing until the tear out is gone, then reduce the amount of iron exposed to try again.

Of course, a friend with a wide belt sander would be someone I use right about now…


Rough framing

So, this hope chest I am building is a frame and panel design. And, when it comes to building the frame, it’s important to make sure that everything is milled properly. After all, if you are using a cope and stick type of joinery system, everything has to be the same thickness so it all comes together nicely.

The lid

But, first, come on. Look at that lid!  It’s a thing of beauty! A little planing, a little sanding, and it will be something to look at.

Now, back to our milling operation. I had to identify the pieces I was going to need. The rails and stiles, where they were going to go, their dimensions… the works. So, I went to my wood pile, picked out a few nice looking pieces and cut them to rough length. I had to employ a sophisticated method of keeping track of which pieces ended up where.

Tape organizing

Yeah, amazing what you can do with a marker and some painter’s tape…

Once I had those pieces cut to size, I ensured that I had one flat face on each board. By breaking them down to smaller pieces, it was easier to remove any wind or twist in the pieces. After that, it was off to the thickness planer.

The planer

There were two reasons for this. First, I could get rid of some of the gnarly skip-planed look, making the surfaces a whole lot closer to finished. Secondly, and more importantly, was to ensure each of these pieces would be the same thickness, which would make joinery a TON easier when I got to the router table.

Planed boards

After planing and some straight-line ripping, my stack of boards is ready for the next step. Now, I have to find some time in the shop to take that next step!

The weekly plan

Popular Woodworking’s Weekend Pot Rack

If I wasn’t for woodworking, my favorite hobby would have to be cooking. And, just as in your workshop, having your tools in an easy-to-access, organized fashion helps ensure your cooking experience is a great one.

The potrack

This plan, designed and built by Popular Woodworking’s Megan Fitzpatrick, is an easy to build organizer that keeps those pots, pans and sauciers in a handy, easy to access location. The best part? You can build it on Saturday and be cooking with it on Sunday.

Bon appétit!

The busman always rides twice …

A day, that is.

Both to and from work on the PSTA 300X, a commuter bus that drops me off across the street from my new office in downtown Tampa.

Get on da bus

Sure, it has been an big adjustment. I mean, I have gone from having a 15-minute commute where I drove to an hour each way in the plush comfort of the bus. Fortunately for me, I have a few advantages riding the bus over driving myself downtown.

  • I don’t have to sit in traffic and grit my teeth
  • I don’t have to burn my gas
  • I don’t have to rent a parking spot near my office
  • And, I get to spend the time I would have been driving doing some reading.

Yes, the bus comes complete with WiFi, and my iPad allows me to do a little reading before I get to work. For instance, I can check in on social media, answer some e-mails and even draft a letter or two before I get to the office.

I also get to download and read the electronic editions of the woodworking magazines I subscribe to. Where before I had to set time aside to get to those magazines, now, I load them up on the iPad and I’m in woodworking heaven.

I also have a lot of time to peruse the products the woodworking stores have online to see what I need to acquire next to help out the shop. Sure, I don’t need many more tools, but it never hurts to think ahead and develop a wish list.

And, finally, I have some time to just sit and think. With my travel coffee mug in one hand, I can think about what I want to accomplish in the shop by the end of the day and what the next steps are in my latest woodworking project.

I just have to remember to look for my stop!

Take it from the top

I miss my maternal grandmother. As we get closer to Easter, that was her holiday. She cooked the holiday meal for us, and I can remember her sending me back to college with a huge brown paper grocery bag full of leftover ham sandwiches, dyed Easter eggs and – of course – lots of chocolate. I was still her little grandson, even in my late teens.

The Lawrence Welk Show

The one thing I couldn’t get into? Her watching the Lawrence Welk Show. I know it was her kind of music, and I know it was her kind of entertainment, but I usually ended up watching baseball with my grandfather.

As with any good band leader, I’m sure Mr. Welk would remind his musicians during rehearsals that they were going to take it from the top when practicing a new piece of music. After all, that’s where the start of the music would be – at the top of the sheet!

Cherry boards

With my latest project, I am taking it from the top as well, literally!  The latest piece is a hope chest for the third niece turning 16 in my family, and it’s time to get my toes tapping out in the shop. First, though, I had to go through a one or a two boards in the repertoire…

Matching boards

Ahh, these two boards seems to come together in a harmonious fashion. I guess it was time to help make these babies sing. But, first, it was going to take a little time to tune up the pieces to ensure the sound was going to be tight. So, I used my Bora straight edge clamps to set a fence to ride against the rip fence, and used my Grr-Ripper to push the stack through, to keep my hands safe.

Straight line ripping

After sweetening up the fit, It was a simple matter to glue up the two boards that were going to make the top. No pressure, right?

Panel glue up

Wanting everything to stay true, I decided on putting an edge on the board just to make sure thing stayed flat. I turned to a tongue and groove router bit set and got the router table all set up for this kind of work. It took very little time, but it was ready to go in short order.

Router Bit Setup

After grooving the breadboard ends and putting a tongue on the panel, I glued the middle four inches of the tongues on the panel and slid the ends into place, clamping them. Of course they were long, but that’s fine, I would trim them later.

Edges in place

Now, just a little sanding and this top will be just about ready for its debut. And, since I was taking it from the top, now I know the exact dimensions I need to build the rest of the chest to, and I am sure I used the nicest looking boards for the most visible part of the project.

That’s music to my ears!

The weekly plan

New Yankee Workshop’s Barrister Bookcase

So, light week at Tom’s Workbench. Yeah, I confess that changing jobs has cut into my blogging time, but I promise that while on my commute to downtown Tampa, I’ll be more attentive!

In the meantime, a huge part of what I have been moving has been books. Lots and lots of books. Reference books. Training manuals. Hurricane studies. The works. What I will eventually need is a bookcase to keep them in. One that – maybe – I could bring with me.

Barrister's Bookcase

That’s what this barrister’s bookcase can provide – a stackable, sealable, handsome place to keep all of my reference materials in case I have to move them again. What I like most about Norm’s plan is that it doesn’t use hardware for the flip up doors – just wooden solutions. Which is pretty darned cool!