Springtime, and thoughts – and much effort – now turns to outdoor maintenance. Lawn mowing. Edging. Planting. Gardening.
And, with all of that comes a whole slew of tools that have to be stored somewhere. You know that can’t happen where you do your woodworking, right?
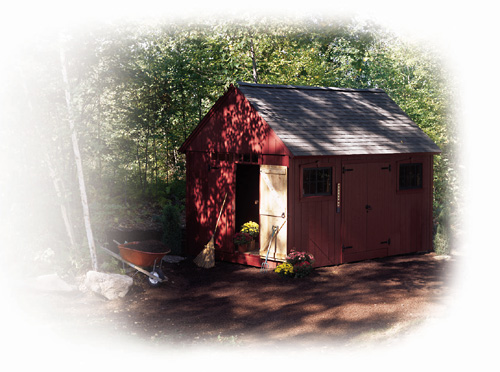
That’s what makes today’s plan so awesome! This baby is a spacious 10 foot by 16 foot shed with a tall roof and plenty of space for storing huge items like ride on lawnmowers. It will teach you the basics of roof and wall framing, and will be so handsome, you might just want to consider moving your shop out there!
So, remember when I was left with a divot after planing some cherry on the lid of my latest project?
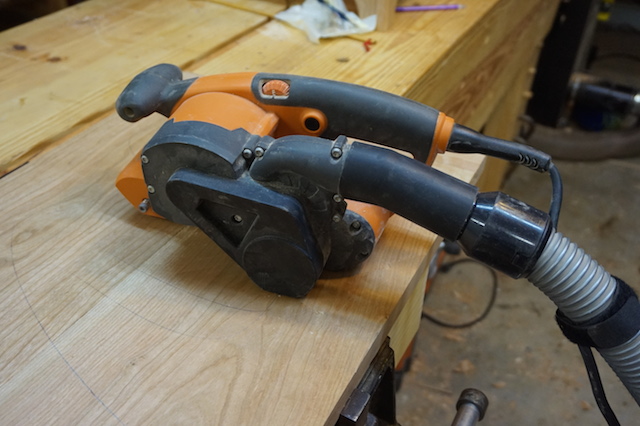
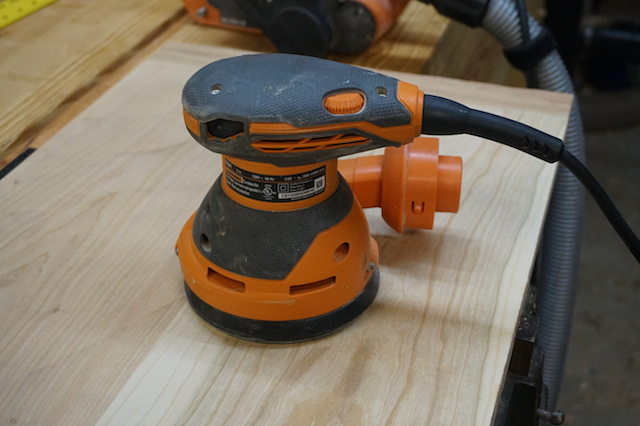
Yeah, I was hoping you’d forget, but I knew you wouldn’t. But, that’s cool! I’ve got this one nailed here. I went out and bought some new, fresh 80 grit belts for the sander and got ready to set to work.
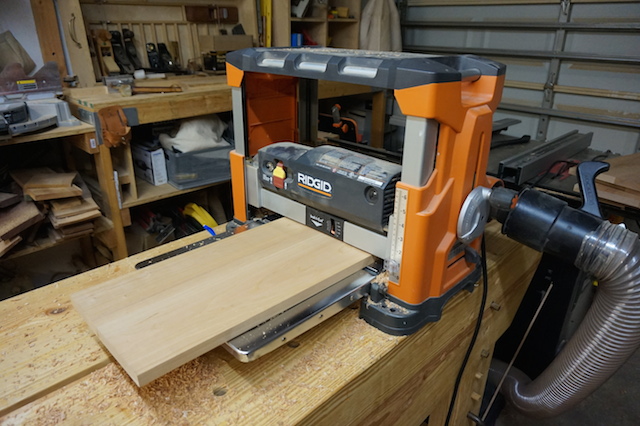
But, safety first! You will also notice that I’m wearing my full safety complement – which really needs to be dusted. But, hey, there’s no substitute for safety.
I also took the time to attach the dust collector hose directly to the sander. This way, all of the sanding dust was going to get picked up at the source instead of floating all around the shop.
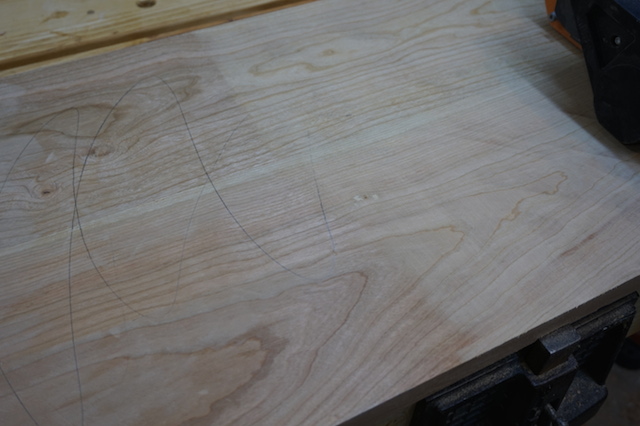
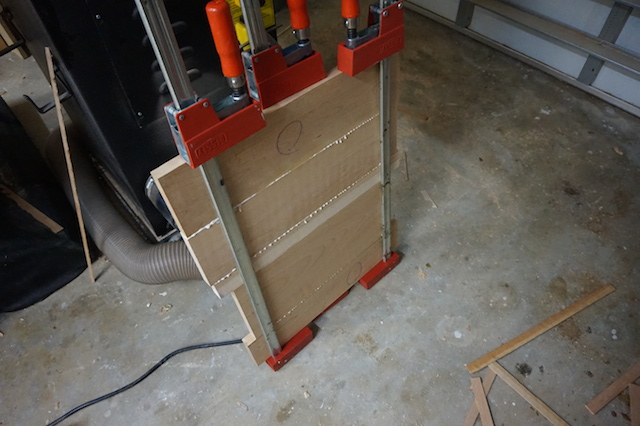
I clamped the lid down to the bench and took the time to mark a pencil line across the piece. This way, it would help ensure that my sanding would be nice and even. The clamping? Well, that was to make sure the lid didn’t become airborne…
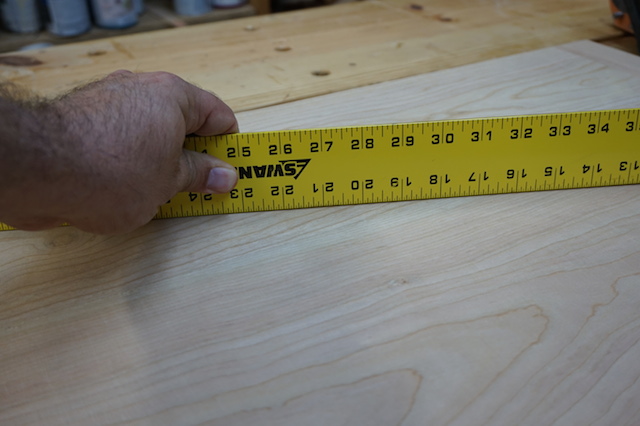
As I had explained in my should-have-been-award-winning 2011 post My Abrasive Personality, I started the sander across the grain, which just so happened to be with the grain on the breadboard edges, and worked it evenly across the surface. Surprisingly, it took very little effort to level out all the little imperfections in the lid, and fix the divot I dug with the hand planes. I even used a straightedge along the surface just to make sure I wasn’t sanding hollows into the lid.
To ensure I was sanding with maximum efficiency, I stopped every few minutes and ran the sanding belts against a crepe rubber sanding block to remove any sanding dust that embedded itself on the belt. Sure, I could have used a crepe rubber soled shoe, but a) I didn’t have one and b) I bought this crepe rubber block on a stick about a decade ago, and it still has plenty of life in it. Cost me a whopping $6. Woooo…..
With the heavy leveling done, and the kids needing help to get their homework done, I decided to call it a night. But, I wanted to make sure I had the next tool ready to roll in the prep process.
Yup, the random orbit sander is going to get a workout, followed by a little scraping to get a nice, smooth finish on this beauty.
Then, the embellishment, followed by a finish and – hopefully – the presentation to a happy niece…
I really like stories about celebrities who work their way into oblivion, only to reinvent themselves and come back legitimate. Think John Travolta, who hit it huge in Saturday Night Fever only to fall into obscurity before coming back in Pulp Fiction. Or maybe Kurt Warner, who led the1999 St. Louis Rams – the greatest show on turf – to a Superbowl victory, then almost snatched a second victory from the Pittsburgh Steelers in 2008 as quarterback of the Arizona Cardinals.
Or, maybe the train wreck that is the life of Britney Spears. Once at the top of her game from 1999 to 2003, but collapsed into a drug-frenzied tailspin before pulling her career out of the ash heap in 2011.
Why bring up the ever so lost Ms. Spears? Simple. One of her songs is so darned appropriate for today’s post.
Yes, that gem is titled “Oops, I did it again,” and you can bet I pulled another boneheaded move in the shop. But, as I have done in the past, I was able to pull this project from the ash heap and save it while making it look so good.
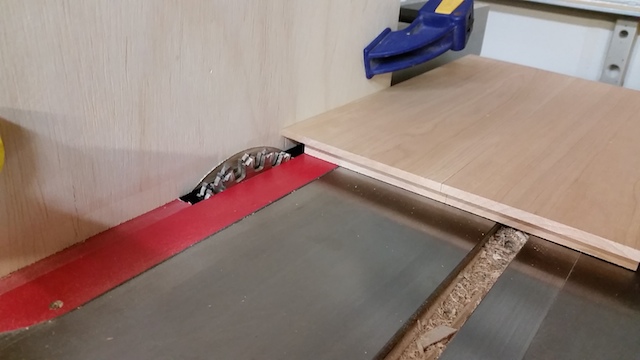
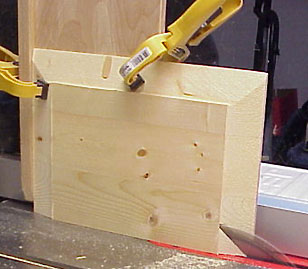
Here’s where the trouble started. I was attempting to cut a joint like this one, which I used on my niece Lauren’s hope chest. It made it easy for me to ship the chest to my brother-in-law Larry, who could glue the piece together at his house and bingo, bango, chimi-chong-chango, it would be there and looking its finest.
So, I set up my table saw to make the cuts. The grooves… they were a piece of cake. I measured the width of the side stiles, set a width for the groove and blammo, I whipped out all four cuts. Piece of cake.
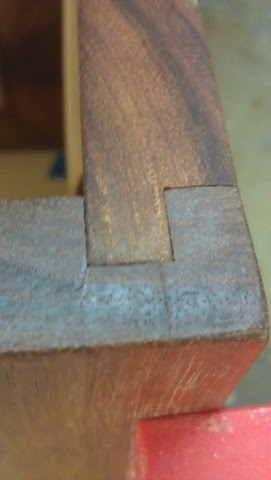
Where I made my mistake was that instead of cutting away the material for the tongue of the board from the front of the stiles, I actually cut it from the back side. Which, as you may know, gives you a joint that looks suspiciously like this:
Yeah. crap. So, I’m thinking to myself that now I’m going to have to mill four new stiles to replace the ones I messed up, when an idea hit me…
Why not turn my mistake into a design enhancement?
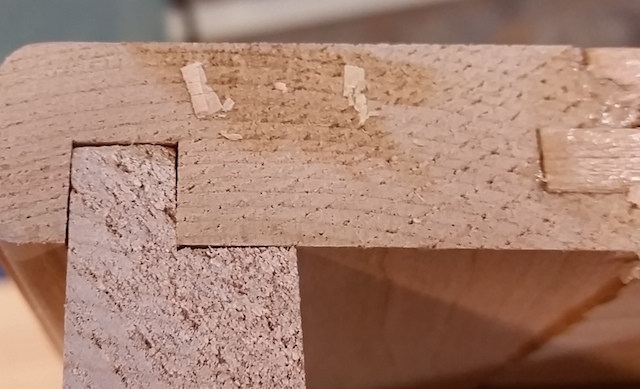
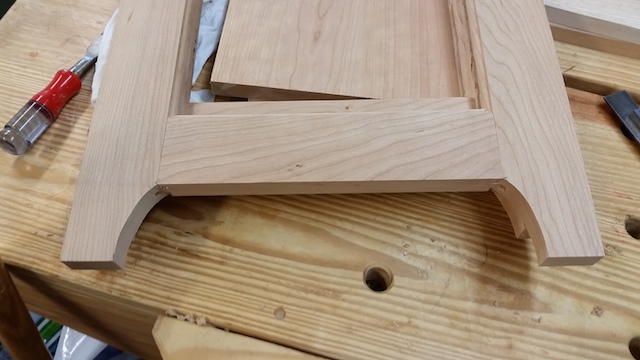
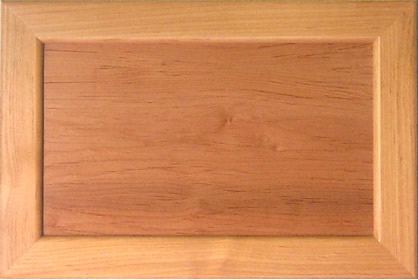
So, I turned to my router table. Put a small beading bit into the router and ran a bead on the front and the back of the piece. Now look at it…
This now creates an interesting shadow line and a design feature which really makes the chest look unique, and not just a plain old box.
And, I didn’t have to bust the thing apart and start over. Talk about a tale of redemption!
I’m getting close now… so very close… with this latest project. In fact, this past weekend, the temperatures were very comfortable here in my shop and I was a woodworking fool.
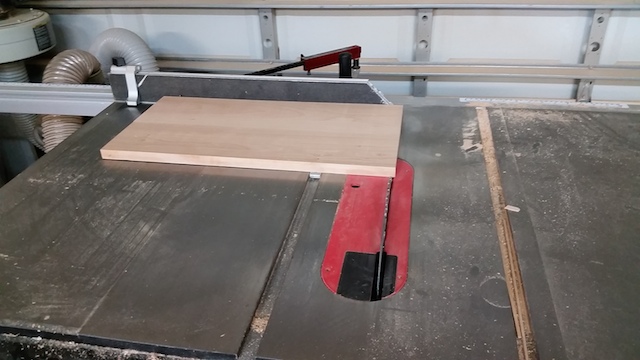
First thing I had to do was take those planed down panels and trim them up to size. That was a piece of cake with my Osborne miter gauge… held the panel nice and square to the blade, and kept my hands safely out of the danger zone while I pushed them through. That was an easy way to make that happen.
Since there is going to be a special embellishment on the project, I decided to go with flat panels for the chest. Believe me, there’s plenty of visual interest coming up on this project. So, I used my dado blade to put a rabbet on the back of the panels and decided to call it a day there.
From there, I knew I had to shape the bottom of the legs for the corners of this chest. There was no way I was going to assemble these things with square legs to the floor. In the past, I might have turned to the band saw or jig saw to cut away the majority of the waste, but I was feeling kind of plucky, so I decided to just use my spindle sander do to the work. All of it.
When you figure out how much time it would have taken to set up the band saw or break out the jig saw, I was done using the spindle sander. That was easy!
Talk about simple…
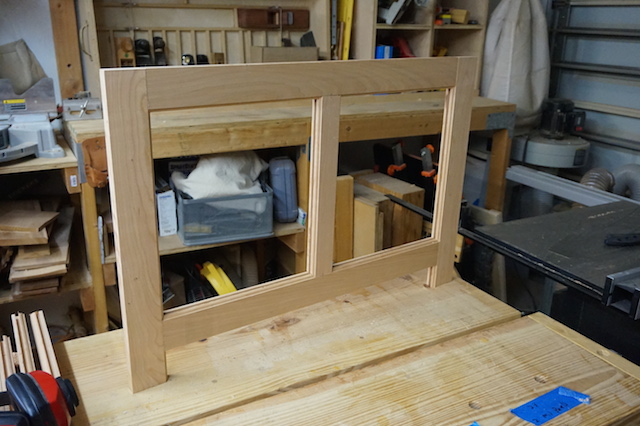
And, with a dry fit, everything seemed to work well. Now, it is a simple matter of deciding on a joinery option for the side pieces, then a glue up of the frame and panel, attach a few cleats, cut a bottom and then it’s off to the sanding and finishing…
Oh, and that embellishment… Can’t forget about that.
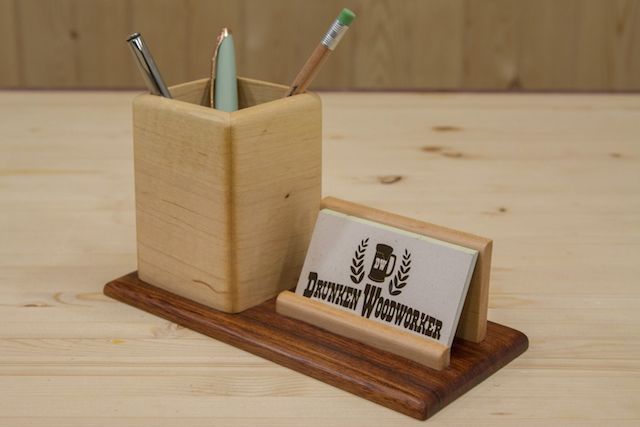
So, you like a tidy desktop. Someplace where you can store your pens, pencils, highlighters and other tools of the trade, plus a handsome location to keep your business cards handy.
This plan, offered by David Picciuto, is pure genius in its simplicity, yet screams hand made skill to those who visit your office. Just what the business minded woodworker wants!
Now that I have the frame pieces done and the panels glued up for the chest, it’s on to do a little work preparing those panels. Man, there’s nothing quite like a thickness planer to make fast work of leveling these glue ups…
By the way, can I take a moment just to revel in the fact that – dang – the grain on these boards looks totally SWEET!
So, now comes the hard part – what kind of design do I want these panels to have, and what methods will I use to make them look their best?
Of course, I could just simply go with flat panels. Classic look, classic design. Since I plan on doing a special embellishment for the lid, I could go this route for sure. And, it would be easy. But, I could have just bought a sheet of cherry plywood and made it happen. Not really what I had in mind to showcase the skills.
Now, I could easily set up a tall auxiliary fence, tip my table saw blade oh – I dunno – 12 or 15 degrees off plumb – and run each of the panels through to raise them. Easy peasey lemon squeezy.
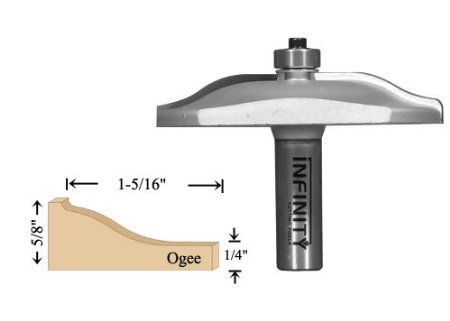
I could pick up a vertical or horizontal router bit and do a fancier profile. Heck, the sky is the limit when it comes to those kinds of bits and the profiles they can cut. From the plain to the ornate, it’s definitely something to consider.
Now, I’ll just have to decide how I will make it happen, then it’s off to the races, and this project will be nearing completion!
Spring is in the air … along with all the oak pollen in the state of Florida. Ugh. I was so clogged up, that I even had to miss the Woodworking Show at the Tampa Fairgrounds. I was able to get some shop time, but it was in small bits and pieces as my allergies – and the grogginess of the antihistamines – allowed.
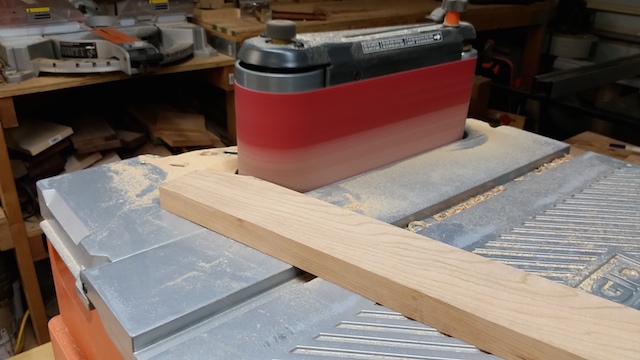
Fortunately I had all of the pieces cut to size. The next step was to do the cope and stick jointing that was going to hold the frame and panel chest together. Times past, when I tried using the cope and stick router bits, I would get strange results because I was using the set with my table saw side wing router setup, something less than ideal for that kind of precision work.
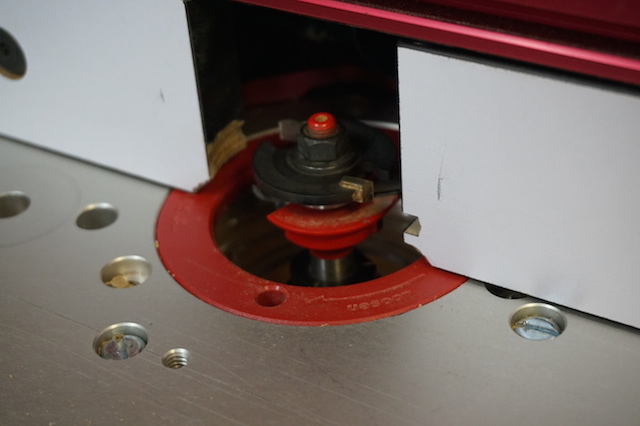
This time, however, I am using a real router table and a router with a micro adjustment setup, which really helps make the whole shooting match go much more smoothly. I was able to dial in the bit carefully to cut the sticking – the side that holds the panel – into the rough pieces. Besides being decorative, the joint can be made very quickly, and it more than strong enough for what I want it to do.
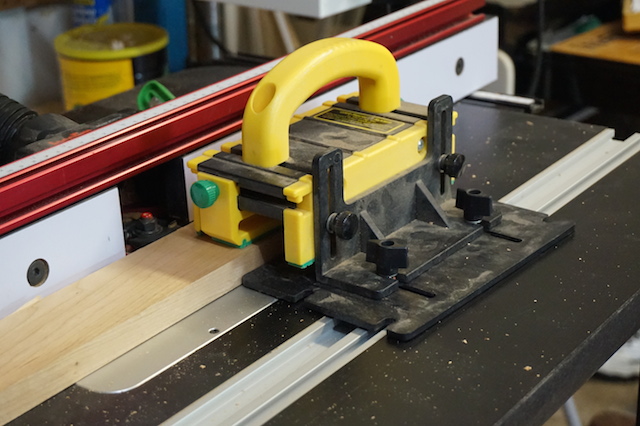
Using a GRR-Ripper to hold the pieces down also helped ensure that the cuts were consistent and that my hands were well out of the way. Those bits are big, and they can chew off fingers with great speed – obviously something I wanted to avoid.
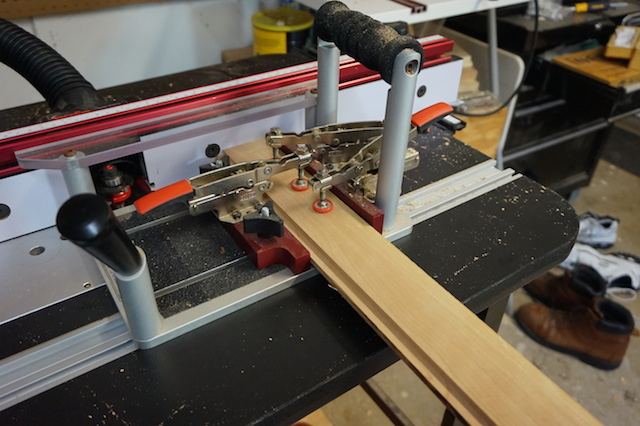
The coping cuts were easy to make using a coping sled, which allows the pieces to fit together snugly – the key to a good joint. By immobilizing the pieces, I was able to get the cuts to come out looking good and even with no tearout. A backing block is a must to ensure you don’t rip out as the bit exits.
Not bad work for being able to scratch out the time as it allowed. While I was at it, I also took the time to start the glueups for the cherry panels that were going to fill the frame. They are all glued up, and fortunately, are all narrow enough to be fun through my thickness planer to get them down to the right size for the frame.
Now, if the pollen would only let up for a day or two, I might be able to get some more work done!