All posts by Tom

I'm the guy who writes the blog...

Woodworker’s Safety Day 2015

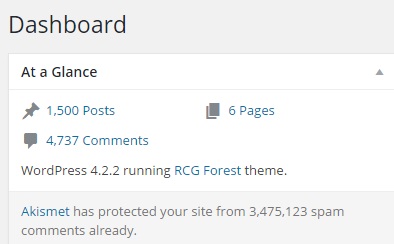
In addition to celebrating my 1,500th post this week, I was also at the Governor’s Hurricane Conference teaching emergency responders how to work with the media. It was a great class, and I have got to tell you that I had a ton of fun.

headlamp

OK, maybe a little too much fun, but who cares, right?

A big part of our classwork is helping our aspiring public information officers understand where they fit in during a disaster. And, according to FEMA, there is a very specific place where they do belong – front and center. That is a major rule laid out by the Incident Command System, which operates under they National Incident Management System.

The Incident Command System

Public information shares that top billing along with the Liaison officer, whose job it is to coordinate between agencies outside of the responding agencies, and the Safety officer, whose job it is to ensure that everyone gets home without injury if at all possible. Together, these three officers and the Incident Commander make up the Command staff.

Now that you are thoroughly bored, let me ask you why those three positions are so close to the Incident Commander?  The reason? Well, it comes back to an old expression – out of sight, out of mind.

Safety

Without a PIO, the needs of the citizens will be forgotten. Without a Liaison officer, the incident can become siloed, and no one thinks to reach out to the other affected organizations. And, if safety is overlooked, people get hurt or die.

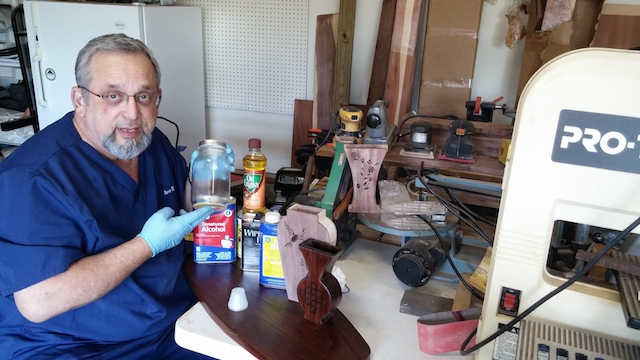
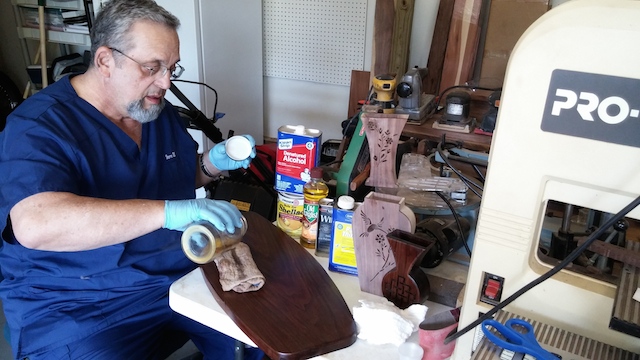
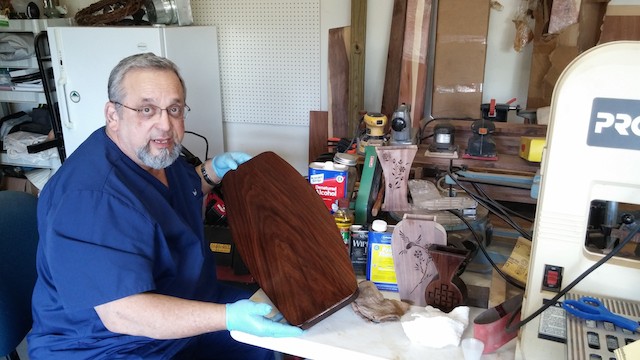
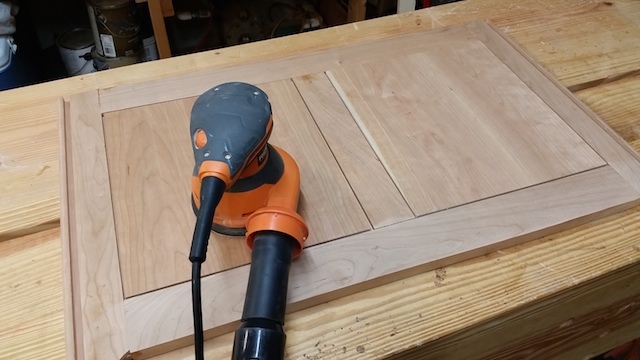
With today being Woodworker Safety Day, how much time do you spend thinking about safety in your shop, or is it an issue of out of sight, out of mind? Sure, the tools we buy all come with operators manuals, but how many of us just skip by the safety warnings inside them? How many of us remove the safety devices from our tools because they get in the way? How many times do we make that one last cut and forget to grab the eye or hearing protection?

It happens. And, for the vast majority of times, nothing ever happens.

But, just as with any accident, that split second of carelessness can jump up and bite us hard. That’s why we have to think like Incident Commanders and ensure that we put safety front and center.

Riving

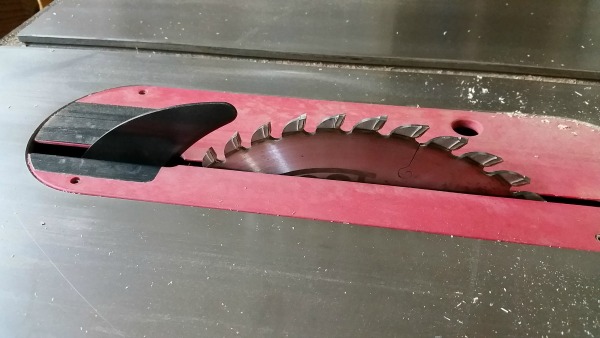
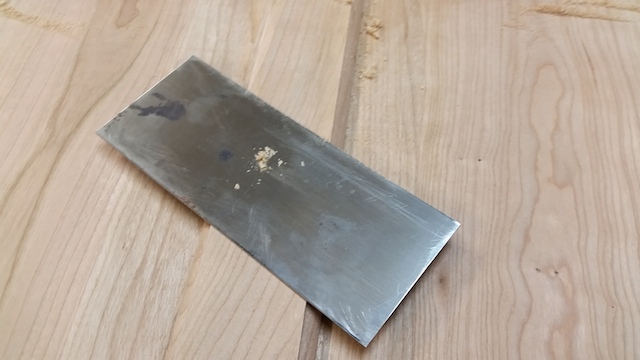
For instance, I know that my old table saw’s splitter did create an area where kickback could occur on behind the blade, but my new saw’s riving knife is a much safer option. I always keep my push sticks and other sleds handy, because I can work with more confidence at the power tools.

Safety aids

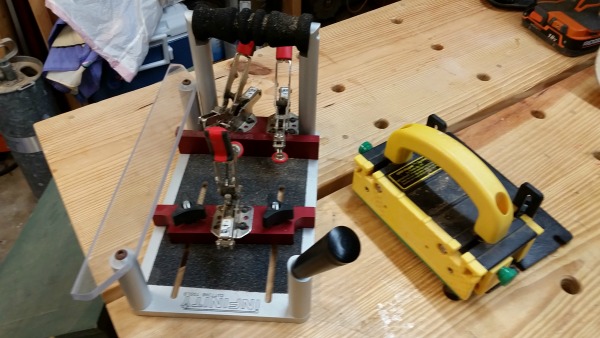
I keep my eye protection close at hand. After having my share of accidents where I was able to walk away from them with minimal damage, I am very happy to take the time to ensure safety is job number one, two and three.

Personal protectionWhile it may not be the sexiest part of woodworking, safety gear keeps you in the shop in command of your tools. After all, isn’t that the best part?

1,500 posts?

What were you doing May 19, 2010? You remember, don’t you? BP had a major oil spill on its hands, Floyd Landis had just accused Lance Armstrong of blood doping on the Tours de France he won, and I was recovering from a stupid hedge trimmer accident.

And, on September 17, 2012?  I bet you were souping up your iOS6 equipped iPhone 5, you were begging for the Presidential race to come to a quick end so we wouldn’t have to see any more campaign ads, and I was counting down to a big monumental post on this site.

Well, today, I break another important milestone in my blogging career – post number 1,500. Wow, I still can’t believe I have put so much energy and effort into doing this blog, and you haven’t called my internet provider and asked them – politely – to pull me off line!

a solid 1500 posts!

I am so fortunate to know that you have allowed me to become part of your woodworking experience. And, I have to thank each of you that I have had an opportunity to meet – each of you really has demonstrated that the woodworking community is full of caring, heartfelt people who all share this passion we have with cutting big boards into littler ones, than putting them back together in different forms.

I would be remiss if I didn’t thank my supporters – MicroJig, Affinity Tools, Tormek, Infinity Tools and Bell Forest Products, as well as my ever loving and ever patient family. Rhonda, Dominic and Steven, you guys are the best!

This week, I am here at the Governor’s Hurricane Conference, so I am getting ready for the big safety message this year. And, I want each of you to mark your calendars for this coming Friday – which will be Woodworking Safety Day. It’s being hosted over that the Modern Woodworkers Association, so let us know about your safety tips!

There, a few more posts to write!

The weekly plan

Build a wooden table hockey game

With the Stanley Cup playoffs in full swing, I know that I wish I could be out there on the ice, skating fast, digging the puck out of the corner and shooting some high-speed slap shots at the goal.

Then, I realize that I can’t skate all that well.

The table hockey game

Since that’s the case, I may have to play out my fantasies on a table hockey game. And, this set of plans from Minwax and American Woodworker gives me the chance to play for the cup just like the pros.

Game on!

A friend finishes

Tonight, I was out in the shop getting the hope chest into its final stages of finish … and I hope to show you the finished project shortly. Since I was going to use my regular finish formula, I wanted to give the opportunity for someone who learned the process from this blog the opportunity to share his experience with it. His name is Steve Stutts, and we met at the St. Petersburg Woodcrafters Guild a few years back.

Take it away, Steve:

I don’t know all there is to wood finishing. No one knows it all but I have learned a couple of things that have given me some very nice results. Until I read an article on finishing, my technique was a hit-or-miss experience for me. I sprayed it out of a can or slapped it on with a brush and it turned out after it dried. Then I read an article by my first and favorite wood blogger. Tom Iovino and he writes “Tom’s Workbench.”

Steve and his ingredients

I was surveying his past articles and I found an article entitled Become your own mixologist where he gave us his formula for finishing that has been the basis of all my finishing techniques since that time. First, it makes sense to sand and seal any wood that is worth finishing. Whether you paint it with a pigment stain or leave the wood to a natural color, my theory is that all woods need to be sealed. Tom recommends mixing #2 dewaxed shellac with 50% denatured alcohol. First you want to sand the surface of the wood with progressively finer grits until you get the surface to at least 220. I have four palm sanders and I put a different grit of paper on each sander (I bought them all at the guild “used tool” sale for $10).

Wipe, Steve, Wipe!

After sanding, I wipe on the shellac by hand. I wear rubber gloves – they keep my hands from getting messy. I leave it to dry for a few hours. The alcohol makes it dry fast. Then I sand it down to 220 grit and repeat the process. I apply 6-8 coats and it takes me a few days. The final few coats I sand further to 330/360. The wood is well sealed and will not blotch. Even cherry seals – and it is the worst for blotching.

Then I like to wipe on polyurethane that has been thinned with linseed oil 10% and paint thinner 20-25%. This is Tom’s formula for the perfect “mixologist.” The wipe on poly sits on top of the smooth shellac and is not much absorbed.

It just shines!!!

Ta da!


I let it dry for at least 24 hours since the linseed oil tends to sit on top of the finish. I wipe off the excess. Then once the surface is dry, I sand it again to 330/360 or 400 grit and wipe the poly mix on again. I do this for 5-6 coats again. So far, my results have been very nice.  An even, lustrous finish that looks deep and rich the darker the wood. If you don’t want a high shine it works well with satin finish too. Sometimes I have to wait a day or two between coats of wipe-on poly. Particularly if its below 65 degrees. Once the finish is cured I like to wipe the surface down with a good furniture polish, oil or paste wax. It preserves that shine. Then once or twice a year I reapply the polish to preserve the work.

Like I said, I don’t know everything about wood finishing but I have confidence in this method.

Thanks, Steve. Glad you liked the process!  It looks like you have had a lot of success with it. Hey, don’t be afraid to mess around with finishing. With some good techniques, you can have a blast with it!

A family heirloom

As I had mentioned yesterday, I just returned from a great family visit in Raleigh, North Carolina where both of my brothers and our families were together for the first time in forever. I seriously have got to change that. We had a blast.

The toy chest

Rhonda, the boys and I stayed with my older brother John and sister in law Kim at their house. While there, I saw a family heirloom I hadn’t seen in a long time. This toy chest was built by my dad when our family lived in Ridgefield Park, New Jersey, and belonged to my brother since before I was born.

The inside construction

It’s a very simple affair – number 2 pine boards screwed to a series of interior battens with a plywood bottom. My dad took the time to carefully round over the tops of the interior battens to keep them from splintering, and there were traces of a lid stay which had broken off years ago. I imagine that was to keep the lid from slamming down on my brother’s small fingers.

The hinges

The hinges for the lid were pretty fancy looking brass ones, obviously held on with brass screws. One of the heads had snapped off sometime over the past 45 plus years, but, come on, that’s sweet looking!

The handle

The handles have a movable finger pull, allowing them to lay flat when not being used to move the box. They are still in very good repair after all of these years.

The lid

The lid is built up of four boards screwed together on a pair of battens. A few of the lid boards had warped, but other than that, it is in amazingly good shape, even after all these years. My dad definitely built this sucker to last, and that’s exactly what it has done.

Crayon

The thing that makes this chest so special, however,is that I can see the crayon writing my brothers and I put on the inside lid of the piece. It’s almost like being transported back in time to me as a two year old, reaching into my brother’s toy chest to pull out a Tonka truck or some other treasure to play with.

I hope that one year thirty or forty years into the future, someone looks at one of the projects I built and feels the same sensation of awe I had this past weekend …

The weekly plan

Make an oak suitcase stand

Today’s post is a little late because we just got back from a big family event in Raleigh, North Carolina. Boy, did we have fun! I loved that I had the opportunity to see both of my brothers, my mom, my dad and a ton of other relatives.

A sweet looking suitcase stand

Now that we are entering into the prime travel period of the year. And, if you plan on hosting a few guests at your home, the little touches make all the difference. This luggage stand can be one of those projects.

Built with simple joints and items that can be found at any home improvement center, this stand gives your guests a great place to set their suitcases and make themselves a little more comfortable.

Now, the moment nobody likes

OK, maybe that’s too dramatic of a title, but I’m at the point in the hope chest build where woodworkers often fear to tread – sanding. Ugh. I know that I have to make the surfaces of the chest buttery smooth to the touch, but why does this remind me of an old timey household chore?

Washboard - but not abs

Be that as it may, the time has come. So, I might as well get started. Fortunately, I had done a fairly good job of getting things nice and smooth with the thickness planer, so removing the machining marks is one thing I will have to do. Of course, I am going to employ the random orbit sander for this…

The sander

It does an OK – if not reduce-you-to-tears-of-boredom – kind of job on the piece. And it does an admirable job of taking down any glue squeeze out, thickness planer divots, dings or the like. It’s a nice tool, and the model I have connects easily to the dust collection, so at least I’m not breathing this junk in.

Get that glue!

Oh, crap, I had a few spots where glue from the corners squeezed out. To tackle that, I turned to one of my Japanese chisels sharpened to a sweet edge. At least this feels more like woodworking…

For areas where the random orbit sander can’t get, I suppose I could wrap some sandpaper around a block and sand into the corners. Yeah, we’re back to the washboard analogy. Instead, I have turned to another tool that makes this less of a chore – a card scraper.

Deal me in on these card scrapers

Properly sharpened, this thing is a joy to use up in the corners, and it helps make this not too tolerable job just a bit more tolerable.

Sanding... hooray

OK, the end result is always good, so I guess it’s just going to be time for me to suck it up and get on with it. After all, the only way this surface prep is going to get done is to get off my butt and do it.