Just a few short weeks ago, I was bemoaning my lack of shop space – or at least, the lack of organization in my shop space. After a few years of just throwing items over the bench and not worrying about them until I dropped something I had to actually find again, I began to lament my lack of organization.
Well, this past week and a half, I got off my butt, into the shop and did something about it. First, I sketched out a design that had to 1) Serve as a miter saw workbench, 2) have ample storage for tools, coolers, beach accoutrements, recycling bins, paint cans and the like and 3) Give me someplace to park the shop vac and roll around drill press table totally out of the way. Armed with the drawing and a list of the materials I already had on hand – after all, I was cannibalizing the shelving system I had built – I headed off to Home Depot to make magic.
There, I had to pick up a new sheet of 3/4 inch plywood ripped into two two-foot strips, six 2×4 studs, a hand full of Simpson Strong Tie connectors and a Snickers bar. Remember, Snickers satisfies you, right? Once the shopping trip was done, the fine folks at big orange wrapped the heck out of the lumber on the sport rack on our Jeep Compass. Yeah, that’s normally where my wife’s kayak resides, but I had to make some exceptions.
Back at the shop, I took the old shelving system down, saving every screw, every 2×4 and every sheet of old plywood to reuse in my new set up. Yes, it was the green thing for me to do, and it saved a fortune on buying extra materials. I think I may have used 200 plus screws putting the old one together… wow… that was a lot of steel!
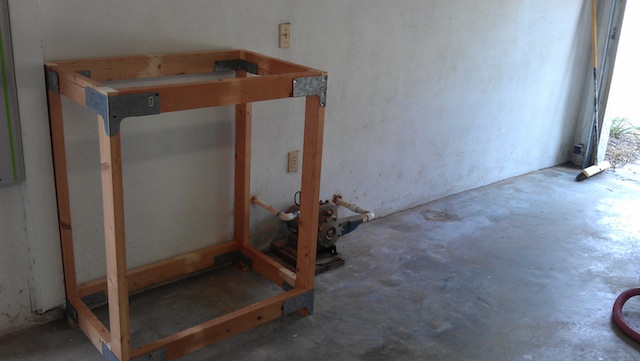
With the old shelving unit removed, I was able to finally sweep up all of the sawdust, cobwebs and other nastiness that had accumulated in the area over the years. And paint cans. My goodness, where did all of those old paint cans come from? There were paint cans bought by the former owner of the house back in 1996 hiding out. Amazing… Who knew we also had a shallow well pump to irrigate our yard? Wow, the things you find while digging around under there.
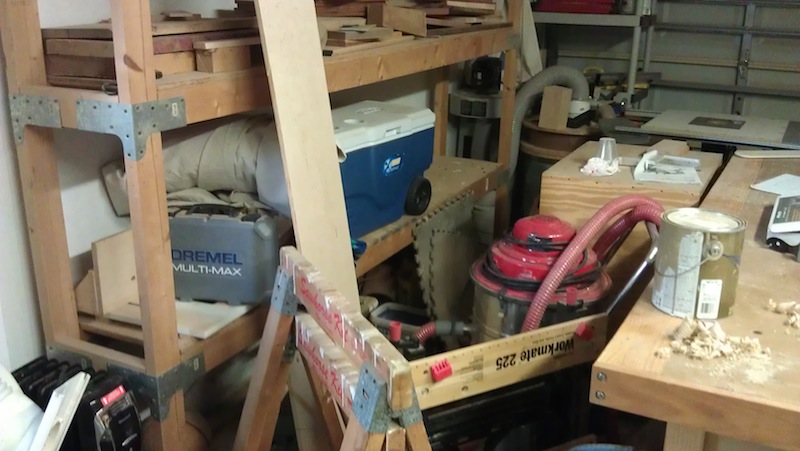
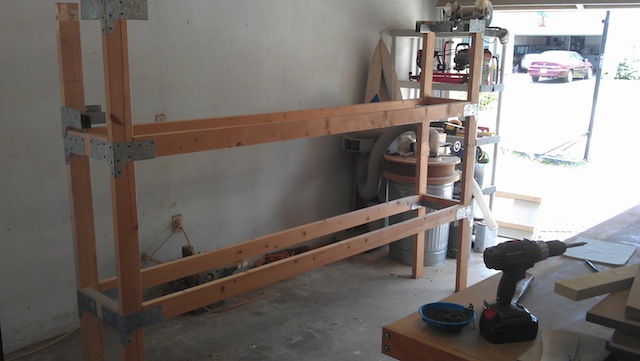
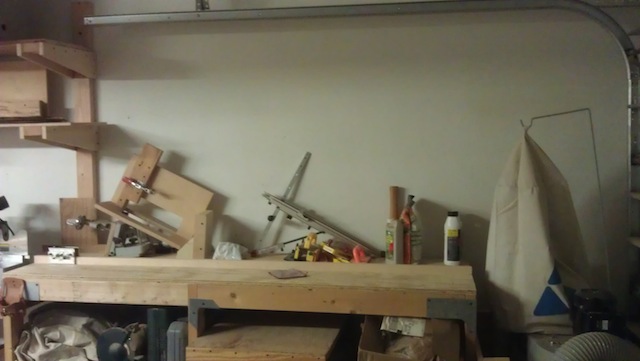
Starting fresh, I built the first module of the system. The strong-ties make assembling utility benches a piece of cake. Before long, I had the skeleton of my new bench system together. On the far right end, closest to the garage door, there is my dust collection unit, the ‘garage’ to park the shop vac and drill press and a set of shelves for stashing less-frequently used tools. All the way over to the left, closest to my side entry door, is the air conditioner and heater, my long tools, and the ‘family’ shelf tower that holds coolers, recycling bins and the like.
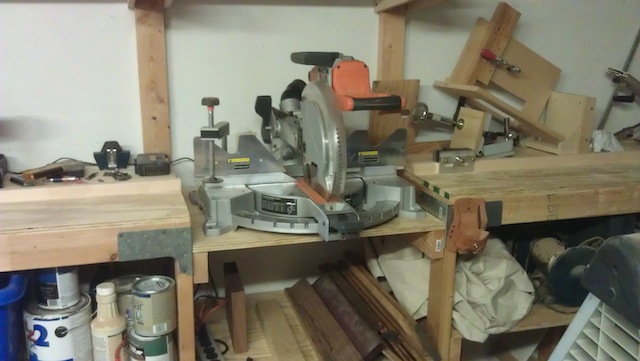
Over the pump, I wanted to put the miter saw station. I put a shelf about four inches above the top of the pump unit. This is for offcuts I make at the miter saw. For the top deck that the saw was going to sit on, I measured the height of the base and found it – surprisingly – the same height as the width of a 2×4. That was convenient, Ridgid! I temporarily screwed a pair of 2×4 spacers even with the work surface, and mounted the cleat and 3/4 inch plywood deck to that. Once I removed the spacers, the saw went right down on top, easy peasey lemon sqeezy.
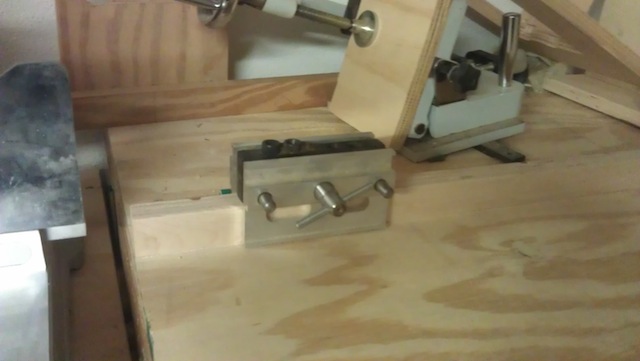
On the top of the work station, I wanted to have a fence and stop so I could cut pieces to identical lengths. I simply ripped some strips of 1/2 inch plywood left over from some other projects, glued and tacked them and then pocket screwed them to the work surface, carefully aligning them with the saw’s surface. I sanded this down to make sure there were no splinter makers on there, and I’m now using my old self-centering doweling jig as a stop. Talk about convenient!
Above the work surface, I built a short lumber rack. I mounted 2×4 uprights to my masonry wall with Tapcon screws, and then build some standards out of 2x4s and 3/4 inch plywood gussets. Those babies are STRONG! On top, I put my Halloween coffin and other yard decorations, and the next level down has some choice small offcuts.
What’s left to do? Well, since the stop rail for the miter saw is forward on the table, I have a full 14 inches of space behind the rail to put in more shelves for more storage. I’ll put those in on the far right side – maybe that would be a good place for some table saw accessories, since it’s not far from the saw itself. Now, to check out some large plywood offcuts to see which might be appropriate. Hey, that’s going to make more room in my wood storage area that way …
I also have my Delta air cleaner a neighbor gave me. I’ll have to hang a few hooks for that above the saw so it can filter the air and throw some light on the bench.
All in all, I’d say the are behind the bench went from a zero to a hero in about a week’s worth of work.



Looking good, Tom! I need to take the time to do the exact same thing. This statement made me laugh out loud…because it hit very close to home…”After a few years of just throwing items over the bench and not worrying about them until I dropped something I had to actually find again.”
Be aware of horizontal surfaces! They are bigger junk collectors than the floor! But, they are very useful after cleaning them off for the intended purpose. 🙂
Good job.
Rog
Nice job Tom !
Tightening up that space really jazzes up your efficiency in that area!
Smart idea to use that place behind the saw rail for some storage too.
I bet you made Iggy proud!
very nice – thanks for the inspiration!
Eric – the Monkey was the guy who planned it!
Nice shop project, Tom. You’ve got me thinking about incorporating the Simpson Strong Ties in a piece of furniture…
Chris, insane on good days
Looks great, Tom. By the way, having the surface of the miter saw a 2×4 above the surface it’s resting on is an industry standard. The only saw I know of that doesn’t do it that way is the Kapex, which is a small Systainer rather than a 2×4 high.