OK, so this morning, I’m wrestling with the reality that I have to bore some very accurate holes into some very thin turned spindles that are now missing their tenons. I thought about this while dropping my son off at school. I thought about it when I got my cup of coffee and turned on the computer. Heck, I thought about it during a brief meeting I had this morning.
That’s when inspiration hit me… in the form of a guy named Steve Sander who commented on my post over at my Google + account. His suggestion was so blindingly simple, I just had to come home and give it a whirl.
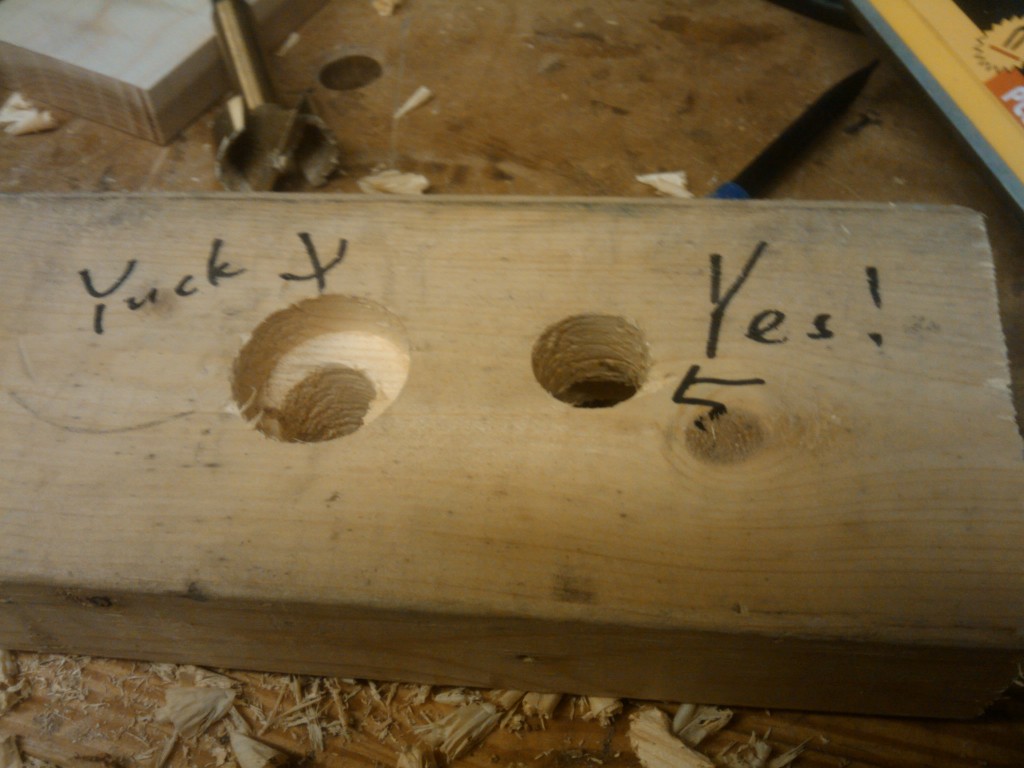
Steve is firmly in the KISS (Keep it simple, stupid) camp of woodworking. He recommended that I simply get a piece of 2 x lumber and bore a small hole all the way through from one side to the other. On the ‘bottom’ side, drill a hole the diameter of the spindle width. On the ‘top’ side, bore a 3/4″ hole through until it meets up with the one beneath. This means that the larger diameter will support the outer rim of the spindle, and the smaller hole will guide the bit.
As long as I do this carefully, using the small bore as a centering mark and keeping the bits perpendicular to the board’s faces, everything should come out fine. Of course, I blew it on the first attempt. But, that’s why I got me the longer board.
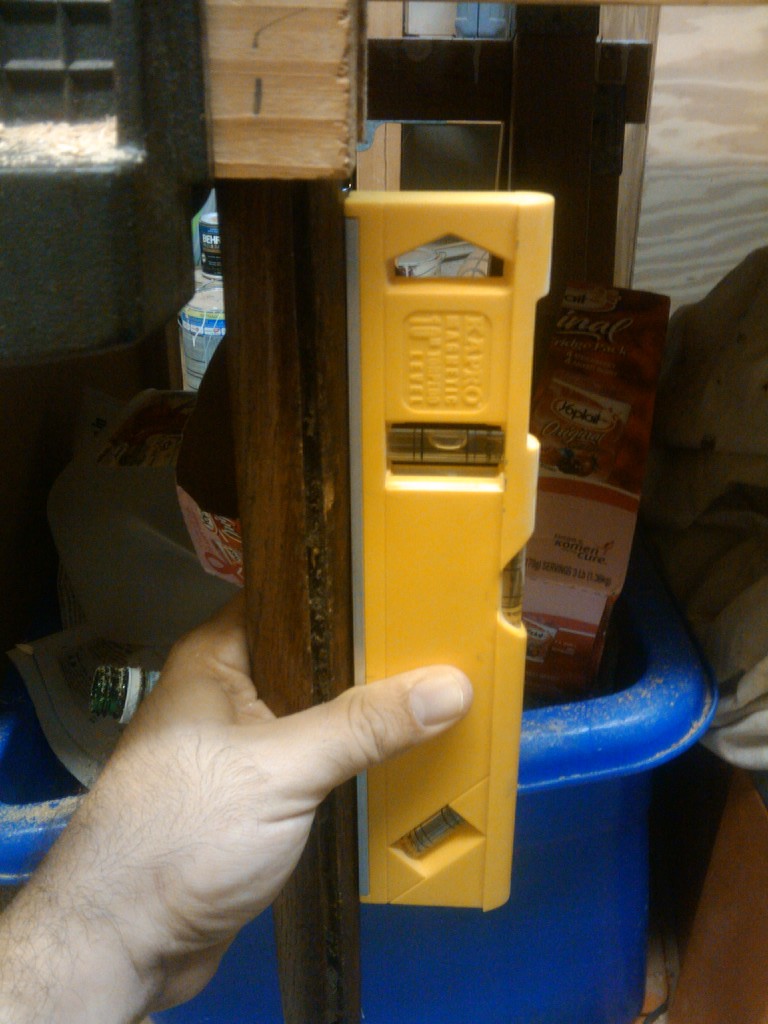
I put the spindle into my vise just high enough to ensure enough stuck up above to fit into the block. I also wanted to make sure the spindle was plumb, which greatly simplified my drilling. Just keep everything nice and plumb.. and we’re off to the races.
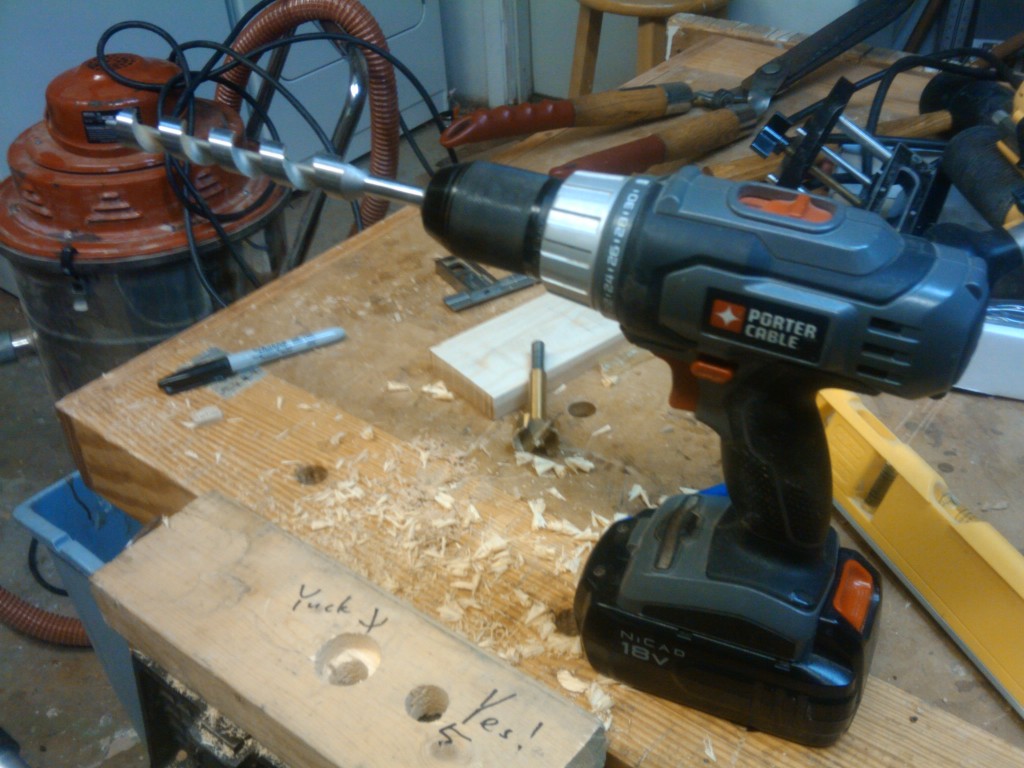
Next up, I chucked a 3/4″ auger bit into my cordless drill. I went cordless because I wanted to go on the slow setting used to drive screws… I just didn’t want to hit it with too much speed.
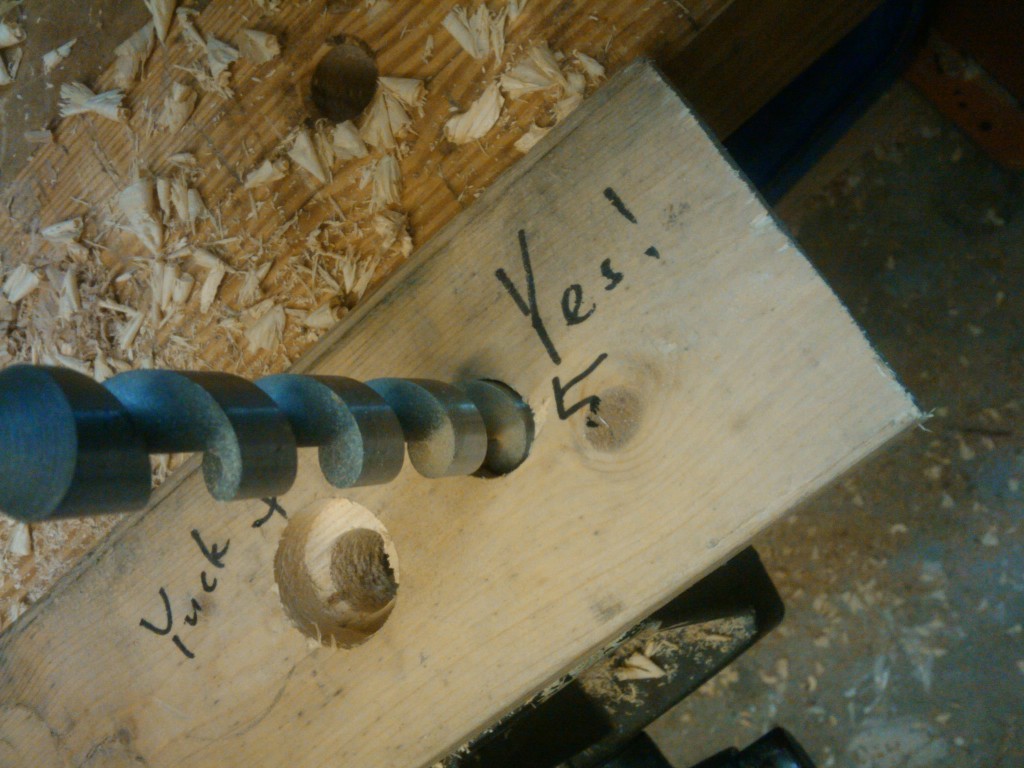
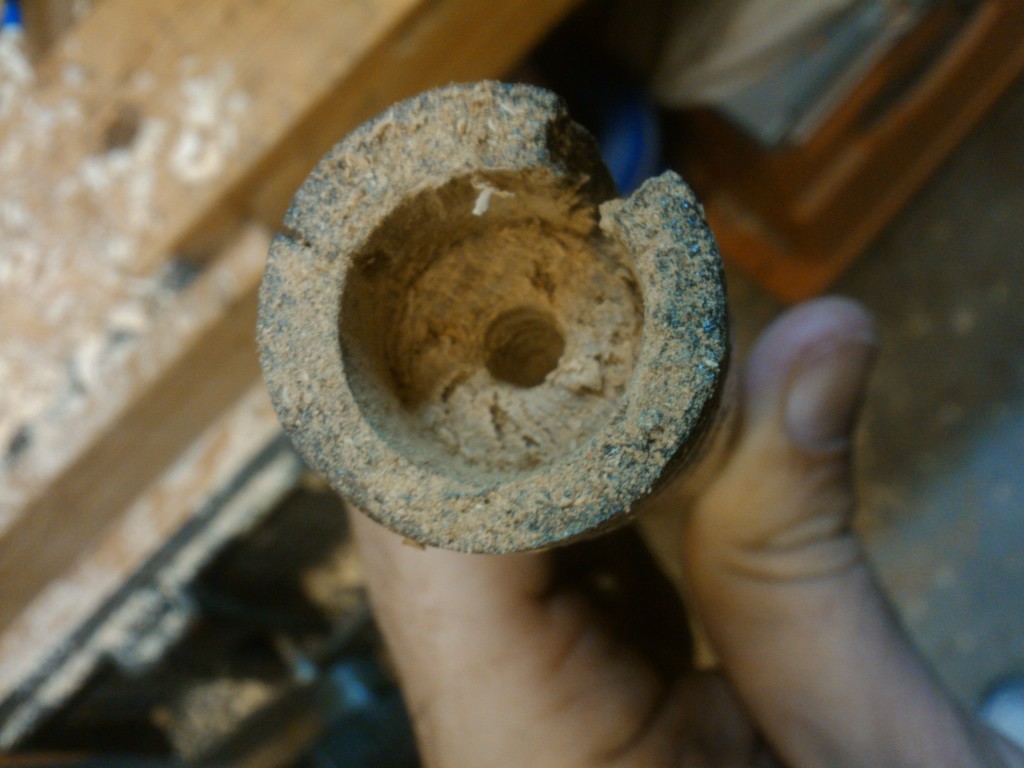
As Bob Ross used to say before he painted a huge tree, here was my bravery test. I put the auger bit into the guide hole, hit the trigger and let it roll. The bit at first brought up dust, but then it bit. And, boy, did it bite. It was bringing up nice slices of wood and spitting them out at the top of the hole. Since I hadn’t heard a crack or anything bad, I was hoping against all hope that things had gone well.
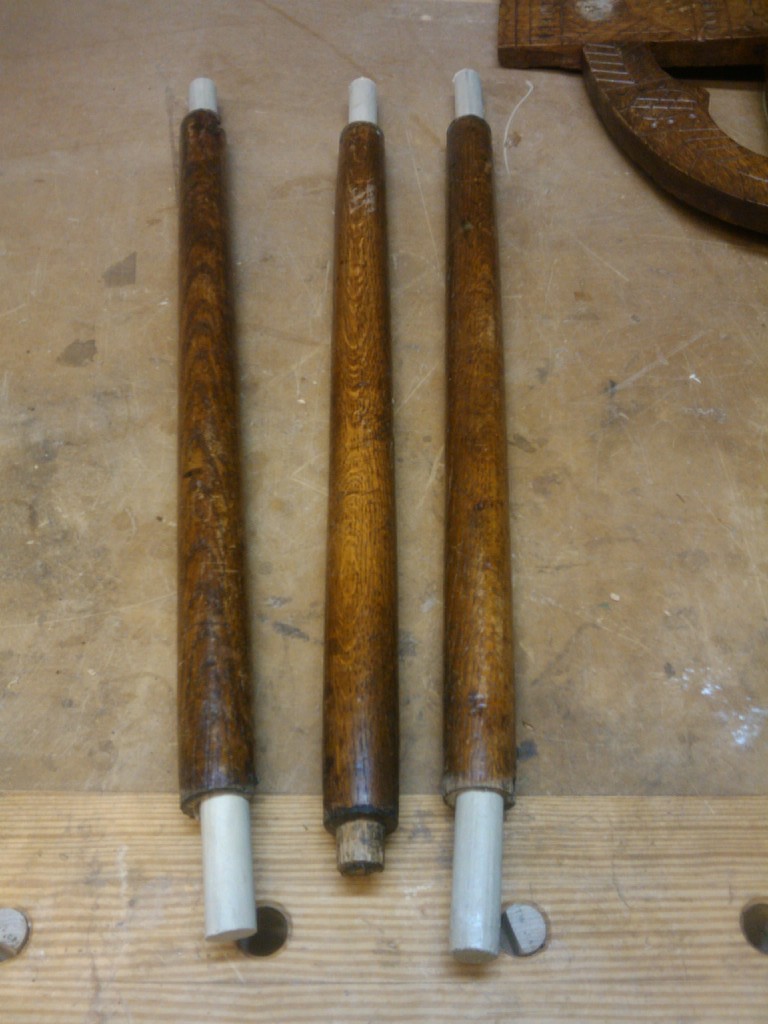
Heck, I don’t know if it was clean living (wait. We’re talking about me here. No way that’s in play) or what, but the dang thing actually WORKED! I went to the band saw, cut some of my home improvement center dowels to size (they are long, I will trim them down to final size once the glue is dry) and glued them into place with hide glue.
Shoot… I’m already into a sweet bottle of red wine to reward myself… and – again – today’s success proves once again that Internet woodworking is very much alive and well…

I have done this many time to repair chairs the only difference in my jig is I rip a kerf in the board that stops at the hole, and this 1/8 of space gives me enough wiggle room to clamp it tightly to the top of the leg or if you have to drill at an angle,
I all most suggested on the first installment to turn the repair dowel down a little so you wouldn’t have to drill such a large hole in the spindle end. leaving the dowel large at the leg end and reducing the spindle end by an 1/8′” or so would weaken the connection a bit but, it would be easier to drill the spindle and reduce the chance of blow-out by using a smaller drill bit.
Rog
Oh, I gotta file this one away for future reference! As they say, “Simple, but effective!”