OK, this I know my drill press is on the list of tools I would like to use more. And, when I wrestle it out of the body of the rolling shop table, I love to use it.
But, I like to use my corded hand drill to make small holes with twist, spade or forstner bits. And, I like to use my router to cut larger holes. And, I have a spindle sander that I use to sand inside and outside curves. That’s a big part of the reason I don’t haul it out.
But, this past weekend, I used a new accessory while making the wine bottle balancers that may have me turning to the drill press for more moderately-sized holes.
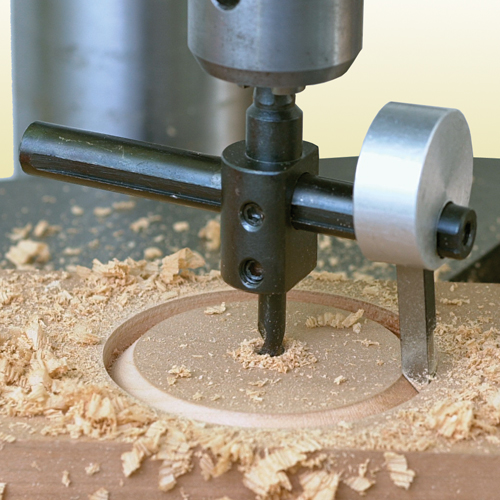
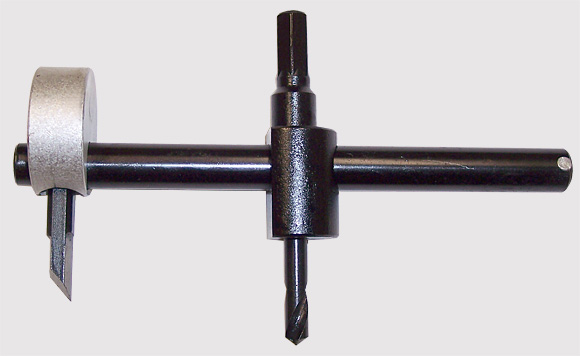
The accessory is a combination circle and wheel cutter. It’s a pretty complicated looking contraption that works fairly well on holes from 1 inch to about six inches.
It’s a tool with a body that chucks into the drill press. There is a slot in the body for a beam to pass through and a drill bit at the bottom for starting a hole. The beam is adjustable and it holds a cutting head equipped with a sharp angled blade underneath.
It’s simple to operate. Just chuck the tool in, loosen a set screw to adjust the cutting head on the beam until it matches the radius of the circle you would like to cut and tighten it down.
You will also want to take this opportunity to adjust your drill press speed to its slowest setting – about 500 rpm. You are swinging a lot of steel around, and you’ll want to keep it under control at all times.
Mark the center of the circle you would like to cut on the board and adjust the piece until the bit is right over the center. Clamp the work to the table, start the press and slowly plunge the bit into the wood.
It takes a little getting used to when you use this for the first time. Keep an eye on your fingers when you turn the press on, because that beam has one heck of a swing. I was anticipating a lot of wobble with the drill press, but it stayed solidly on the bench.
The cutting action was pretty interesting. Because the cutter is ground on an angle to a point, there is a definite slicing action at the cutter. Keep a light hand on the plunge – you don’t want to force it.
One of the down sides to this is that it doesn’t have a great plunge depth. So, even if you are drilling a piece one inch thick, you will have to stop the press, flip the work over and go at it from the other side.
The results are pretty sweet. Yes, you will need to sand the inside of the hole – it does leave things a little rough – and you will have to go slowly to prevent tear out where the cutter enters the wood, but the work goes very quickly – even in dense purpleheart.
The cutter is also reversible, so you can also use the cutter to cut wheels for small toy vehicles, faces for clocks and other more imaginative uses. Since you are also drilling a center hole, you will need to keep that in mind as well.
Can I cut holes with forstnter bits, hole saws and other specialty bits? Of course. But, the hole cutter allows for a great range of adjustability… negating the need to amass a great collection of specialty bits for the drill.
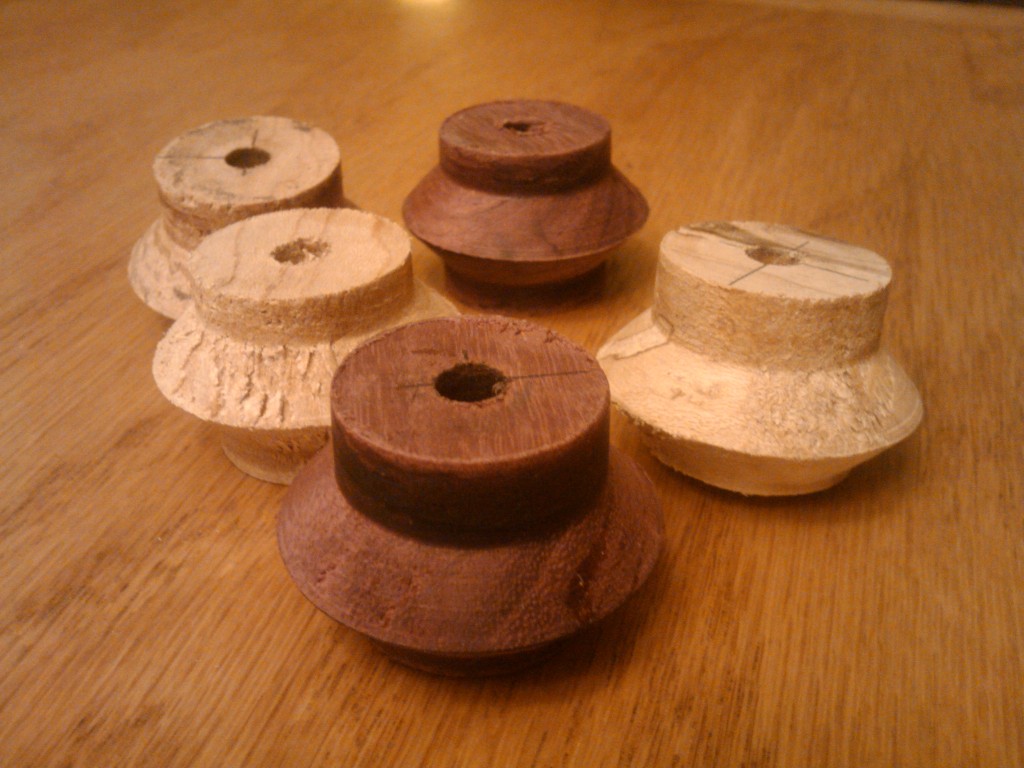
For the small holes I had to drill, the offcuts almost look as if they would make some cool toy tops. Hmmm… maybe that would be fodder for another article!


In England it is called a ‘Fly cutter’. Be very careful of the flying arm.
Hmmm, the slant on those cutouts almost look like half of a pulley. Wonder if you could make your own wooden pulleys with this rig?
@Darrell: I did just that to make a set of pulleys for a uni project. Cut two circles from thin birch ply and laminated them together. The bonus is that you know the through hole is exactly in the center of the rotation and the valley in the edge is symmetrical.
Is there anyway to use the circle cutter such that there isn’t a center hole going all the way through? It would be nice for knobs