In addition to watching the Kentucky Derby at the big soiree this past weekend, we also held a wine tasting event. At the same party. The wackiest wine name or label won a prize. (For the record, a wine named Cardinal Zin took the top honors)
So, I had to figure out what to give as the big award. Some of those wine glass charms are always appreciated. A waiter’s corkscrew was also a nice addition. But, I knew I had to add something special. But, what to build?
I had thought about those balancing wine holders.. you know, the simple sticks with a bevel cut on one end and a hole drilled in the other… and realized that it could be a simple but interesting project to build.
Yes, it is an insanely simple plan. But, as with all simple plans, you have to get the details right. In this case, how large of a hole to cut, how long a stick of wood and what angle to cut the bevel? That could be critical later when actually putting a wine bottle in the holder.
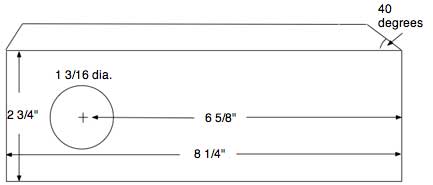
I did a quick search and found a drawing at the Timeless Treasure Trunk Wood Shoppe that showed the details of the project. Easy Peasey!
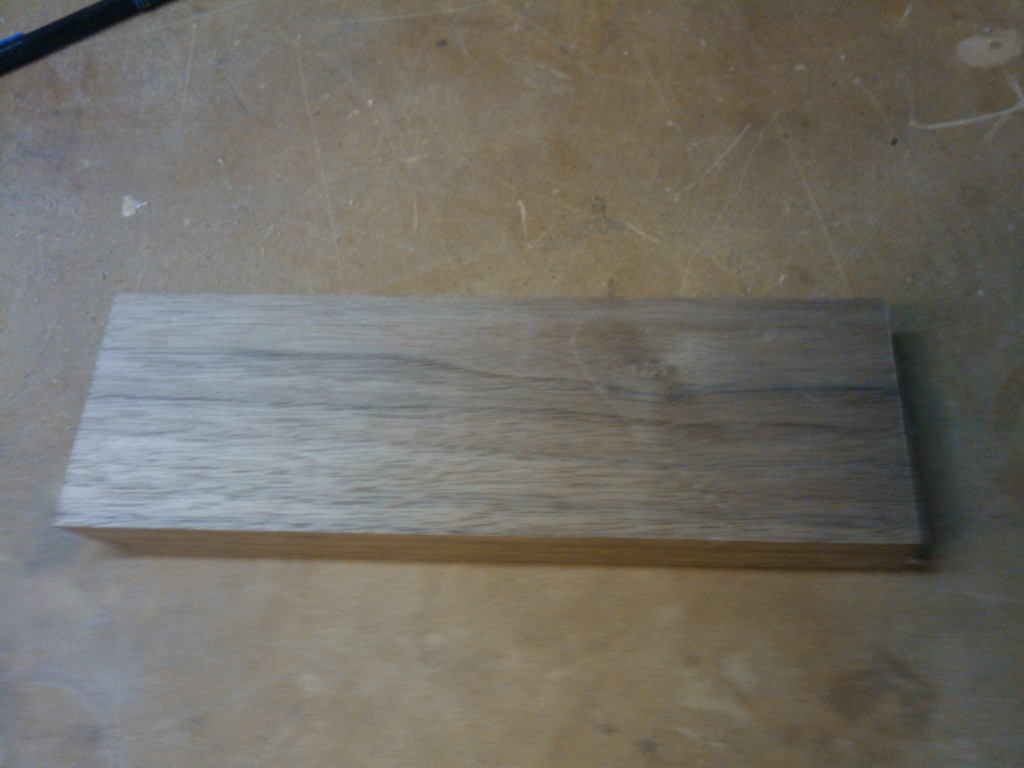
I fished around in my scrap barrel and found a few choice pieces of walnut, spalted maple and purpleheart that were big enough for the pieces. I cut them to rough size and planed each of them by hand to get them square, flat and true.
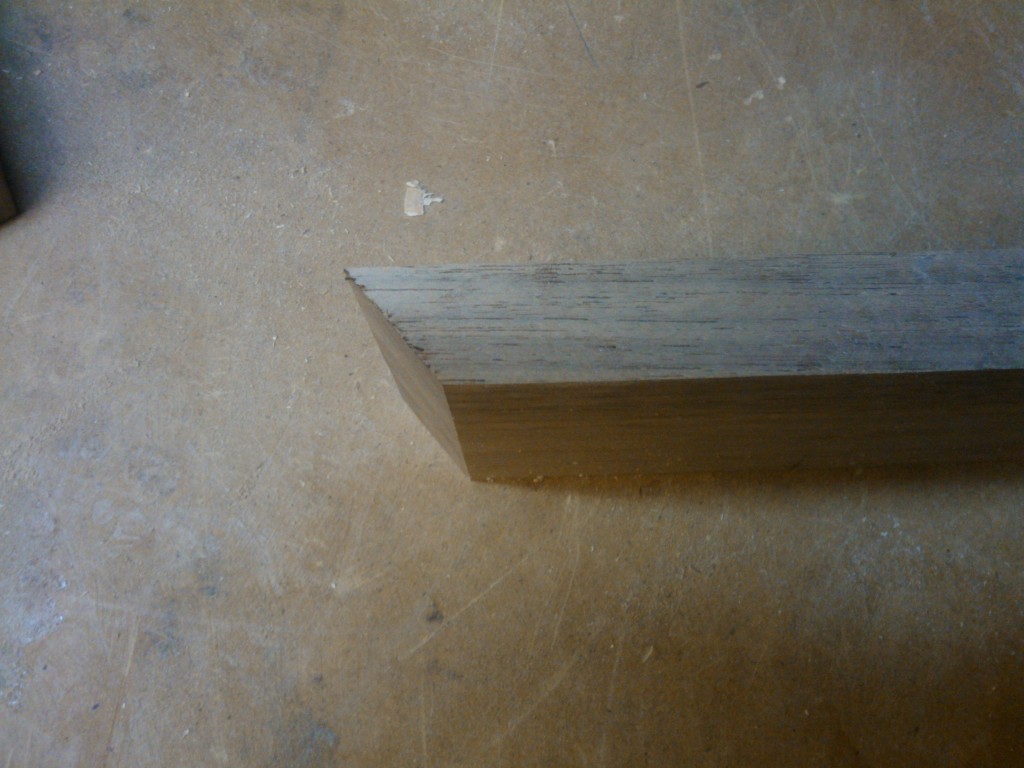
From there, I cut the bevel on one end of a test piece. I wanted to make sure that everything was going to work well when I put the bottle in. The plan called for a 40 degree bevel – not sure how that was arrived at, but I wasn’t going to mess with the plan – for now, at least.
 The next task was to cut a circle on the other end of the board to accommodate the neck. The plan called for a 1 3/16″ hole, but I wanted to go a little larger so it would work with fluted bottles and other larger bottle necks.
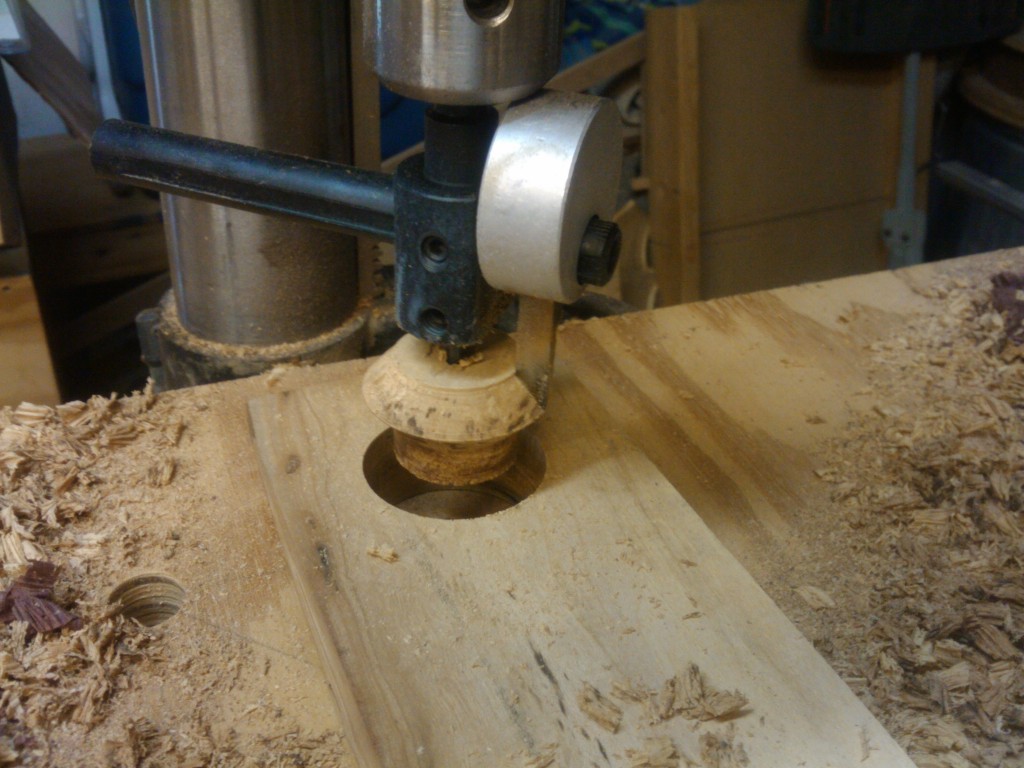
When I took the bottle holder inside, it worked. VERY well. Once I got the measurements done, I jumped on the other ones. If it was easy to make one, it was easier to make a dozen! I cut the bevels on the other ones and started to drill. I used a 1 1/2″ forstner bit to cut the hole on the walnut holders, but the going was much tougher with the maple and purpleheart. For that, I switched to my drill press and a circle cutter.
I put a 1/4″ roundover bit in my table mounted router and rounded over all the edges except the ones at the bevel. I then sanded the pieces down with my random orbit sander and used my spindle sander to make the inside nice and smooth.
I finished each of them with three coats of Watco Danish oil.
Now, the trick to using these is to push the neck of the bottle in as far as it will go, then set the bevel flat on a (stable!) table. Slowly let go of the bottle, and then let go of the stand, and it should stay put. The weight of a full 750 ml bottle of wine will counterbalance the tendency of the holder to tip, making a very impressive display.
I went with the basic rectangular shape for the holders, but you could go with a fancier design if so moved!

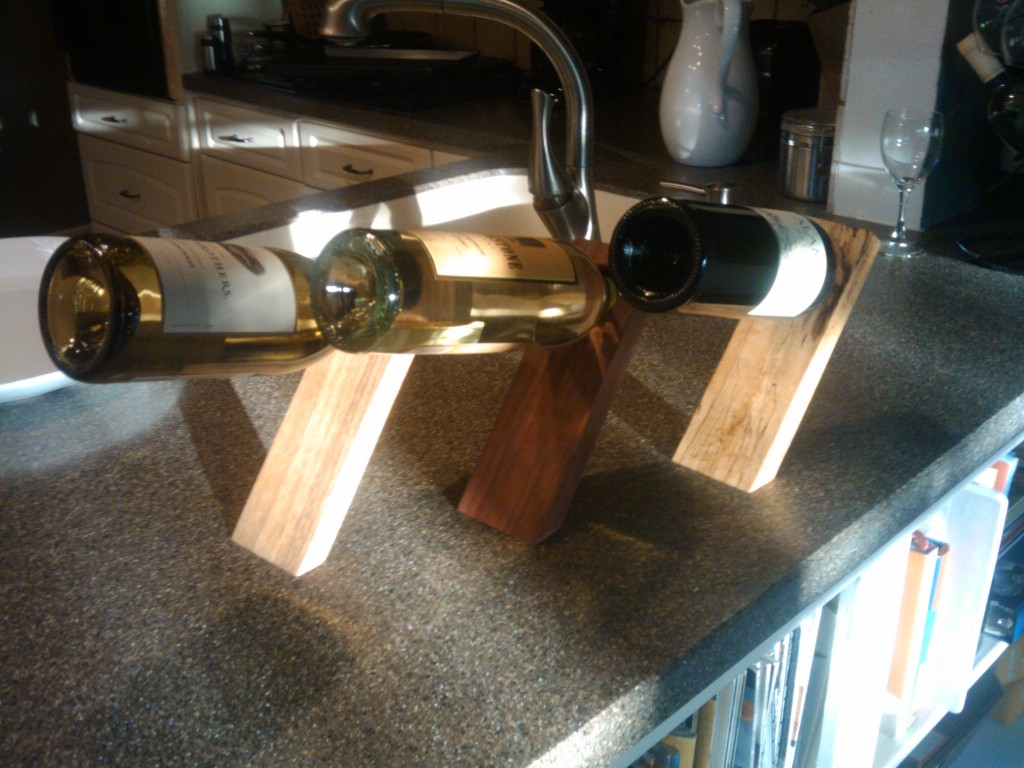
I love the elegance of the design. Very simple and so functional and yet fragile at the same time. Well done, Tom.
Love it.
i just made three today, thinking late mothers day presents 😉
i personally found with mine that 43 degrees was more stable.
Are the hole for the wine bottle and the bevel done at the same angle?
No. I bored straight through and rounded the outside corners over. By boring at 90 degrees, the bottle neck seems to ‘lock’ into place more readily.
I wonder what would happen if you did bore them at an angle?
I have built quite a few of these and I have been calling them the ” Magic Wine bottle holder” Mine are roughly the same except that the hole is at 42 degrees which lets the bottle lay flat. I read somewhere that its best to store wine this way but do not know the reason why. I built a sort of jig that you slide the wood down and the angle is at 42 degrees so that when you bore the hole the bit is at 90 degrees or straight down. I have gotten quite a few people that look at it and ask how come it doesn’t fall over then after a little looking at it they get it.
Great Design going to try it now! Wine is stored on its side to prevent the cork from drying out and the wine evaporating.
Curious if anyone has input on the preferable thickness of board? It must affect the balance?
I used a 1.8cm thick board, and i don’t have a miter saw. So I hand saw it and use profiler to try to make the base flat. Till now failed, the centre of gravity is very sensitive, and I also failed to make the base really as flat as a ‘flat surface’. Going to try again later.
Very Nice
What is the thickness of the wood?