Oh, do I love my band saw now. All of the stuff I had planned on doing with it… well, I can now!
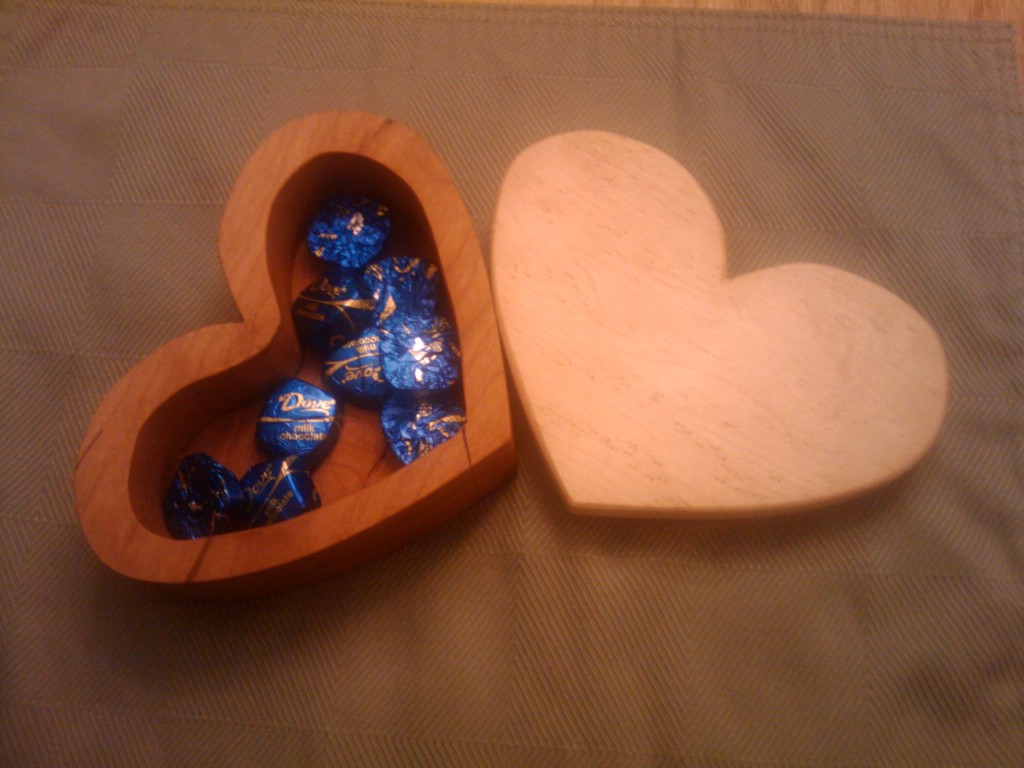
For instance… I wanted to build a little something special for my wife for Valentine’s Day today. The project I wanted to build had to be small so it didn’t stand out like a sore thumb on my bench. It had to use up some of the pretty scraps of wood I had around the shop. And, it had to be something special.
I dug around in my wood stash and found a scrap of 8/4 cherry and some 3/8″ birds eye maple. Why not a bandsawn box? Not only would it be small, it would be fun.
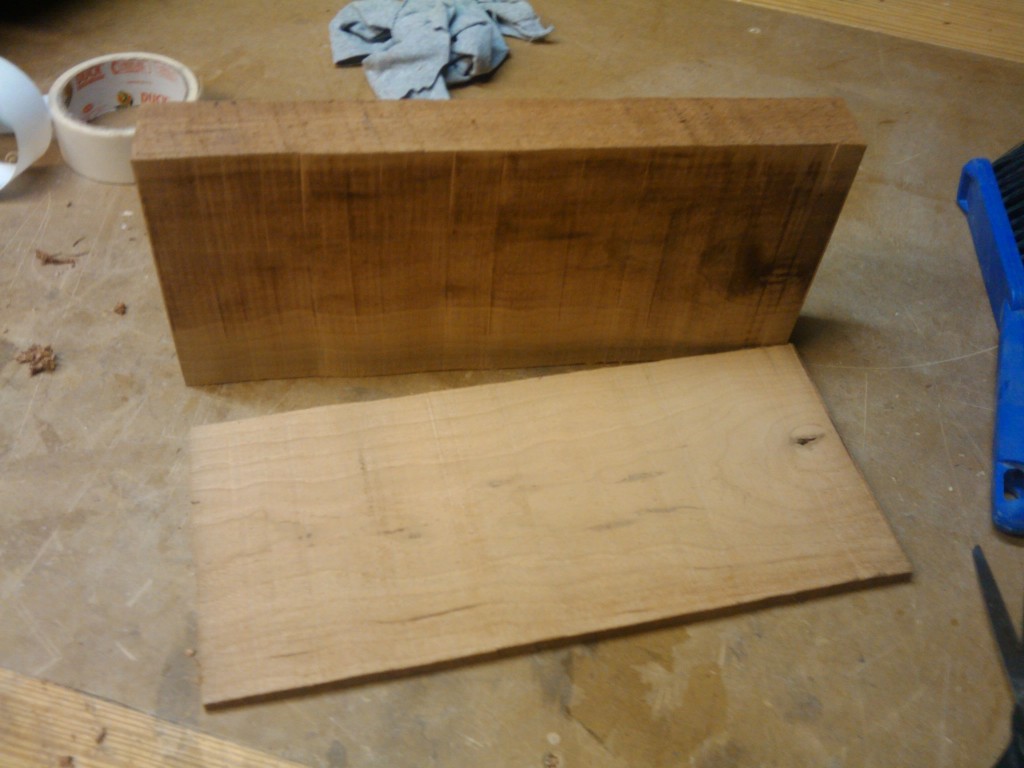
First things first, I had to resaw off the bottom of the piece of cherry. Just about 1/2″ thick, thick enough to serve as a solid base for the box. I left it with the bandsawn marks on it… I was going to come back to sand it after I had everything marked and cut out.
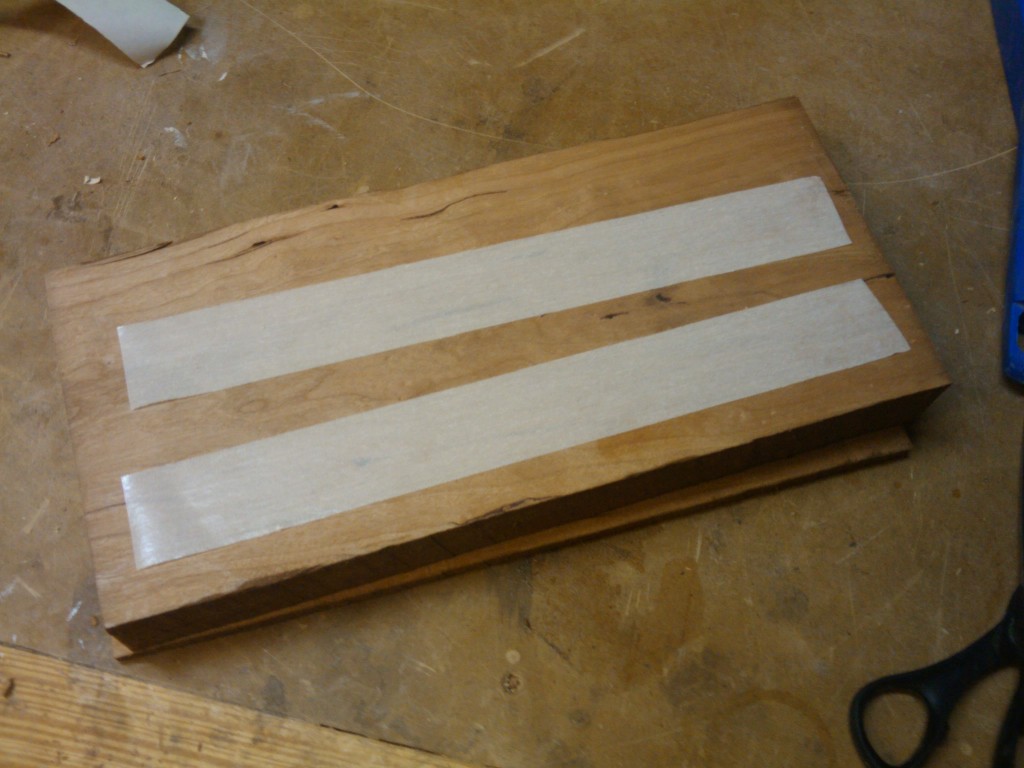 I then used some cloth double stick carpet tape to stack the pieces together before I cut them out on the band saw.This way, they would all come out with the same shape. I was careful to match the grain and stick them together tightly.
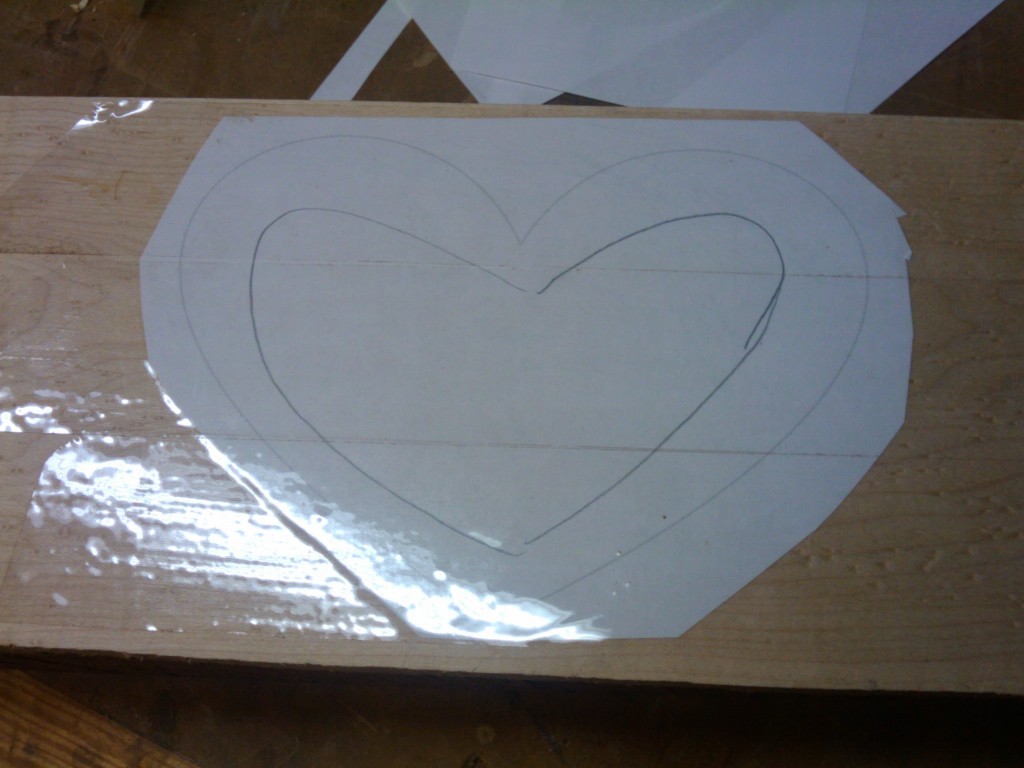
I found a line art drawing of a valentine on line and printed it off on my inkjet printer. While messing around with the image, I traced what I believed the inside cutout would look like, and I taped the image down to the wood. Now, after I cut the first one, From here,I took it to the saw and with a 1/4″ blade, followed the line. Not only had I cut the shape in the wood for the box, I had also cut the pattern free from the board… suddenly, I had a perfect pattern if I ever wanted to make another one.
I separated the layers and traced a line about 1/2″ in from the outside of the edge of the middle piece. I sawed this out from the middle, making the cavity for the box. I had to cut through the outside wall of the box, but I was going to be able to glue that shut when I glued the bottom to the box.
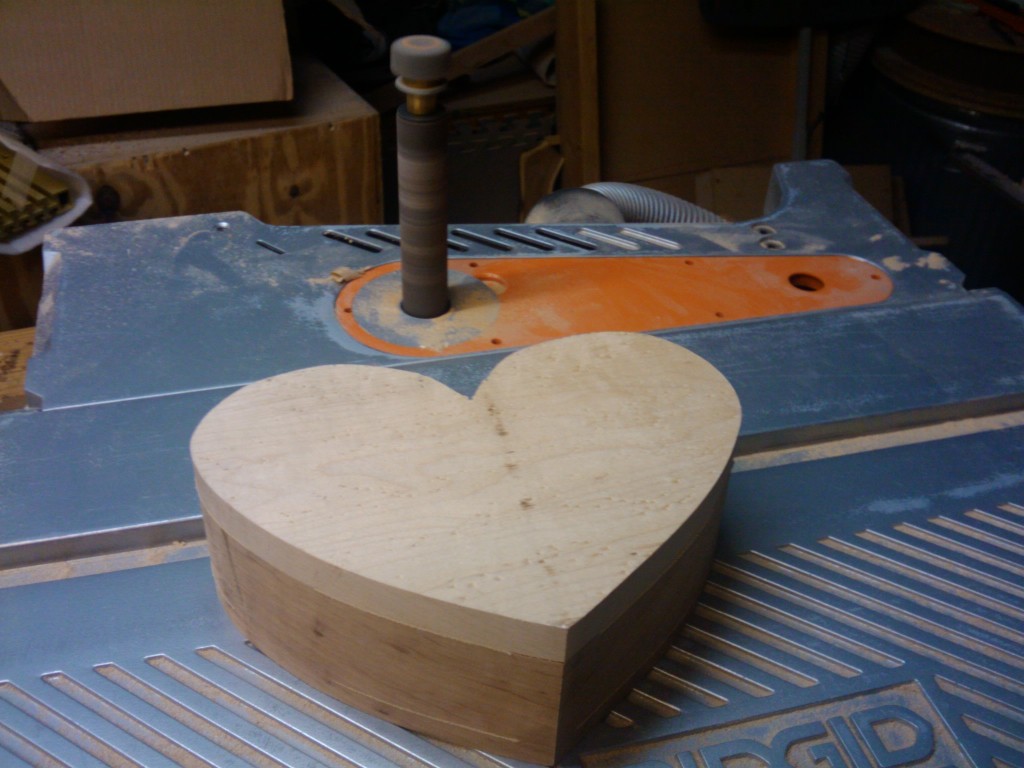
The next -and probably most important – tool I turned to was my Rigid combo spindle and belt sander. This gem of a tool with the spindle allowed me to sand the bandsaw marks out of the inside of the box before I glued everything together. I also sanded the box bottom so when I glued it together, I would be nice and smooth. I then glued the box middle to the box bottom. I then used the belt sander attachment to perfect the sides and lid of the box to make it nice and smooth. I hand sanded the top of the cleft of the heart, because I couldn’t get the spindle or belt sander into there. Finally, I used the random orbit sander to hit the top and bottom and chamfered the lid and body. I applied the finish a few weeks ago – I wanted to make sure that the smell was gone when I put some chocolates in it for my wife…
Overall, this was a great project… it checked all of the boxes on my list… and my wife loved it.

Nice one, should have thought of one myself!!