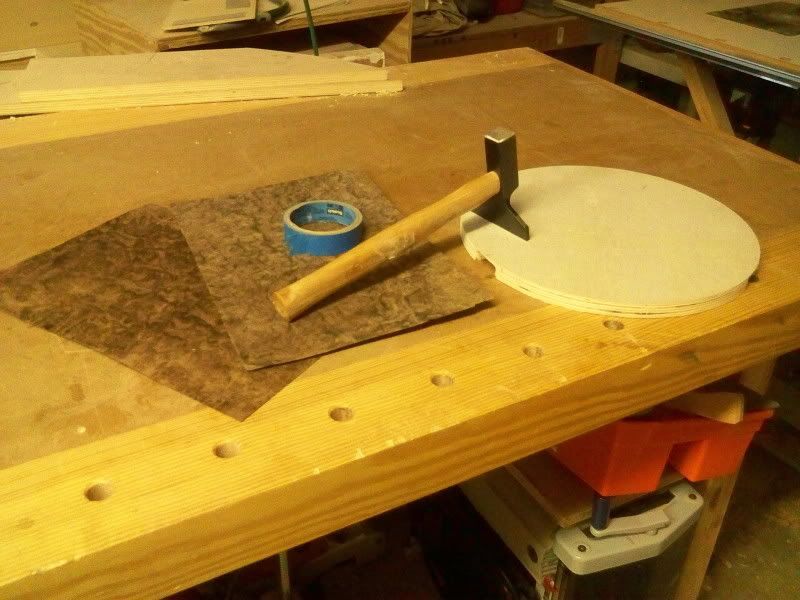
If you have been a long-time reader of Tom’s Workbench, you can remember about a year ago when I demonstrated my first hammer veneer project. Since then, I’ve dabbled in laying large sheets over smaller pieces of substrate, making easy yet eye-catching veneered projects.

Well, for my latest project, I wanted to veneer the top of a circular stand I’m building. I went to veneersupplies.com and looked at the walnut burl sheets. While I could have gone for a bigger sheet to cover the entire project in one fell swoop, a less expensive and smaller lot of walnut burl veneer caught my eye. Never one to pass on a good deal, I placed my order and waited for delivery. I also bought some ash banding to wrap around the outside of the project and some veneer tape to help hold the sheets together while I laid them up. Yes, this was going to be my first attempt at joining veneer sheets to cover a larger area.
After I tore into the package to see the lovely veneer inside, I misted two of the pieces down with Super Soft 2 veneer softener I had purchased during my last veneering attempt. This makes the veneer very supple and easy to apply. I put them under a corian platen and let them sit overnight.
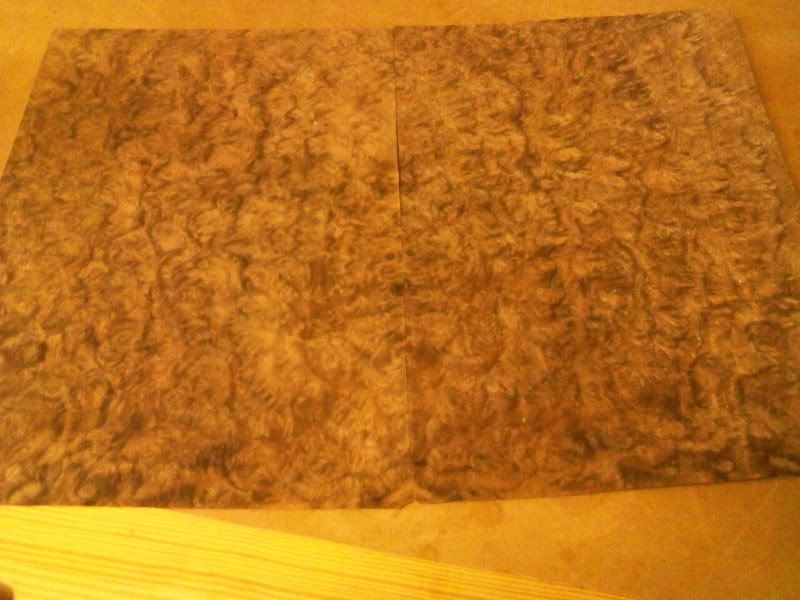
When I was ready to get to work, I discovered that the veneer edges look straight, but they aren’t really dead straight and need to be trimmed. I stacked the two sheets on top of each other and used a very sharp Japanese carpenters knife to slice them cleanly. Once I was satisfied, I turned the blanks 90 degrees and cut them in half, giving me four quarters. I arranged them until they looked pretty.

Then, I identified the ‘good’ side of the veneer (Both sides were gorgeous…), flipped it upside down and taped the ‘bad’ side together using some blue painter’s tape. I had to make absolutely sure that the seams butt together tightly without overlapping – a very important step to take.
Once I got this all taped together, it was a simple matter to flip it up back to the ‘good’ side and get ready to work with veneer tape. This is some very interesting stuff – it’s gummed just like a lick-and-stick postage stamp and it’s covered in holes. While using it to tape up the seams, I discovered two very important things:
- The condensation on the outside of my cold glass of water was plenty to moisten the tape when the adhesive side is dragged against it, and
- The row of center holes allows you to see and ensure your seams don’t open up while gluing it down.

It took one long strip one way and one the other, and bingo, I was ready to glue the veneer down. I flipped the assembly back upside down and removed the blue painter’s tape, and all four pieces held together beautifully with the veneer tape.
I made up a batch of hide glue and laid it over the top of the 3/4″ plywood circle I had cut, making sure to spread it out evenly. Then, I set the taped up piece ‘bad’ side down into the glue. I used the veneer hammer to push from the center of the assembly outward, forcing air bubbles and excess glue off to the side. After a while, the veneer gripped tenaciously, exactly where I wanted it.
After I had it pushed into the glue, I flipped the assembly over with the veneer face down on some craft paper on my bench and set a corian platen on top of that, and finally rested my thickness planer on top of that and let it set for two hours.

When I came back, I trimmed the excess veneer from the perimeter and proceeded to sand the edge of the assembly smooth. I also wrapped some 180 grit sandpaper around a block of wood and sanded the surface. The burl has no grain direction, so I sanded in circles.The result is just stunning, needing a little extra sanding on the outside of the circle to finalize the round shape before I edge band it and to finish sanding the top.
Now that I know the basics of using veneer tape, I’m looking forward to laying up some more intricate designs.

Tom, great images. I have an old sewing table that I want to refinish for my wife. I have refinshed items before but never veneered, which this sewing table needs, and my question is, you talked about the blue tap eon the bad side of the veneer and using veneer tape on the other side. Is this “veneer tape” a temporary tape? You don’t mention that you removed it, only that you removed the blue painters tape. I’d like to know becuase i think I will need to piece two strips together for my wifes sewing table top. thanks Rick
An excellent question…
The veneer tape is indeed temporary. After the glue up, you can moisten it to remove the bulk and then sand off the rest. Very easy…
So, Idk if Im reading this right…the “bad” is the side that actually shows up on the end result, and did you glue the veneer on with that special tape.
Nah, the ‘bad’ side goes down, the tape goes on the ‘good’ side you want facing up. This way, once you glue the veneer down, you can remove the tape and sand away any residue… leaving you with a sweet looking glue up…