After years of listening to music stations on my ride in to work, I have discovered the joy that is sport talk radio. Sure, there are some big talkers out there, but I have found a great morning show on 98.7 FM – The Fan radio.

Two time Stanley Cup champion Chris Dingman and his co-host Kirk McEwen talk serious sports on the Kirk and Dinger Morning Show. In addition to the regular who’s-going-to-get-traded-who-do-you-think-will-win-this-weekend kind of sports talk, they frequently open the phone lines for listeners to weigh-in on a particular sports question. The other day, the pair and the rest of the crew posed an interesting question – are you a Summer Olympics fan or a Winter Olympics fan?
For me, hands down, it’s the winter games. It’s all the speed that really interests me. Watching the skiers tackle the downhill slopes, the ski jumpers sail through the air or the hockey players chasing down the puck in world-class competitions, that is pulse pounding.

My favorite event of all, however, is the four-man bobsled. I will drop whatever I am doing when I see the time trials begin in that. The start is just organized chaos as all four athletes try to get the speed of the sled up as high as possible to shave hundredths of a second off the fastest time. They scream down the track, hugging the turns, and then try to stop the massive sled at the end of the course.
They also universally have someone ringing a cowbell at the start of the race. I remember hearing this going all the way back to the 1980 Winter Olympic games in Lake Placid, New York.
Not only are today’s sleds impressive to watch race, they are models of safety and smoothness. Again, in a race where hundredths of a second mean the difference between gold medal and no medal, an incredible amount of engineering goes into each sled.
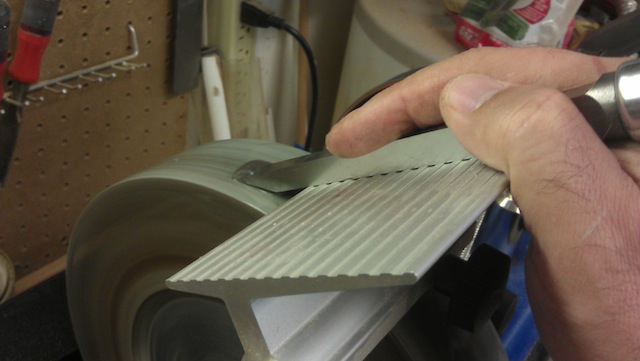
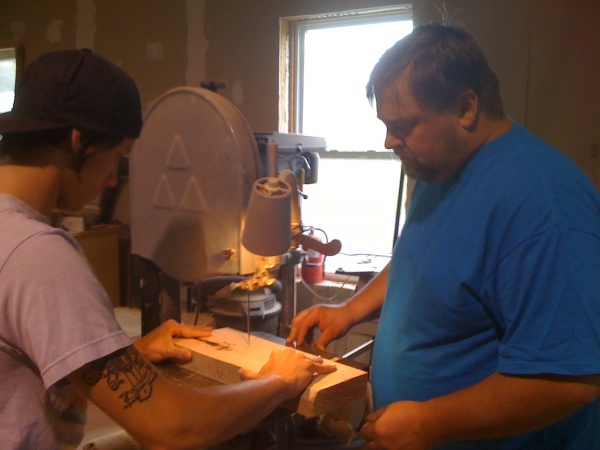
Another place where a sled is useful is on a router table. Oh, sure, many times a simple router fence or a bearing guide can keep your workpiece on track, but what about the times you want to rout a profile on the end of a workpiece – say, when making a cope cut on the rail ends for a set of doors? What then?
Well, you could go freehand – and mess up your pieces, make a trip to the emergency room, or both. Or you could use your miter sled or a fixture that runs in a miter track.

That’s a great idea, but the problem is that the router bit is a single point on the router table, meaning that the router fence doesn’t need to be parallel to the miter slot to get a decent cut. With this situation, you can see how trying to use both the miter slot and the router fence means the fence could either fade away from or pinch toward the track, making it a challenge to get a good cut.
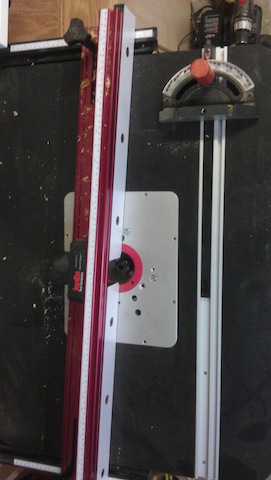
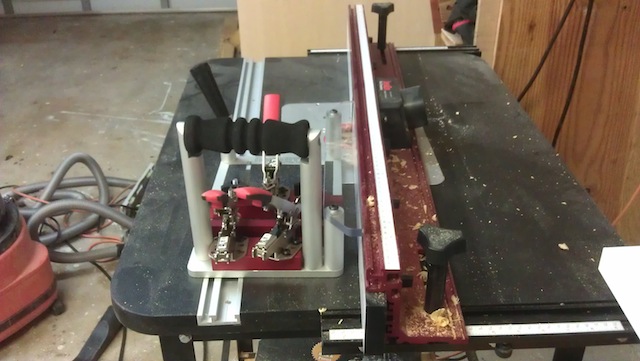
A better idea is to use a contraption that rides along the fence, making it easier to guide the work along only once reference point. Now, I have used something as simple as a piece of plywood with a handle nailed to it, but this sled I picked up from my friends at Infinity Cutting Tools is the bomb.
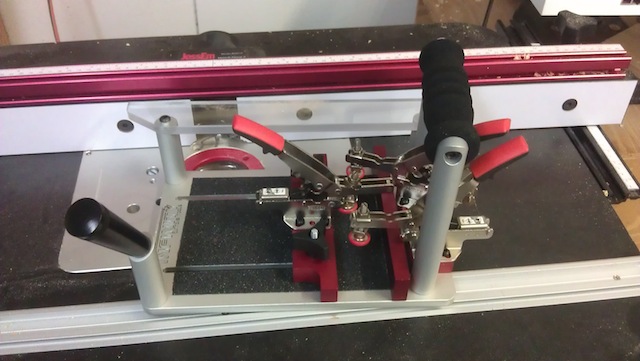 First, it holds the workpiece tightly down to a base, preventing any movement away from the bit as it is fed through. These hold-down clamps are easy to use Bessey models, and they hold the workpiece – as well as a backer board to prevent blowout on the back edge.
What runs against the fence is the clear visor, which allows you a good view of the work going through the bit while preventing any chips from flying up to hit you in the face. A great feature.
 Plus, it has some great handles that afford the user a firm grip on the sled, helping to keep positive control over the work as it pushes across the table.
The real test comes when you have to make a coping cut. I put the coping bit from the set I have into the collet of my router and adjusted the height and depth of cut with the fence. From there, I put the sample piece and a backer into place and clamped everything down.
While I have successfully used this bit set before, I had always worried about the safety and precision of the cut on the cope ends. Well, the first test pass showed I had nothing to worry about.

I can see myself using this sled for years to come as I build new cabinet doors and chest panels. I’m going to say that using a coping sled gets a gold medal in my book.

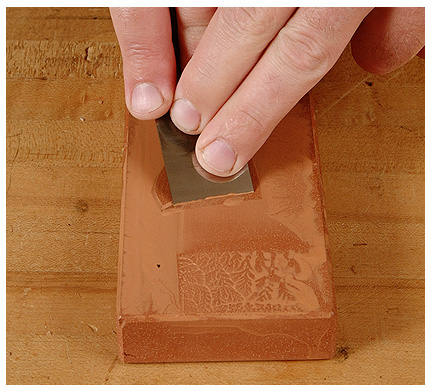
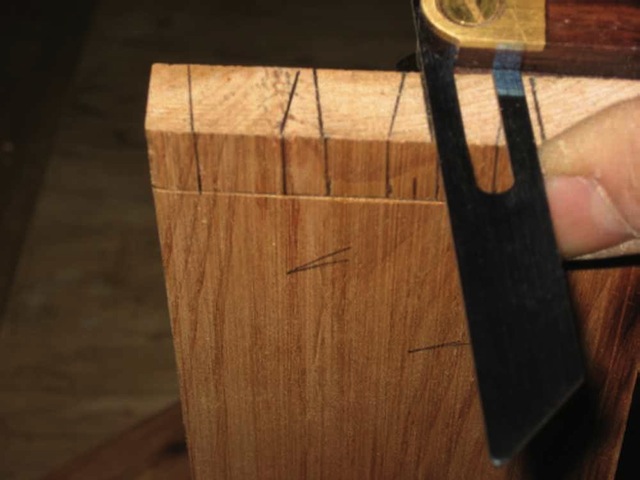
 One of the things we were trying was cutting some three-sided tenons (basically, deep notches) using hand tools. Andy Gibson, the guy who put a new handle on my rip saw, was slicing and dicing with the best of them as he cut the two sides of the notch. But, to slice out the bottom of them, he was using a mortising chisel I had purchased a few years ago. Andy whacked the heck out of it as he cut into the wood, and remarked, “Dude, why don’t you sharpen your tools?”
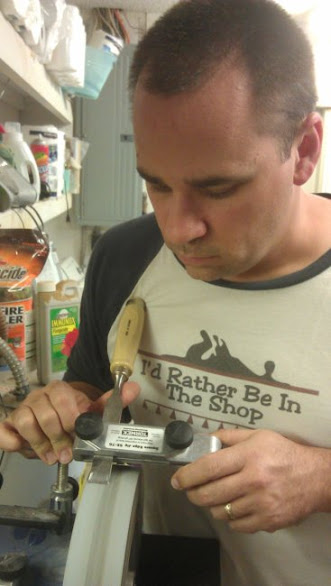
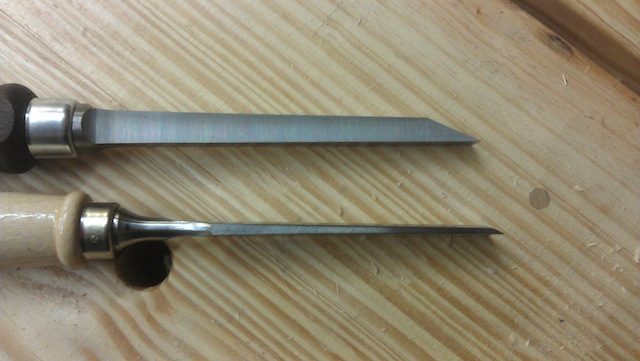 You see, mortising chisels are so much thicker than bench chisels. They are designed to be banged on with a mallet, driven into the cut. So, they have to be much tougher to take that beating. Which means, of course, they don’t fit in to the square edge jig.