
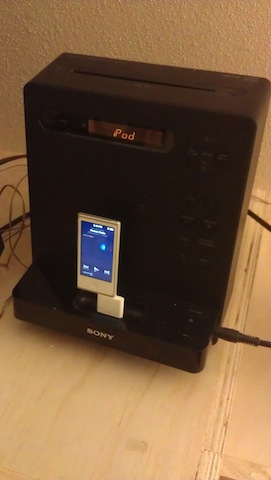
One of the things I love about the new front entertainment center I am building is that I convinced Rhonda to keep the stereo on top of the cabinets. Instead of having it tucked away, this little bookshelf sized unit will be out in the open, easy for me to attach my iPod, play a CD or add some extra oomph to the movies we are showing on the new TV set.
 The other thing I am liking is the idea of sliding doors. Because each of the three cabinets are four feet wide, that would mean two foot wide doors that would have to swing out into the room. That would take up a lot of room that – quite frankly – I don’t want to give up in the living room.
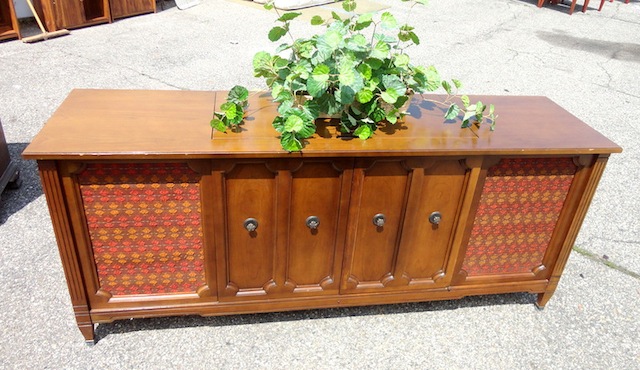 The sliding door idea is hardly a new one. At one point, my parents owned a console-style TV. It came with a record player and tuner, built in speakers and a pair of sliding doors that covered the color TV that took forever to warm up. Those doors helped to make the piece furniture, able to be totally hidden when you wanted to make everything disappear. What a clever idea…
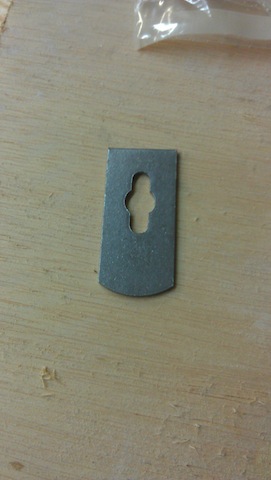 Not wanting to invest in an expensive track system, I needed an easy way to make a set of sliding doors, and wouldn’t you know it, Rockler had the answer. They have some sliding door hardware that are simply small rectangular pieces of steel with a set of screws. These pieces are simply screwed to the back of the doors – mine are simple pieces of 1/2″ plywood cut 1/4″ less than the top to bottom measurement and each cut with 2 inches wider than half the overall measurement to allow for some overlap – and ride in saw kerfs in a piece of wood. Because you can loosen them and slide them out of the way, you don’t have to remove the entire track to get the doors out. Very handy.
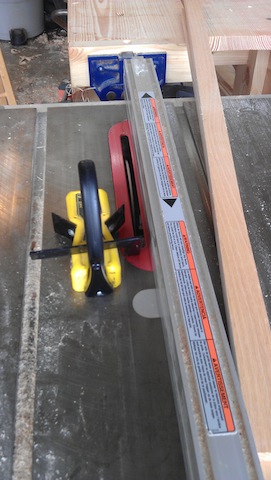 I made those kerfs in a piece of oak (it’s a hard-wearing hard wood) using my table saw blade. I had to remove the splitter and guard because it wasn’t a through cut, and I used my Grip Tite 2000 to hold the wood down to the table and in to the fence. I spaced the first kerf the thickness of the plywood door back from the blade, and put the second back a little further than two thicknesses to allow for some space for the hardware.
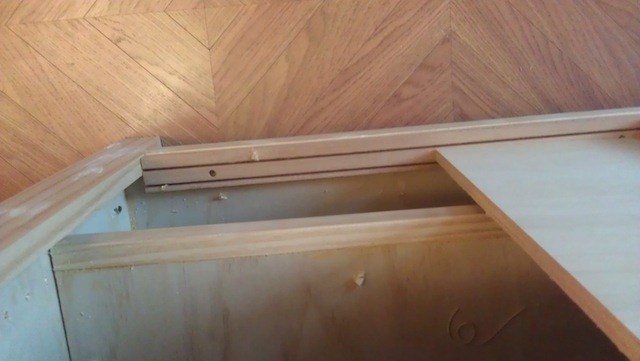
As you can see, looking down at the bottom rack, you can see the two kerfs with the inside door mounted in the rear-most kerf. I just screwed the track to the cabinet, in case I do have to remove it. Installing the doors is easy – just set the fully-extended hardware into the bottom kerf, then tip the door in and extend the upper hardware into the upper track, and bingo, you have a sliding door.
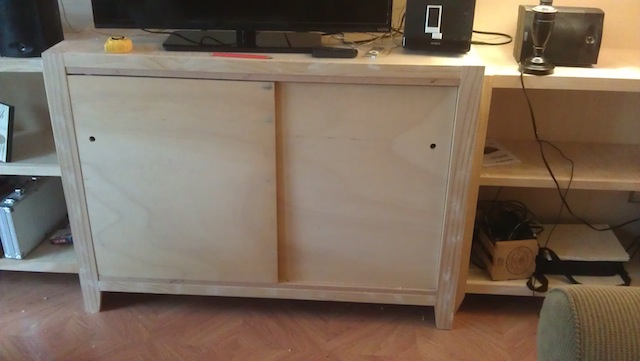
To make it easier to move the doors, I drilled some 3/4″ holes into the doors, and will later insert cup handles into the holes to dress it up. Believe me, you need the handles – trying to open these suckers without being able to get a finger hold is a pain in the butt…
Once I build the other two sets of doors, I will have to sand and paint them, and put some low-friction tape on the bottoms of the doors to help ensure some good sliding. Then some oak tops for each of the three cabinets.
We’re definitely making some progress.