I bought my current table saw back in 2001 – April, I believe. When I got my hands on it, wow, it was just love at first flip of the switch. The thing surged to life – a whole lot more quietly than the universal drive benchtop table saw I used to have. That baby was a dream.

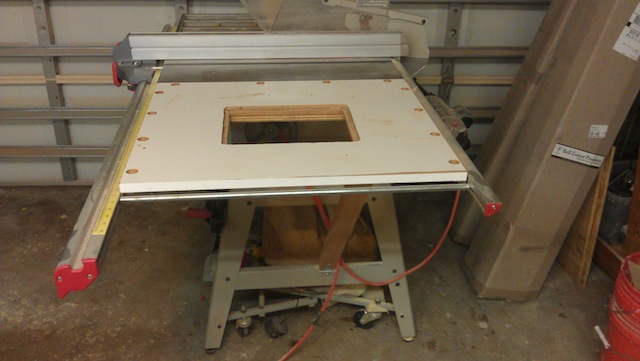
And, after a short while, I had heard that I could add a router table to one of the wings of the saw to open up some space in the shop. I was sold! So, I cobbled together a little something – a sheet of melamine covered particle board, some bolts, a little bit of aluminum angle and I had myself a plan. So, I took out the right most extension wing and put my shop-made model in there. And it was good.
That’s when the one shortfall of this plan hit me. If I had to use both the router and the table saw – for something like shaping some molding on an oversized piece of wood and cutting the molding free – I had to move the rip fence between acts. Which meant I was never going to get my measurements exactly right. And, once the folks at Infinity Cutting Tools set me up with a new router table, well, this wing-mounted router table was unnecessary.
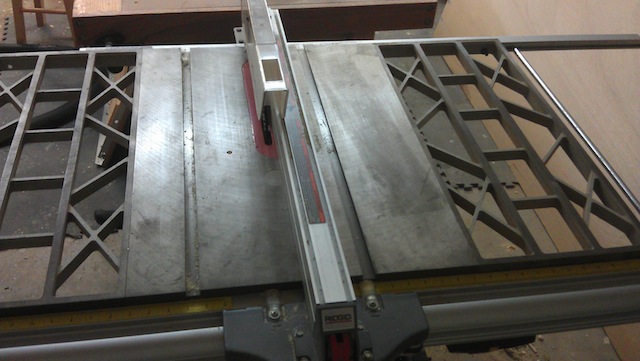
Fortunately, I had saved the original cast iron wing (even though I hadn’t saved the original bolts…), so all I had to do was break out the owner’s manual, buy some new bolts, washers and lock nuts and hook everything up again.
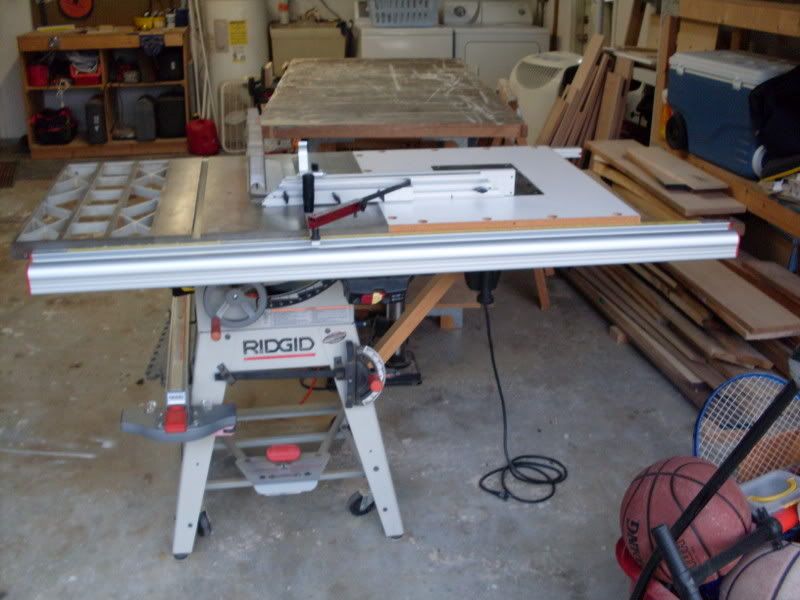
Getting to the table was going to be easy. The saw rolls nicely on the caster system, so I was able to spin it around to get lots of well-lit working space. As you can see, it fits between the front and back rails, and has a diagonal brace to help support the weight of the router, table and work on it. The brace was going to have to go first.
Since I had no earthly idea how I was going to get a diagonal brace into the space, I mounted it with a pair of T-hinges between the stand and a support block I had glued to the bottom side of the table with epoxy. Sure, it’s probably not the best idea, but it worked for nearly a decade. That was just a simple matter of unbolting it from the stand and unscrewing from the bottom of the support block.
From there, I had to remove a round steel spreader bar that adds support to the rails. This was easy to do with an allen wrench. I was very careful to not lose the clips that held the bar in the tracks of the front and back fences. Then, it was a simple job to unbolt the carriage bolts that held the table to the rails and the table to the saw, and slide the whole assembly off the rails. It took a little jiggling, but it worked.
While I was in there, I took the opportunity to replace a broken wire tie that allowed the power and motor cables to hang loose in the back of the saw. A wire zip tie was all that was required. I also gave the retaining screws on the two hand wheels a quick turn to tighten them while I was there. I then installed the bolts into the wing and slid the assembly into the rails until it was snug to the saw’s body.
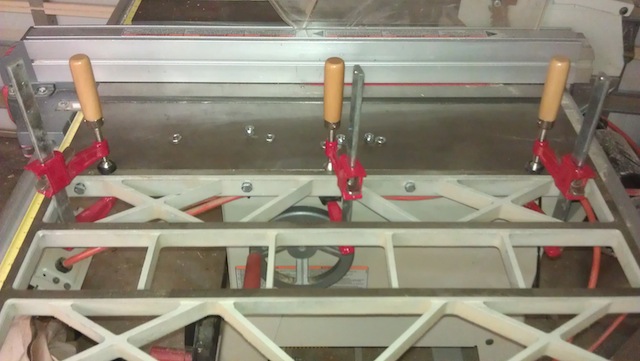
The instructions in the manual said to use a set of clamps to hold the wing flush to the saw table, which I did. I put the lock nuts on the back of the bolts and tightened everything into place. This was much easier than I had imagined. I slid the steel spreader bar into place and put the end caps back on the front and back rail. There, good as new…
While I was down there, I noticed that the velcro strip for the canvas dust collector bag I had put on the saw failed to hold in the dusty environment. I am thinking about finding a new way to hold that bag onto the saw to help contain the dust it generates. But, that’s another post for an other day…


Tom, is your saw a Ridgid 3650? My TS is and I use the built in dust shroud around the blade, and installed a sort run of 2.5 hose to a 2.5″ to 4″ adaptor to the DC hose. Works pretty well. I’ve thought about building a cabinet on steroids for the saw. Still might do that. I have the same caster system you do, but I’m repeatedly having to tighten everything down again. Plus it’s hard to move the saw and get it to sit on the feet when you disengage the casters.
It’s actually a 3612 – the model just before. I have a few ideas in mind for dust collection I am hoping I can use…
The Herc-U-Lift system has been a good performer for me for years. I used a little thread lock when I put the thing together, so no nuts work loose. It seems to be working well.
I had a rigid table saw and was totally won over on it. Alas it is no longer with me. But, maybe in the future.
It’s fun switching stuff back & fourth.
I think I’ve done this to two or three different set ups.
It is an ever evolving process.
I’ve got the model just prior to yours, the TS2424. Still runs like a champ, and you’re right, that Herc-u-lift system is excellent. They used to sell them separately so I have one for my band saw, planer and mini-lathe. My saw came with a dust chute add-on…black plastic with a 2.5″ dust port to hook up to the shop vac.