My other favorite hobby is cooking. I love it. I can’t really get enough of thinking out a menu, getting the ingredients and working through the recipes to bring a great meal to the table. From appetizer through dessert, I love the whole process.
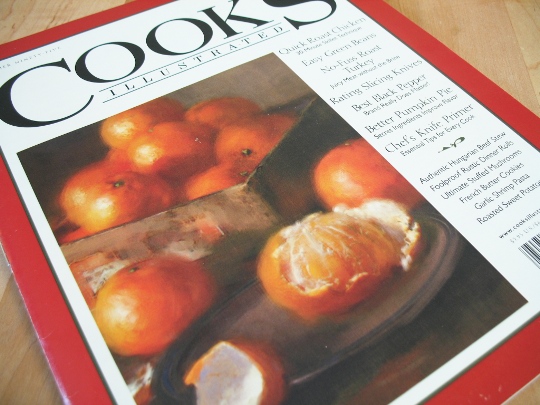
As an enthusiastic home cook, one of my favorite magazines of all is Cook’s Illustrated. Yup, I’m a subscriber, and I’m not sure who loves the subscription more – me for getting the magazine and great recipes, or the family, who gets to eat what I’ve cooked!
A few of the things I love about the recipes in that magazine are that they are very thorough (they will often make a dozen – or more – iterations of the same recipe to ensure they get the best results), they often rethink classic recipes in new ways to improve the product, and they will often reveal a ‘secret’ ingredient that can take the recipe from eh to WOAH! A splash of cola in barbecue sauce adds a deep, sweet flavor. A little powdered gelatin helps keep meatloaf juicy. And, amazing enough, a dab of anchovy paste can make most meat dishes taste a whole lot more savory…
In many ways, finishing is very similar to putting together a delicious meal in the kitchen. You have to have the right technique, the right ingredients and do things in the right order to get the best results. And, sometimes, you have to have the secret ingredient that makes your final product something that folks will rave about.
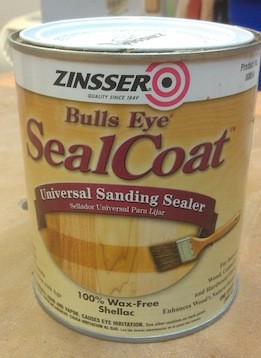
For me, this is the secret ingredient. Zinsser’s Bull’s Eye Seal Coat. While I have never used this as a final finish for a single project, it gets used more than anything in my finishing cabinet.It is a dewaxed shellac dissolved in denatured alcohol. Now, I’m sure you can buy your own shellac flakes and dissolve them when you need them, but I have found the prepared version is a whole lot more convenient, and I have yet to have it fail on me.
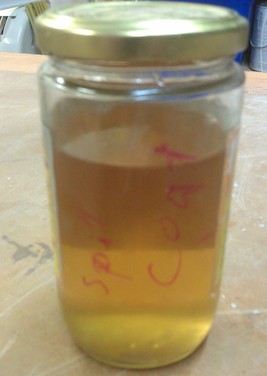
I’m not sure what the exact pound cut is, but it’s a little bit too thick for my tastes. What I do is take an old glass jar and fill half of it with denatured alcohol. I will then top the rest of the jar off with the Seal Coat. I recap the jar and give it a good shake or two to mix the liquids together (probably unnecessary, but it’s a habit). Now, I call this mix my spit coat… sort of a pre-sealer kind of arrangement.
When it’s time to finish a project, I will sand, scrape or plane the project until it is nice and smooth. Once I get to that point, I will brush, blow or vacuum off as much dust as I can. Then, I’ll grab the jar of my solution, dip a clean piece of cloth into the mix and wipe it on in nice, long strokes with the grain.
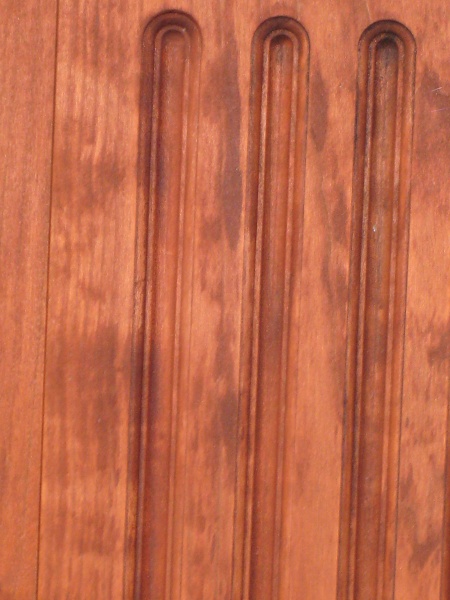
Now, you have to let this dry for a few hours at a minimum. Yes, this happens before you apply the finish, effectively sealing the wood. Why on Earth would you do that? Well, on blotch-prone woods such as pine and cherry, this prevents the wood from absorbing too much stain, dye or finish, especially in the wavy grain of hardwoods like cherry or the earlywood of softwoods.
The next step is to sand that finish down with some 400 grit wet-dry sandpaper. Really go to town on it. What you are doing is removing the bulk of the finish on the surface, but leaving enough of it down in the pores of the wood to prevent the blotching. Also, the shellac freezes the wood fibers as it dries. So, when you do this sanding, you will get the surface ultra-smooth. Like baby’s bottom smooth. There’s a lot to be said for a very smooth finished surface! After that, simply apply your finish of choice over top of that, you are good.
Since Seal Coat is shellac, if you are building a project for a child – who may decide to try teething on the toy – it’s a safe, non-toxic finish that will work like a champ. After applying the thinned down sealing coat, apply some full-strength layers to finish it off.
OK, it’s not the most glamorous of ingredients, but if you are looking to take your finishing to the next level, give this secret ingredient a shot. I think you might just like it.

Tom,
I love SealCoat too. Its my most used finish. I often put down two coats at a half pound cut, followed by 6 to 10 at a one pound cut. I give it about an hour between coats and can finish a project like this in a single day.
By the way, SealCoat is a 2 pound cut out of the can. I use the Woodshop Widget to calculate my dilution rates.
Thanks for the article Tom! I’ve eye-balled that before and wondered if it would save some hassle over the flakes.
Looking forward to giving it a try!
Craig
I’ve been using your “Spit Coat” method for a few years now and you are correct, it makes for a super base for the final finish even if you are staining.
Rog
Hey … I read the same magazine but when it comes to grilling … we are going to have words. Remember I am a gaucho. We don’barbecue in the American style, we slow grill which is not quite … and almost smoking. The difference is that all we put on the product is sea salt or kosher salt, may be olive oil.
Shellac … I completely agree, just finished a project with alder and the shellac helped to prevent blotching.
OK dude … see you soon.
Do you.. gulp.. do the whole churrasco thing?
Can I come for a visit? 🙂
I use your secret spit recipe, but a little more like 60/40 Seal Coat on pine, and it really helps control the blotchiness.
Thanks Tom.
He he he… you said secret spit…