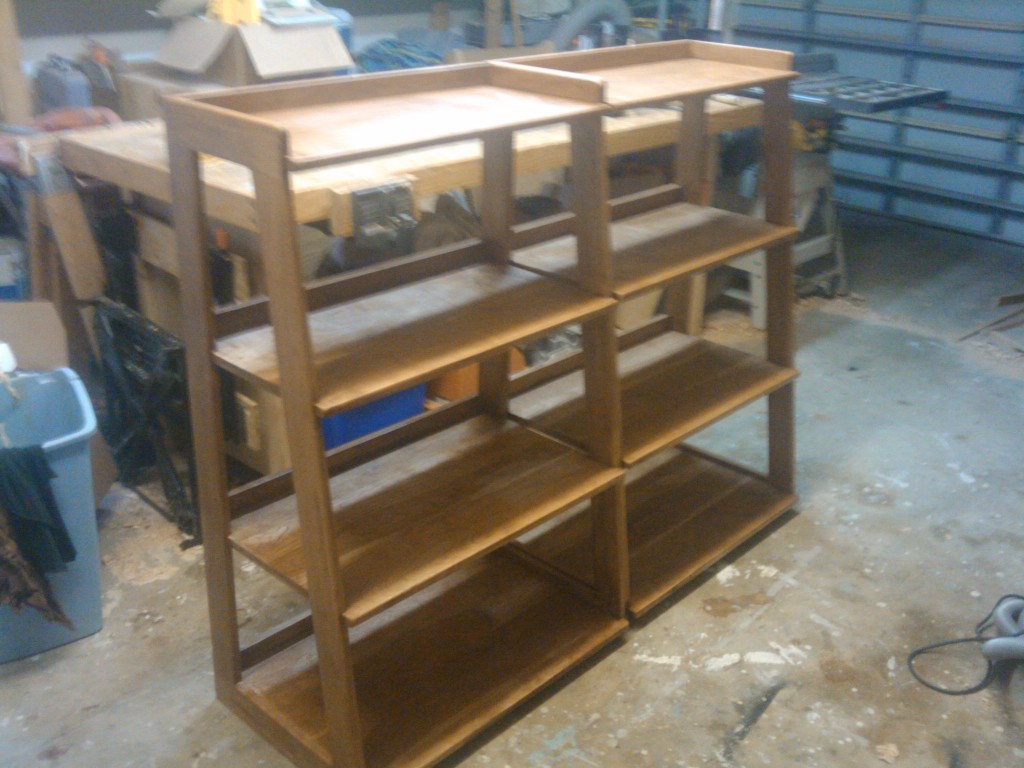
So, the end of the line is coming for the step ladder bookshelf project. Finishing. The part of the project that scares me. Because, well, I usually mess things up in this phase.
Deep breath, Tom. Take it easy and relax. It can’t be all that bad.
Wait a second. I’m going to use stain.
Aaaaaaaaaaaaaaaaaaaaaaaaaagh!
Yup, this is the first time in a long time (like perhaps a decade) that I’ve used stain in a project. The cherry I was using was such a mix of sapwood and heartwood, I just had to go and use some stain to – as Norm says – unify the look of the piece.
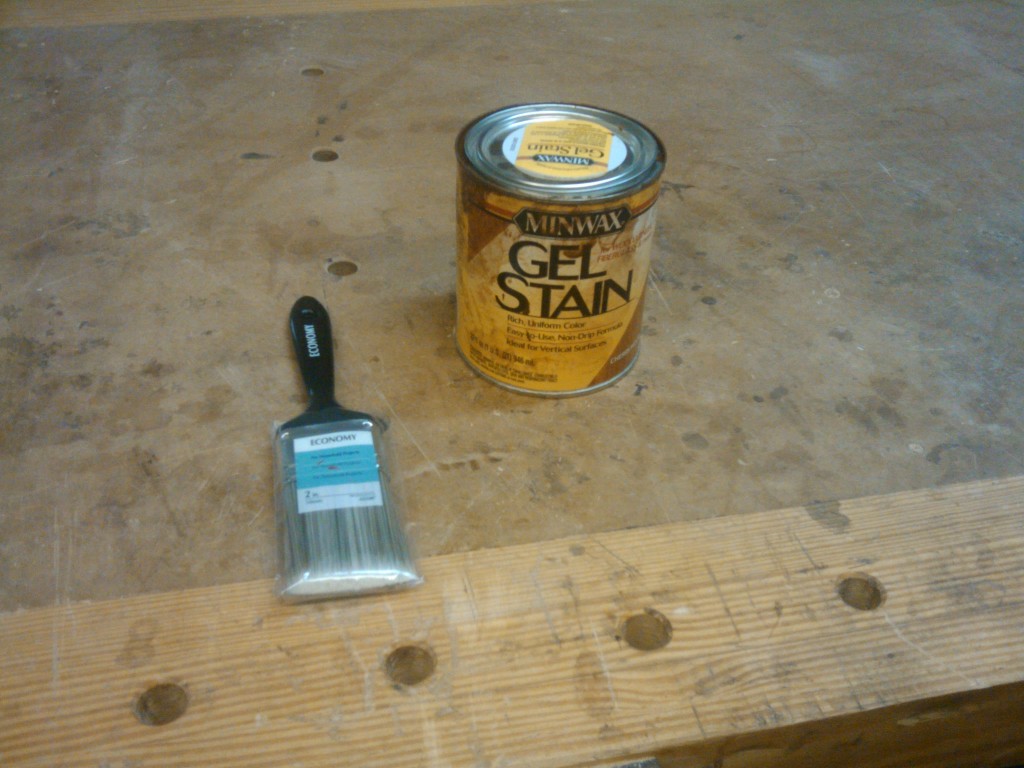
The only choice for cherry that made sense was to use a gel stain. Minwax’s cherrywood, to be exact. Since cherry is so blotch prone, gel stain absorbs slowly, preventing the inevitable nasty stain job. That is, of course, if the user applies it right. Gulp.
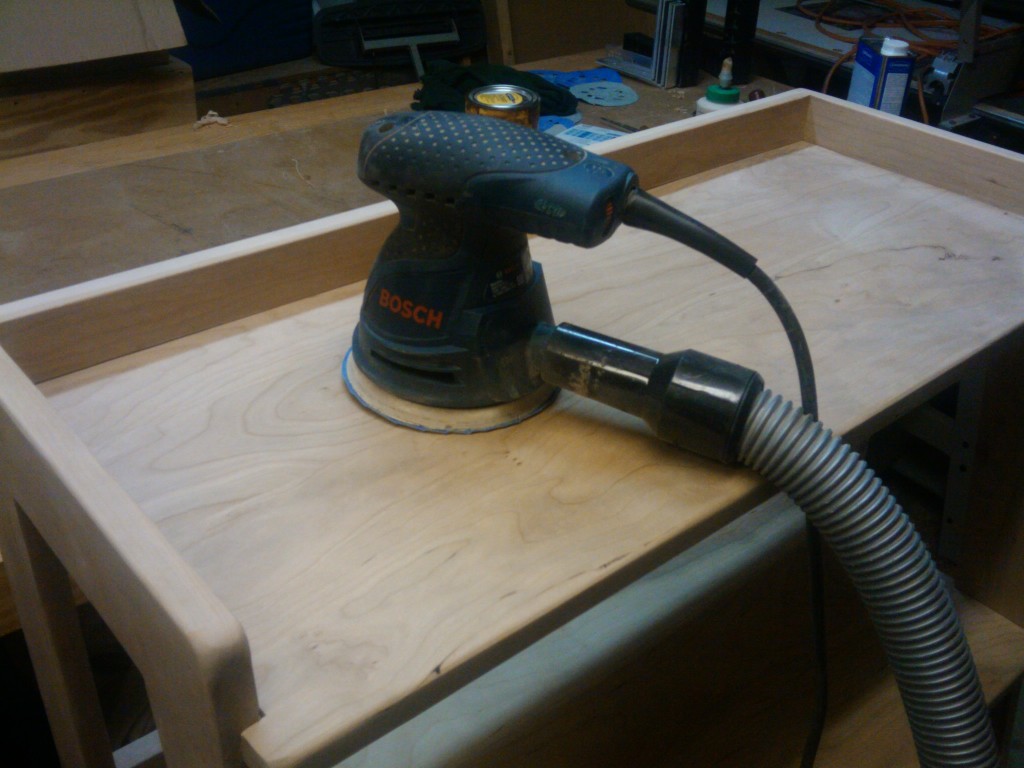
So, I had to sand. And, with my random orbit sander, I was able to sand through 180 grit with relative ease. I’m still amazed how quickly an thorough sanding can take a project with imperfections and really perfect it. Of course it takes time, but hey, that’s the way stuff goes.
Next up, I brushed off the dust and cracked the can of stain. It was some wild looking stuff.. kinda clotty. I stirred it up, dipped a cheap brush into the mix and started applying it to the project. Unlike the thin stuff you normally use, you really have to move the stain around with your brush. I worked it into the corners and across the flats, keeping it as best I could to one plane at a time. This way, I hoped to prevent issues with lap marks.
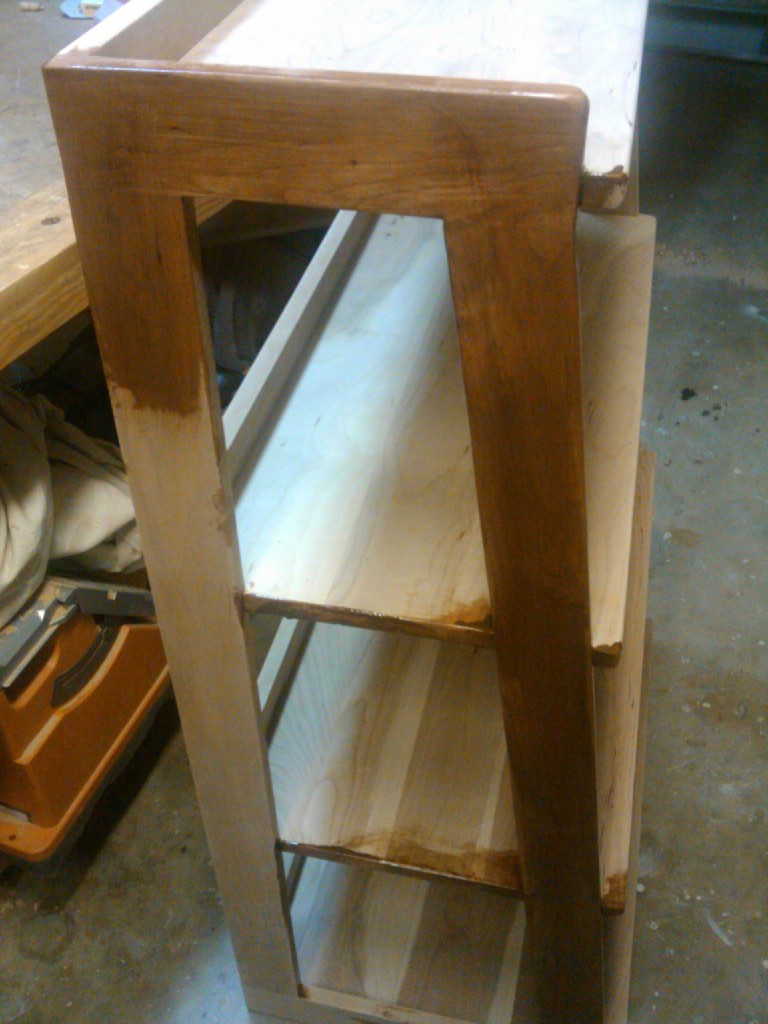
Now, since gel stain is thicker than the thin stains, it also presents a challenge when wiping off the excess. Even when I followed the can directions to wipe off the excess within three minutes, the stuff on the board was already tacky and tough to wipe off. To help get around this, I dampened the wiping cloth with some mineral spirits, which took off the gummy surface residue without affecting the nice color I had gotten on the surface of the boards.
The results – not too bad. Remember that stain accentuates whatever sanding scratches you leave on the surface, so there were some areas that I had to resand. Oh, well. That’s the way it goes.
Now, I’m going to have to let it dry at least 24 hours before I can start applying a wipe-on poly to get a protective surface for the project.
And, I’m going to have to build that surface over the next few days, because I’m headed to Cincinnati for Woodworking in America 2011 this coming Thursday. More on that in Wednesday’s post…


Tom
Being an old primate vet (and now a woodworker) I have to ask where did you get the picture of a macaque “monkey” with a New England light house and hardwood trees in the background????
Woah… I can’t give up all my trade secrets! Let’s just say that Iggy has ‘connections’ to make stuff happen…