So, last week, I was on the horns of a dilemma. Debating on a joinery method for a set of bookshelves I’m building for a client.
And, I found myself in an all-too-familiar situation. Paralysis by analysis.
Your comments to me were great. Insightful. Profound. I should choose the joinery method that challenges me the most… I should choose a method that could last a thousand years. And, as I frequently do, my mind started to race. How could I cut a great joint that I had never done before… one that could impress my woodworking friends and the client?
And, before I knew it, it was five days later, and I hadn’t done squat to get this project done. And, then the client asked,” So, how’s the project going?”
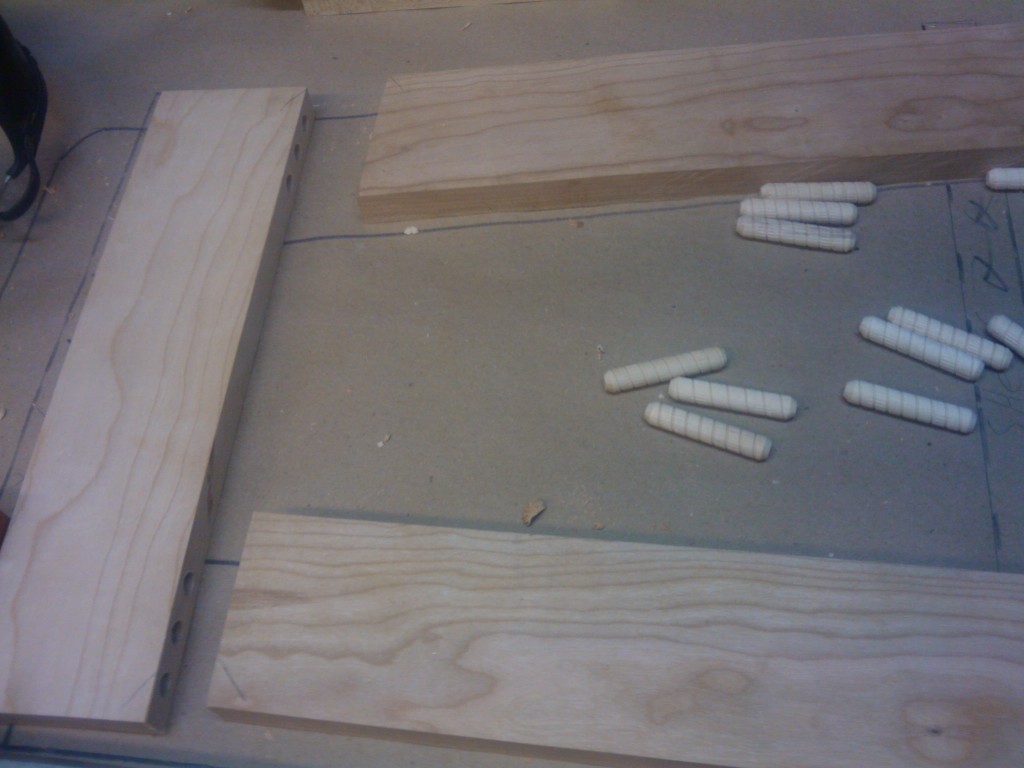
Gulp. OK, then! I broke free from my navel gazing and decided on dowels to join the corners of the frames.. Fortunately, I had already drawn the piece out in full scale on paper, so cutting milling the pieces out and cutting to size was a piece of cake. Well, I did really take my time to ensure I had the angles down on the front rail. That did take some time. But, hey, I want this piece to be right.
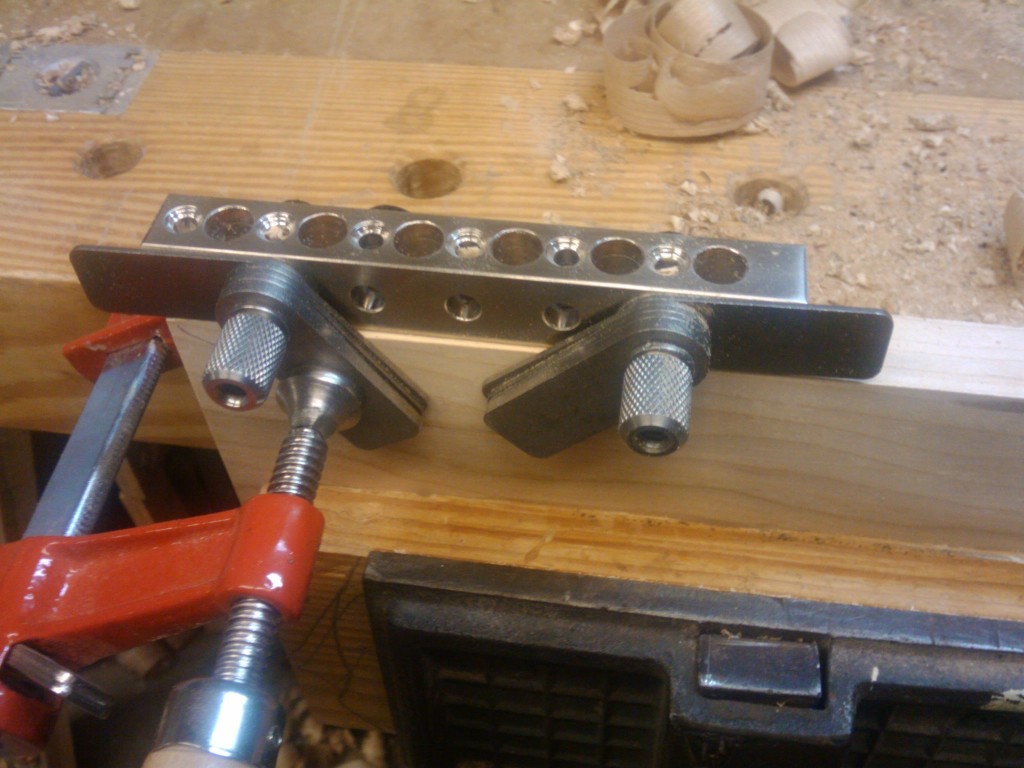
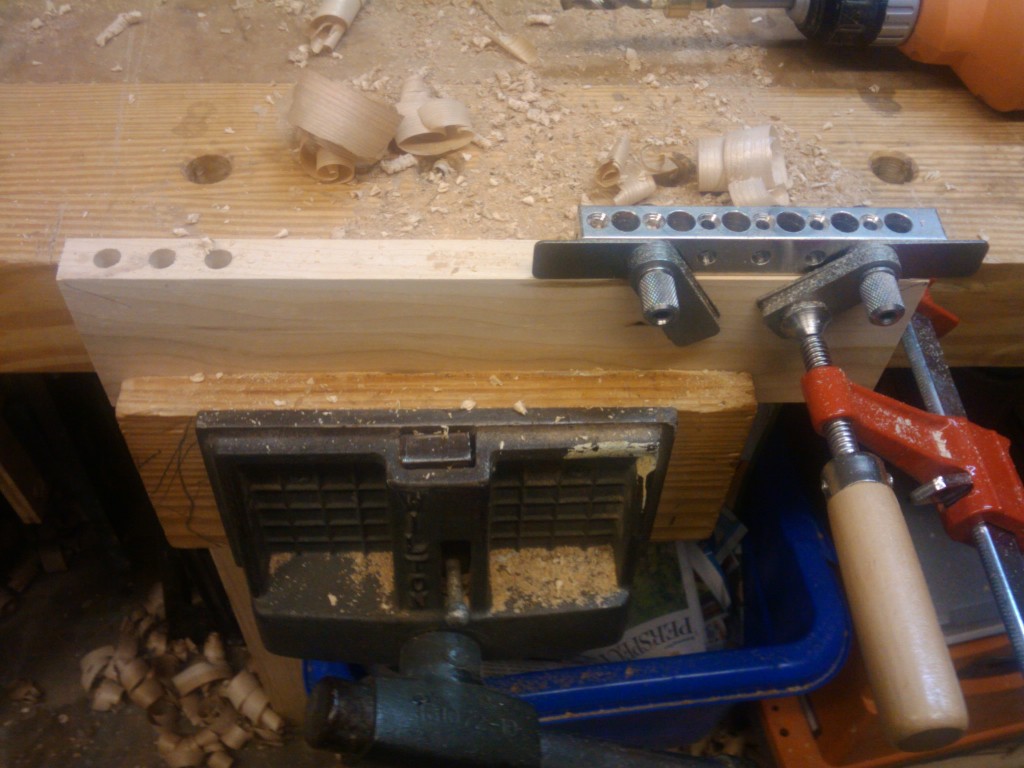
Doweling with my Joint Genie is just as easy as I remembered. The jig is a solid steel block with accurately spaced holes where you can drill a series of dowel holes in the wood so everything matches up perfectly when you go to assemble. The jig has spacer leafs on it, which allowed me to adjust the location of the jig to get the piece roughly centered. No, this isn’t a self-centering jig, so you will have to reference from adjoining faces of a board. Remember this, or you may not like the results. At all.
Three holes, drilled just over an inch deep into each mating face, and I was ready to slide over to the next location to cut the next joint. Each three-dowel joint held the three spiral dowels snugly in place, ready for glue and the mating piece.
Now, when you are assembling any joints, it pays to not be a block head. If you have the top and bottom pieces ‘capturing’ the front and back uprights, you can’t glue the back one in place, clamp it up and then try to squeeze it in there after the fact… Don’t ask me how I know this… But, a little work with some glue, a mallet and a clamp or three, each of the side pieces glued up nicely and will be drying overnight.
The funny thing is that after this, the rest of the work is very straightforward. Sand down the sides, cut the shelf dadoes, assemble sand and finish. I’m definitely going to have to pick out a few nights after work this week to push this one along… and stop thinking about it!


