Shelves in furniture projects are great.
They can hold books, boxes and clothes. Important papers, stereo components and bottles of wine. Clocks, pictures and ceramic figurines of pink flamingos that scream “I live in Florida!”
The tough part is getting them mounted securely and having them come out level so the stuff doesn’t roll off onto the floor.
There are several schemes you can use. Screw cleats into the sides of the furniture and permanently affix them in place. Or, you could rout out grooves to install a metal shelf standard. While these are good ways to get them mounted, the way that many woodworkers go with is the use of shelf pins.
You can find them spoon or L shaped, and they can fit into holes drilled directly into the case sides or into sleeves which fit into those holes. They are exceptionally convenient if your book, electronics or knick-knack collection changes over the years by simply moving the pins to holes above or below to raise or lower the shelves.
The real trick is to get them level. A typical shelf will use four pins – two on each side – and, if they aren’t absolutely level, you are going to have some trouble with wobbly shelves.
Since the thought of hand measuring and marking every single hole will drive you bonkers in short order, we often turn to jigs to speed up the process. A shelf pin jig can be as simple as a piece of shop grade pegboard or as complex as a production jig for making European style cabinets based on the 32 mm system.
Me, I’m looking for simple, inexpensive and foolproof. Heaven knows I’m a very advanced fool, so foolproof is definitely a selling point. That’s why I went with a simple hand drill based commercial system.
Sure, you are probably yelling at your computer right now. “Tom, why spend money on something you can build from scrap?” Simple, I’m lazy, and I figure that when I want to do shelf pins, I just want to be able to grab it and go. No fuss, no muss.
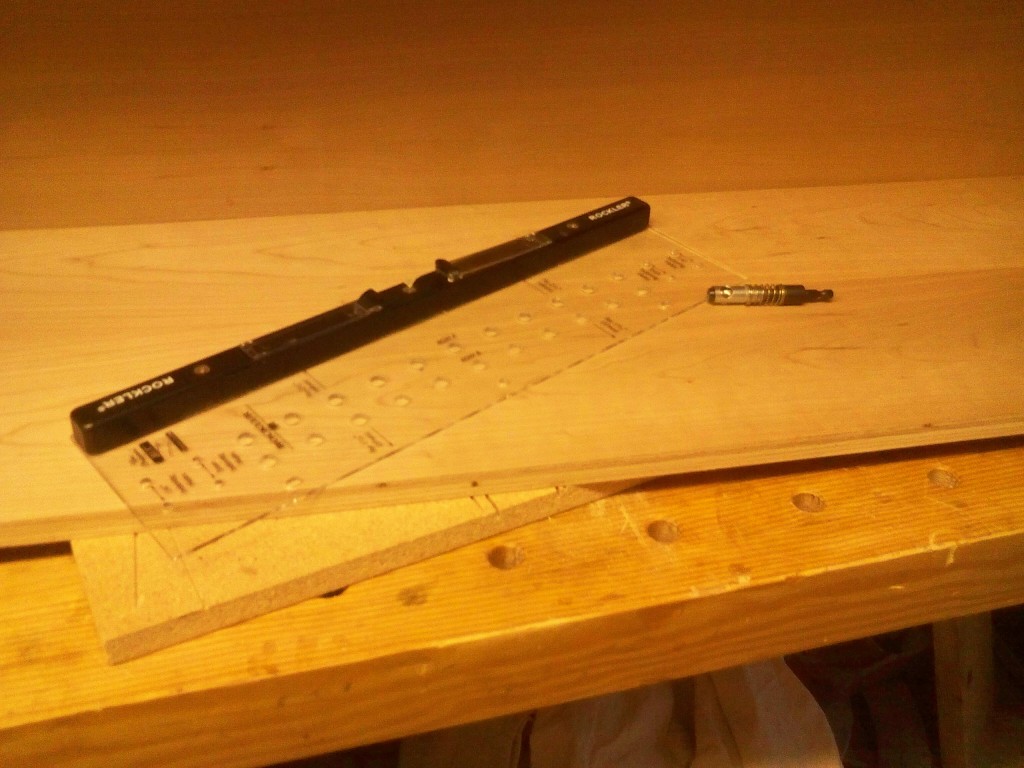
A system like this is insanely simple. It’s a piece of plexiglass with shelf pin template holes drilled into it. These holes are placed so there is the same distance from either edge of the jig to the first hole. This way, you can use the jig in any number of configurations and the spacing will come out right on the money.
The secret weapon with this jig is the special bit that comes with the system. It has a 1/4″ drill bit set in a spring loaded body. When you position the bit, the plastic ring at the top of the bit engages the jig’s hole, preventing it from sliding. Once you start the drill and plunge, the bit cuts into the wood. The bit also has an automatic stop which allows it to plunge just shy of 1/2″ deep, which means you won’t drill through your cabinet material. Sweet. More foolproofing.
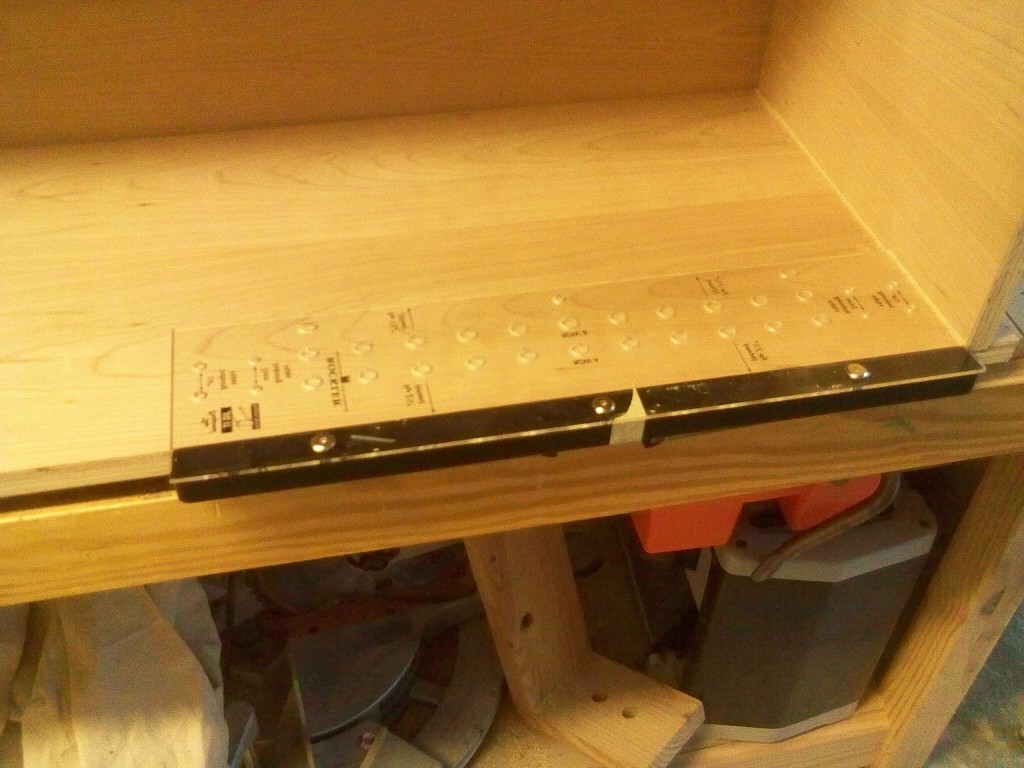
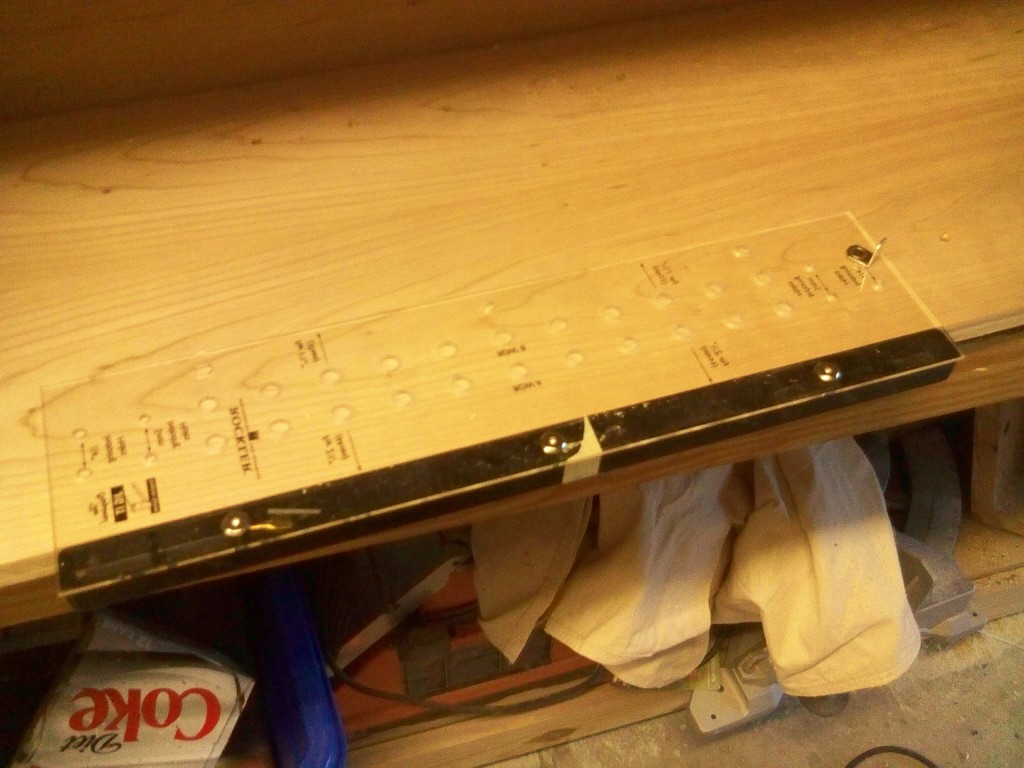
For the two cherry bookcases I’m putting on the top of the cabinet project (which is now entering the home stretch – yay!), I’m drilling holes to hold the shelves. To begin, I set the jig with the stop facing down and pressed firmly to the cabinet’s face. Then, I push the jig flush to the bottom of the cabinet. I count up a number of holes (I don’t need adjustable pins three inches off the floor of the cabinet, right?) and start drilling.
“But, Tom, the jig isn’t long enough to reach from the bottom to the top of your case! What do you do now?”
Piece of cake. At either end, the shelf pin jig has an indexing hole. I move it over a hole I already drilled, insert an old shelf pin through the indexing hole and my spacing continues up the case. I can move the jig as many times as is necessary to go to up the case.
And, when I need to drill the back rows of holes, I flip the jig over, press it down on the bottom of the case and firmly to the back, and drill ’em just like the front.
The one caveat about using this jig is you need to drill at a high speed. Some battery operated drills just don’t get revving as fast as they need to, and you will see some tearout where the drilling happens. I use my corded drill, which has the RPM to give me clean holes.
I’ve used this jig on a number of projects in the past, and the shelves come out dead on.
And, when I finish the shelves for this part of the project, I’ll show you what it looks like.
Stay tuned for a future post to see those!


I have the same template and it works very well.
Me too. Ditto. It’s not just lazy though. Some folks are real good at making jigs. Me? Im real good at having one part of my homemade jig being a fuzz off and transferring that permanently to a project. So if it’s reasonably priced, I will likely buy the jig I need.