
True to my word, yesterday, I started working on the rustic pine coffee table for the family room in the back of my house (Hey, Ian MacKay, is that worded properly for you?). I figured it would be the best one to start with, because it was easy, and I knew I was going to go to the home improvement lumber rack for the material. Easy peasey.
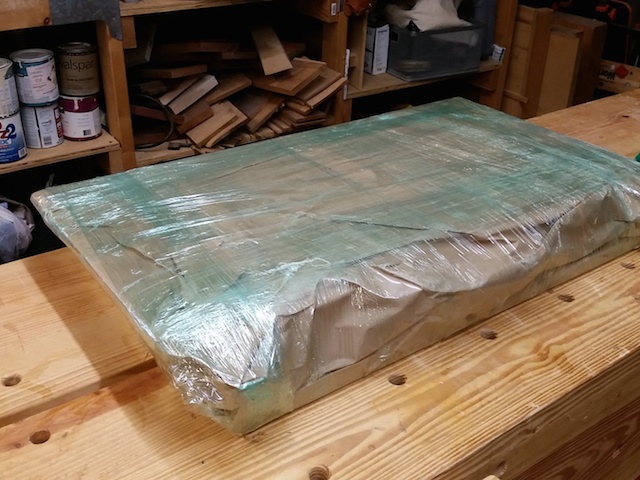
But, first, I had to pack up Katie’s hope chest to clear the deck. With a lot of bubble wrap, cardboard and some flat twine, I made it all happen. Now, hopefully it won’t get all banged up in transit.
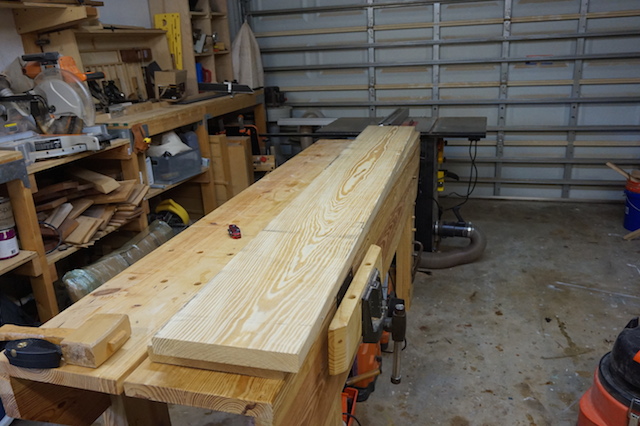
So, off I went to the home improvement center, and picked up a pair of 2 x 12 eight footers. I am always amazed at the quality of the wood you can find there – these two boards were nearly blemish free, with absolutely no knots and mostly rift grain along the edges. they were something to see.
So, I set to work on the top first. I knew I wanted to rip out the flatsawn grain in the middle to get the rift edges for the top, and that’s just what I did. I knew I wanted to do this in two parts – since the top was going to measure out to about 24 inches wide, I wanted to glue up each half, run them through the thickness planer, then assemble the final piece.
After crosscutting the boards on the miter saw, I set to work at the table saw, culling the nicest looking stuff. Wow, was this really nice!
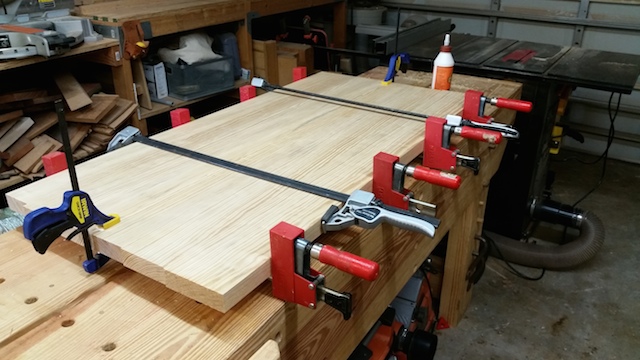
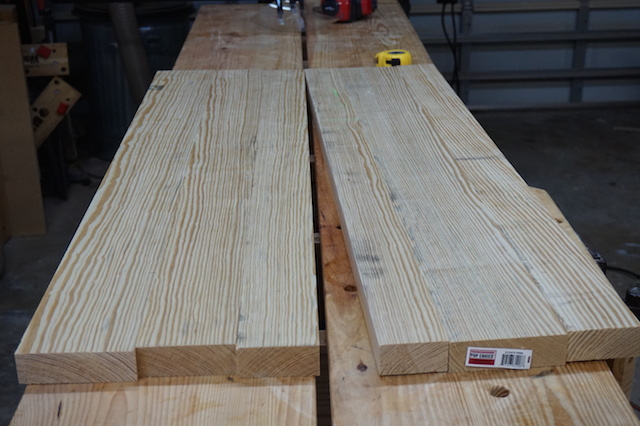 I got a fairly good looking grain match after juggling the boards, and then set up to glue everything together to make the two sides. It was easy with a few cauls and a couple of clamps.
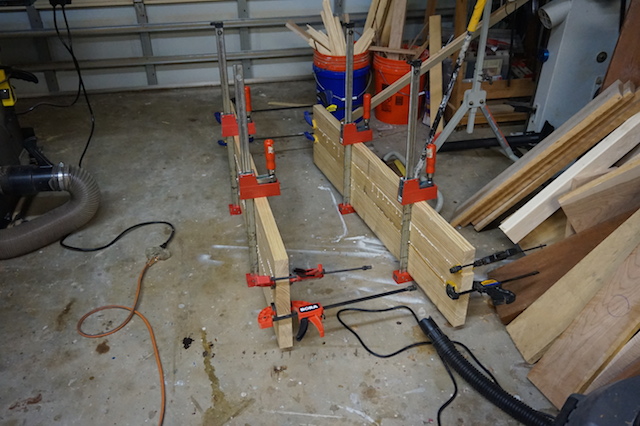
Once the glue was dry, I headed over to the thickness planer to get the sides planed down nice and flat and a uniform thickness. Since the widest half was 12 and a half inches, any my planer has a 13 inch capacity, this was a piece of cake.
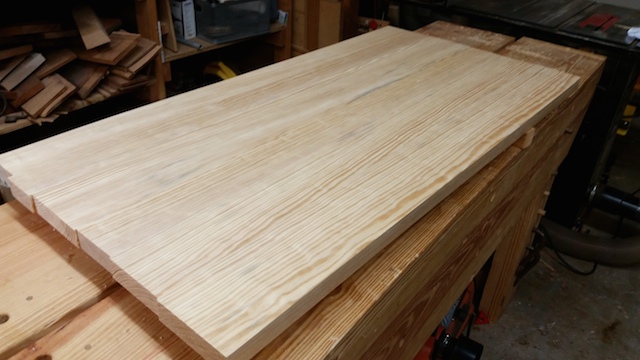
Now, how about that look? The joint is tight without a single clamp. When that happens, you know you have done something right… The last task for the night was to glue the two halves together, which was insanely easy given the condition of the joint.
Now, back to work tomorrow, but I hope to be able to bang out some more work on this piece in the coming days. Wouldn’t it be great to put together a handmade table in less time than it would take to assemble an Ikea model?
That coffee table is off to a great start Tom.
Your joint line is spot on.
I bought some 2 x 12 SYP from Big Blue lately and was amazed at the quality as well.
Can’t wait to see how your table comes out.
Hey Tom, looks like a great start to your table. Are you going to try that aging/oxidizing recommendation you had last week? This would be a great time to blend the oxidizing first with your Mixology technique following. I look forward to your posts on this. I want to build a small one for our apartment living room.
Happy sawdust to you.
That’s the plan. Gotta figure out the best way to finish it so it looks rustic enough…